How to install Apache Tomcat on Windows. Tomcat is a web server developed by Apache. This web server helps you to run web applications written with JSP as a website. To test your software you need to create a local website in your system and put your programs in it. In this article, you will be taught how to install Apache Tomcat on Windows.
Windows Virtual Private Server
If you have previously written web software or are a little familiar with network concepts, you know that the IP address of our system is always 127.0.0.1. Also the default domain address it refers to is Localhost.
This means that our local website will be accessible in our system by entering the address http: // localhost: port where the port is the port number of our web server. (Of course, it is not necessary to enter the port number for port 80).
Install Apache Tomcat on Windows operating system
To run Apache Tomcat, you must have Java JDK installed on your system. So before you start installing tomcat, it is better to install JDK on your system and set the JAVA_HOME and PATH variables for it.
Start Installing Tomcat
There are several ways to install Tomcat, such as downloading a Zip file or installing XAMP Server. Here we use the Exe file download method.
1. In the first step, download the Tomcat installation exe file from the following link:
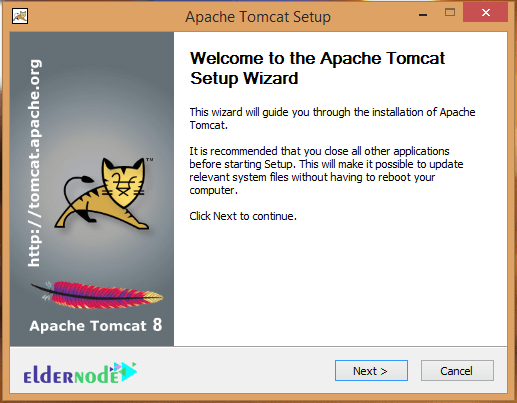
2. After downloading the installation file, run it and go to the next page by clicking Next.
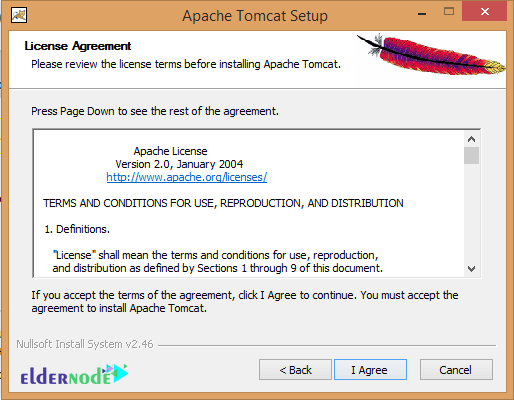
3. Click I Agree to confirm the agreement.
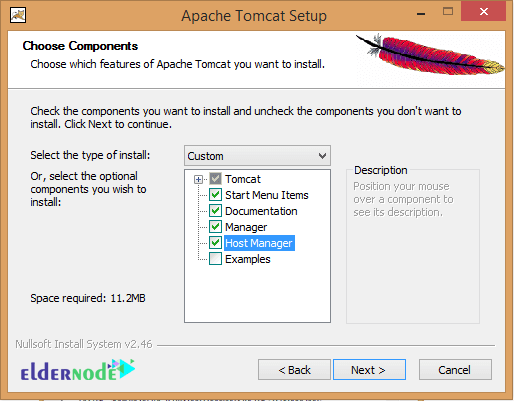
4. Select the components as shown below and go to the next page.
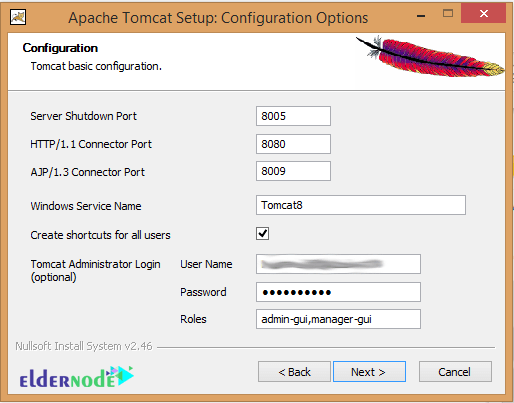
5. Enter your favorite ports for the software.
Remember that if you use another port number instead of 8080 in the Http Port section, you must enter Localhost:portnumber instead of Localhost:8080 to access your site.
Note: Portnumber is the port number you entered during installation.
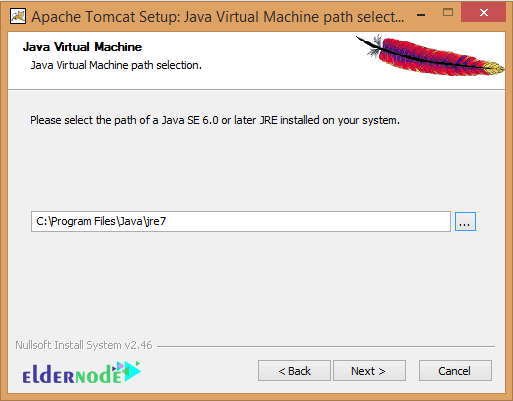
6. Enter the JRE installation path that you installed on your system.
virtual private server
The software itself tries to find the path and show it here, so if it is correct, you do not need to change it.
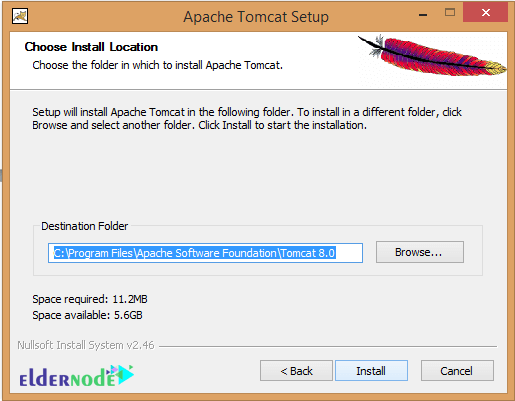
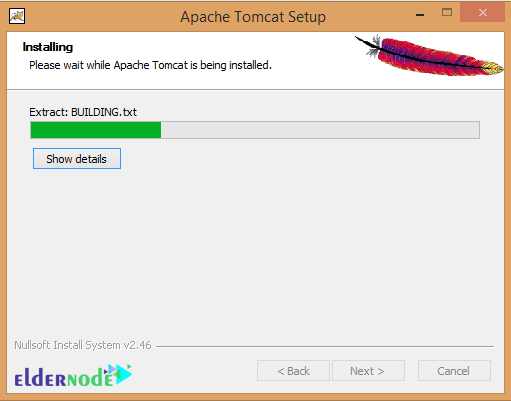
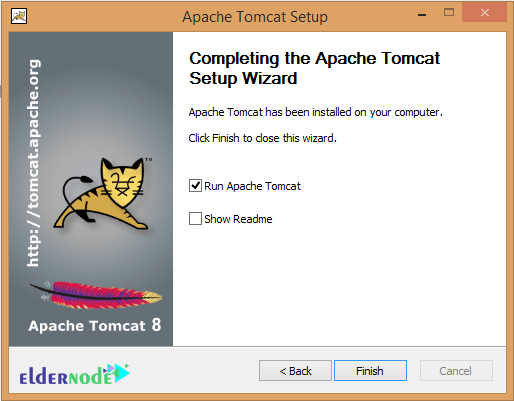
7. Follow the rest of the steps to install the software.
*
**
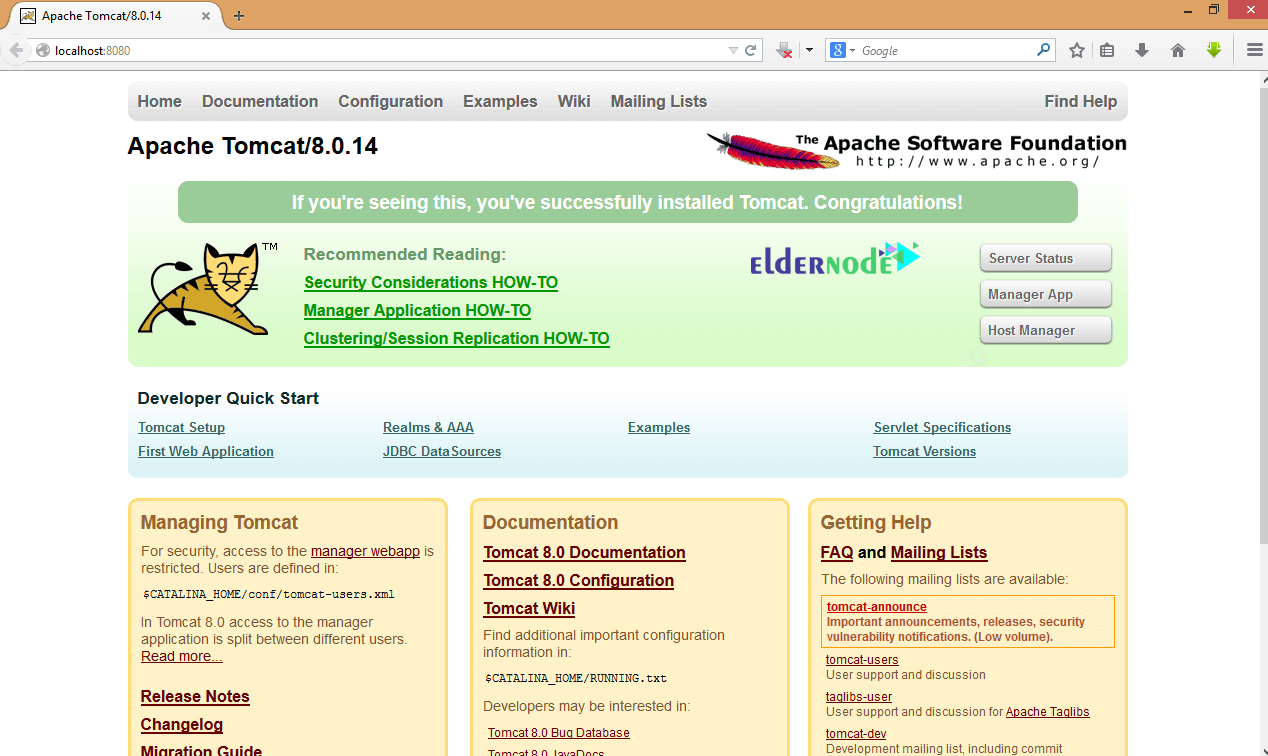
8. By entering the address http://Localhost:8080, you should see the default Tomcat page, which is as follows for the version I installed:
9. To test the correct execution of Tomcat, go to the root address of Tomcat software and create a folder called test (in lower case). Usually in Windows, the root address of Tomcat software is as follows:
Tomcat Installation Path/WebApps/Root/
For example for my system:
C:\Program Files\Apache Software Foundation\Tomcat 8.0\webapps\ROOT
10. Because we are creating a server for Test here, if you do not have access to create a file in the test folder, right-click on it. Then select the properties and click on Security and click Edit. Inside Users, select Edit and check all the options in the Allow column.
11. Now create a text file named Index.jsp (in lower case) in the test folder and type the following code inside it:
12. Make sure the file is index.jsp and the .txt format is not added to the end. In addition, SP Jfiles can be edited with notepad ++ or Windows Notepad:
<% out.write(“eldernode.com”); %>
13. Now go to the following address and see the result:
http://localhost:8080/test/
The result should be a blank page with the text eldernode.com written on it.
Dear user, we hope you would enjoy this tutorial, you can ask questions about this training in the comments section, or to solve other problems in the field of Eldernode training, refer to the Ask page section and raise your problem in it as soon as possible. Make time for other users and experts to answer your questions.
Goodluck.
