Apache is one of the most popular web servers used to provide web services today. The basis of this web server is Linux and it is commonly installed and used in Linux distributions. Due to the lightweight and high performance of the Apache web server, users are also interested in using it on Windows. In this article, we are going to install the Apache web server independently on Windows. You can choose your perfect Windows VPS Server Packages from the Eldernode.
Table of Contents
Tutorial Install Apache on Windows Server
There are several ways to use Apache, including installing Xampp. Apache is a modular, process-based web server application that creates a new thread with each concurrent connection. Many threads are compiled as separate modules, thereby increasing its core functionality and being able to provide a wide range of services. With over 60% share of the commercial web server market, it is the most widely used web server program in the world. In fact, Apache is the most widely used web server program in Unix and Linux operating systems, but on the other hand, it can be used in almost all operating systems such as Windows, OS X, OS / 2, etc.
A) Download Apache for Windows
1- First, click on the link below and download the Apache web server for Windows. Note that there are two versions for 32-bit and 64-bit Windows on this page you should download and install the appropriate version for your operating system.
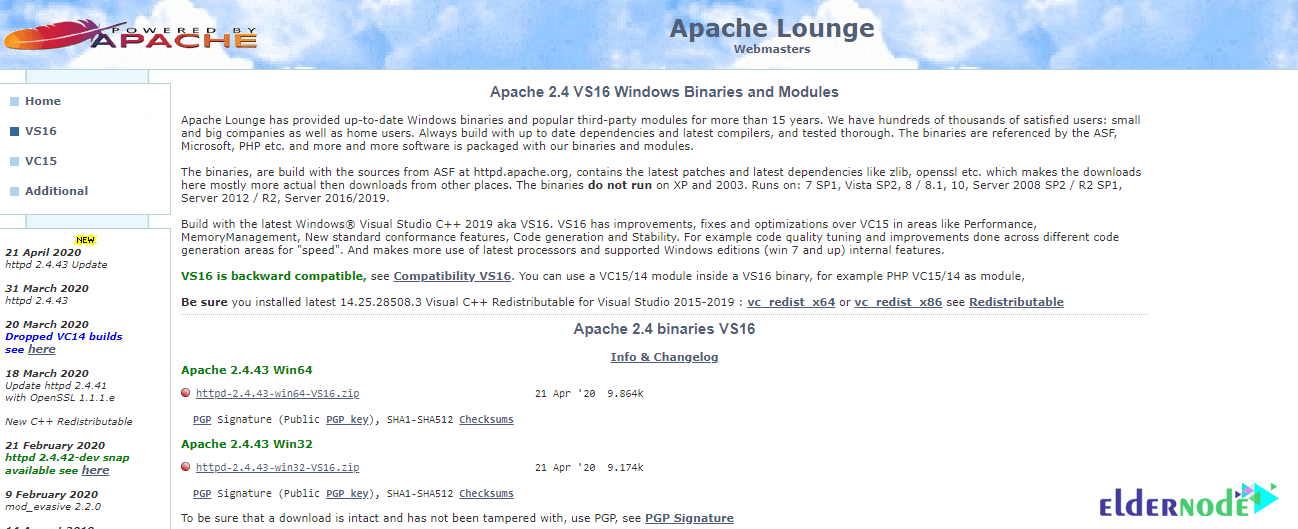
As per the information on the ApacheLounge download page, you’ll also need to ensure that you have the relevant C++ Redistributable for Visual Studio installed on your server too. It’s likely that this will already be installed on your system, but if in doubt, download and run vc_redist_x64.exe (for a 64-bit operating system), or vc_redist_86.exe (for a 32-bit system) from the following links.
- x86: vc_redist.x86.exe
- x64: vc_redist.x64.exe
Once the download has completed, open the downloaded “ httpd-2.4.43-win64-VS16.zip” file. Then, extract its contents to a suitable location on your server i.e. C:\Apache24.
B) Start Apache on Windows Server
Open Command-line as an administrator and go to the C:\Apache24\bin folder:
cd C:\Apache24\binenter the command below:
httpd -k installThen go to the Start menu and type Services and click on it. You should see Apache there choose it and click on Start.
Open your web browser and navigate to http://127.0.0.1. If Apache is running, you should see the words “It works!” displayed in your browser:

Conclusion
Dear user, we hope you would enjoy this tutorial, you can ask questions about this training in the comments section, or to solve other problems in the field of Eldernode training, refer to the Ask page section and raise your problem in it as soon as possible. Make time for other users and experts to answer your questions.
Goodluck.

