Android Studio is simply a programming environment for Android. In fact, it is a formal integrated development environment (IDE) for Android platform development and programming. Android Studio programming environment is designed based on JetBrains software. This software is made specifically for Android. Android Studio is now available for download on Windows, Mac, and Linux. In this article, we are going to teach you How to Install Android Studio Windows Server 2016. You can see the packages available in Eldernode if you want to buy a Windows VPS server.
Table of Contents
How to Install Android Studio Windows Server 2016
Introduction to Android Studio
Android Studio IDE is an official open-source application for Android. This program will make you progress in building an Android application. It also helps you build the best Android apps on any device running the Android operating system. Android Studio software has replaced Eclipse.
According to Intellij IDEA, Android Studio provides you with the fastest possible turnaround in programming. There are many ways to develop Android in the digital industry. But the most important and powerful official program for Android development is Android Studio.
Android Studio Features
In this section, we are going to mention some of the features of Android Studio. These features include:
– Gradle based Build support
– Rewrite the code and immediate corrections for Android
– Lint tools to fix performance problems, performance, version compatibility and other problems
– Integration with ProGuard and App Signing capabilities
– Template-based Wizard windows to create common Android designs and components
– A rich Layout Editor that allows users to drag and drop user interface components, and there is an option to preview layouts in multiple screen configurations.
– Support for building Android Wear apps
– Internal support for the Google Cloud platform that allows integration with the messaging and Google Cloud application engine.
Install Android Studio Windows Server 2016
In this section, we are going to teach you how to Install Android Studio Windows Server 2016. To do this, just follow the steps below.
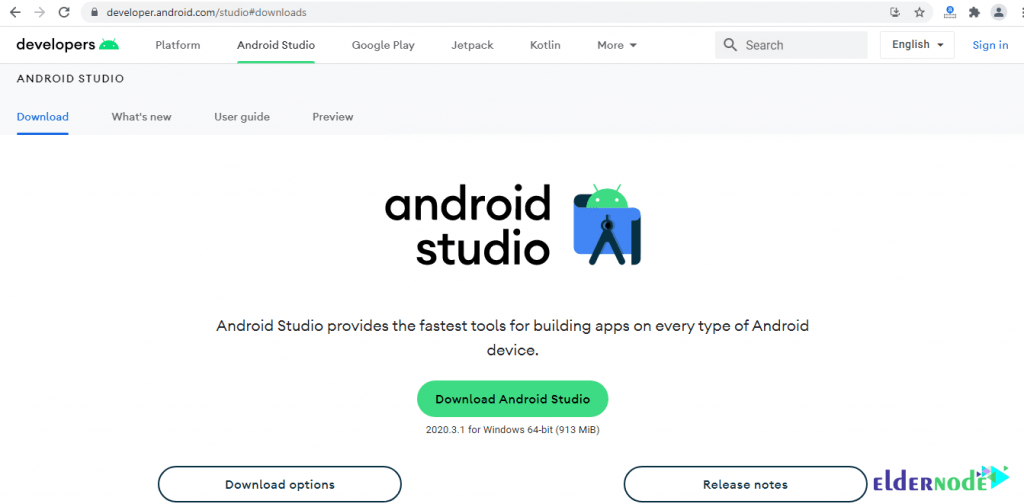
In the first step, you need to download Android Studio. So click on Download Android Studio.
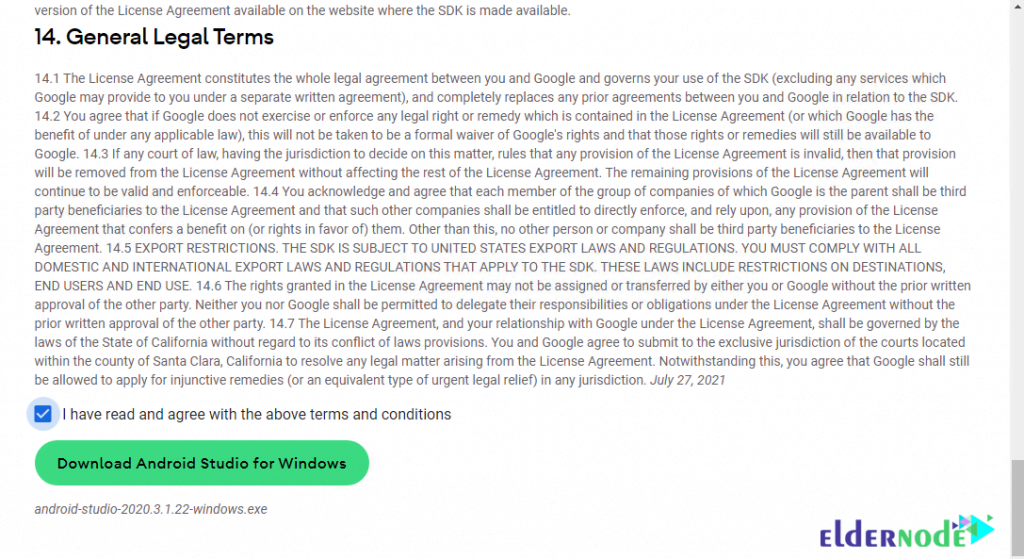
In the window that opens after reading Terms and Conditions, you must check the I have read and agree with the above terms and conditions option. Then click Download Android Studio for Windows.
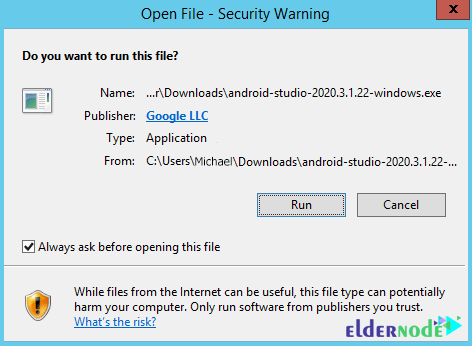
Now, you need to go to the place where you downloaded the file. Double-click the desired file. In the window that opens, click on Run to begin the installation process.
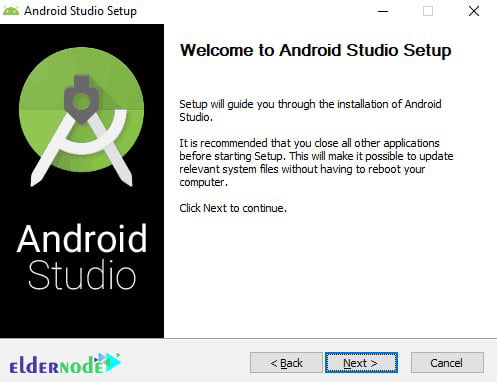
Click Next to continue the installation process.
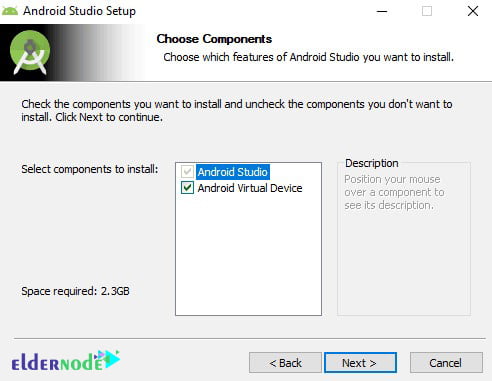
In the next step, you will be shown the option to select components. Select both options and click Next.
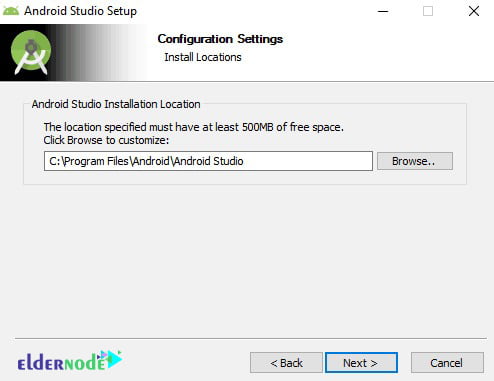
As you can see in the image below, you need to specify the installation location and then click on Next.
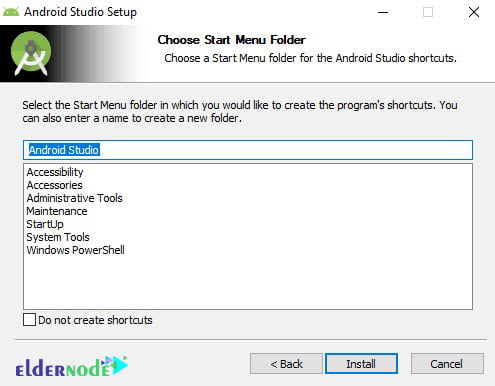
In the next window related to the start menu folder, accept the default settings and click on Install to start installing Android Studio.
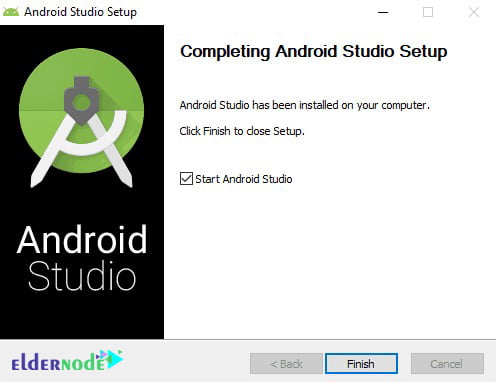
Finally, click on Finish to complete the installation of Android Studio.
How to Setup Android Studio Windows Server 2016
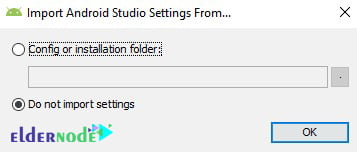
After you were able to install Android Studio according to the steps mentioned in the previous section, now we want to discuss how to set it up. When you start Android Studio for the first time, it asks you to enter the Studio settings. Note that you should click on OK by viewing the image below:
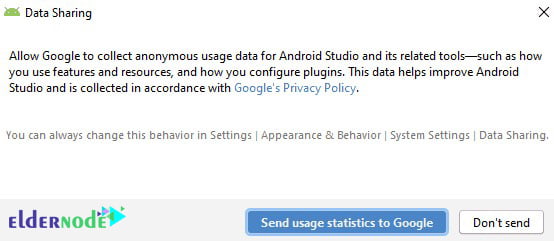
After clicking OK, you may be asked to submit usage statistics to Google:
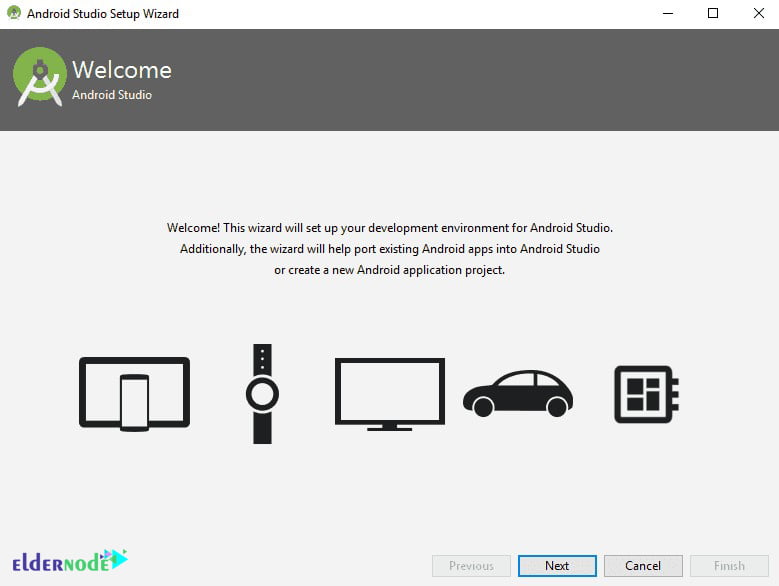
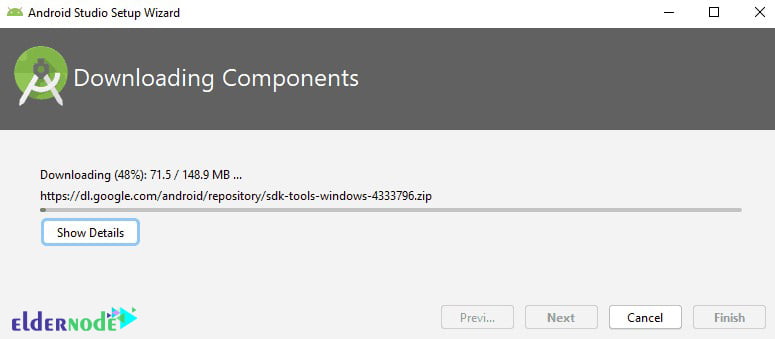
Android Studio loads a few components and then displays the Android Studio Setup Wizard dialog box as shown below. In this step, you have to click on Next to continue by viewing the image below:
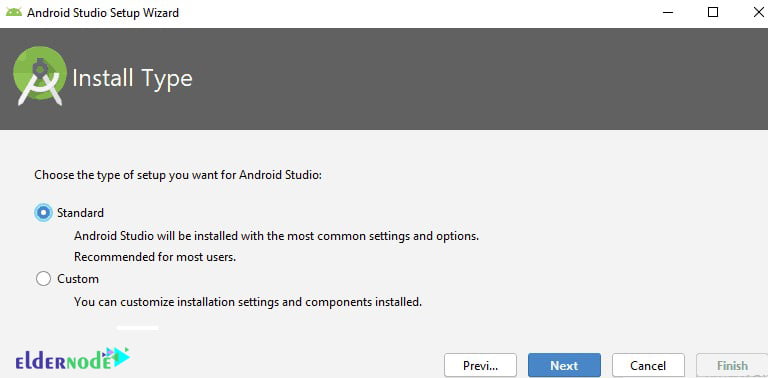
In the next section, you will encounter an installation type window. Here you can select Standard and click Next:
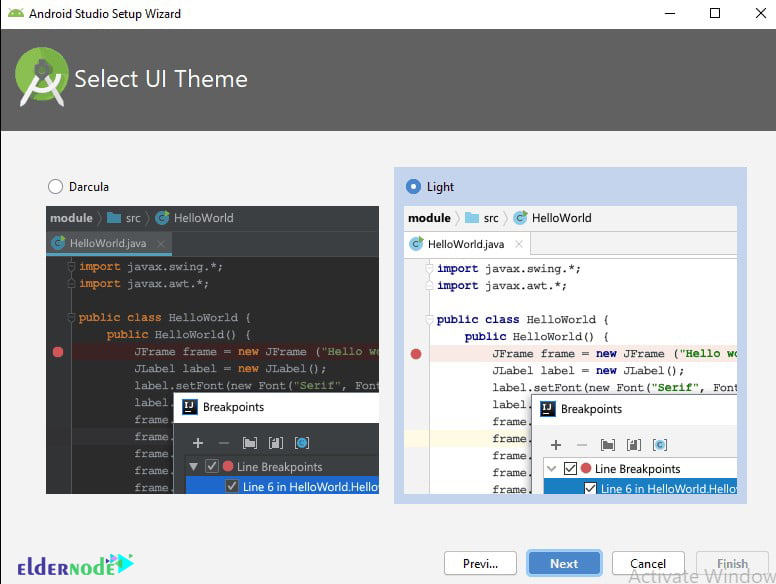
The next item is the “UI Theme” selection page with two options Light & Darcula. We suggest that you select the default option in this section:
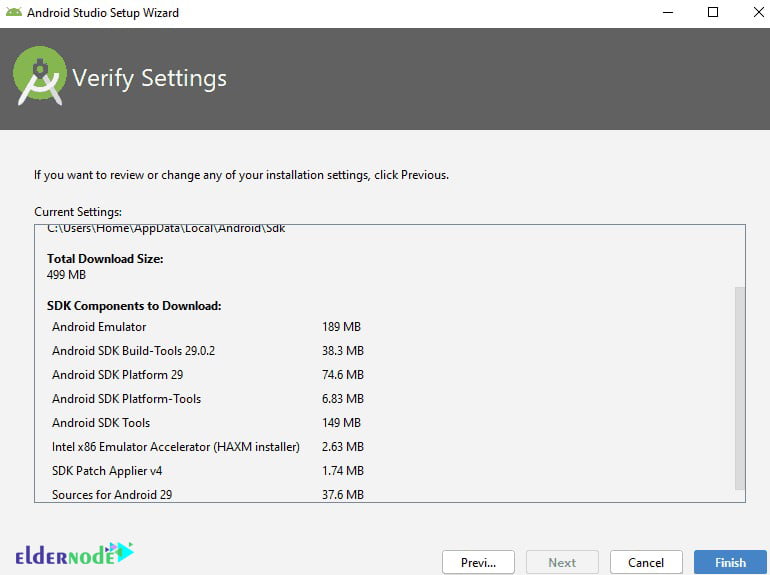
In the next step called Verify Settings, click Finish to complete the installation of Android studio:
*
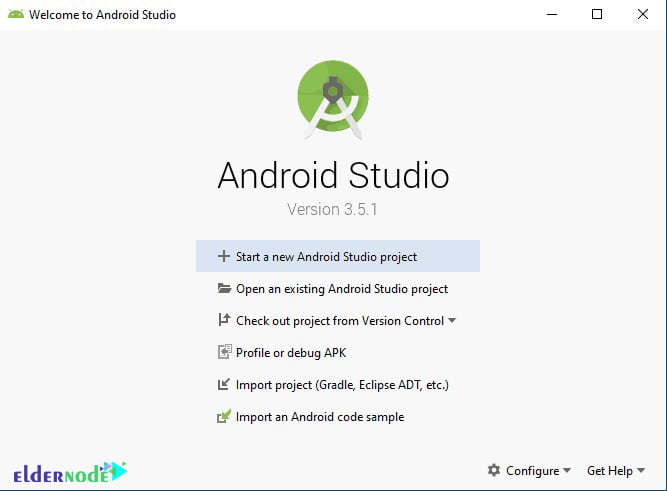
In the image below, you can see the Android Studio dashboard:
Conclusion
Android Studio is software designed for programming for the Android platform. The current version of Android Studio on Windows uses a lot of RAM, but it is faster than ever. In this article, we tried to teach you How to Install Android Studio Windows Server 2016.