How to Install and Configure NFS Client on Windows Server 2019. One of the services is NFS storage space sharing. NFS stands for Network File System and allows it to create a storage space that can be shared over other servers or clients over the network. This service operates as a server/client and through it can create central storage.
In our previous guide, we installed NFS Server on Windows Server and created a share ready to be connected to. In this article, we are going to teach of you how to Install and Configure NFS Client on Windows Server 2019.
Stay with us.
Table of Contents
A) Server Manager
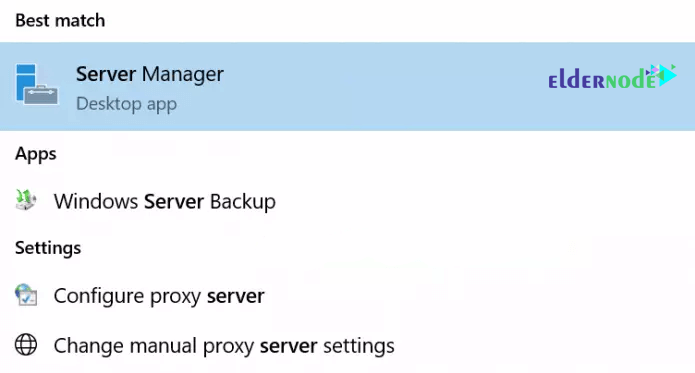
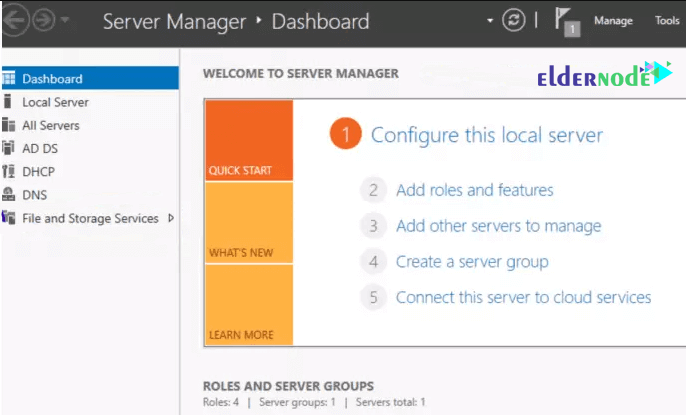
Open Server Manager, click on Add Roles and Features and click Next on the wizard.
*
B) Role-based
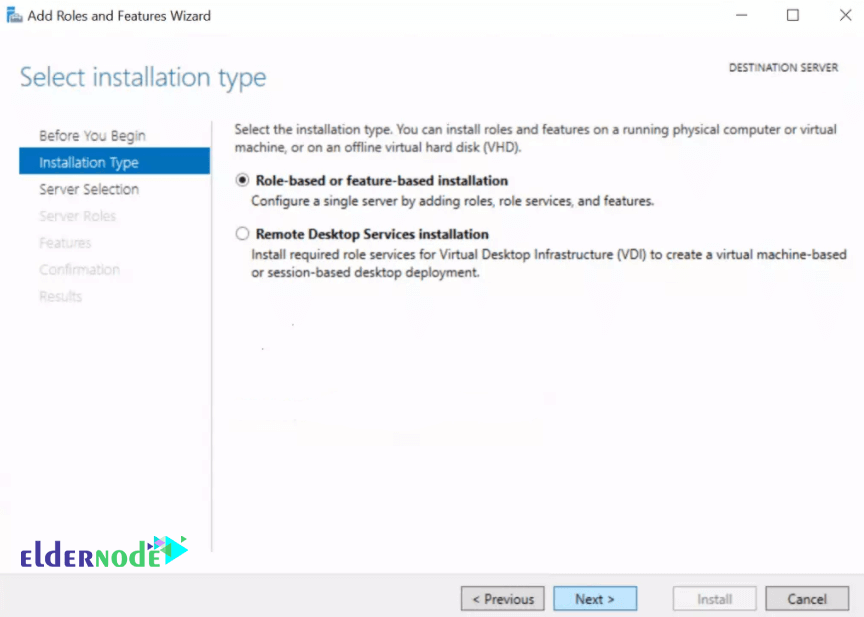
In the Select Installation type page, select Role-based or feature-based-installation and click Next.
C) Choose Server
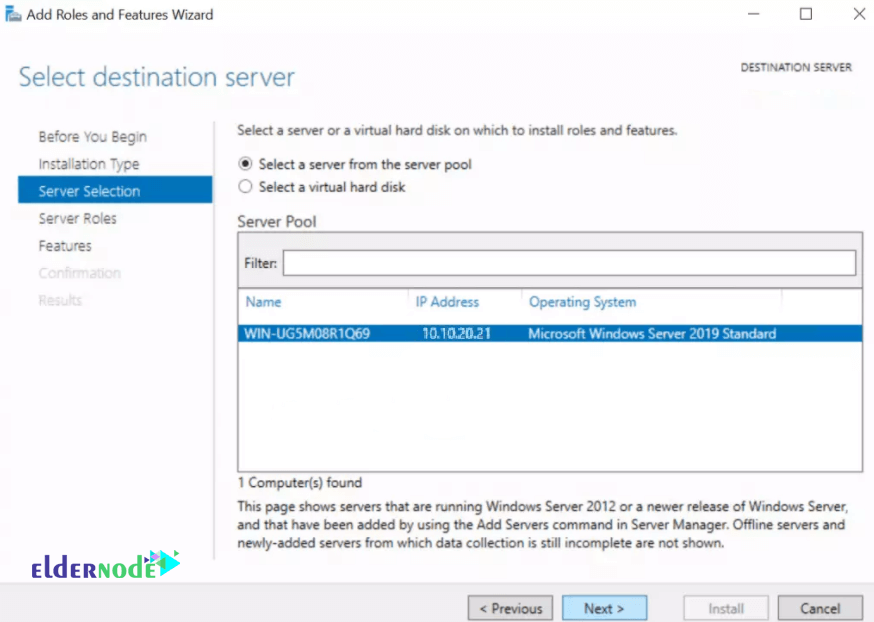
Select the server you will install NFS on and click Next.
D) Select Server Roles
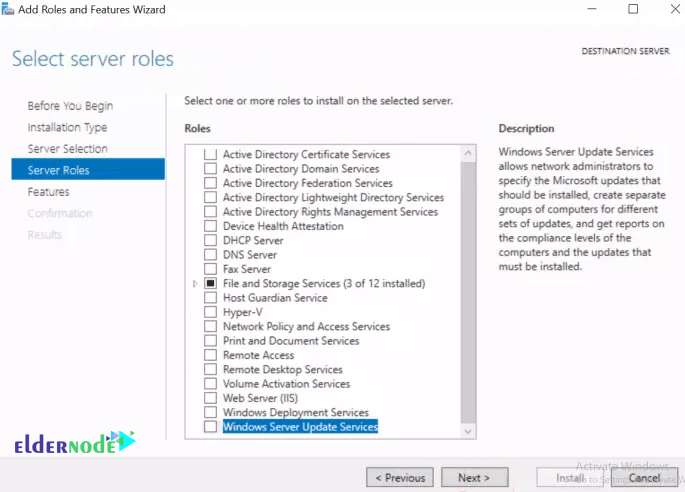
In this Select server roles part, click Next.
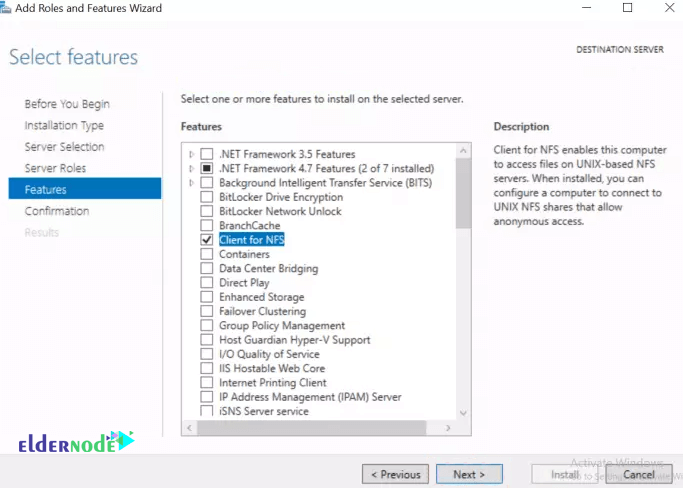
E) Features
In this Select features page, check the Client for NFS box and click Next.
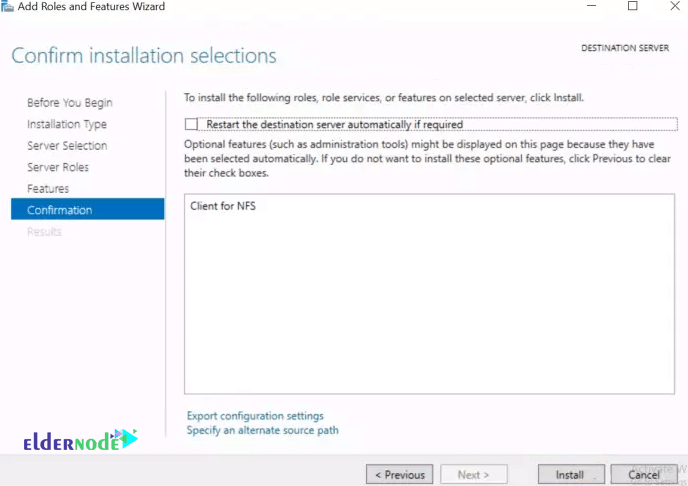
F) Confirm and Install
Confirm your installation selections and hit Install.
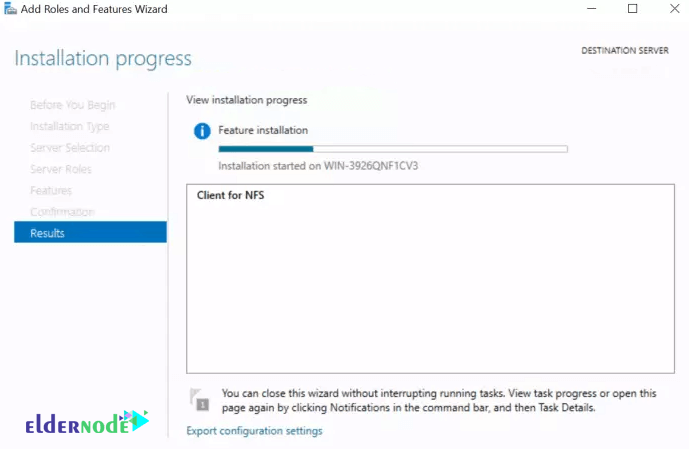
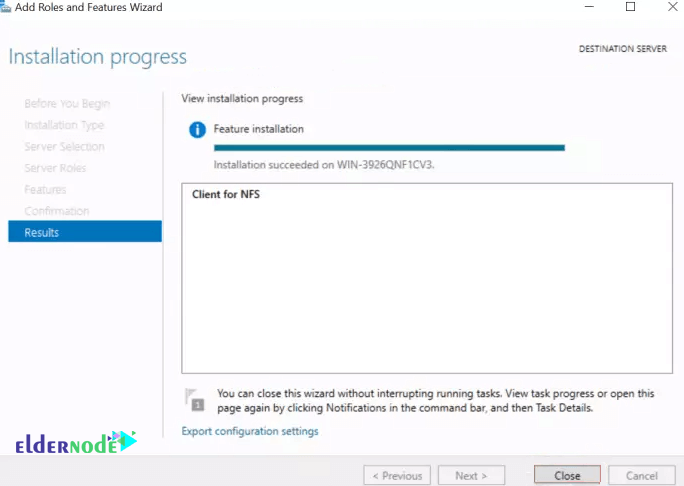
Let it finish installing then click Close and you will have finished the NFS Client installation process.
**
***
G) How to Connect to NFS Server’s Share using umount.exe
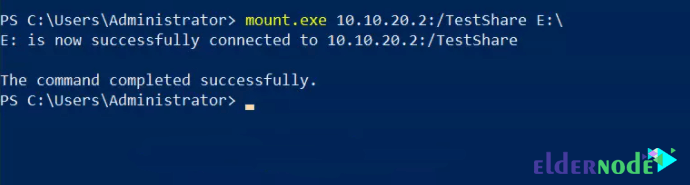
Open your Powershell with Administrator privileges and execute the command below.
Make sure the drive you are labeling the share with is not used already on the client.
— 10.10.20.2 is your NFS Server’s IP.
— TestShare is the name you gave your Share.
— E:\ is the label your share will have on your NFS Client as confirmed in step H.
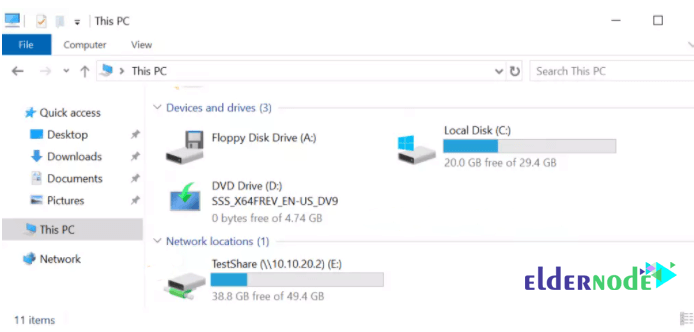
H) Confirm the share in File Manager
Open File Explorer and check if the share was mounted successfully.
Play around with the share by adding files and directories whilst confirming they are reflecting in the parent directory.
Dear user, we hope you would enjoy this tutorial, you can ask questions about this training in the comments section, or to solve other problems in the field of Eldernode training, refer to the Ask page section and raise your problem in it as soon as possible. Make time for other users and experts to answer your questions.
Goodluck.