Nessus is a remote security scanning tool that scans your computer. It should also be noted that Nessus warns of any vulnerabilities that malicious hackers can use to gain access to any computer you connect to the network. It does this by running more than 1,200 checks on a specific computer and testing whether any of these attacks can be used to infiltrate or damage a computer. In this article, we are going to teach you How to Install and Configure Nessus On Debian 11. You can see the packages available in Eldernode if you want to buy a Linux VPS server.
Table of Contents
Tutorial Install and Configure Nessus On Debian 11
Introduction to Nessus and its Features
You may be wondering what benefits Nessus has over them. Unlike other scanners, Nessus does not presuppose the configuration of your server (assuming port 80 should be the only webserver), which can cause other scanners to lose real vulnerabilities.
It should also be noted that Nessus is highly extensible and provides you with a scripting language so that you can write your own system tests after becoming more familiar with the tool. Nessus has a plugin interface and many free plugins are available from the Nessus plugin site.
The Nessus team updates the list of vulnerabilities that should monitor daily to minimize the distance between an exploit that occurs in nature. So you will be able to recognize it with Nessus.
In the next sections, join us to teach you how to install and configure Nessus on Debian 11.
Install Nessus On Debian 11
In this section, we want to show you how to install Nessus on Debian 11. To do this, just follow the steps below.
In the first step, you need to open one of the browsers you want. Then go to the Nessus download page and download the 64-bit Debian binary installer.
Now you need to update the system packages by executing the following commands:
apt updateapt upgradeFinally, you can install Nessus on Debian 11 using the following command:
apt install ./Nessus-8.15.1-debian6_amd64.debHow to Run Nessus On Debian 11
After you have successfully installed Nessus, we now want to teach you how to run it.
First, use the following command to start Nessus:
/etc/init.d/nessusd startIt should note that you can simply use the following command to get start:
systemctl start nessusdIn the next step, you need to use the following command to enable Nessus to restart the system:
systemctl enable nessusdFinally, you can use the following command to check the status of Nessus:
systemctl status nessusdHow to Configure Nessus On Debian 11
In this section, we are going to discuss the basic settings and how to configure Nessus on Debian 11.
In the first configuration step, Nessus must be allowed in the firewall. Since Nessus listens to the TCP port 8834, to access it externally, you must open that port in UFW using the following command:
ufw allow 8834/tcpIn the following, we will discuss how to activate and setup Nessus. To do this, you need to access the web interface using the address https://server-hostname:8834/.
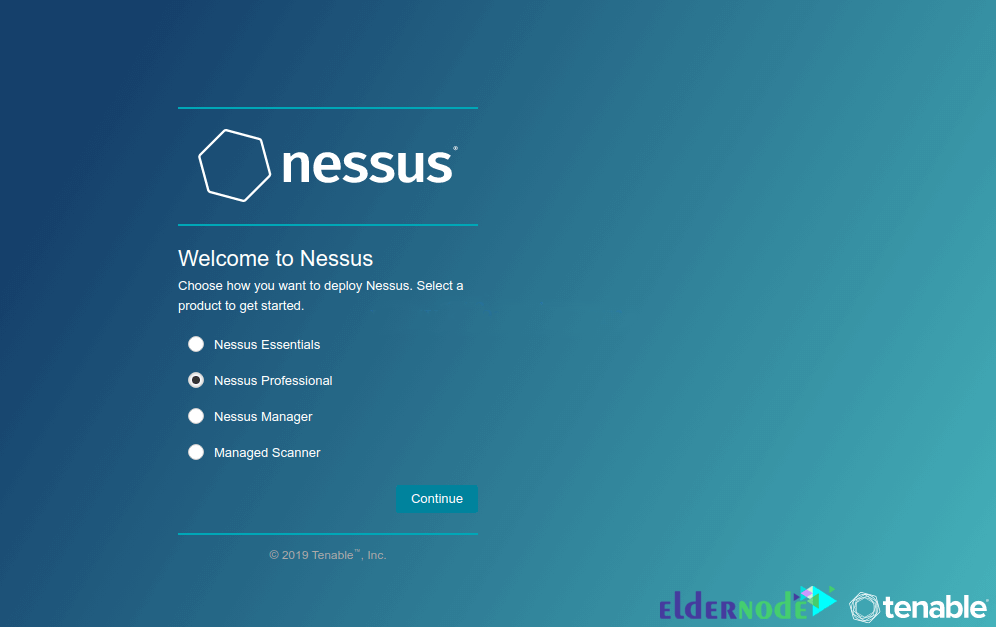
In the next step, after accepting the SSL warning and launching Nessus, you must continue and select Nessus professional and continue again:
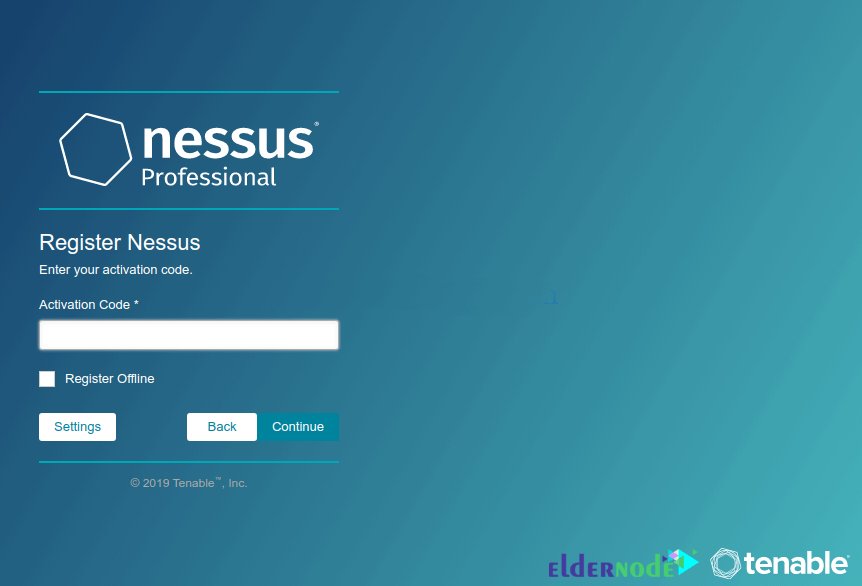
Now you need to enter the activation code and continue after activating it:
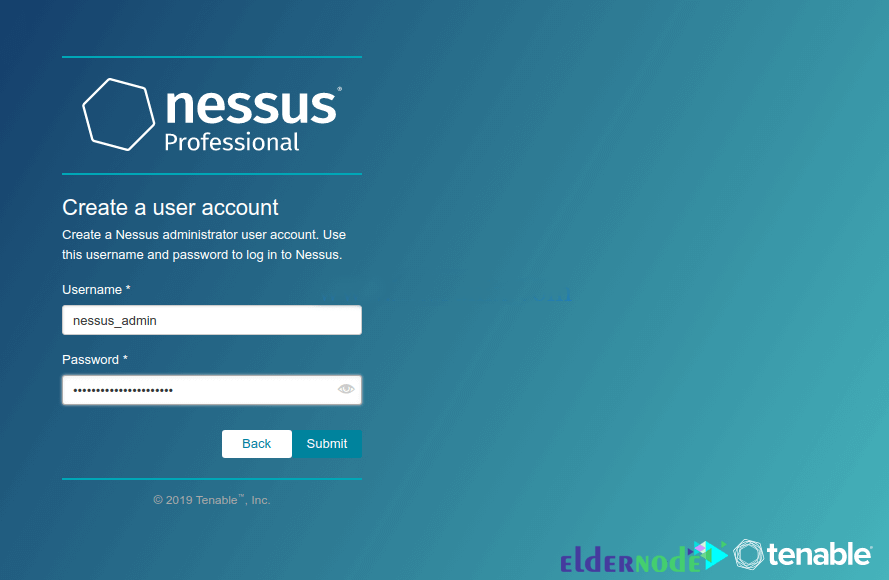
Next, to create a Nessus admin account, you must specify and submit the username and password you want:
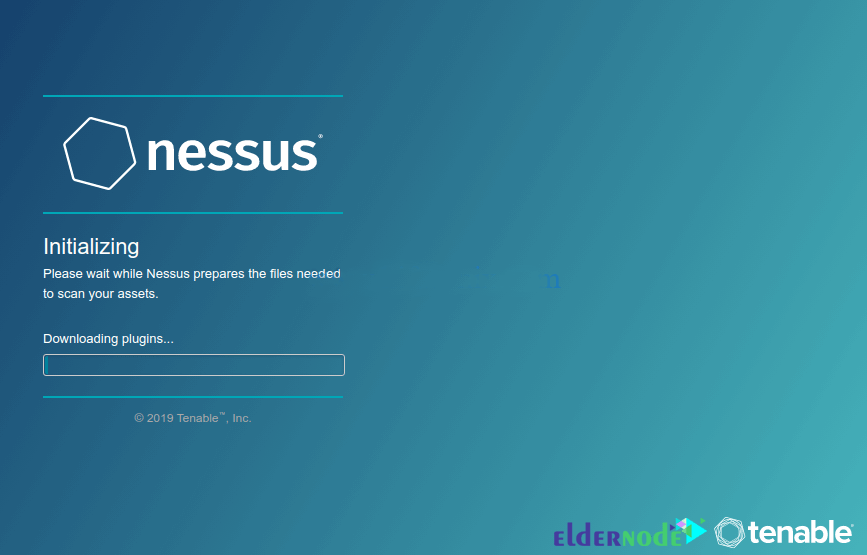
As you can see in the image below, Nessus starts downloading and compiling the required plugins:
You will now be taken to the login page:
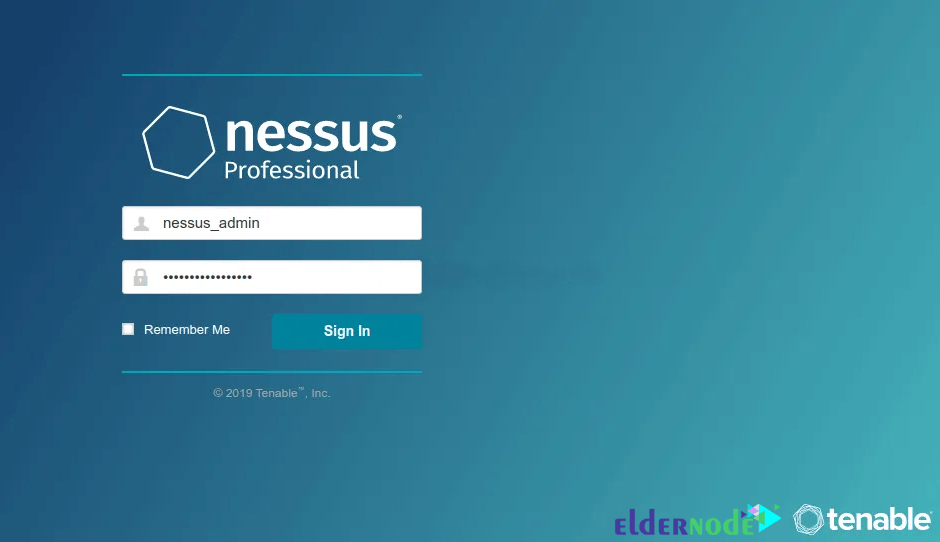
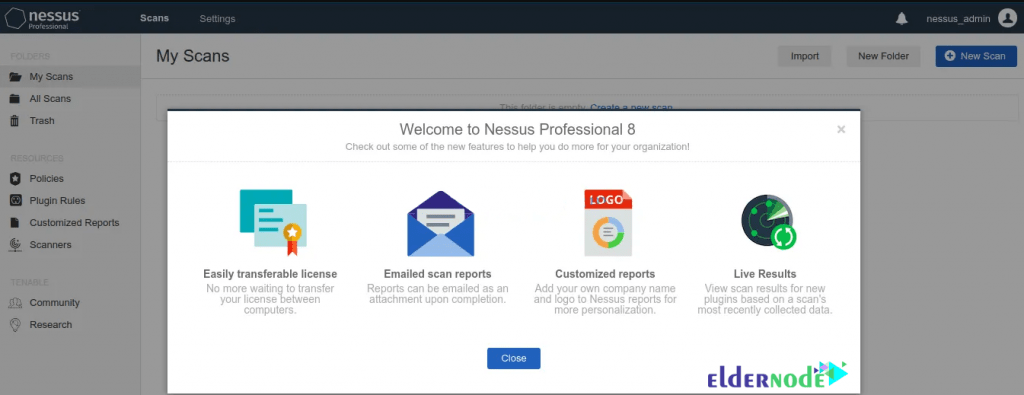
After successfully entering the information on the login page and then successful authentication, you can see the Nessus Professional Dashboard:
Conclusion
If you are the administrator of a group of computers connected to the Internet, you should know that Nessus is a great tool that keeps their domain away from easy vulnerabilities that are often exploited by hackers and viruses. In this article, we tried to teach you How to Install and Configure Nessus On Debian 11. You can refer to the article Tutorial Setup And Configure Nessus On Ubuntu 20.10 if you wish.
