Git is a distributed version control system that allows you to track changes to their code and collaborate with others on the same project. You can easily manage and deploy your code from a Git repository directly from the Plesk control panel using Git integration. This article will teach you How to Use Git Integration in Plesk. Eldernode offers an economic Linux VPS server, which you can check out the offered package to purchase it.
Table of Contents
Tutorial Use Git Integration in Plesk
What is Git Integration?
Git Integration refers to the ability to use the Git version control system in conjunction with other software tools such as web hosting control panels such as Plesk. You can streamline your workflow and make it easier to manage your code by integrating Git with other tools. It allows you to create, clone, and manage Git repositories without using the command line. Also, it provides an easy-to-use interface for managing your code which helps you to save time and increase productivity.
Using Git Integration in Plesk
Follow the steps below to use Git Integration in Plesk:
First, you should log in to your Plesk control panel.
Once you logged in, click Websites & Domains in the left sidebar and go to the domain where you want to enable Git integration:
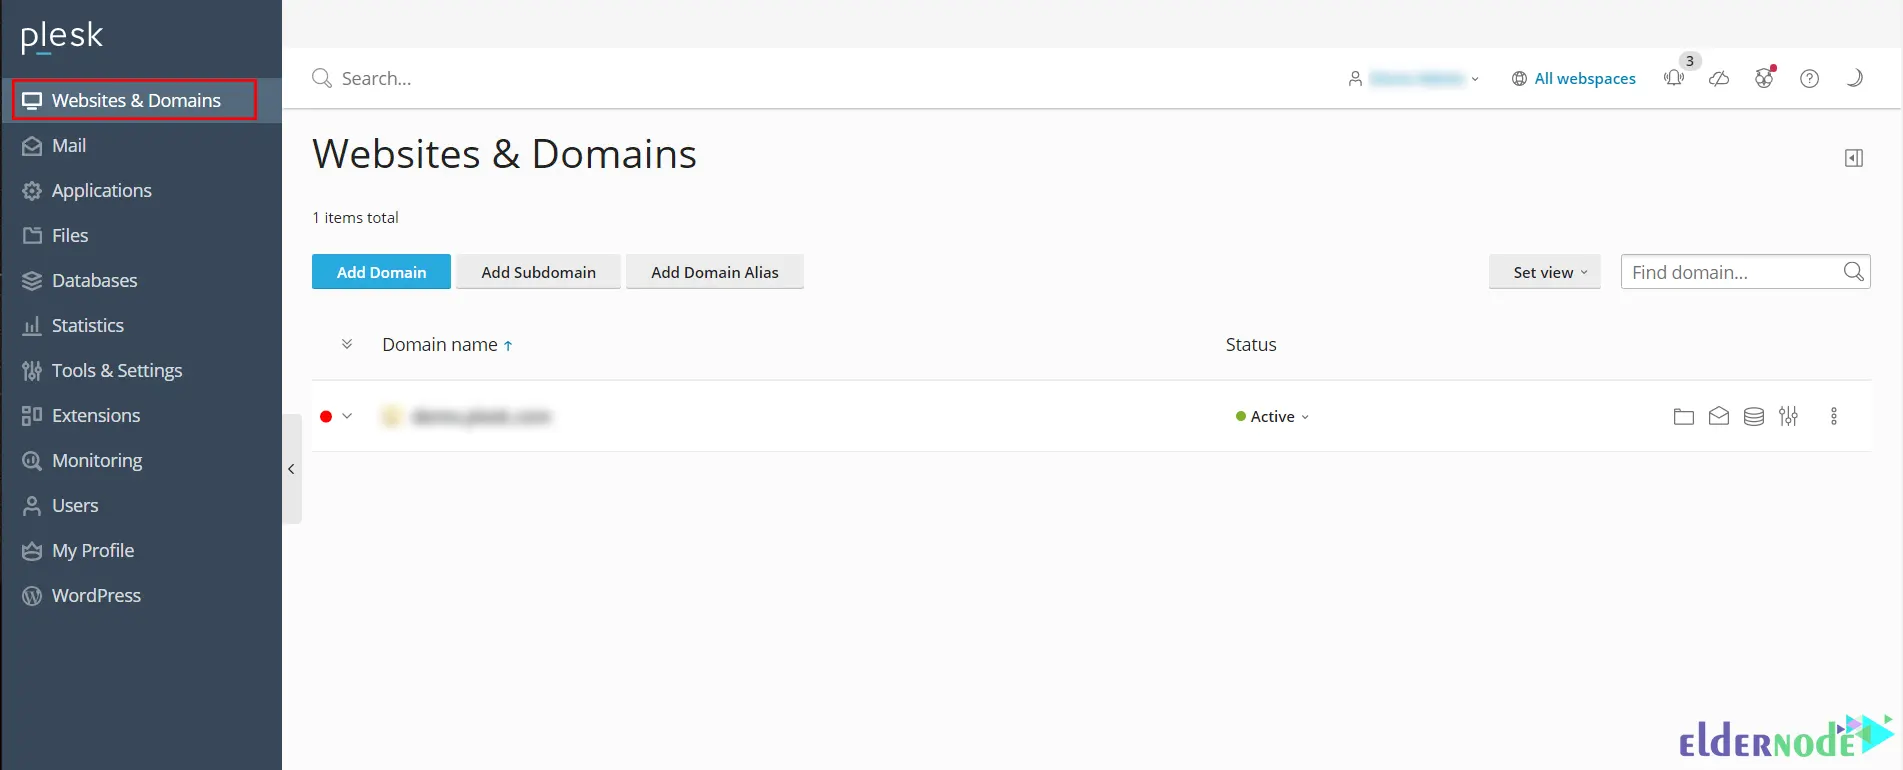
Now click on the Git icon under the Advanced Operations section:
![]()
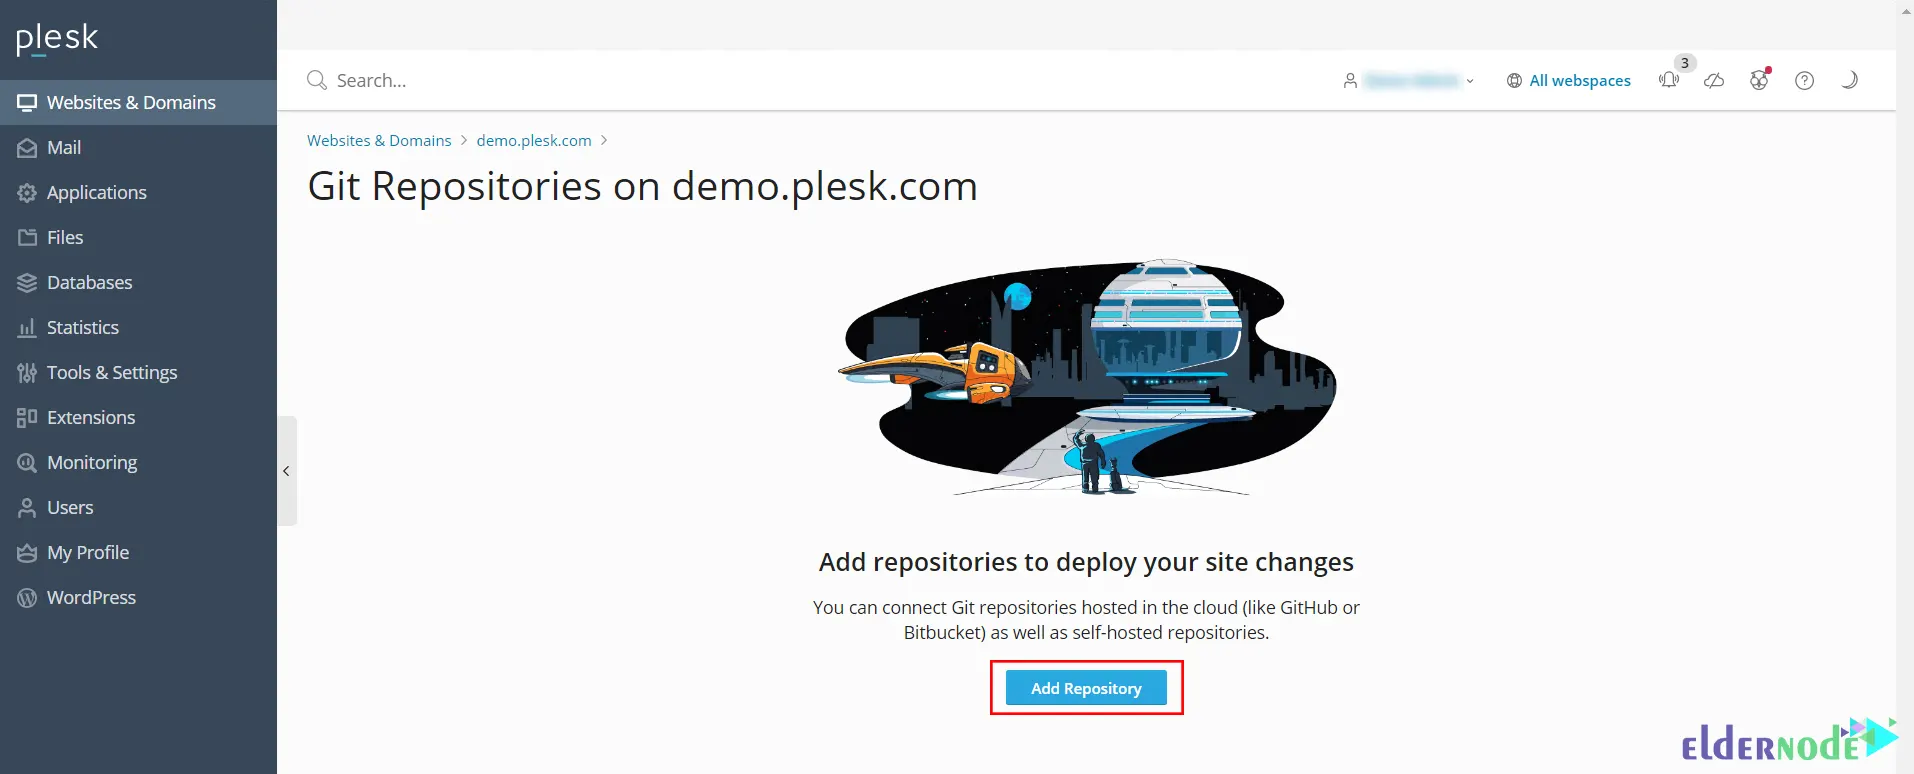
And install Git on your server if it is not already installed.
Next, you should create a new Git repository by clicking Add Repository:
Now fill in the repository name, and description, choose the desired Git branch, and click Create to create the repository:
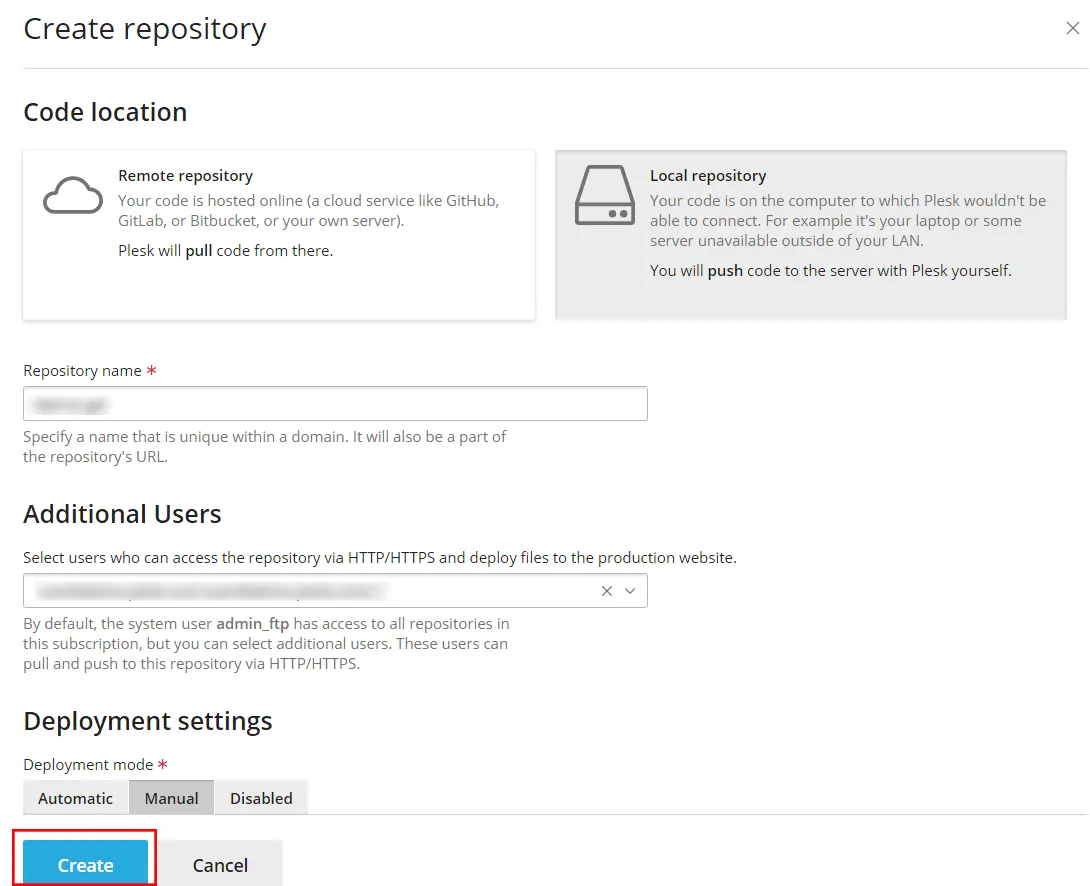
If you want Plesk to automatically deploy the changes in the repository when they are pushed to the server, you should choose the Autodeploy option.
Now it’s time to clone the repository to your local machine, add your code to the repository, and push the changes to the server. You can deploy the changes manually by clicking the Deploy next to the repository in Plesk:
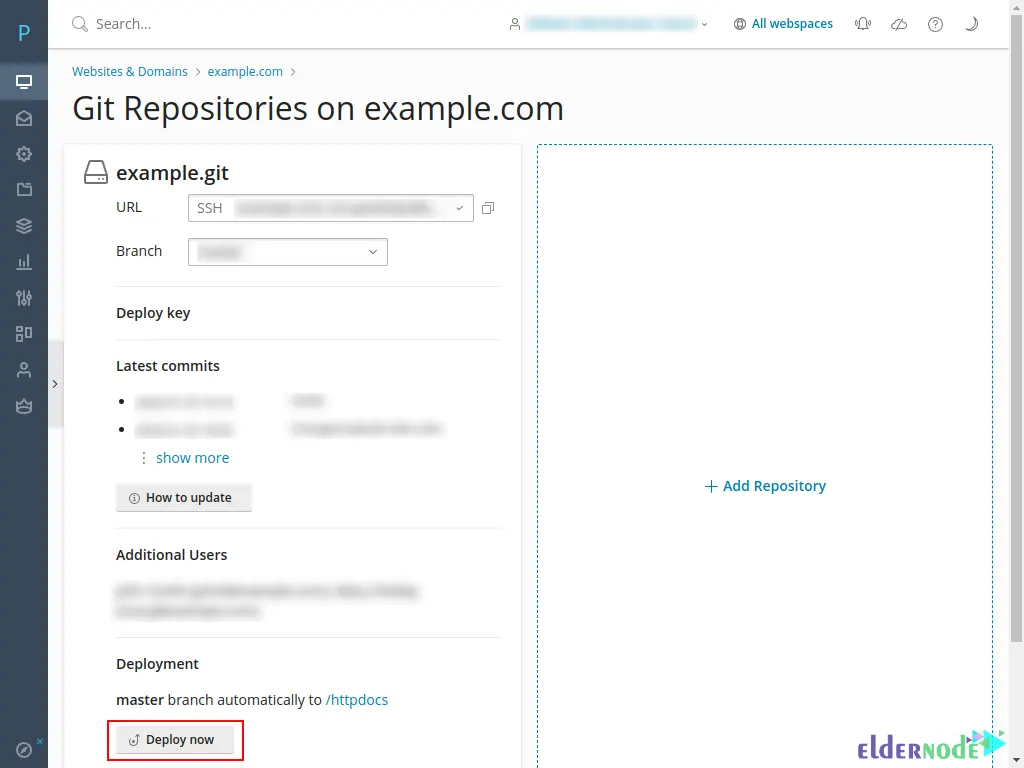
To setup automatic deployments, you can configure webhooks in your Git repository.
That’s it!
Conclusion
Git repository allows you to use all the usual Git commands to manage your code, such as adding files, committing changes, and pushing them to the server. In this article, we taught you how to use Git Integration in Plesk. I hope this tutorial was useful for you and that it helps you to use Git Integration in Plesk. If you have any questions or problems, you can contact us in the Comments section.
![How to install Laravel on Ubuntu 20.04 LTS [complete]](https://blog.eldernode.com/wp-content/uploads/2020/05/How-to-install-Laravel-on-Ubuntu-20.04-LTS-complete-300x164.png)