Since most of you are online for a long time and sensitive files may be stored on your devices, you should protect yourself from destructive viruses. There is a program on Windows called Microsoft Defender Antivirus which is designed to fight viruses and protect your device. In this article, we are going to teach you how to Enable and Use Defender Antivirus on Windows Server. You can visit the packages available in Eldernode if you wish to purchase a Windows VPS server.
Table of Contents
What is Defender Antivirus?
Defender Antivirus is also known as Microsoft Defender Antivirus is an antivirus protection program that prevents the computer from infecting, software that displays unwanted messages and also reduces the performance and security threats installed by spyware. Windows Defender software is available in Windows 10 and is constantly updated. This antivirus is free and you don’t need to install any other software to use it. Defender Antivirus is also able to detect and remove spyware.
Defender Antivirus Features
- Expansive parental control settings
- Automatically backing up files
- Free
- The elimination of any need for passwords
- Offers tracking prevention
- Password generator and password monitor
How to Enable Defender Antivirus on Windows Server
Enabling Defender Antivirus using Server Manager
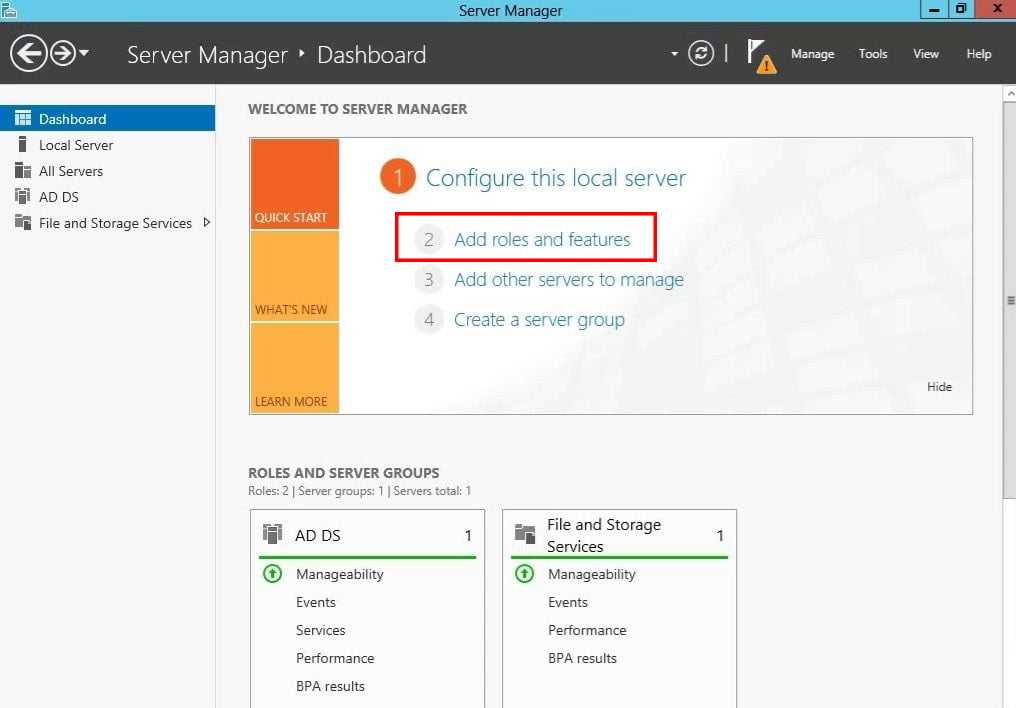
First, you should open Server Manager and click on Add roles and features.
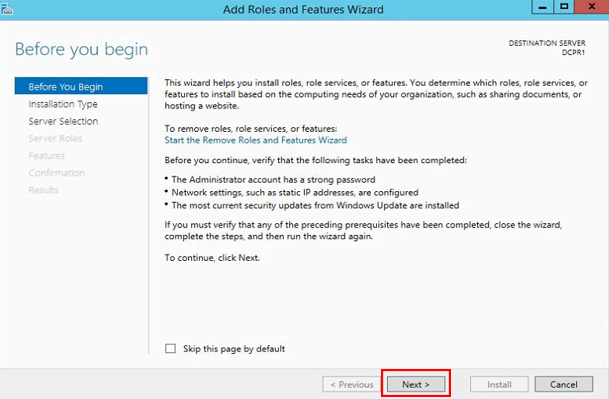
Then click Next on the page that opens.
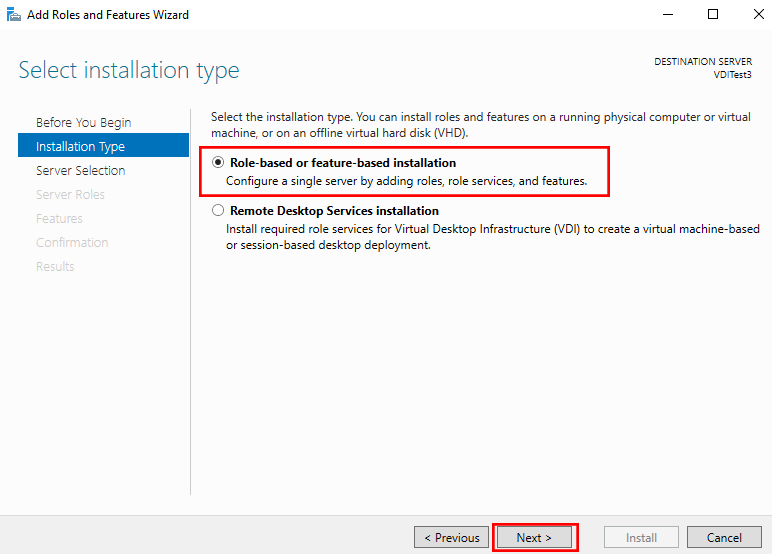
In the installation type section, you need to select Role-based or feature-based installation and click on Next.
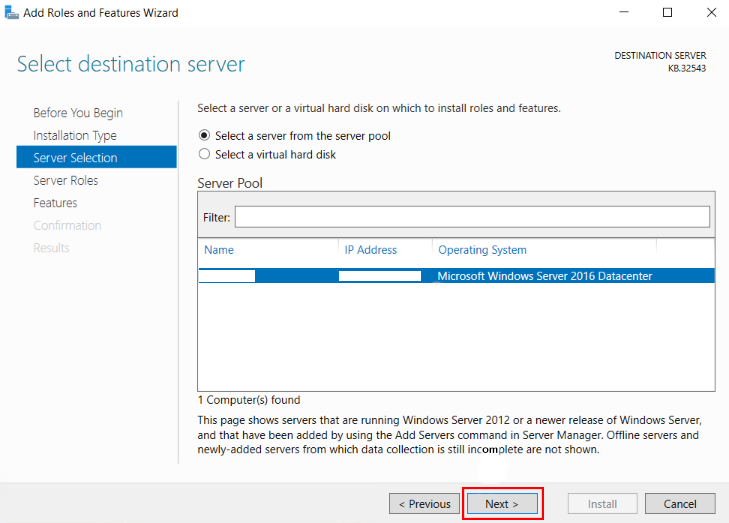
In the next step, select your destination server and click on Next.
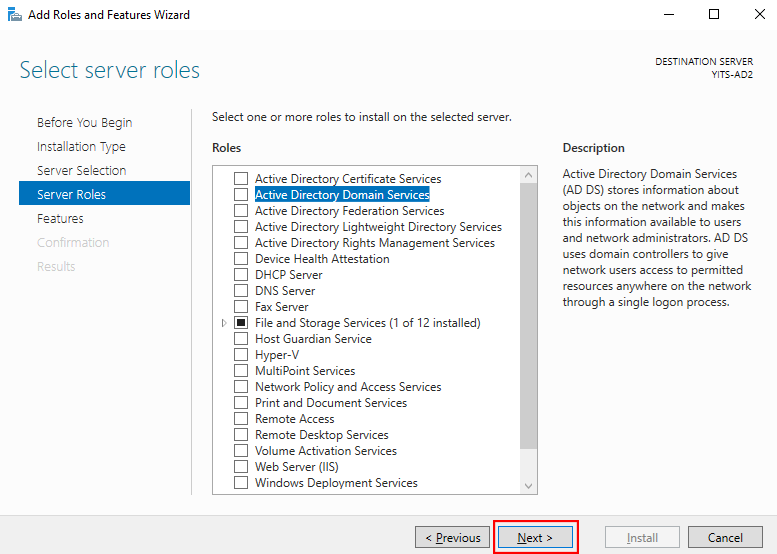
Now, it’s time to select roles to install on the selected server.
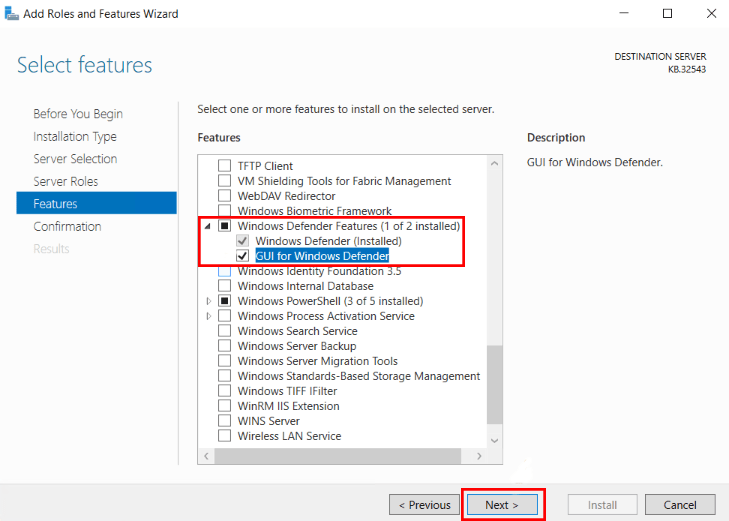
Next, you should choose Windows Defender Features and check out Windows Defender and GUI for Windows Defender box. Finally, click Next.
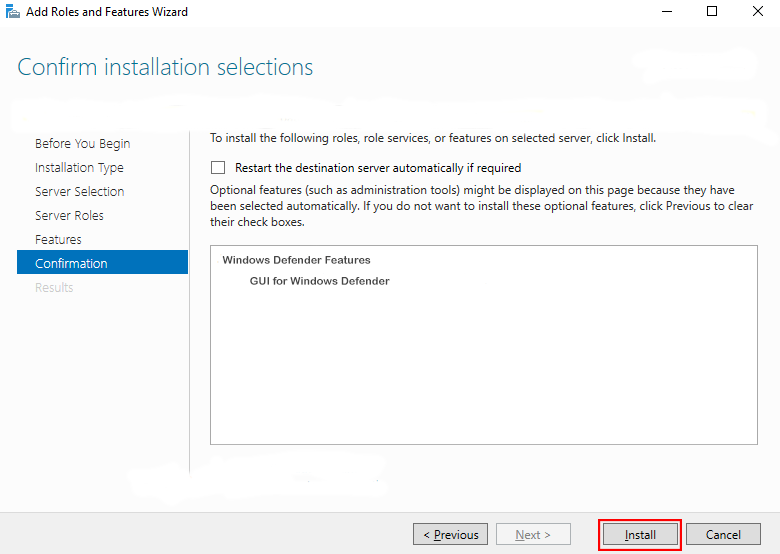
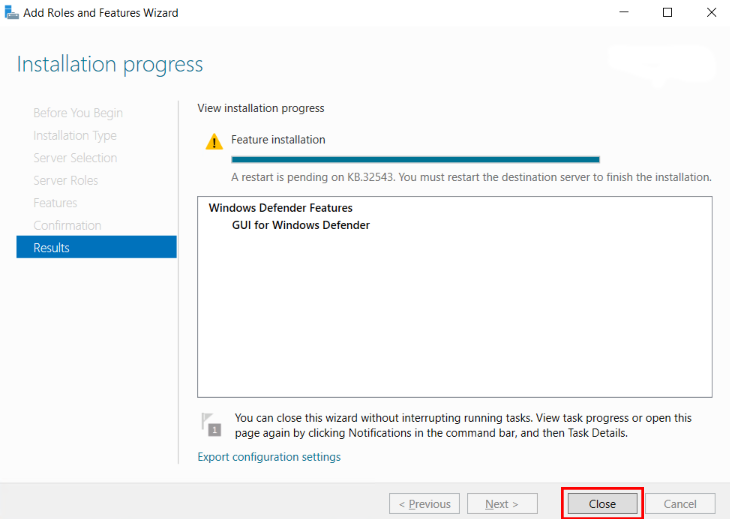
In this step, you need to install the role services or features on the selected server. To do this just click on Install.
Then wait a few moments for the installation to complete. Finally, click on Close.
Enabling Defender Antivirus using Powershell
First, you should open the Start menu and search for Powershell and right-click on it and choose Run as Administrator.
Then run the following command to enable Defender Antivirus:
Install-WindowsFeature -Name Windows-DefenderNow the installation will start. Wait a few minutes to finish it.
Finally, type the following:
exitThat’s it. The Defender Antivirus was enabled successfully.
How to Use Defender Antivirus on Windows server
The Windows default settings are decent, but we prefer to take the configuration to the next level and increase server security with manual configuration.
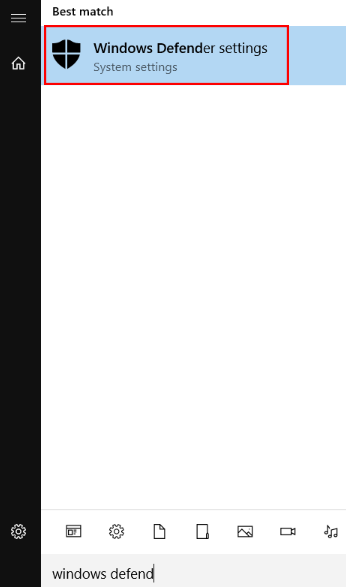
At first, you should open the Start menu and search for Windows Defender Settings and open.
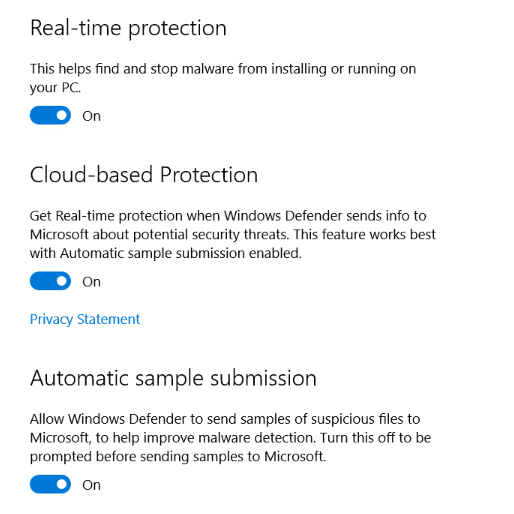
Windows real-time protection works in real-time and stops any malware activity that runs on the server. Enabling this option may cause you to use more hardware resources.
In cloud-based protection, if any malware activity is detected, its information is shared with Microsoft, and data collected from other servers helps Microsoft to stop or workaround these potential threats.
You can optionally enable or disable the Automatic Sample Selection option. Enabling this option will allow Windows to share suspicious files with Microsoft and scan them to reduce future attacks.
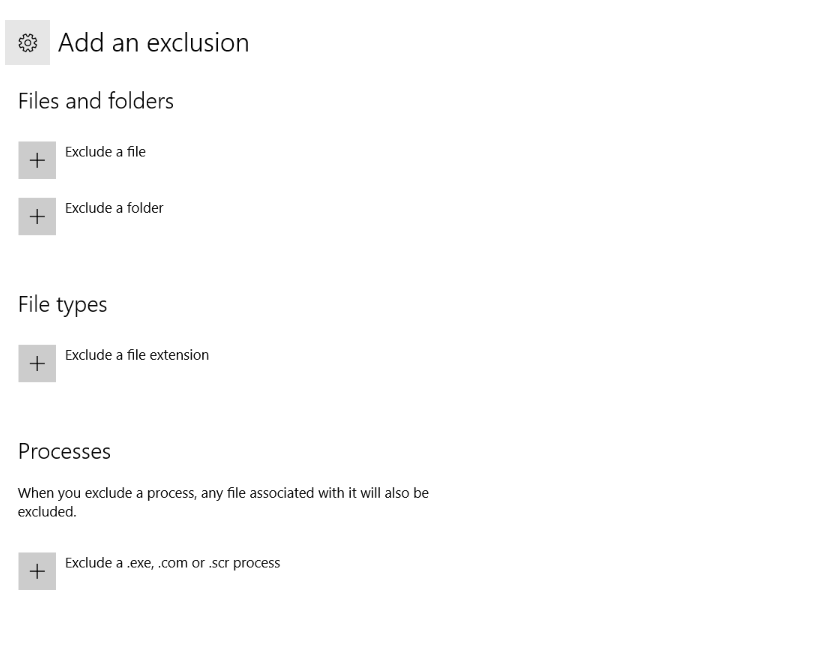
Windows Defender Settings have an option called Exclusions that can be used to delete any program, file, process, and file type from Windows Defender Antivirus Protection.
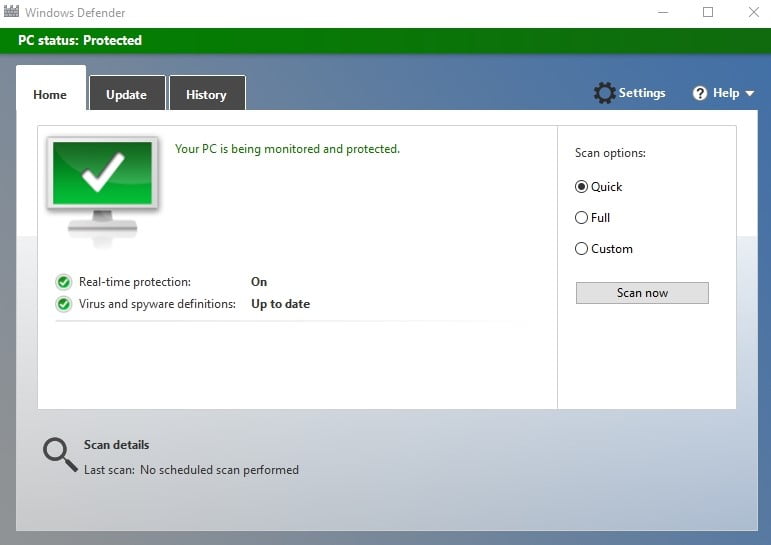
In the Home tab of Defender Antivirus Settings, you can schedule a scan and also customize it with the help of scan options. Scan options include:
- Quick: Scan the area which is infected with malware, spyware and viruses
- Full: Scan all files on the system hard drive and running programs for any type of threat
- Custom: Check the specified location for infected files

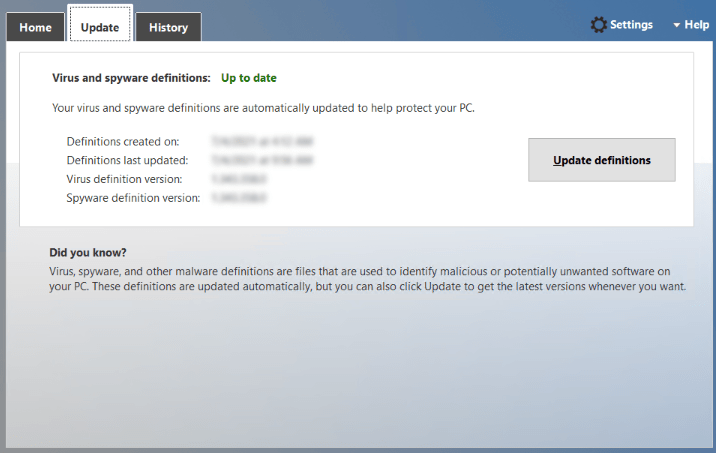
The Update tab of Defender Antivirus Settings provides all the latest updates and new update-related information, as well as regular updates on newly developed malware, and spyware. Remember to keep Windows Defender Antivirus up to date.
The History tab of Defender Antivirus Settings contains the following event history:
- Quarantine Items: Items that Windows prevents them from running but have not yet been removed.
- Allowed Items: Items that you authorized manually.
- All Detected Items: Items that are detected on the server.

Finally, click on Scan Now to start the scan.

That’s all!
Conclusion
In this article, we taught you how to enable and use Defender Antivirus on Windows Server. In some operating system settings, Windows Defender Antivirus is disabled. You can enable it with the help of this article. If you have questions, you can contact us in the Comments.