Tutorial Configure NTP Server in Windows Server 2019. It is important to have accurate timing on all clients and servers. If time is not accurate on computers, serious network problems will occur. Fortunately, Windows has taken this into account. The service Network Time Protocol (NTP) has been around since Windows XP and Windows Server 2003. Also, most Unix and Linux versions of the NTP service supported the first version.
In this article, we will teach you how to configure the NTP server in windows server 2019.
You can Choose your perfect Windows VPS Server Packages from eldernode.
A) Open the Registry Editor
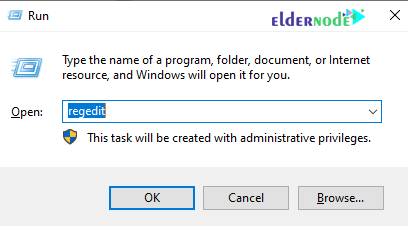
1. Click on the start menu and search for the Run.
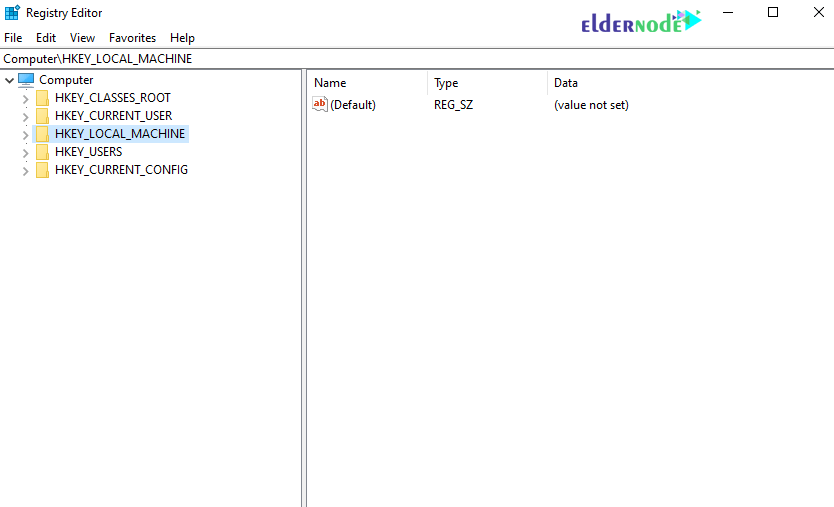
2. Type Regedit and hit Enter. A window will open as shown below.
3. In the window that opens, select HKEY_LOCAL_MACHINE.
4. Follow the path below to reach the NtpServer option.
SYSTEM>CurrentControlSet>Services>W32Time>TimeProviders>NtpServer
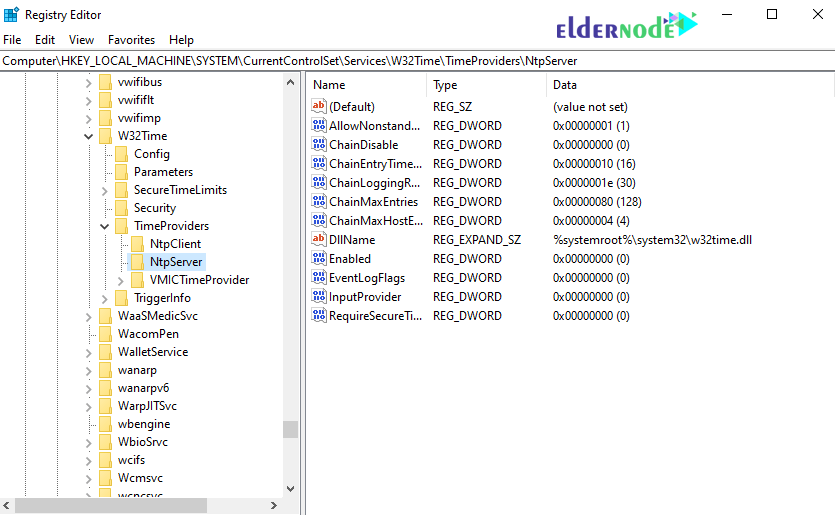
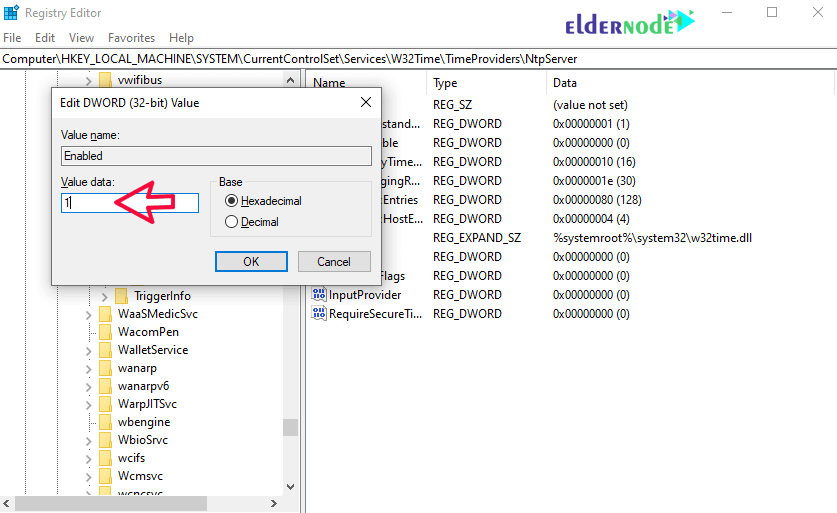
5. On the right page, double-click Enabled.
In the Value data section, change the value from 0 to 1 and click ok.
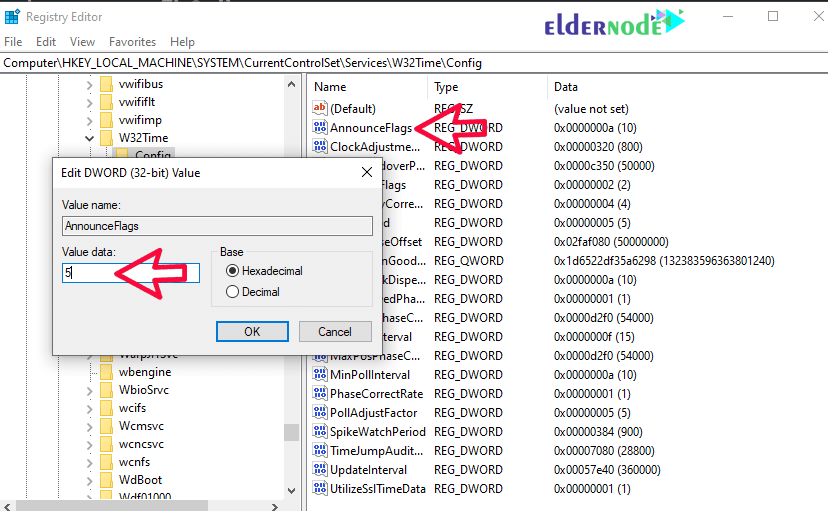
6. Continue the path below until you reach the config option.
Computer>HKEY_LOCAL_MACHINE>SYSTEM>CurrentControlSet>Services>W32Time>Config. From the page on the right, double-click AnnounceFlags and change its value to 5 and click ok.
The following options explain the information about AnnounceFlags:
0x00 Not a time server
0x01 Always time server
0x02 Automatic time server
0x04 Always reliable time server
0x08 Automatic reliable time server
default value for domain members and stand-alone clients and servers is 10.
B) Restart NTPServer
1. Open the Services by searching in start menu or hitting on the windows key.
2. In the window that opens, select the windows time option. Then right-click on it and select Restart.

C) Open UDP port 123 in Firewall
You can follow the Learn how to open a port on a Windows firewall.
Note that this port is UDP and not TCP.
Dear user, we hope you would enjoy this tutorial, you can ask questions about this training in the comments section, or to solve other problems in the field of Eldernode training, refer to the Ask page section and raise your problem in it as soon as possible. Make time for other users and experts to answer your questions.
Goodluck.