All in One SEO for WordPress is the original WordPress SEO plugin and the most comprehensive WordPress SEO plugin and toolkit. To improve your website’s SEO rankings, you should not be an SEO expert or hire one. AIOSEO is known as the most beginner-friendly WordPress SEO plugin that is s both easy and powerful. It is not difficult to say that AIOSEO is the best WordPress SEO plugin in the world. Join us with this article to review the Tutorial Configure All in One SEO Plugin For Seo WordPress. Various monthly and yearly Hosting plans are available on Eldernode. Order your own VPS and stay with us.
Table of Contents
Configure All in One SEO Plugin For Seo WordPress
While WordPress is optimized for SEO by default, you are recommended to use many other settings to improve your search engine optimization. Since 2007, the All in ONE SEO Pack is downloaded more than 30 million times and is the most widely used WordPress Plugin for SEO. As its name explains, this is an all-in-one SEO solution. Previously, the All in one SEO plugin was completely introduced and you reviewed all its brilliant features. So, if you are eager to start using this most popular SEO plugin, proceed with this guide to learn How to Install and Configure it.
How to Setup All In One SEO Pack for WordPress
It is really easy to install and use the All in ONE SEO plugin. This guide will show you the process of installing and configuring this plugin in the simplest way. Let’s go through the required steps and review all its capabilities.
Step 1:
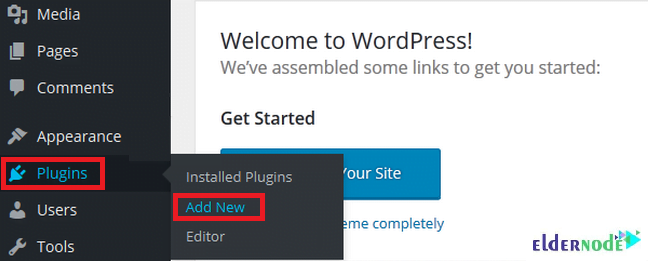
It is patently obvious that you need to install and activate the All in ONE SEO plugin. So, login into the admin dashboard of your WordPress website and navigate as shown below:
Plugins >> Add New option.
Step 2:
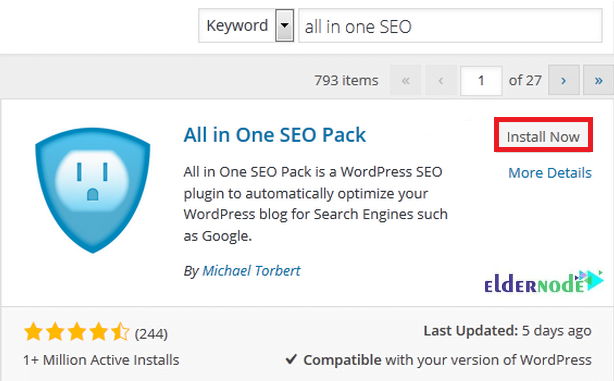
Once the search bar is opened, type ”all in one SEO” and click on the Install Now button to let the download start.
Step 3:
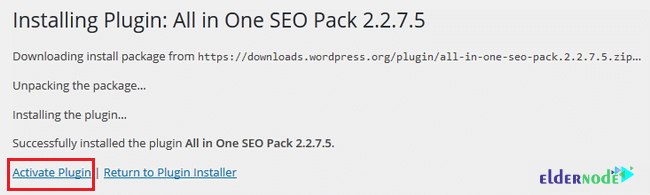
After a successful download and installation, click on the Activate Plugin link.
Step 4:
Once the plugin is installed and activated, you will find a new All in One SEO tab in the WordPress admin area sidebar menu.
How to Configure All in One SEO Plugin
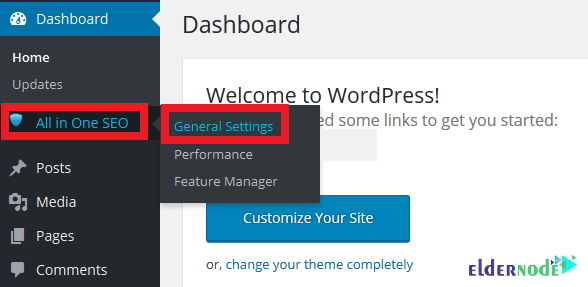
Now that you have added the All in One SEO plugin, you are ready to start configuring its setting.
So, simply click on the All in One SEO >> General Settings option as shown below:
How to Use All in One SEO Plugin
There are some important settings in the All in One SEO plugin that you can modify. In the following, we will review them to help you use this plugin:
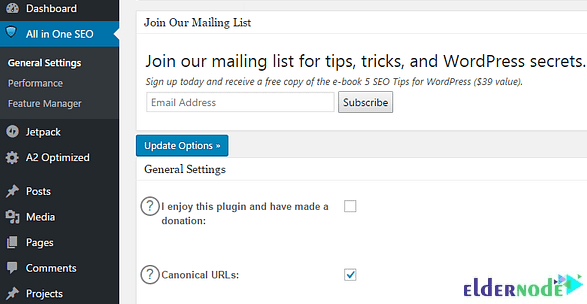
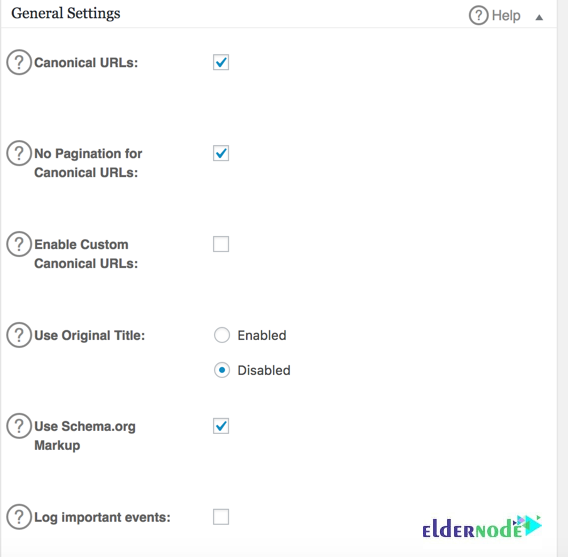
1- General Settings
Now, let’s see the definition of all the above options.
_ Canonical URLs:
To make sure your website is not being punished for any duplicate content or multiple URLs that lead to the same content, enable it.
_ No Pagination for Canonical URLs:
To remove any pagination for your canonical URLs, enable it.
_ Enable Custom Canonical URLs:
To add a new field to the Edit post screen and set a custom canonical URL for the post, enable it.
_ Set Protocol for Canonical URLs:
As it is shown, you can select the protocol used for the canonical URLs. If you select the Auto option, it will use the protocol specified in the configuration file of your WordPress (wp-config.php)
_ Use Original Title:
You can enabler this option if you are experiencing issues with your theme or other plugins interfering with the All in One SEO plugin’s title tags writing.
_ Use Schema.org Markup:
This Markup provides search engines with the information needed to display rich snippets.
_ Log important events:
If you have to debug, enable it to write a log of any plugin events.
2- Home Page Settings
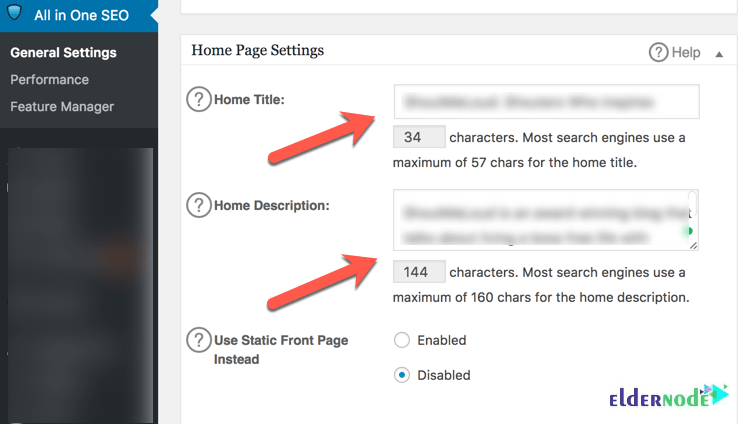
As you see above, you need to add few details in the home page settings. Let’s see more details about it.
_ Home Title:
When your homepage is opened, this title will appear on the top of the browser tab. This is the SEO Meta Title for the home page. The recommended length is up to 60 characters.
_ Home Description:
This is the description that will be displayed in search results. In 160 characters, write what your blog is about. Make it meaningful, informative, and keyword-rich.
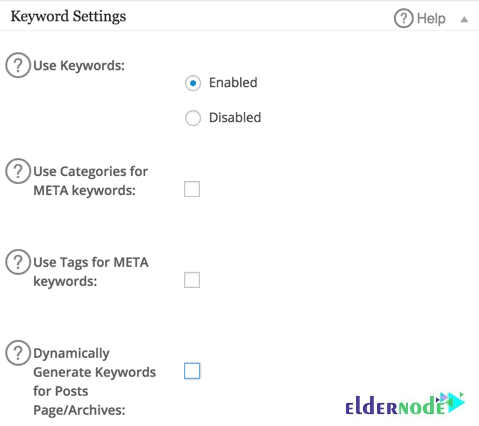
_ Home Keywords (comma separated):
Also, you see the Keyword settings option. Since Meta Keywords are not anymore taken as search engine ranking factors, you can checkmark the disable box and move on to Title settings.
3- Title Settings
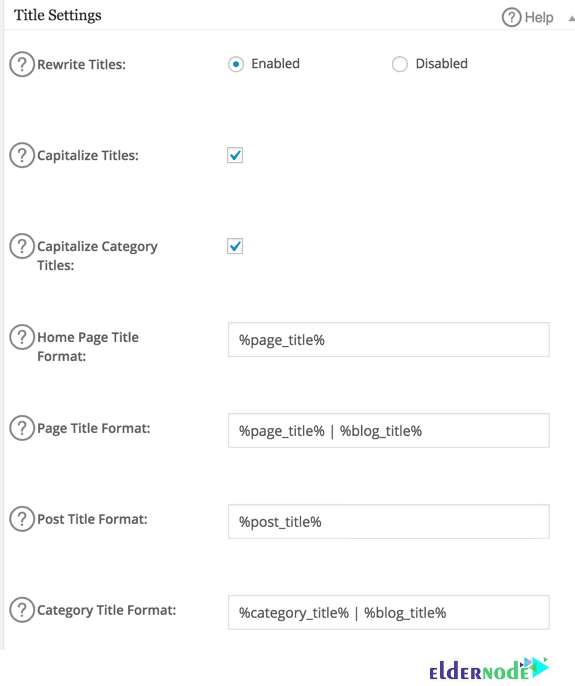
You can copy the settings as shown in the above image. Review each definition of options.
_ Rewrite Titles:
This option is enabling by default and lets you modify the titles for each type of content in the fields below.
_ Capitalize Titles:
By default, this option is enabling that capitalizes the first letter of each word of your titles.
_ Home Page Title Format:
This option allows you to change the format of your Page title and other titles below it, you will need to click on the ”?” icon for the supported formats and choose your desired one.
4- Custom Post Type Settings
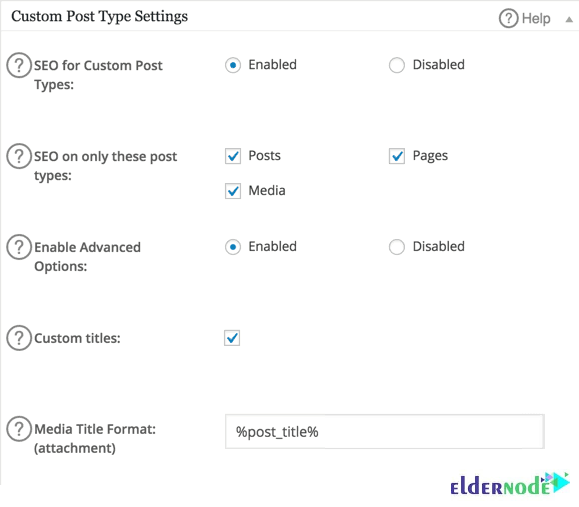
You can leave things as it is for custom post type settings. However, check for more explanations below:
_ SEO for Custom Post Types:
This option is enabling by default. So, it causes the All in One SEO to work with any custom post types you may have on your website.
_ SEO on only these post types:
To only select specific post types with which the plugin will work, check the corresponding boxes.
_Enable Advanced Options:
This option will add a new field to this section called Custom titles which you can check to manually configure the format for the title tags for each of your Custom Post.
5- Display Settings
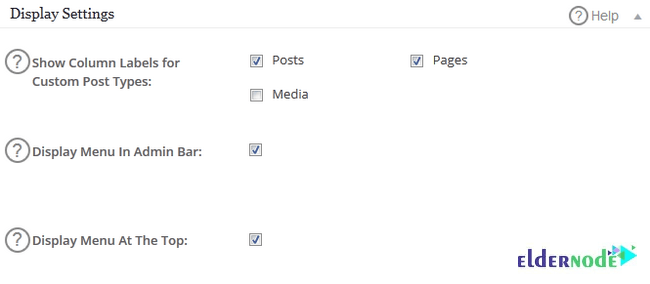
Also, for display settings, you can leave things as it is. Here is the function of each option.
_ Show Column Labels for Custom Post Types:
To change the custom post types for which you can see the Metadata you have added, check the appropriate boxes.
_ Display Menu in Admin Bar:
If you prefer to see a button to the plugin on your admin panel in WordPress called SEO, enable it.
_ Display Menu at the top:
If you want to display the plugin button in the top navigation menu of your dashboard, check this box.
6- Noindex Settings
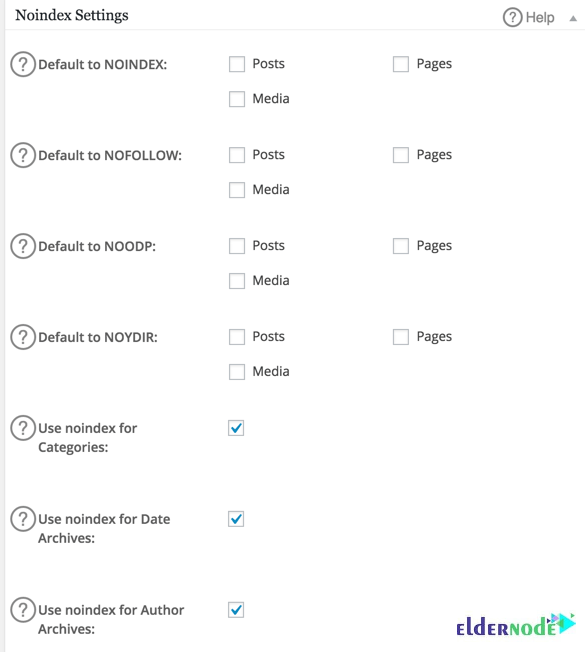
The Noindex settings are very important and useful. You can use this to restrict search engines from indexing content or following links on your website that lead to other websites. In this way, your archive pages will not index in Google.
_ NOODP option:
If you wish search engines to not use titles and descriptions about your site from the Open Directory Project, check the appropriate boxes.
_ NOYDIR option:
If you want to do the same thing regarding the Yahoo Directory, use this option.
7- Advanced Settings
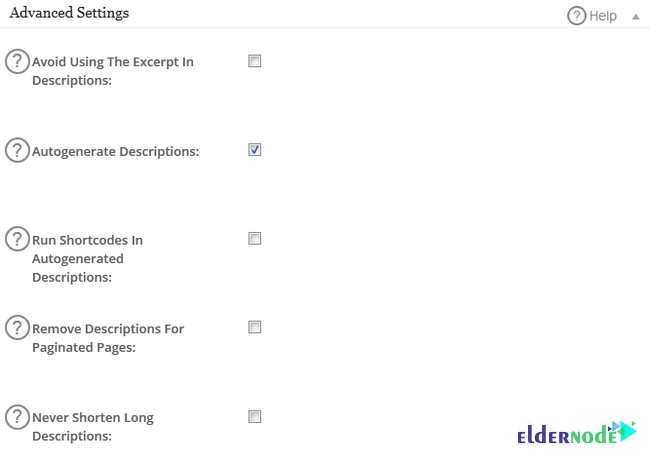
Uncheck the option of ”Auto-generate descriptions” under the Advanced settings. Because it is a good idea to write a meta description of your own in a way, which can yield better CTR.
_ Avoid Using the Excerpt in Descriptions:
To prevent the All in One SEO plugin to use the excerpt for generating descriptions, check this box.
_ Autogenerate Descriptions:
The plugin will autogenerate a description from your first paragraph. So, enable it if you write a good intro for your post.
_ Run Shortcodes in Autogenerated Descriptions:
If you have any shortcodes in the content that will use to generate a description and you wish them to run, enable this option.
_ Never Shorten Long Descriptions:
To have descriptions longer than 160 characters enable this option.
_ Exclude Pages:
If you want to exclude some pages from outputting meta information, you can list them here.
That’s that! You have successfully finished learning about the way you can use the All in One SEO plugin to better your website’s search engine results.
Conclusion
In this article, you learned Tutorial Configure All in One SEO Plugin For Seo WordPress. To write excellent content, you must consider three options in the single post settings: Meta title, Meta Description, and Keywords. To learn more in detail, refer to our related articles on WordPress tutorials. If you like this SEO plugin start using that on your website to optimize it to get maximum results from search engines. But if you prefer any other one, discuss it on Community to let us know about that.