How to install XAMPP on Windows 10. Xampp is a peripheral software that can run a local web server. The first version of this product was released by Apachefriends in 2002. After a while, it gained a lot of fans due to its easy use, and the company released the next versions more fully with more features. Today, xampp software has versions for Windows, Linux and MacOS. Xampp Server essentially sets up a complete web server environment in your Windows environment virtually.
You can Choose your perfect Windows VPS Server Packages from eldernode.
Follow us with xampp installation and setup tutorial.
Tutorial install XAMPP on Windows 10
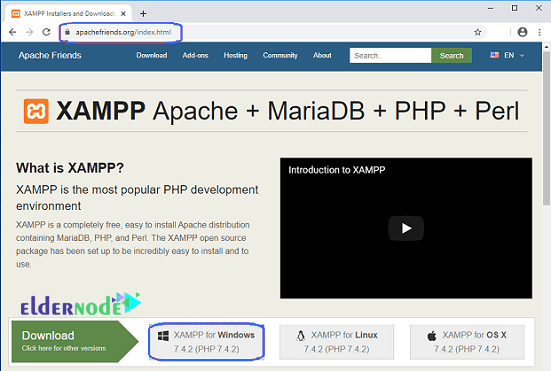
1. First, download the xampp software by the following link.
Download xampp software
As shown below, click on XAMPP for Windows to start the download.
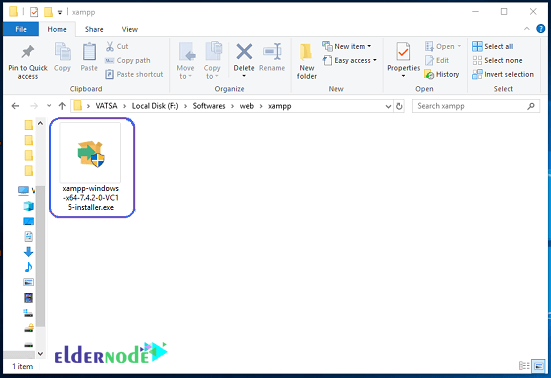
2. After completing the download, double-click on that file to begin the installation process.
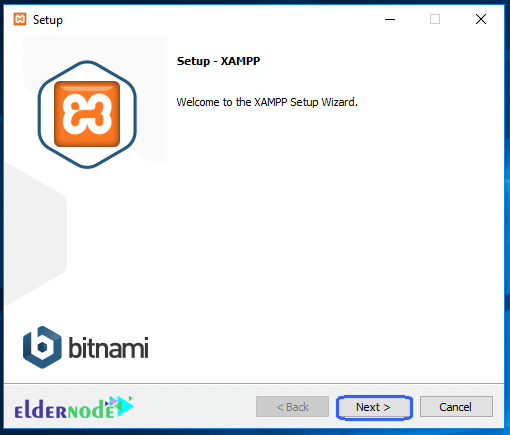
3. Click Next on the first page.
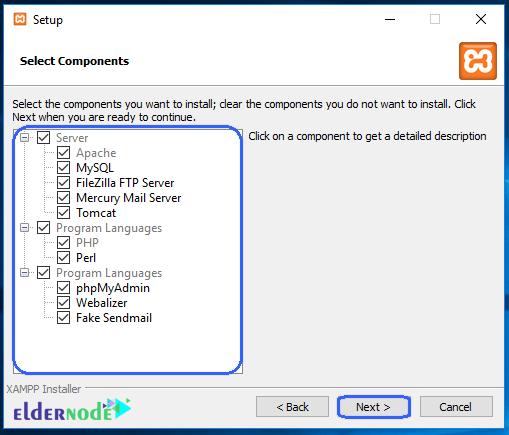
4. In this section, you can select the components you need to use. By default, all components are selected.
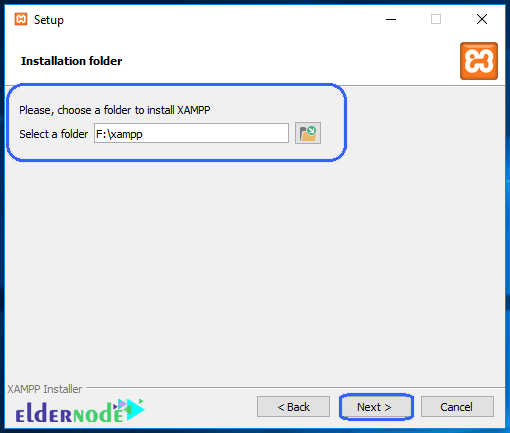
5. On the next page, you specify the installation path of xampp software. After selecting the desired path, click on Next.
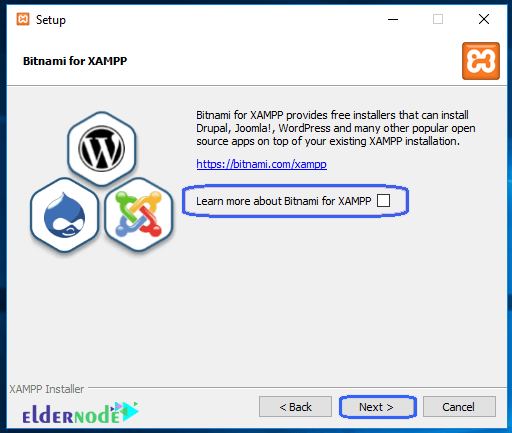
6. On the next page, you can click on the link to get acquainted with the bitnami library. Click Next.
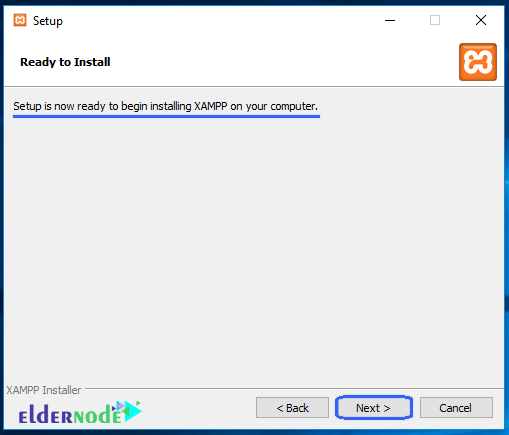
7. Xampp is now ready to install, if confirmed, click Next to start the installation process.
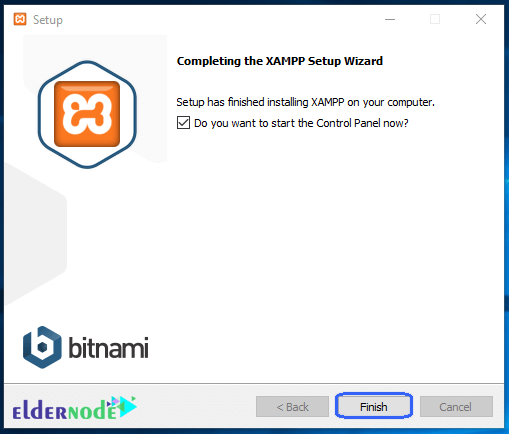
8. Wait for the software installation to complete.
Click on Finish to run the software.
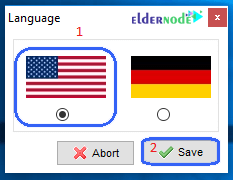
9. First select the language to run the program and click Save.
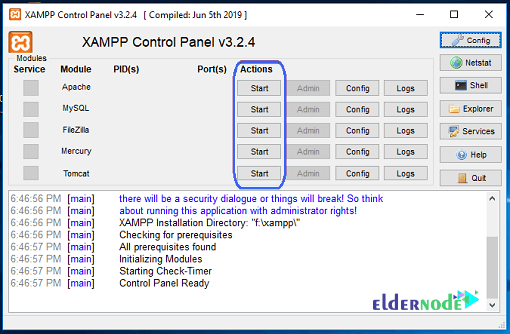
10. Start through the Run as administrator option. XAMPP Control Panel will appear on the screen. Click on Start action to start the Apache and MySQL modules.
Dear user, we hope you would enjoy this tutorial, you can ask questions about this training in the comments section, or to solve other problems in the field of Eldernode training, refer to the Ask page section and raise your problem in it as soon as possible. Make time for other users and experts to answer your questions.
Goodluck.

