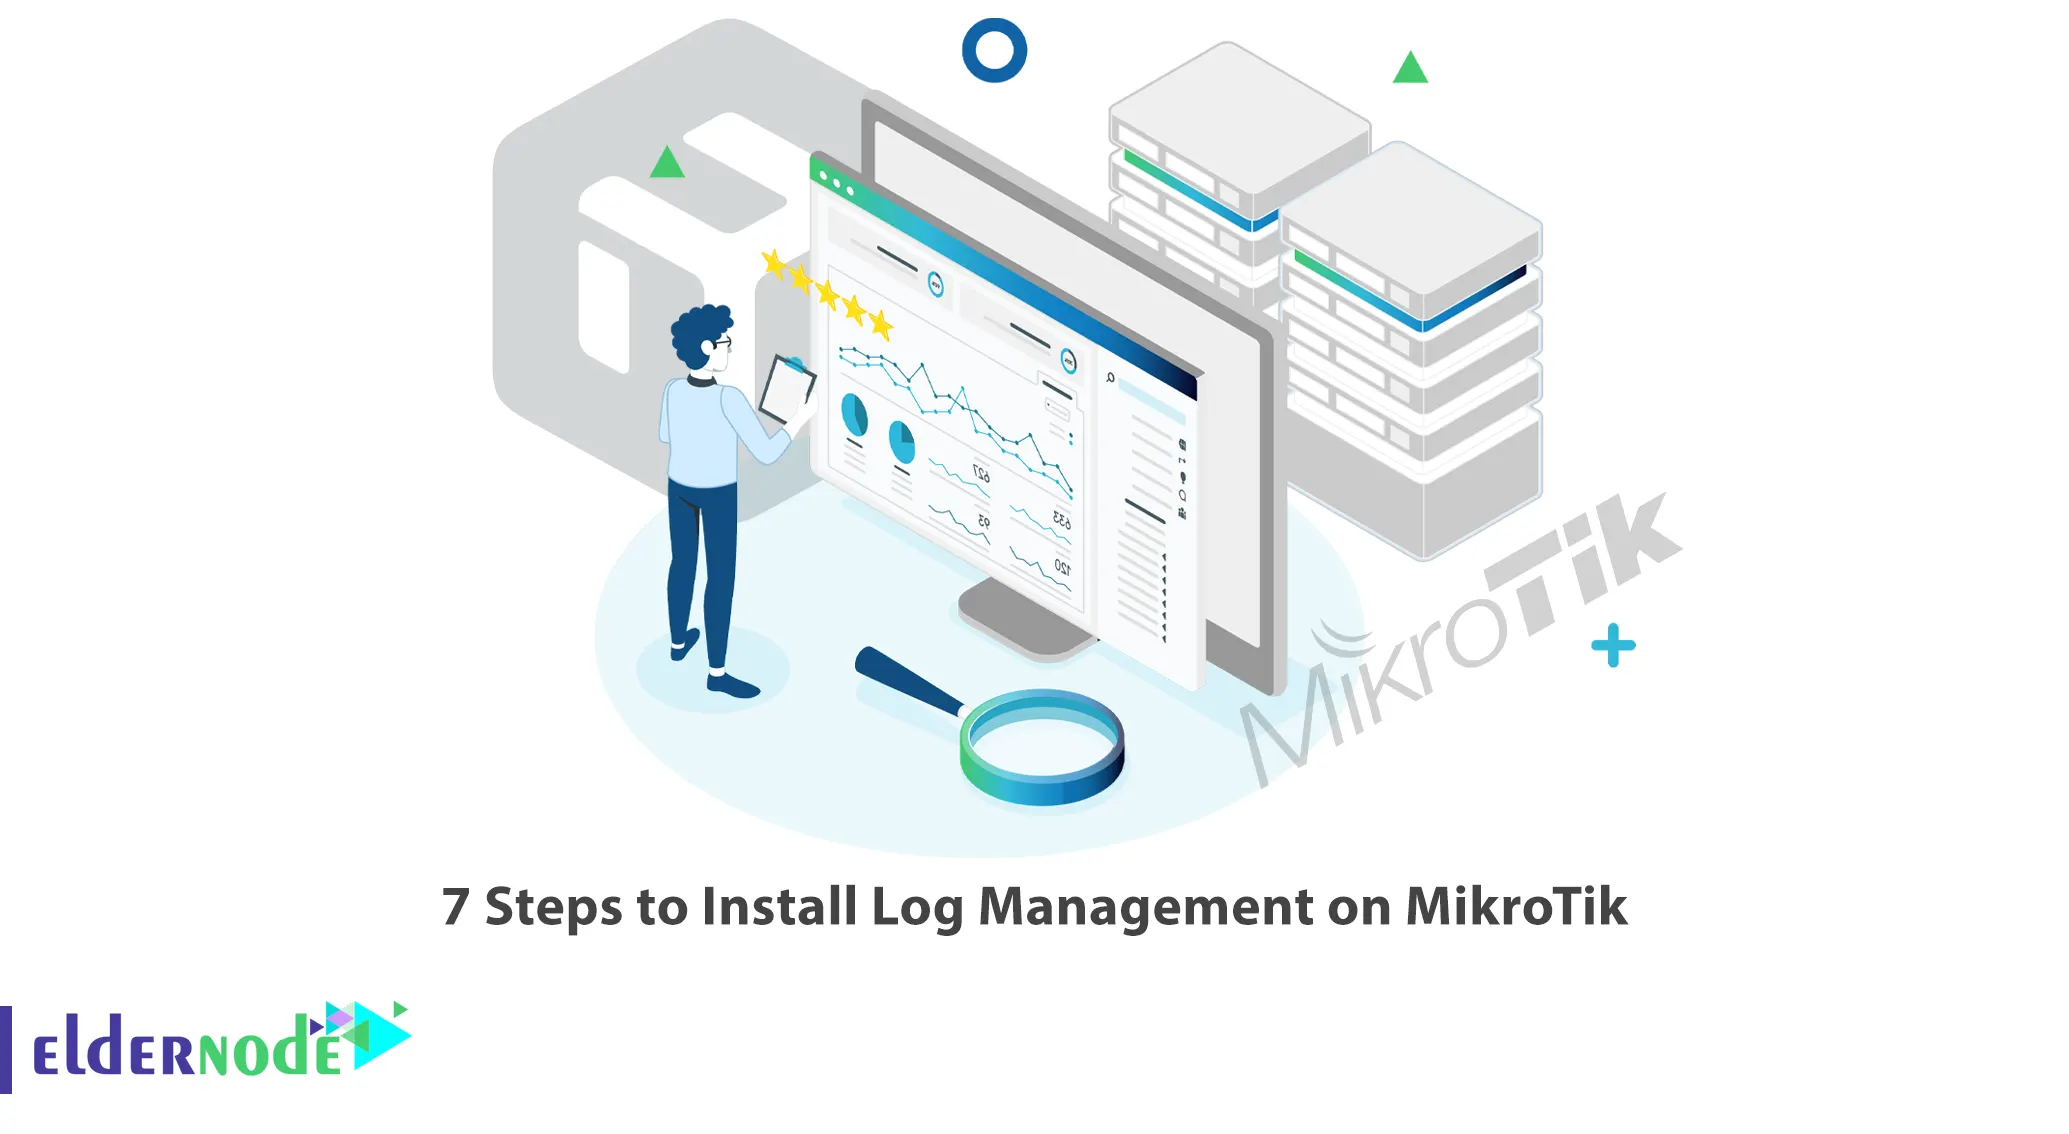
The data in the logs contain valuable information that can inform the technical team about the performance of the application and help them find problems. If Log Management is done efficiently, it can help professionals in an organization to monitor their programs and improve their performance. This tutorial will explain to you the 5 Steps to Install Log Management on MikroTik. If you intend to buy a MikroTik VPS, you can visit the plans provided on the Eldernode website.
Table of Contents
How to Install Log Management on MikroTik
Log Management describes all the activities and processes used to generate, collect, centralize, parse, transmit, store, archive, and dispose of large amounts of computer-generated log data. You can use Log Management tools to manage all logs generated by programs, systems, networks, software, or users and are dealt with according to the needs and policies of the organization. It is a popular topic not only among system administrators but also among developers. The reason for this is that the use of logs is important for maintaining security, enhancing performance, or troubleshooting in many IT departments.

1- Download and Install the Log Management Software
The first step to installing Log Management on MikroTik is to choose the right Log Management software. Log Management software is a program for examining data generated by network devices to find security threats. Log data is generating by routers, switches, firewalls, IDS/IPS, servers, databases, and web servers. The Log Management tools analyze this data to find security threats. It is better to choose Log management software that has visual dashboards and is able to provide a lot of graphs.
2- Configure the Router’s Web Interface
If you search your router’s configuration pages, you will come across a variety of useful options. The wireless router has various useful options that can configured. Also, note that different routers have different options. Different options will also be in different places with different names.
3- Create an Account with the Log Management Service
One of the steps to install Log Management on Mikrotik is creating an account with the Log Management service. You will need an account created with the Log Management service for the installation process. You can connect to your log data with there’s of your application and infrastructure data using the Log Management service.
4- Upload Log Files
Log files are computer-generated data files that show whether resources are performing properly and optimally. It contains information about usage patterns, activities, and operations within an operating system, application, server, or device. In this step, you should upload your log files to your created account.
5- View Log Data
Log data is the process of collecting and storing data over a period of time in different systems or environments and understanding computer-generated records or logs. It allows businesses to comply with security policies, audits or regulations, understand system troubleshooting and also understand online user behavior.
Conclusion
Log Management is the process of collecting, storing, processing, combining, and analyzing data from different applications and programs. In this article, we explained 5 steps to install Log Management on MikroTik. I hope this tutorial was useful for you and helps you to install Log Management on MikroTik. You can contact us in the Comments section if you have any questions or suggestions.


