How to Install and Configure DNS Server on Windows Server 2019. A DNS Server is a server that receives a domain request from a client and displays the content of the IP address that the server administrator has assigned to its DNS Server to the requesting user client. The DNS server works like a phonebook, and when you select someone’s name from the contacts and call them, you select their name, but your phone dials its number and makes the call.
In the previous article, we taught you how to configure DNS on Windows Server 2016. In this article, we will teach you how to install and configure DNS Server in Windows Server 2019.
Windows VPS Hosting in Eldernode
1) How to Open Server Manager and Add Roles and Features
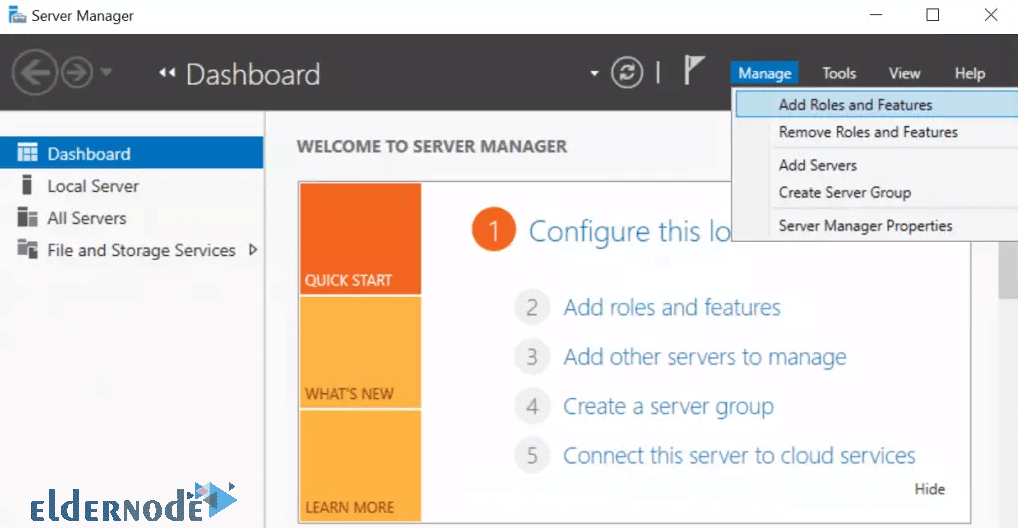
A- In the first step, press the Windows button and type Server manager from the Start menu and open it.
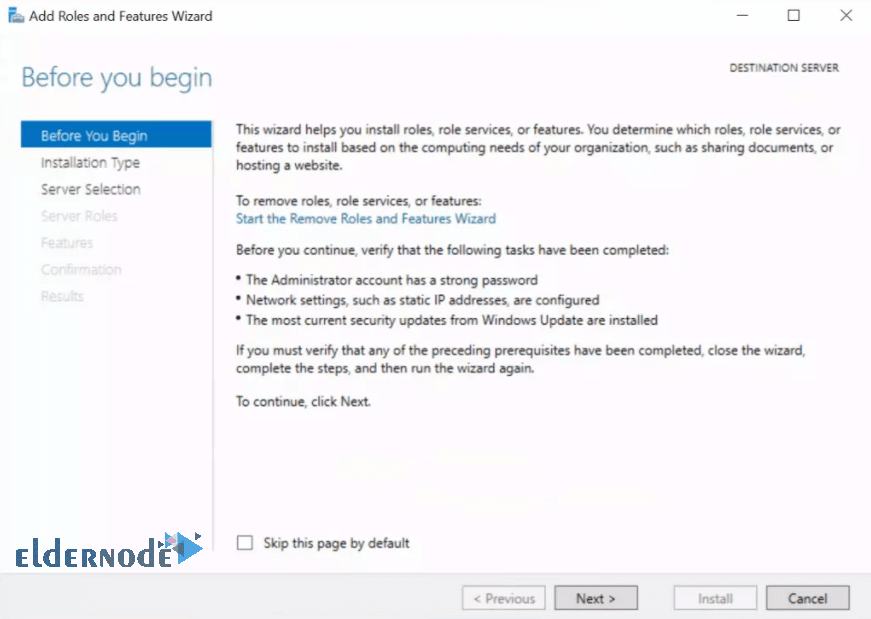
B- Click Next on the page that follows;
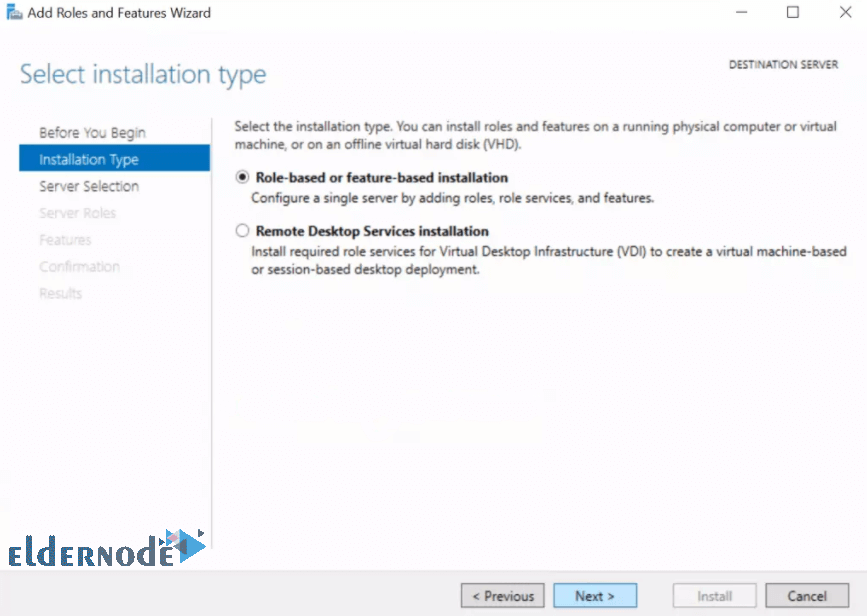
C- Select Role-based or feature-based installation.
D- Select Server to install DNS into and hit Next.
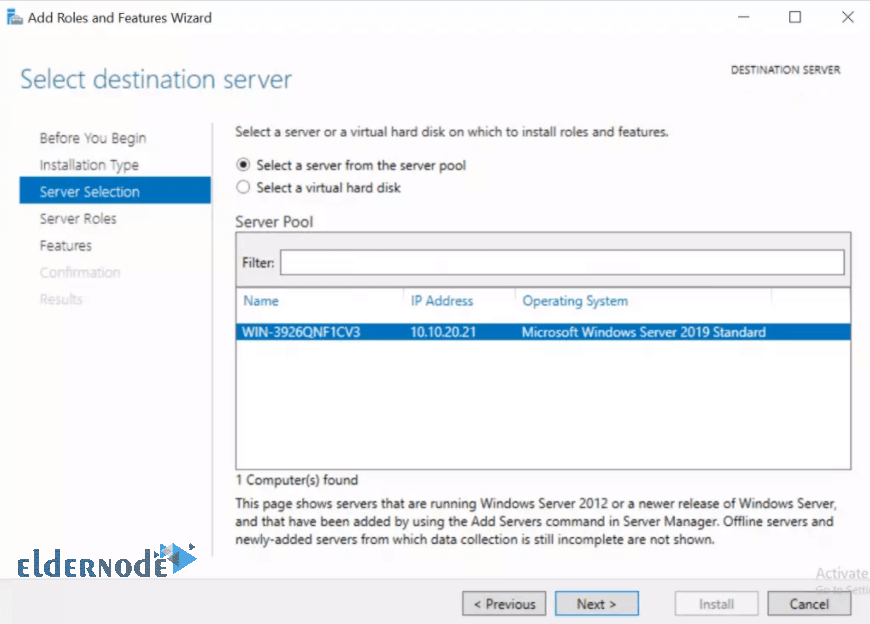
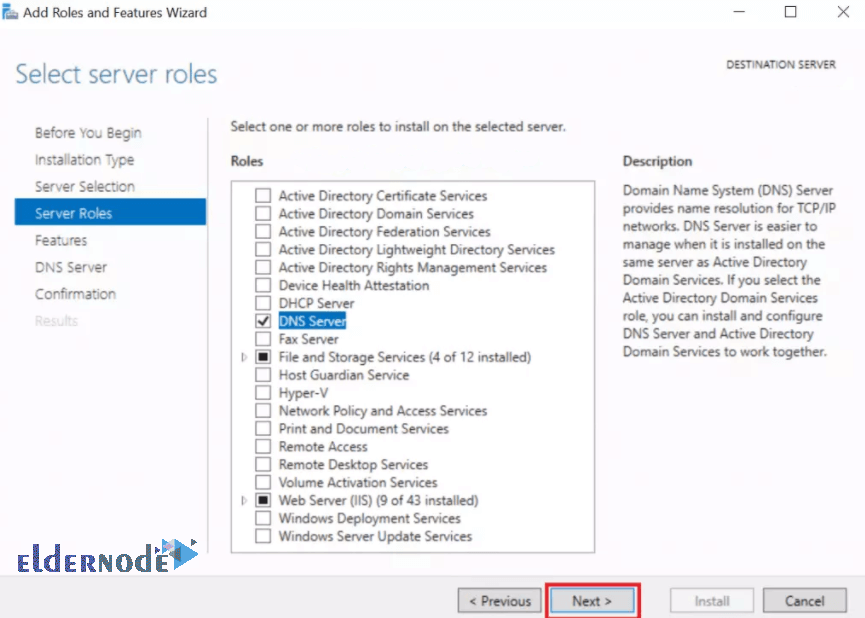
How to Select DNS Server and Add Features
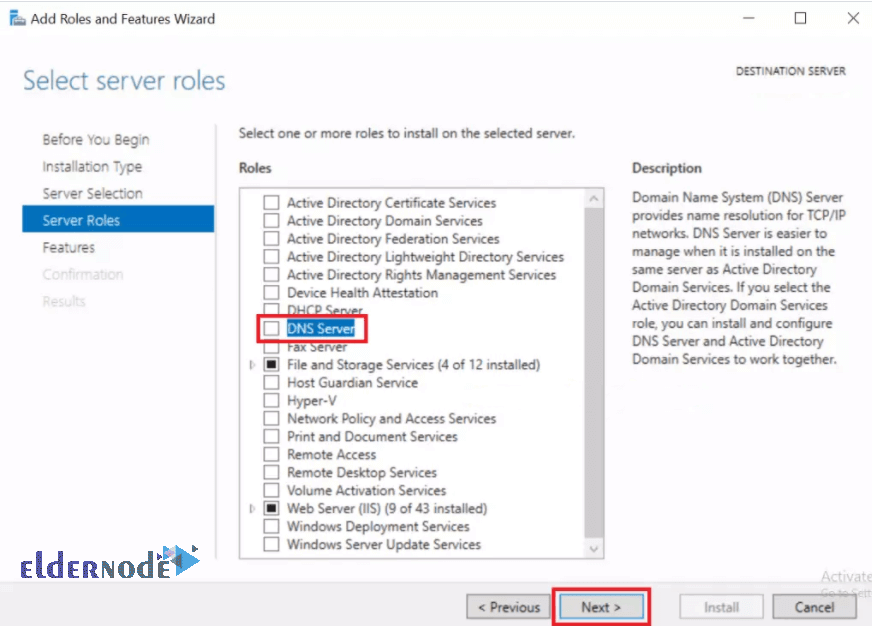
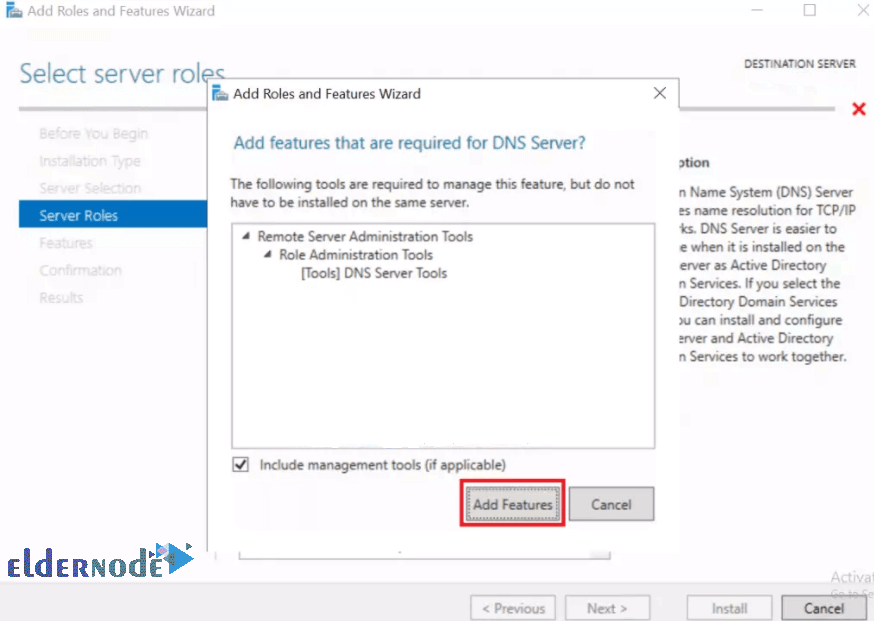
1- Click on Add features.
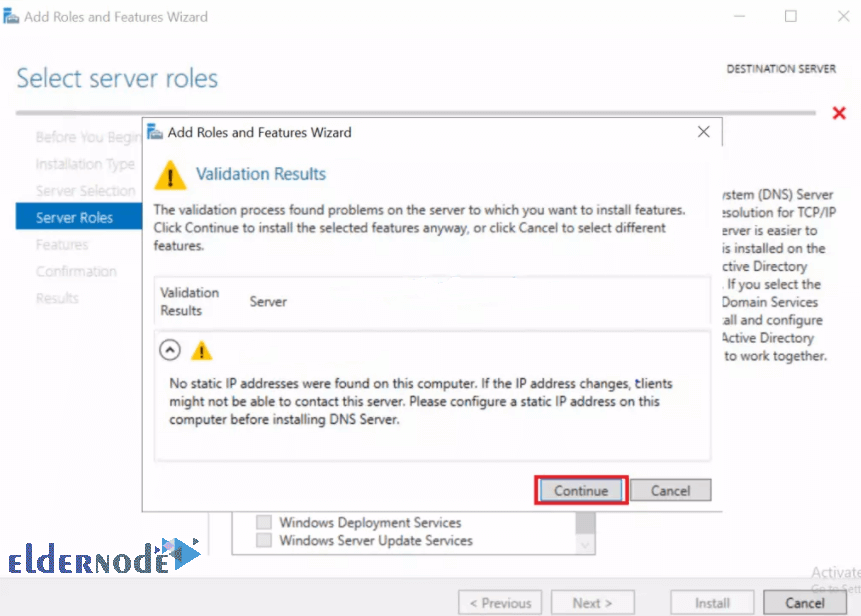
In case you did not configure a static IP before, you will receive a message as shown below.
2- Click continue.
Note: You will not get the message if your server had static IP configured.
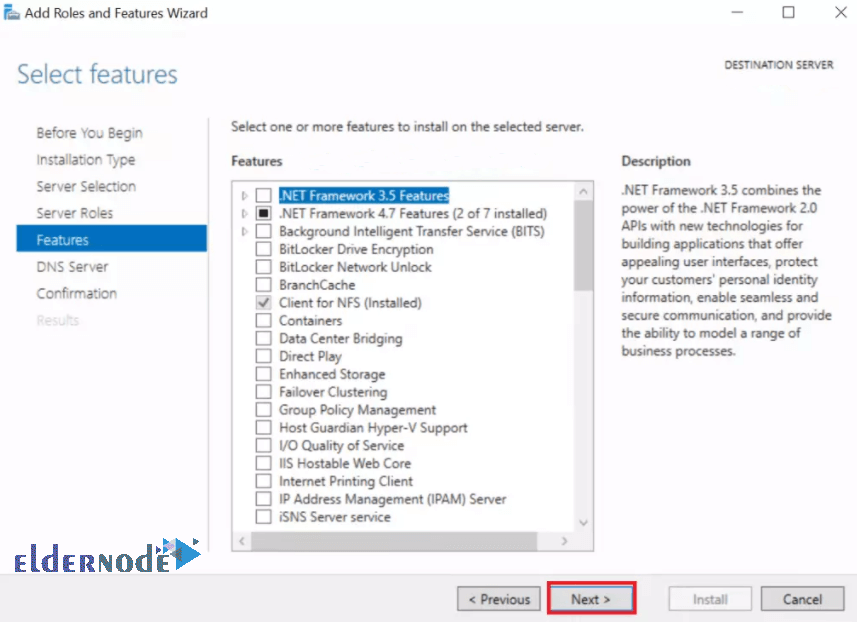
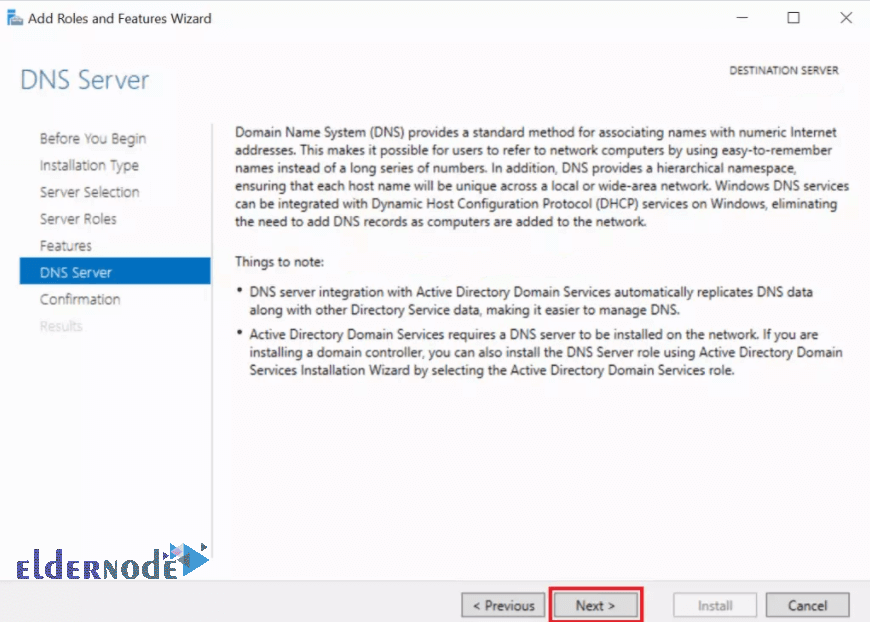
3- Click Next on the next three consecutive screens.
*
**
How to Confirm and Install
Confirm your selections then hit Install.
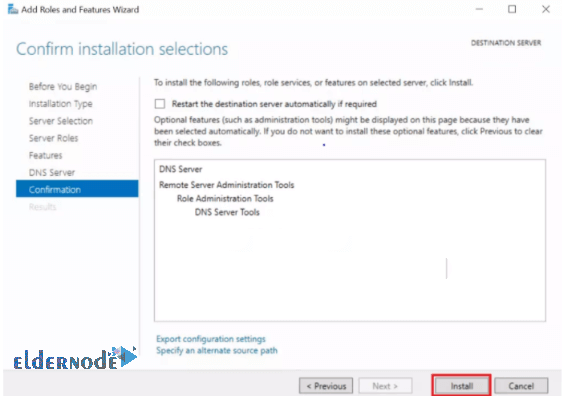
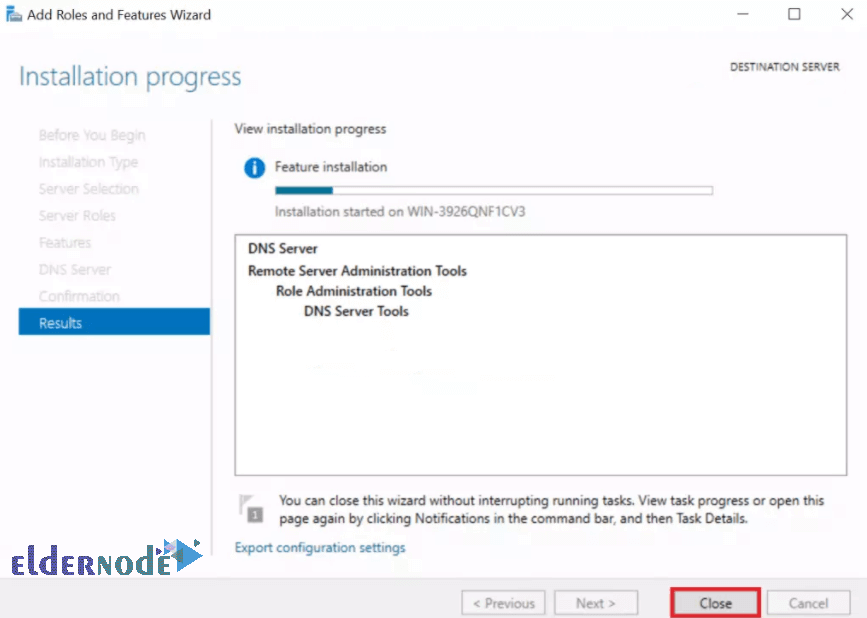
Wait for the Installation then hit Close.
Dear user, we hope you would enjoy this tutorial, you can ask questions about this training in the comments section, or to solve other problems in the field of Eldernode training, refer to the Ask page section and raise your problem in it as soon as possible. Make time for other users and experts to answer your questions.
Goodluck.


