Tutorial how to install IIS web server on the RDP admin 2016 windows server. In order to be able to expose your website to others, you definitely need a web server, and if you are using RDP admin, IIS is the best solution. IIS in RDP admin is very different from its previous versions and many features including security features have been added to it. Internet Information Services (IIS) is a service provided by Microsoft, and by launching this service, you can host your files or website on a Windows server. In this article, we intend to teach you how to install IIS web server on the RDP admin 2016. You can view and purchase various packages by visiting the RDP Admin page in Eldernode.
Microsoft has been able to compete with Apache, a powerful Linux web server, ahead of it in terms of speed and performance. With the introduction of several new features and capabilities to IIS, Microsoft has taken a big step towards the development of its web server, which we will mention three types of these features:
1. Modular structure: In previous versions of IIS either everything had to be installed together or nothing was installed. But in newer versions, you can only select and install the modules you need, and this can greatly increase system load and performance.
2. Management interface: IIS has a completely different management interface from previous versions, which makes it much easier to manage each website individually. You can easily configure any website without having to make changes to other websites. Also in this version you have the ability to edit all websites at once with one configuration text file.
3. Tasks shared with website owners: If your server hosts multiple websites, you can easily use the server delegation feature to divide tasks for programmers or webmasters.
Tutorial install IIS web server on the RDP admin 2016
First, connect to your server with the help of your access information and via remote desktop. After logging in via Remote Desktop, follow these steps to install IIS on 20 RDP admin 2016:
1. From the start menu, select Administrative Tools, and then click Server Manager.
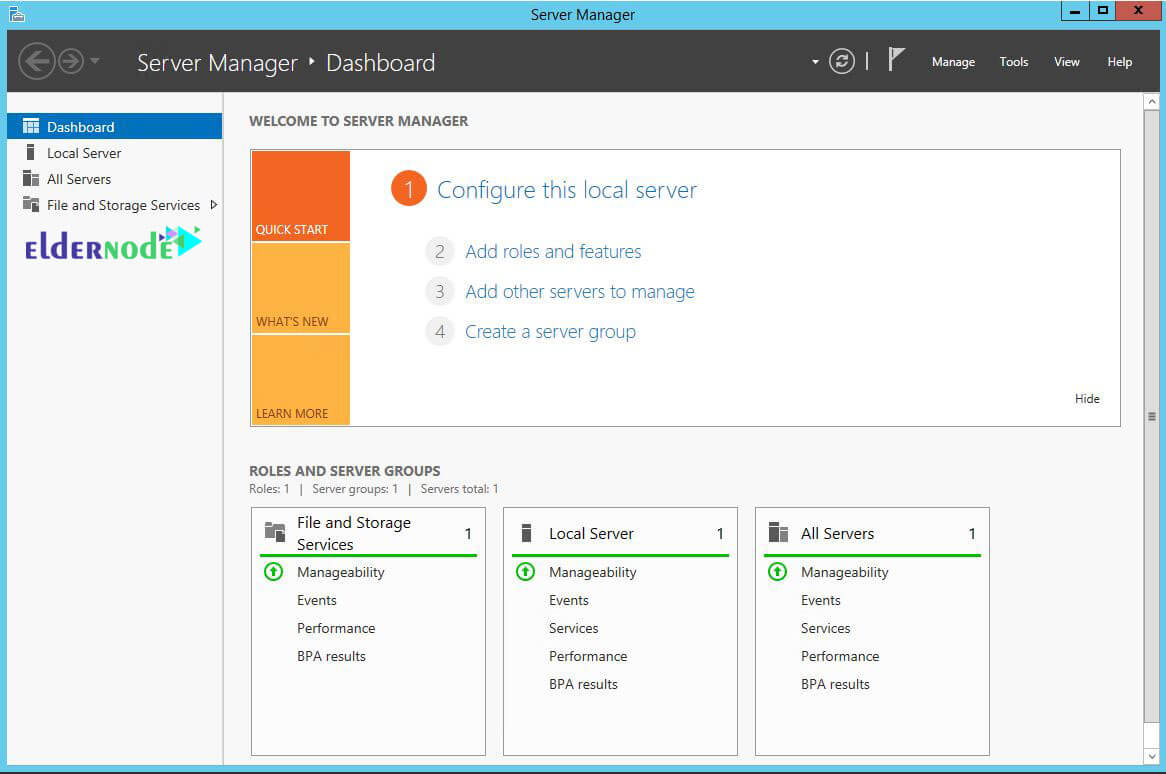
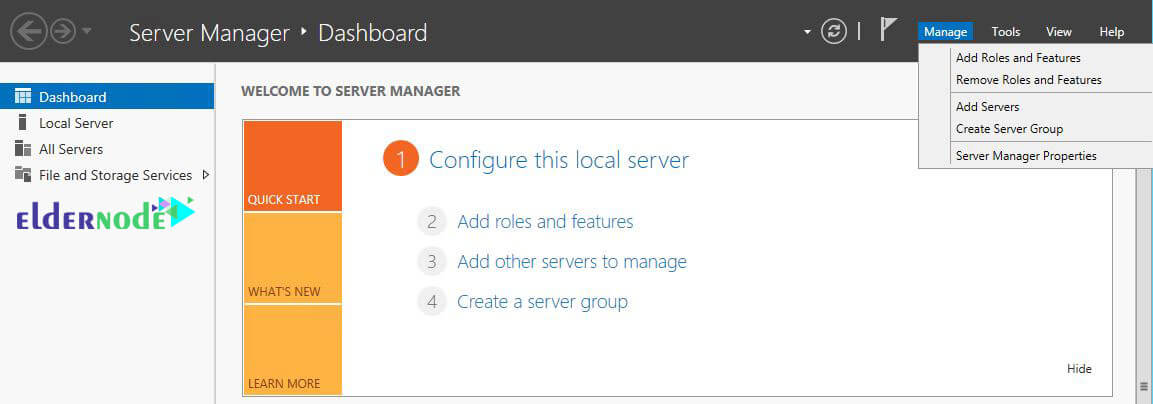
2. In the Server Manager and in the Dashboard section, click Add Roles and Features.
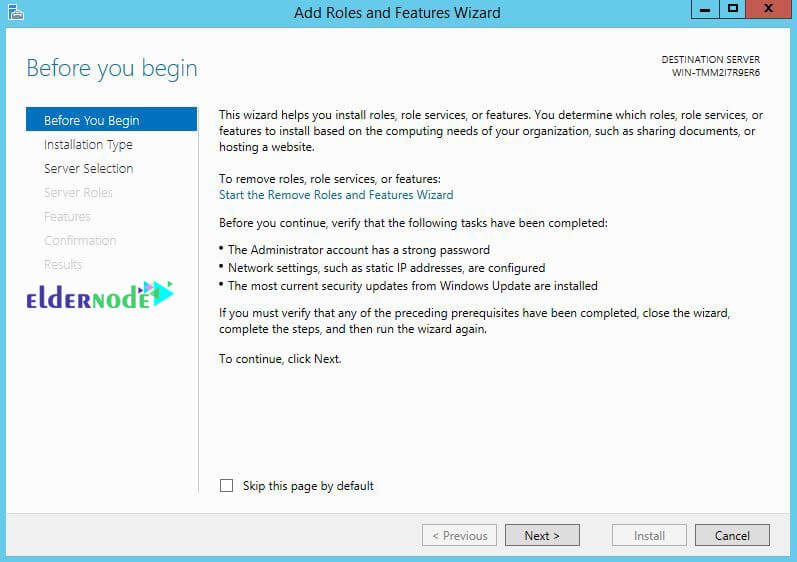
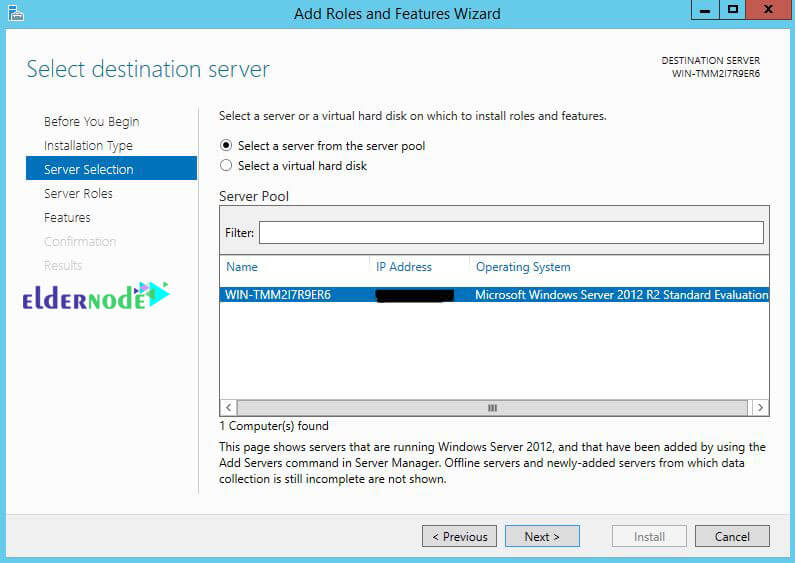
3. After clicking on the mentioned option, the following page will open for you. Select the next option.
4. In the next step, click next again without making any changes.
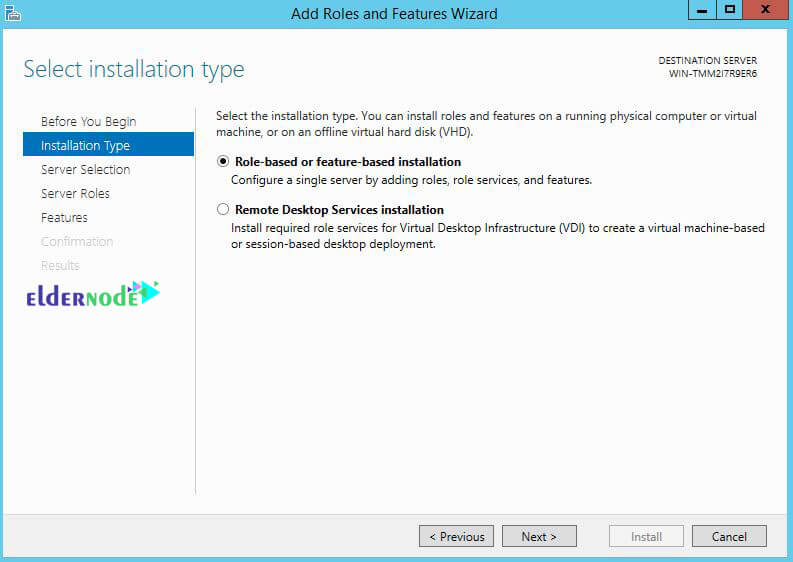
*
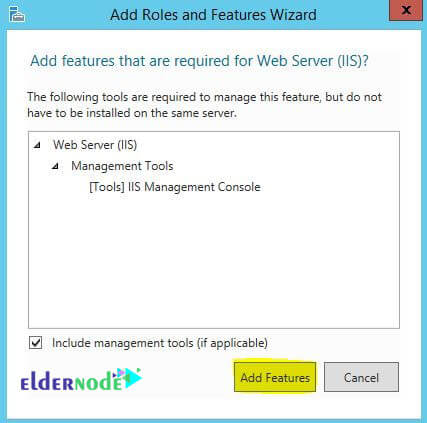
5. Check Web Server (IIS) and then click Next.

6. The following window will open for you, click on the add features option.
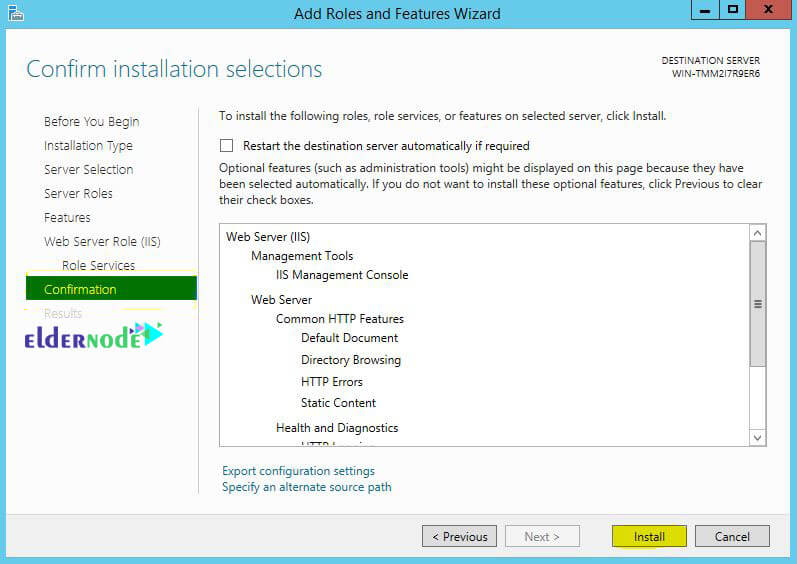
7. After displaying this window, which is the last step of installing IIS web server in RDP admin, click on install option.
8. Wait for the installation process to complete and then click close.
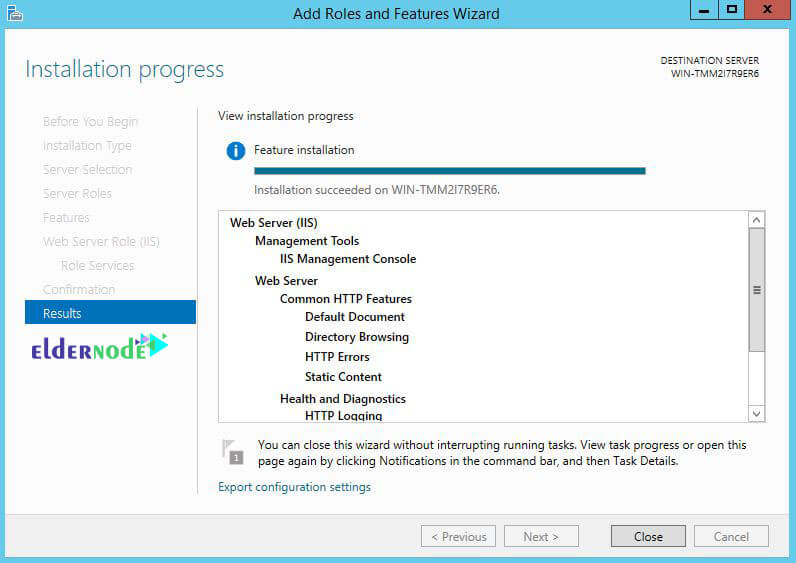
Congratulations, you have successfully installed iis web server in RDP admin 2016.
To use this service and host your files, you can refer to the drive C, then the inetpub folder, and finally the wwwroot folder via My computer or This PC, and place the files you want in this path.
From now on, by entering the IP of the server along with a / and file name, you can download the desired file from the server.
Example: http://myserverIP/filename.mp3
How to access the IIS section and install website
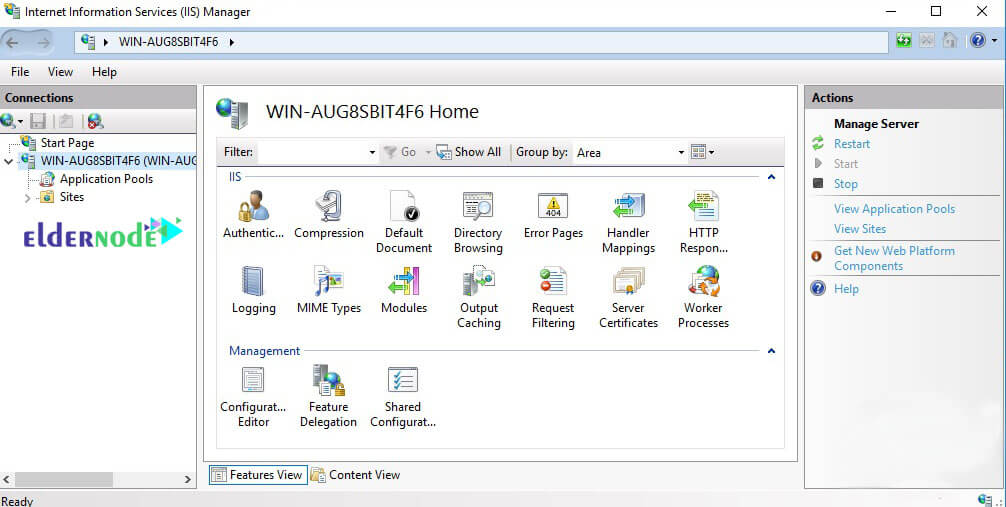
In the Server manager window, go to the Tools menu. Then click on Internet Information Services. You will see a screen similar to the following image:
Well, let’s go to the website installation:
1. From the start menu, go to the administrative tools section and the Internet Information Service (IIS) Manager section and click on it.
2. When the IIS admin console opens, open the web server section. Then open the sites folder. Right-click on the sites folder and click Add Web Site.
3. In the Add Website section, we have a series of basic settings for using a static website, which we see together:
– Site Name: The name of your website or your domain name, for example https://eldernode.com
– Physical Path: Specifies the physical path of files related to the website.
If this path has not been created yet, you can create it from the same console and put the files related to the website in it.
– Type: If your site uses SSL security system, this section should determine whether it has SSL or not.
– IP Address: From the drop-down list, specify the IP address you want for the website. If you are not sure, click All Unassigned to set the default settings.
– Domain Names: If you want your website to respond to other names, you can specify them.
Well, now your web server is ready to go and all you have to do is put the files related to your website in the section specified in the Physical Path and put the original file as index.html in it. You can easily access it using the assigned IP address or domain name.
Conclusion
IIS is a web service provider that is installed on Windows Server as a roll. For this reason, we tried to teach you how to install IIS web server on the RDP admin 2016 in this article.