In this article, we learn about set up the Wamp server on windows 10. Wamp server is a PHP and MySQL web server package distributed for Windows so that PHP programming language lovers can perform their tests locally on Windows. The function of WampServer is exactly the same as Xampp, and users choose one of them for ease of use.
In the previous articles, we discussed how to install Xampp on Windows 10 and explain its capabilities, and now in this article, we will teach you how to install Wampserver.
WampServer stands for Windows Apache MySQL PHP, designed and distributed by Romain Bourdon. A similar version of WampServer has been released for Mac systems called MAMP, which stands for Mac Apache MySQL PHP.
WampServer capabilities
1- Immediate execution
2- Support for the latest versions of PHP
3- Support for the latest version of Apache
4- Full support for MySQL
5- Being free
Prerequisite for installing WampServer
To install WampServer and run it properly, you need to have Visual C ++ library installed on your system.
To do this, download and install vrcedit from the link opposite. (Download Visual C++)
Then go to set up the Wamp server on windows 10.
set up Wamp server on windows 10
1- First download the WampServer file.
Download 32-bit version of WampServer
Download 64-bit version of WampServer
Note that WampServer has two versions, 32-bit and 64-bit, in which you must select the correct version for your operating system.
2- After downloading, double-click on the installation file to start the installation process.
3- In the first step, select the desired language.
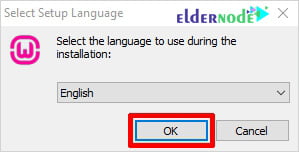
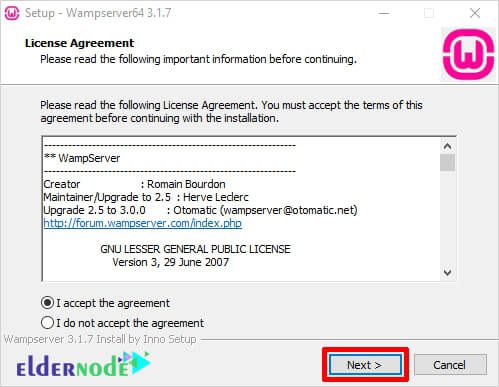
4- After checking the WampServer Agreement license, click Next.
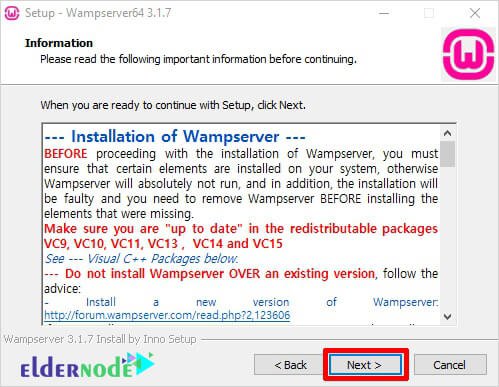
5- In this section, you will receive a message to install the Visual C ++ library, which you installed in the prerequisite installation step.
Click Next.
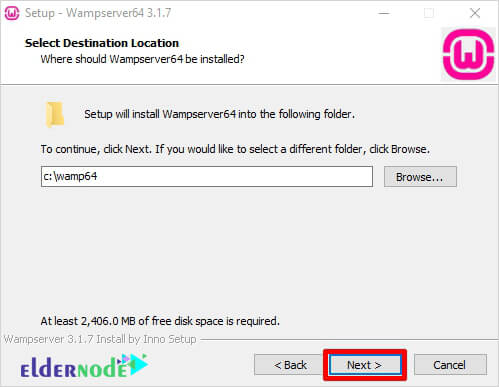
6- On this page, specify the installation path of WampServer.
7- In this section, specify the name of the folder that you will see in the start bar and click Next.
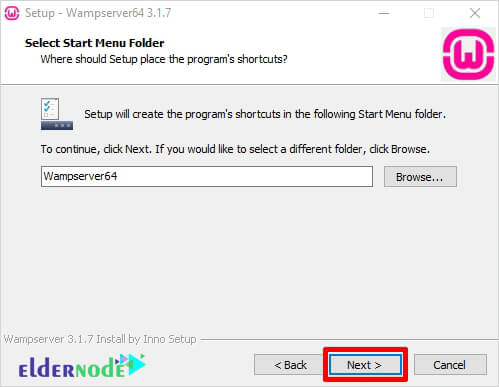
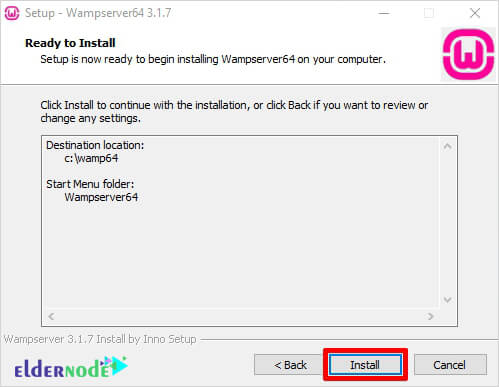
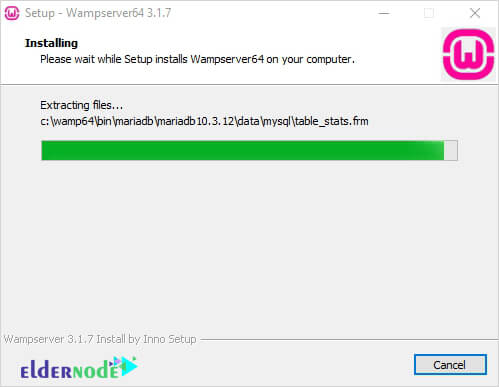
8- Finally, click Install to start installing WampServer.
*
**
***
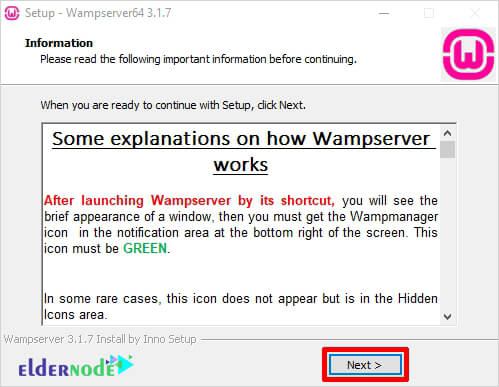
Finally, click on Finish to complete the installation of WampServer successfully.
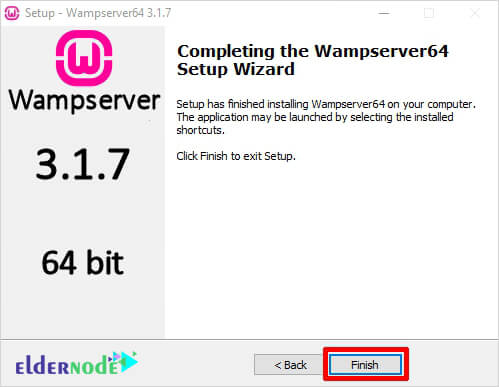
From now on you can have a PHP web server on your system with WampServer.
Keep in mind that by installing Wamp you can have a complete web server in Windows and use your personal web hosting. To launch this service, you can also Get a Windows virtual server and use it.
Dear user, we hope you would enjoy set up the Wamp server on windows 10, you can ask questions about this training in the comments section, or to solve other problems in the field of Eldernode training, refer to the Ask page section and raise your problem in it as soon as possible. Make time for other users and experts to answer your questions.
Goodluck.
