Photoshop is one of the most widely used and popular graphic software that many people work with on a daily basis. In fact, many of the images and graphic designs that we deal with every day are created by Photoshop software. The features of this software have caused Photoshop to be used for a variety of tasks such as retouching and photo editing, creating banners, business cards, and so on. In this article, we are going to teach you How to Setup Photoshop on Windows VPS.
Table of Contents
Tutorial Setup Photoshop on Windows VPS
Adobe Photoshop software is the most popular program for creating and modifying images and is also one of the valuable products of Adobe. That is why in this article we decide to introduce you to this software. In the continuation of this article, we will teach you to step by step how to install Photoshop on Windows VPS. Please join us.
Introduction Photoshop and its capabilities
To introduce Photoshop software, it is better to first provide a definition of what Photoshop does. Photoshop is a very powerful graphics processor that can make changes to images such as editing, retouching, and reconstruction. In addition, Photoshop can create new images or combine different images. This makes Photoshop training a must-have for many businesses.
Adobe is the owner and developer of this software. This software was created by the Knoll brothers in the late ’80s, but Photoshop was officially introduced in 1990 by Adobe. Over time, the software has been added to its applications and capabilities and has been able to greatly affect the art of photography and graphics during this period.
Important features of Photoshop include:
1. Select the subject with one click and improve this possibility
2. Delete photo background with one click
3. Quick layer editing
4. New Content-Aware Fill
5. New properties panel
6. New and important feature for smart objects
7. Tilda key “~” and interesting features with it
8. Quickly close documents that are not needed
9. Improve Shift performance
10. New and excellent warp
How to Install Photoshop on Windows VPS
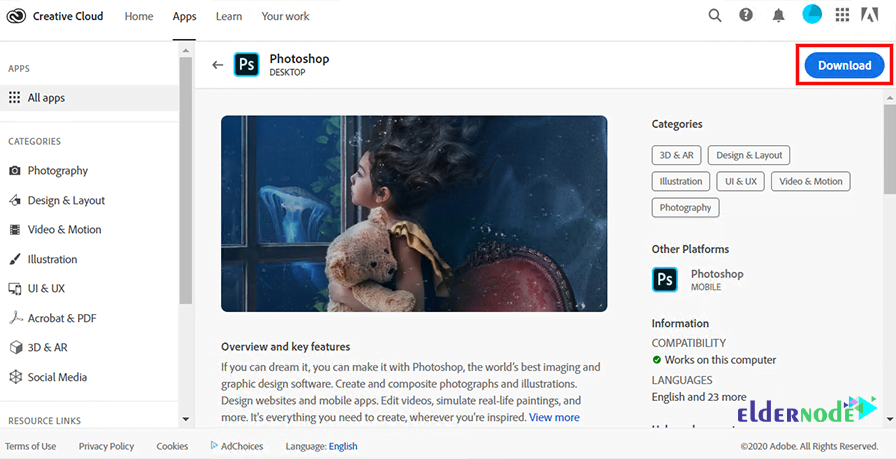
In this section, you will learn how to install Photoshop on a Windows server. To do this, just follow the steps below. First, you need to buy Photoshop from the Creative Cloud website section. Then click on Download as shown below. Note that you must be logged in to your Creative Cloud account to do this.
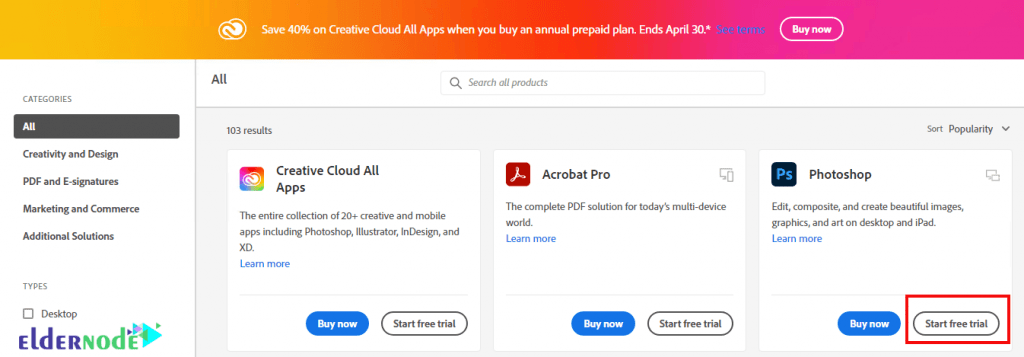
If you want to use the free version, you can refer to the Creative Cloud apps catalog page. Then click on Start Free Trial.
Now you need to go to the place where you downloaded the file. Double-click it to start the Photoshop installation process. In the window that opens, select the language you want and then click Continue.
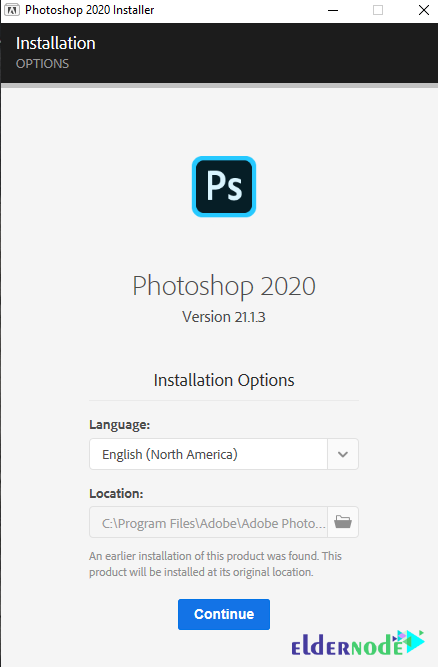
Note: Installing this software will take a few minutes, please wait.
Click Close after the installation of the program is complete.
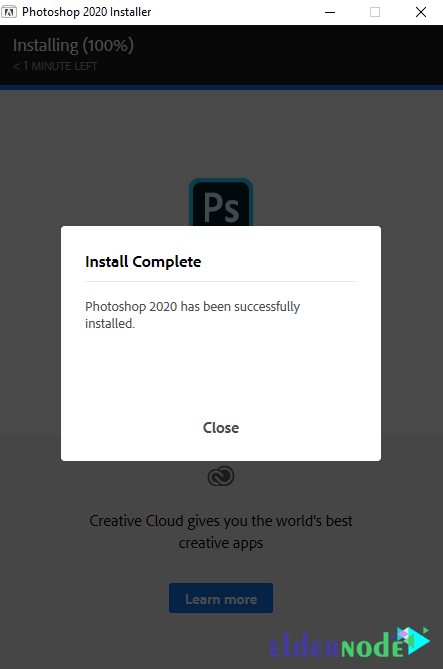
Setup Photoshop on Windows VPS
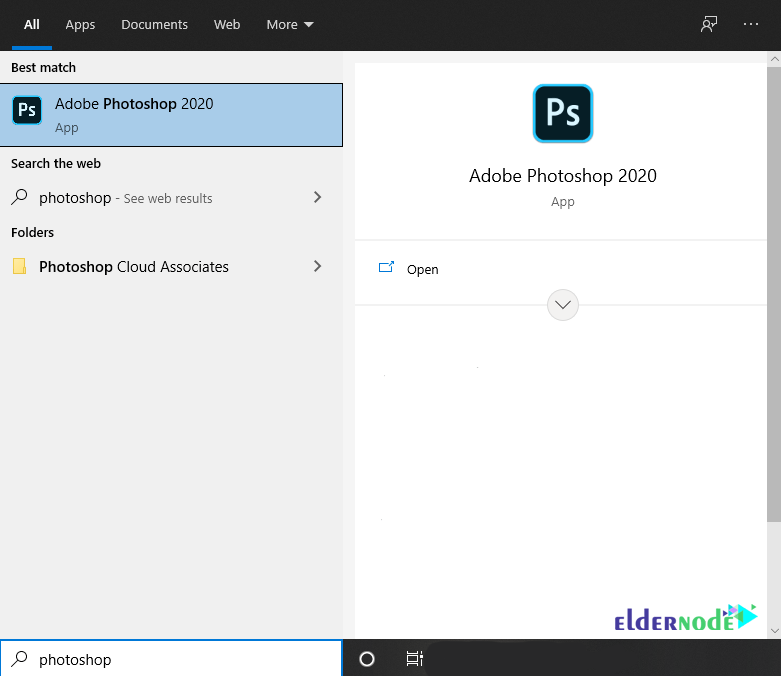
As you saw in the previous step, installing Photoshop is very easy. After you have successfully installed Photoshop, you can now type Photoshop in the Start menu to launch it. Then in the results displayed as shown below, click on it to run.
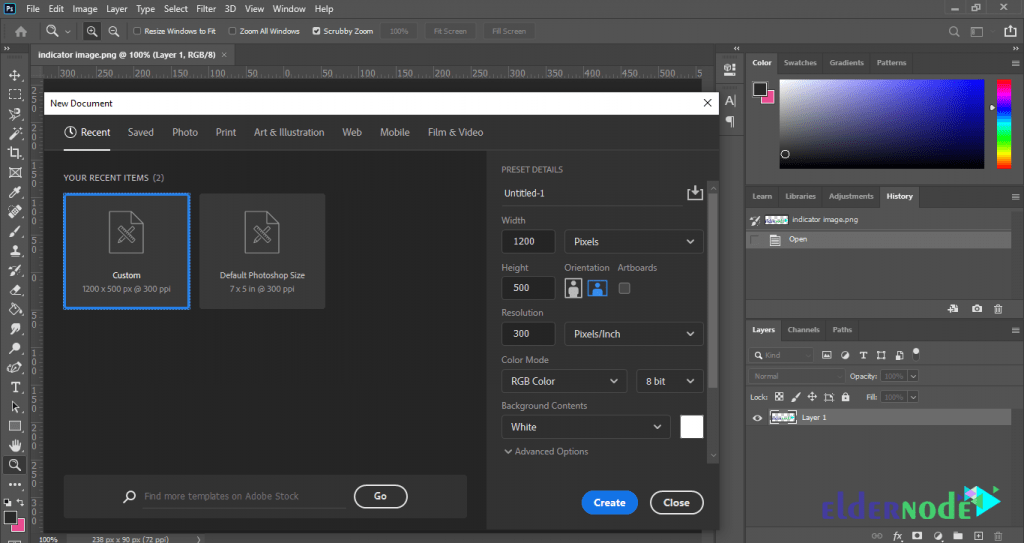
After successfully completing all the steps mentioned in this tutorial, Photoshop will be launched. You can see the Photoshop environment in the image below:
Conclusion
Photoshop, which according to graphic artists is a magic software, is one of the most popular image editing software that is used in a very wide range of graphic activities. Due to the great popularity of this software, we tried to teach you how to install and Setup Photoshop on Windows VPS.

Great content and very informative article i learnt alot of things from your content.
Thank you for giving a great information in above article.
Thank you for your comment.