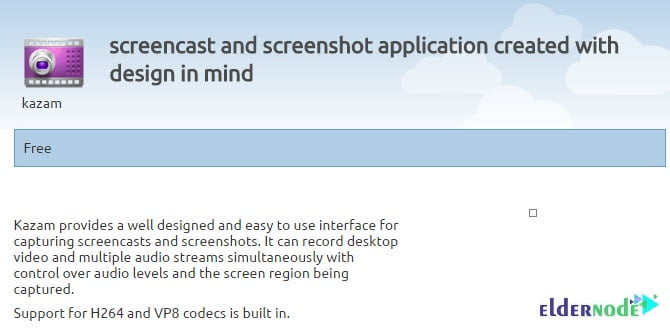
Kazam is a simple screen recording program that captures the screencasts, screenshots, and records video files. Kazam records desktop video and multiple audio streams simultaneously with control over audio levels and the screen region being captured. New users are the fans of Kazam since it requires a small configuration setup and they can capture and record screen video. You can capture the content of your screen and record a video file. Videos can be played by any video player that supports VP8/WebM video format. Crystal clear sound is recorded by Kazam and video can be saved in several different file formats. In this article, you will learn Introducing And Install Kazam On Ubuntu 20.04. If you are preparing to buy a new Linux VPS or you need to have your own Ubuntu VPS server you can purchase what you need as quickly as you could imagine.
To let this tutorial work better, please consider the below Prerequisites:
A non-root user with sudo privileges.
To set up, follow our Initial server setup on Ubuntu 20.04.
Basic Linux knowledge and be familiar with using the shell.
Hosting your site on your own VPS.
Table of Contents
Introducing And Install Kazam On Ubuntu 20
Join us with this article to learn what is Kazam and how to install it on your Ubuntu Server and the way you can record your screens with customization that you do prior to casting your screens. Kazam provides an easy to use and well-designed user interface. It also has been designed for Linux Operating System. The following instruction of this guide will work for other Ubuntu-based distributions like Linux Mint, elementary OS, etc.
Introduction To Kazam
Kazam allows you to capture your entire screen, a specific window, or even a selected screen area. By using its hotkeys, you will be able to start, pause, resume, and finish recording. It is also possible on its latest version to record your mouse-click and keyboard key presses. Also, it provides webcam support, live broadcast support, and a refreshed countdown timer.
Kazam Features
1- Record in various popular formats such as AVI, MP4, and so on
2- Capture audio from the microphone or speaker while recording the screen
3- Keyboard shortcut support for easy pausing and resuming while recording screen
4- Ability to take screenshots
5- Capture mouse clicks and key presses.
6- Record the entire screen, a part of the screen, specified applications or windows, or all monitors
7- Record webcam video
8- Insert a webcam window on the side
9- Broadcast to youtube live video
Note: Kazam does not support the record video editing. So, it is not possible for you to crop, trim, or split, and more.
How To Install Kazam on Ubuntu 20.04 | Ubuntu 18.04
Kazam is available from the Ubuntu Universe repository. Stable PPA is provided for convenience only. So, do not wait for the latest release to show in Ubuntu repositories. Let’s go through the steps of this article to do not waste the time and record the first video.
Step 1:
Use the following command to update all your system packages.
sudo apt updatesudo apt upgradeStep 2:
Since the version available in the default Ubuntu repositories is not the latest one, you can use this unofficial PPA that is available for the Ubuntu system:
sudo add-apt-repository ppa:kazam-team/unstable-series sudo apt update sudo apt install kazam python3-cairo python3-xlibStep 3:
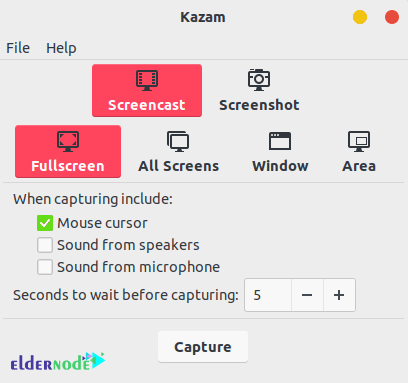
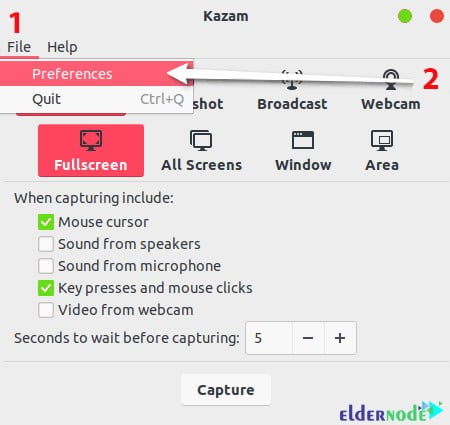
When Kazam is installed, search for it in the application menu and start it. Check the options as per your need and click on capture to start recording the screen with Kazam.
How to use Kazam
While using, you will see that it shows you a countdown before recording the screen. The default wait time is 5 seconds but you are able to change it from the Kazam interface as shown in the above image. In this way, you can easily prepare for recording what you wish.

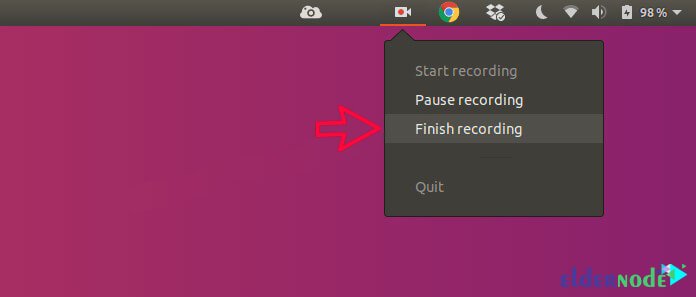
You will see that the main Kazam interface disappears when it starts recording. The indicator appears in the panel instead. So, use the indicator to pause or finish the recording.
The option of ”Save for later” will be displayed when you choose to finish the recording. However, you can also start editing the recording from this point if you have installed a video editor in Linux.
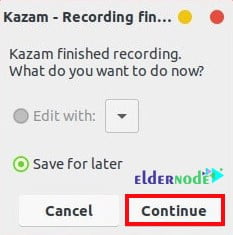
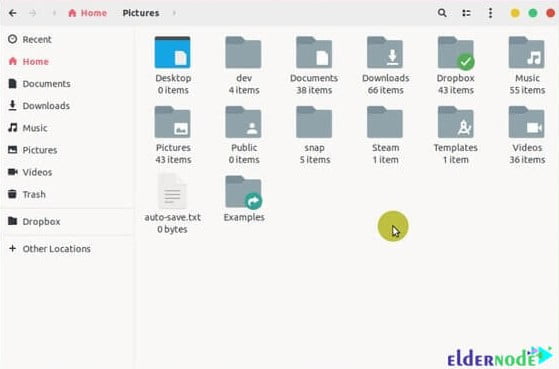
It prompts you to install the recording in the Video folder by default, but you can change the location and save it on your considered place.
In addition, you can get more out of the Kazam screen recorder. You can access its advanced or additional features from the preferences since Kazam is a featureful screen recorder for Linux.
You can autosave the screen-recording in a specific location. It will be done automatically. The default location is Videos but you can change it to any other location.
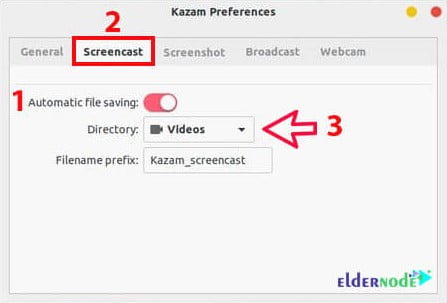
The screen recording could be saved in file formats such as WEBM. MP4, AVI, and etc. You can choose your favorite format but you are recommended to avoid screen recording in RAW (AVI) mode. If you use RAW file format, the recorder files will be in GBs even for a few minutes of recording. It is better to choose H264 with MP4 file format.

In some videos and especially when you are creating a video to teach something, it is very ideal if you can highlight when a mouse is clicked. With Kazam, you can do this easily. In the newer version, you can capture mouse clicks and ley presses while screen recording. So, check the ”keypresses and mouse clicks” option on the Kazam interface to use this advantage.
When you need to pause the recording for any reason, you will be able to pause the recording by going to the Kazam indicator and selecting the pause option. In this way, you will use keyboard shortcuts for some efficient screen recordings.
Note: The activity of selecting the pause option will also be recorded and you must edit out this part later.
However, the screen recording will be better if you use the keyboard shortcuts in Ubuntu. Here are some hotkeys that you can use when you are running Kazam with the explanation that the Super key is the Windows key on your keyboard.:
Super+Ctrl+R: Start recording
Super+Ctrl+P: Pause recording, press again for resuming the recording (The most important shortcut)
Super+Ctrl+F: Finish recording
Super+Ctrl+Q: Quit recording
Conclusion
In this article, we did present you the Introducing And Install Kazam On Ubuntu 20.04. Kazam is located in the top 10 screen recording tools. From now on, you can make tutorials, create presentations, share videogame screenshots, or record screen videos. Complete your Ubuntu knowledge by Ubuntu tutorials and find your further needing subjects.


thanks
Thank you for your comment.