Froxlor is an Open-source, simple, and lightweight Server Management Panel. Froxlor is using to manage your hosting platform and your servers in web hosting environments. It supports IPv4 and/or IPv6 addresses, Advanced SSL, PHP configuration as per the domain. Using Froxlor allows you to manage resources directly from the Control Panel for shared hosting. Also, you will be able to manage and control domains, SSL, MySQL databases, and other web hosting features from a simple web interface. In this article, you will learn How to Setup Froxlor on Ubuntu 20.04. If you need to prepare your own Ubuntu VPS, count on our technical team and register your order on Eldernode.
Table of Contents
Setup Froxlor Server Management Panel on Ubuntu 20.04
As an administrator, you need to manage customer contact information, as well as the domain names, email accounts, FTP accounts, support tickets, and webroots that are associated with them. Previously, you have learned about cPanel or Webmin. Froxlor is a free server management control panel. So, it is a good alternative for them that is used to manage multi-user or shared servers.
Since Froxlor does not automatically configure the underlying services that it uses, you need to be an expert on sysadmin to set up your web server, mail server, and other services. Then, you can do any sysadmin task from the control panel, with an added layer of customer management.
Froxlor Features
Froxlor has various features such as web hosting management, domain names, FTP, and email. Let’s see more:
1- True Multistack
2- Advanced SSL
3- PHP-configuration
4- Resellers & Customers
5- Traffic calculation
6- API based
7- Themeable interface
8- Let’s Encrypt
9- MySQL management
10- Directory protection & settings
11- Quota management
Prerequisites to Install Froxlor on Ubuntu 20.04
To let this tutorial work better, please consider the below Prerequisites:
_ A non-root user with Sudo privileges.
_ To set up, follow our Initial server setup on Ubuntu 20.04.
_ Before setting up Froxlor, you need to Configure the Domain Name of the Host.
So, start with choosing a Subdomain and create a record pointing the Subdomain at your server’s IP Address.
Use the following command to set the hostname based on the Subdomain:
sudo hostnamectl set-hostname SUBDOMAINThen, add your Subdomain to your host’s file:
sudo nano /etc/hostsNext, add the following to the bottom of the file:
SERVER_IP SUBDOMAIN.DOMAINNAME.COM SUBDOMAIN
Now, you can save and close the file.
Finally, to restart the Network Manager Service, run:
sudosystemctlrestartNetworkManager.serviceHow to Install Froxlor on Ubuntu 20.04 | Ubuntu 18.04
Let’s go through the steps of this guide to install Froxlor on Ubuntu 20.04. In the end, you will learn How to use Froxlor on Ubuntu 20.04. So, stay with us.
Step 1:
Open your terminal to add Froxlor repository to Ubuntu:
touch /etc/apt/sources.list.d/froxlor.listThen, run the following command to add the package source:
echo 'deb http://debian.froxlor.org stretch main' > /etc/apt/sources.list.d/froxlor.listStep 2:
Now, you can use the command below to add a key for Froxlor. It helps you to verify the packages:
apt-key adv --keyserver pool.sks-keyservers.net --recv-key FD88018B6F2D5390D051343FF6B4A8704F9E9BBCStep 3:
In this step, you need to update your Ubuntu server. So, type:
apt-get install updateapt-get install upgradeStep 4:
In this step, the Apache server is required to be installed. Below commands will do this for you:
apt-get install apache2service apache2 enableservice apache2 startStep 5:
At this point, you will install Froxlor on Ubuntu by running the following command:
apt-get install froxlorOnce the Froxlor is installed, you will be asked to choose one of the mail server configuration types from the list:
1- No Configuration
2- Internet Site
3- Internet with smart host
4- Satellite System
5- Local Only
How to change the document root on Ubuntu
By default, you can access the default public HTML (/var/www/Html) directory of the Apache. So, you need to change the default document root directory to access Froxlor with the following commands:
cd /etc/apache2/sites-availablenano 000-default.confDocumentRoot /var/www/htmlDocumentRoot /var/www/htmlOnce the edit is finished, press Ctrl+X and type Y to save the file, and then hit the Enter button.
finally, run the command below to restart the Apache webserver:
service apache2 restartHow to create a database on Ubuntu
During the installation of the server management platform, you will database details. To create a MySQL user with root privilege, log in to MySQL/MariaDB and run:
mysql -u rootCREATE USER 'newuser'@'localhost' IDENTIFIED BY 'password'; GRANT ALL PRIVILEGES ON *.* TO 'newuser'@'localhost'; FLUSH PRIVILEGES;Note: Remember to change “newuser” and “password” with your own choices.
Now, use the command below to create a normal database and its user and password details for the Froxlor:
CREATE DATABASE froxlorc7;CREATE USER 'froxlorusr'@'localhost' IDENTIFIED BY 'yourpassword';GRANT ALL PRIVILEGES ON froxlorusr.* TO 'froxlorh2s'@'localhost' IDENTIFIED BY 'yourpassword' WITH GRANT OPTION;FLUSH PRIVILEGES;EXIT;Note: Again, do not forget to change “froxlorc7”, “froxlorusr” and “yourpassword” with your choices.
Setup Froxlor on Ubuntu 20.04
If you pass all the required steps, Froxlor should have been installed. In the following, you will learn how to start and use it on your Ubuntu system.
Accessing the Froxlor via browser
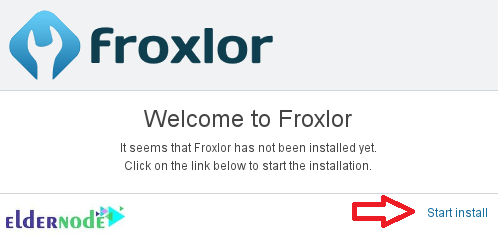
Open your favorite browser and browse to the server domain name. Then, you should see Froxlor setup wizard complete:
http://froxlor.example.com
Click Start Install to continue.
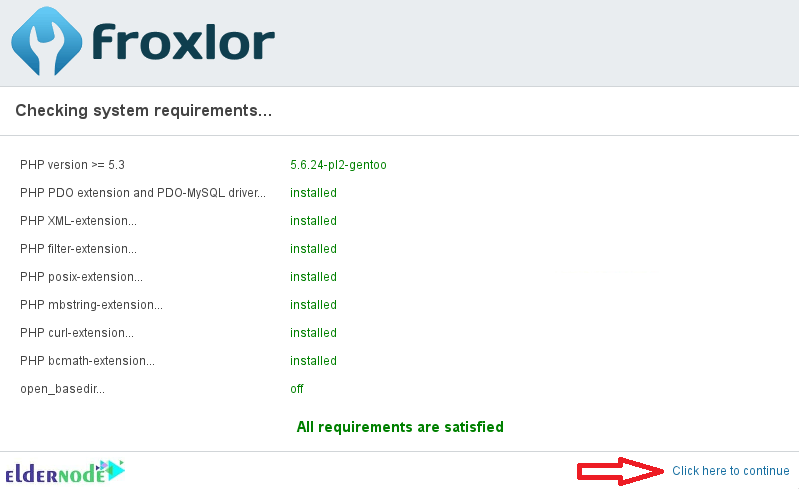
Once the below page is displayed, hit the “Click here to continue” if there are no warnings on the requirements screen:
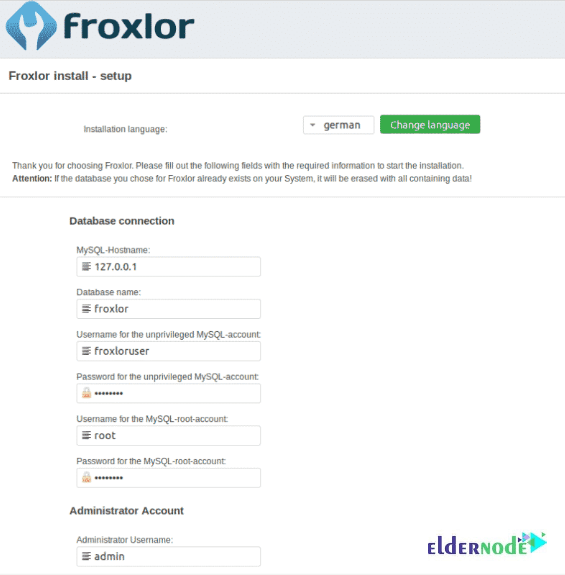
How to Configure the Froxlor
To continue setup the Froxlor, you will be on the database configuration page. as you see in the below image, you can choose the installation language. then, you should enter the database details, such as database name, usernames, and passwords that you created earlier.
After all, you should create an administrator account. Finally, enter the information about the server IP and HTTP username, and group name.
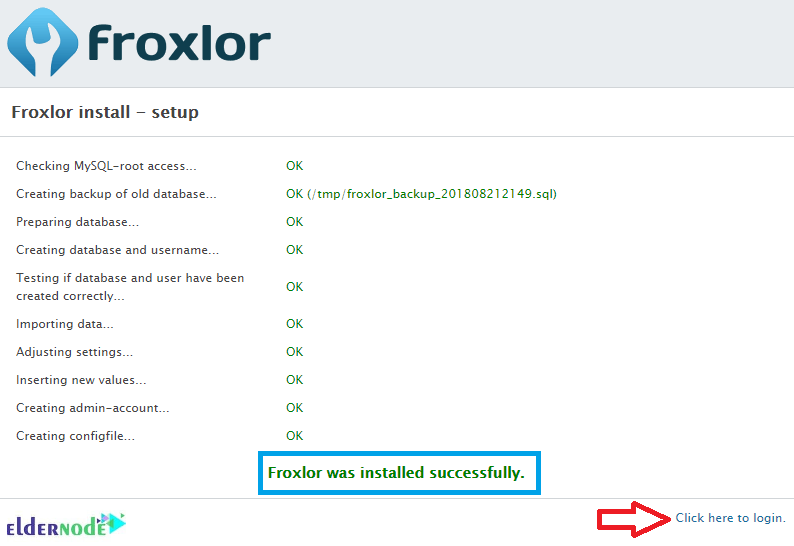
Once you view the message Froxlor was installed successfully, it means the installation is successful. So, you just need to press the ”Click here to login”.
How to Login to Froxlor
As you guess, you can now login to the Froxlor interface with the username and the password you created during the installation:
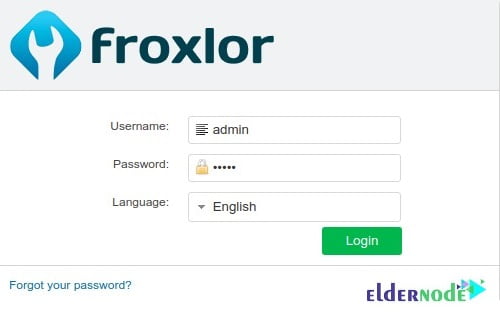
Froxlor Dashboard
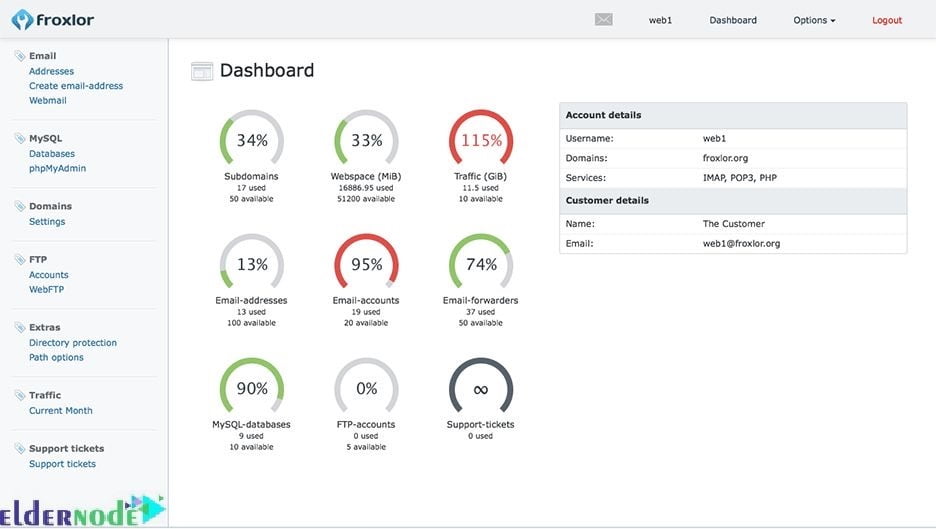
Finally, you can view the Froxlor Dashboard and start working with the software:
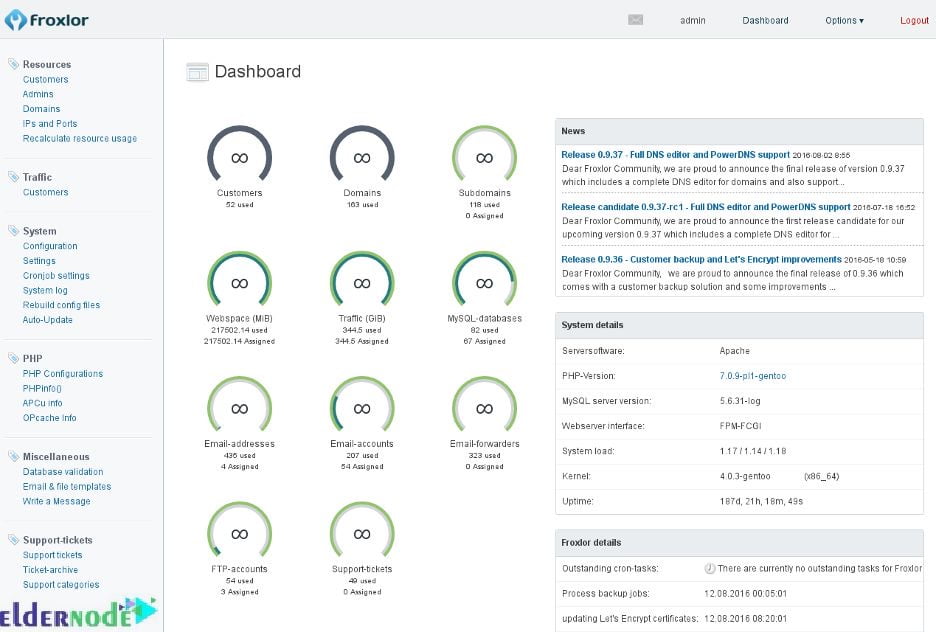
There, you can manage customers, domains, PHP configurations, and much more. Also, you will be able to start managing domains, emails, databases, and much more:
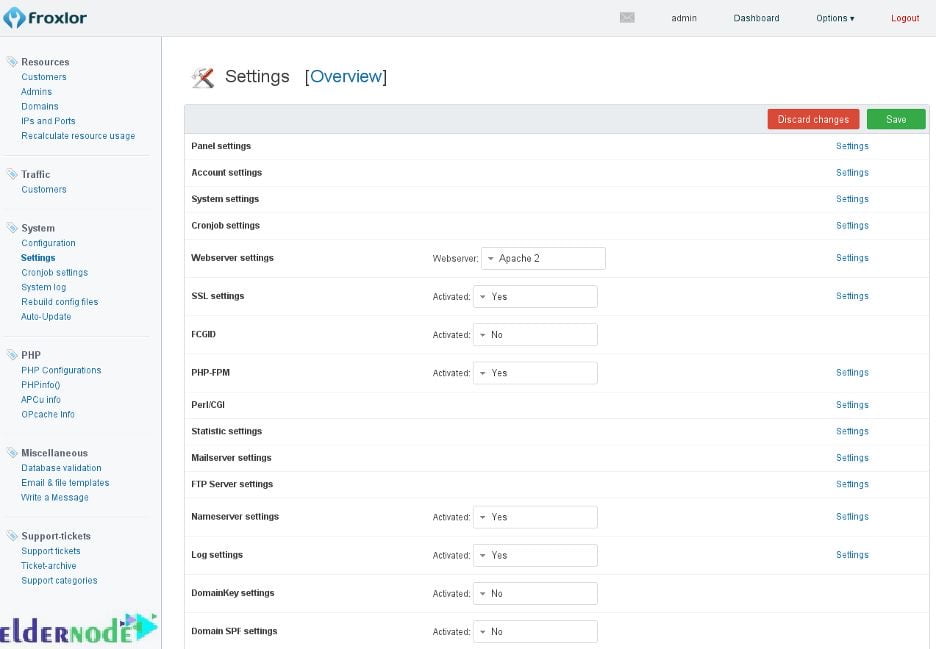
Froxlor also provides many configuration options to customize it to your needs. The settings page will let you change different things due to your needs:
Conclusion
In this article, you learned How to install and Setup Froxlor on Ubuntu 20.04. If you are interested in learning more, refer to Install Froxlor on Debian 10.