PostgreSQL installation tutorial on Windows Server 2016. In this article, we want to be with you on how to install PostgreSQL on Windows Server 2016.
What is PostgreSQL?
PostgreSQL is a standard, flexible database that uses SQL language to distribute and describe data. This database, sometimes called Postgres, is controlled and developed by a team of the same name. Currently, this database is also used in small and large projects, and because of its flexibility and freeness, it has attracted many enthusiasts.
PostgreSQL has various versions that can be installed on Windows, Linux and even MacOS.
Join us in this article with how to install PostgreSQL on Windows Server 2016 with PGadmin.
PostgreSQL installation tutorial on Windows Server 2016
1- First, enter your Windows Server 2016 environment.
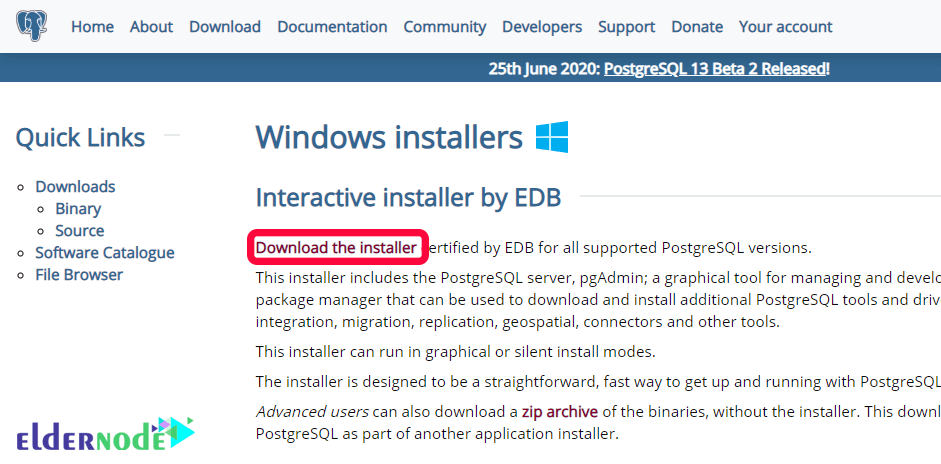
2- Then download the PostgreSQL package for Windows via the following link.
Download PostgreSQL for Windows
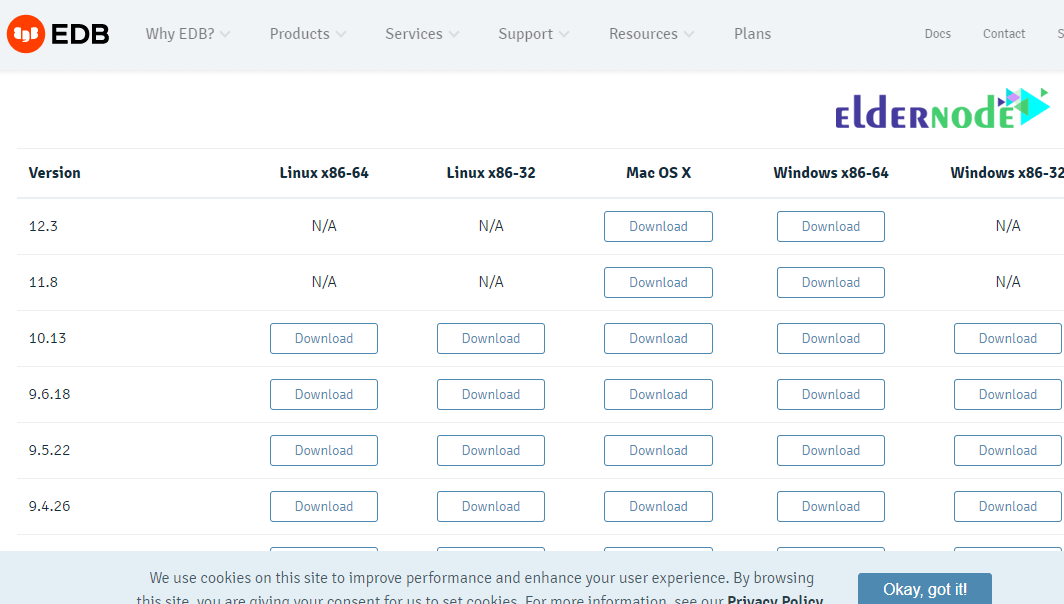
Note that after clicking on the download link on the PostgreSQL site, you will be asked for the Windows version, which you must specify exactly the 32-bit or 64-bit operating system and architecture.
3- After downloading, double-click on the downloaded file to start the installation process.
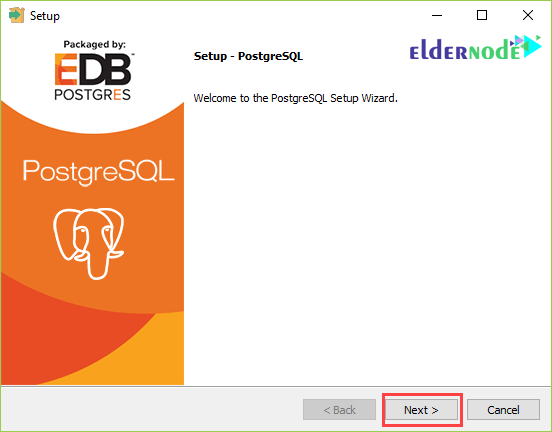
After starting the installation process, click Next.
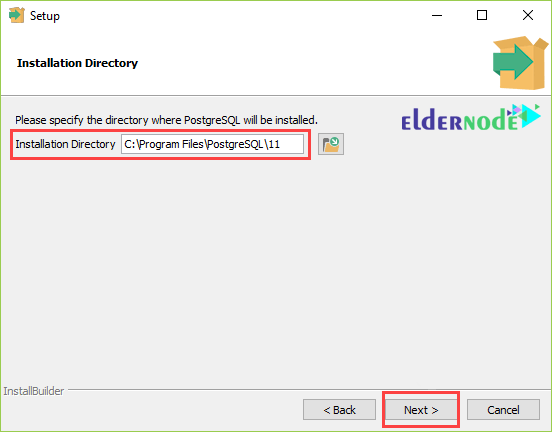
4- In this section, you must select the address of the PostgreSQL storage and installation path and click Next.
5- In the next step, you have to select the desired components and click Next.
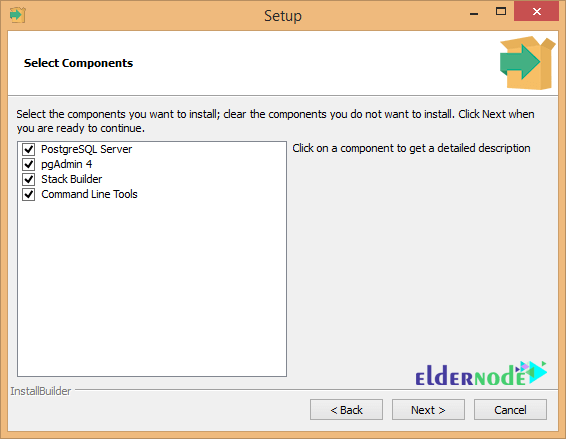
Note that if you need pgadmin for web access to PostgreSQL, you must select it at this stage.
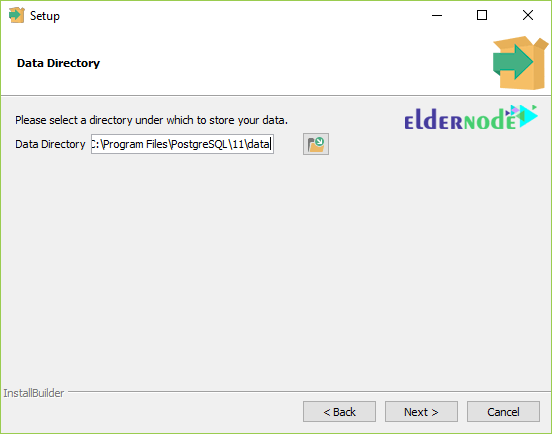
6- After selecting the components in this step, specify the path for storing data or databases and click Next.
7- In the seventh step, you must enter a password for Superuser and click Next.
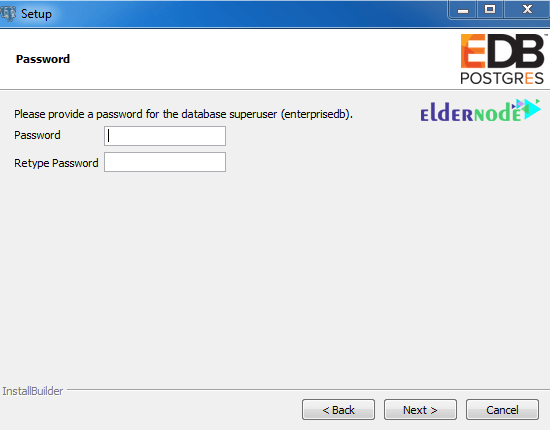
8- In this section, enter the PostgreSQL communication port and click Next.
9- In the last section, select the desired TimeZone of the system and click Next.
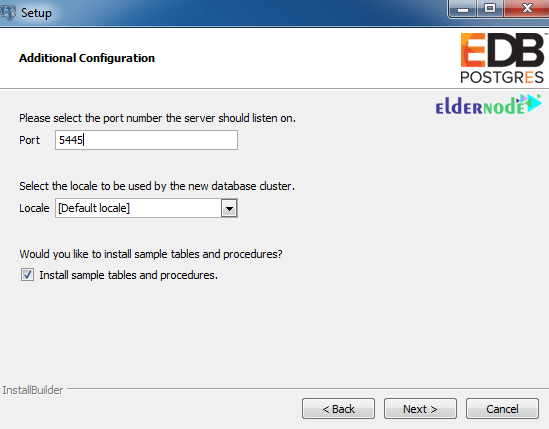
Note: Note that the port, for example in this tutorial 5445, must be open in the Windows Firewall.
If you need information to work with Windows Firewall, learn how to open the port in Windows Firewall.
Note: It is recommended that you set this option to Default Locale to set the date and time for your Windows.
10- Finally, a summary of the settings you want to display is displayed. If confirmed, click Next to start the installation process.
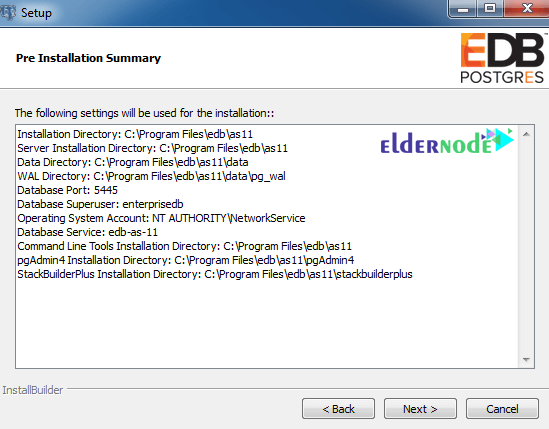
11- After copying the files and its settings, the installation of PostgreSQL is finished and you can use it.

Access PostgreSQL
To access Pgadmin via the Start menu, search for pgAdmin and then click on it.
To access the Shell environment, search for SQL Shell in the Start menu and open it.
PostgreSQL installation tutorial on Windows Server 2016
Goodluck.

