Kali Linux is one of the popular operating systems used for security testing by various people. To get to know the Kali Linux operating system better, it is better to install it on VMware. This article will teach you How to Install & Setup Kali Linux on VMware ESXi. You can check out the packages offered on our website if you intend to buy cheap Linux VPS packages.
Table of Contents
Tutorial Install Kali Linux on VMware ESXi
Kali Linux is one of the most popular Linux distributions based on Debian Linux. It has many hacking and penetration testing tools by default. This operating system was developed by Offensive Security Ltd. It is used by security professionals to perform penetration testing or by hackers to perform penetration, hacking, and cracking operations. So, the best way to install Kali Linux is to install it on VMware ESXi.
How to Download Kali Linux
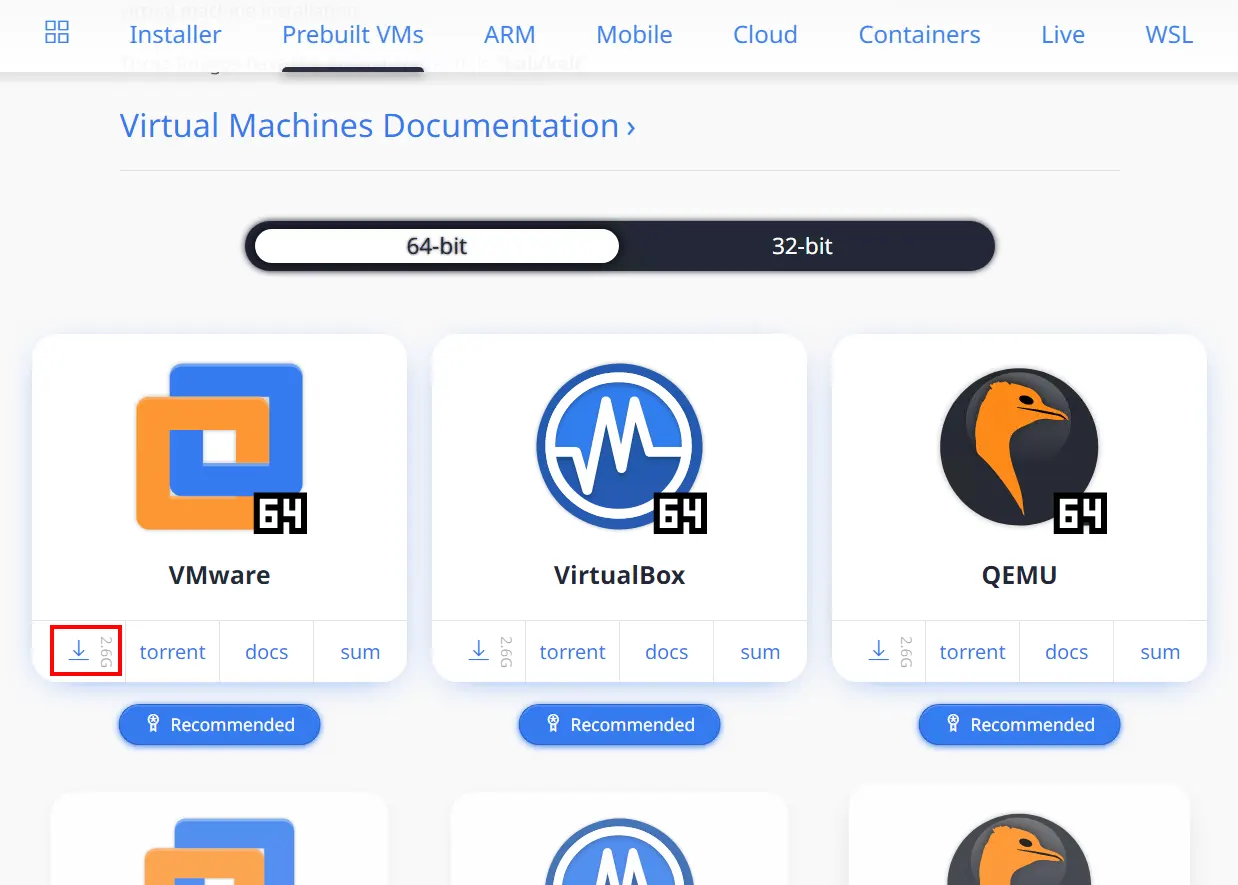
Firstly, navigate to the Kali Linux official website and download the latest ISO by pressing the download icon:
Wait for the download to complete.
How to Create the Virtual Machine
In this step, you should create the virtual machine. We are working with the HTML5 vSphere client session with the host. To do this, follow the steps below:
–> Firstly, right-click on your cluster and choose New Virtual Machine.
–> Click on Create a New Virtual Machine:

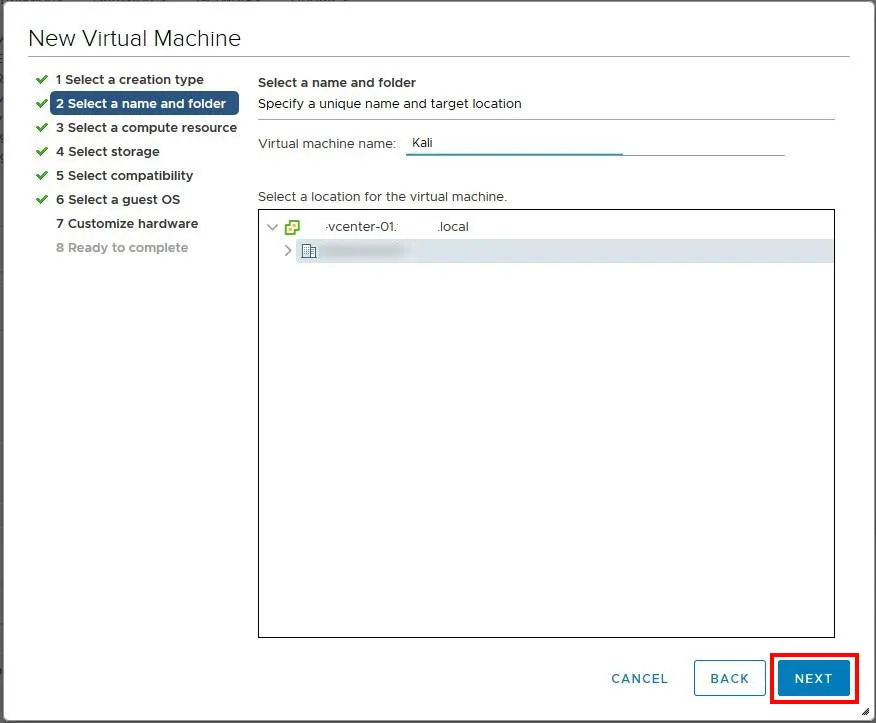
–> Name your Virtual Machine and choose the location for it:
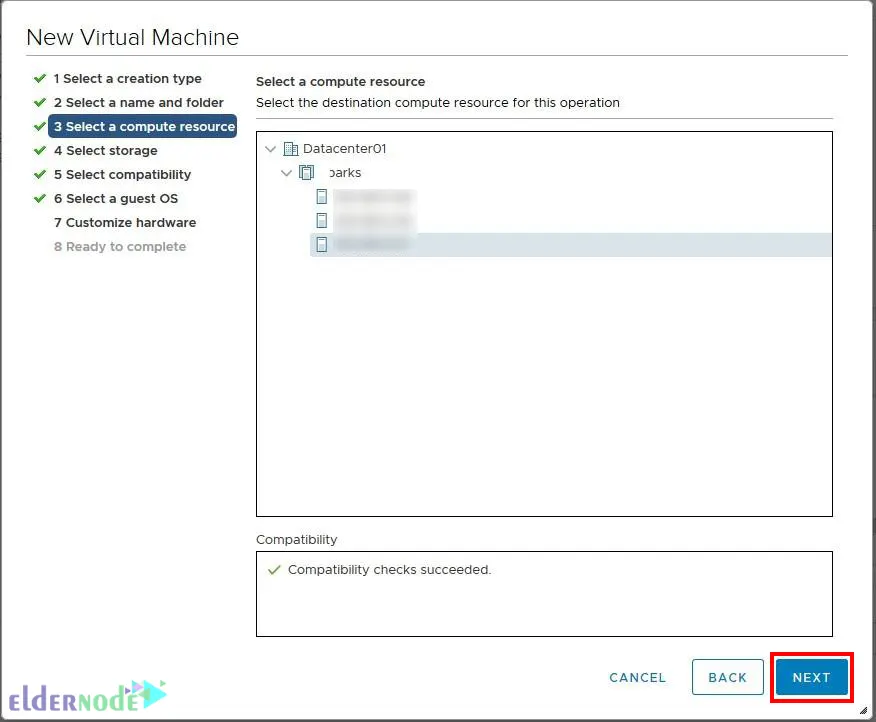
–> Choose the destination resources for the new Virtual Machine:
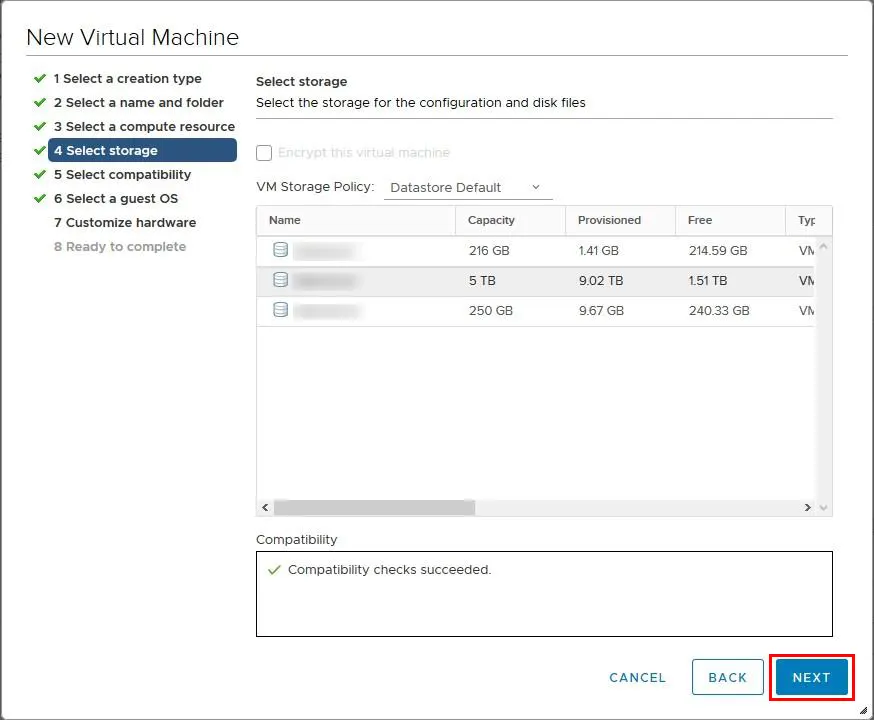
–> Now you should choose the storage for the new Virtual Machine:
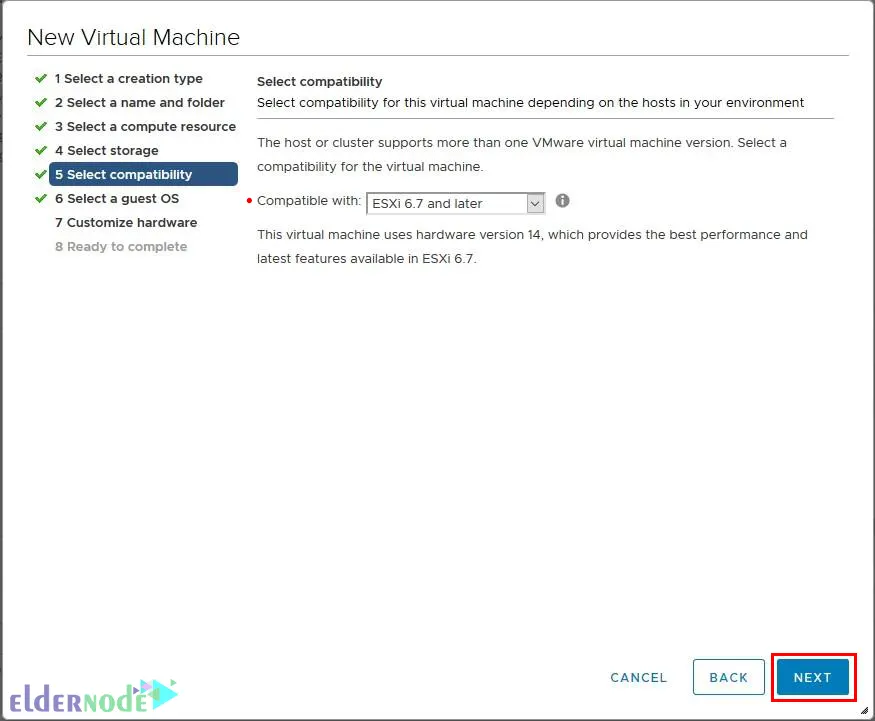
–> And choose the compatibility for it:
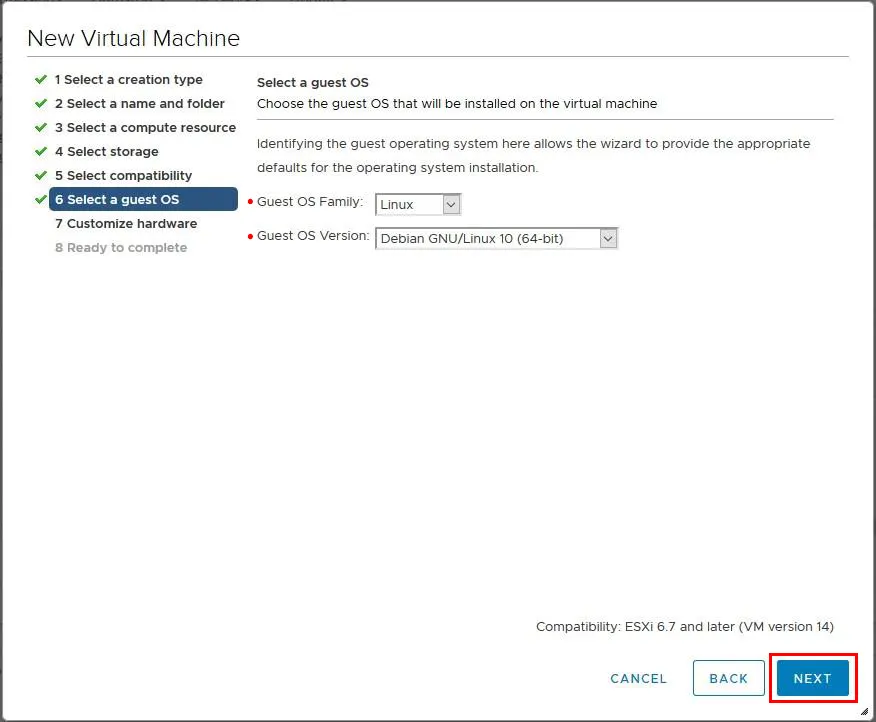
–> Then choose the guest Operating System:
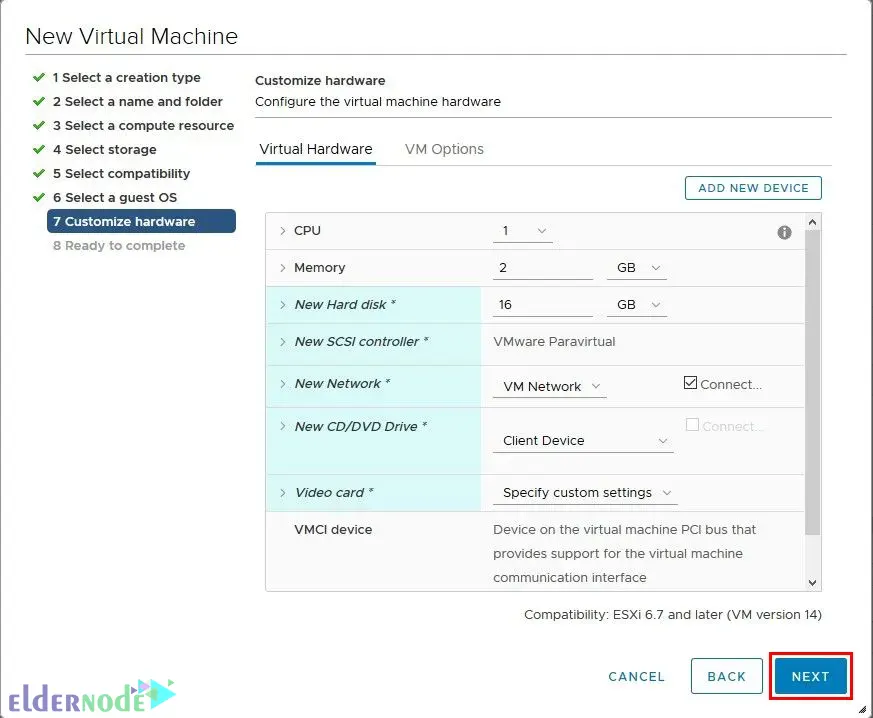
–> Customize the hardware and then click on Next:
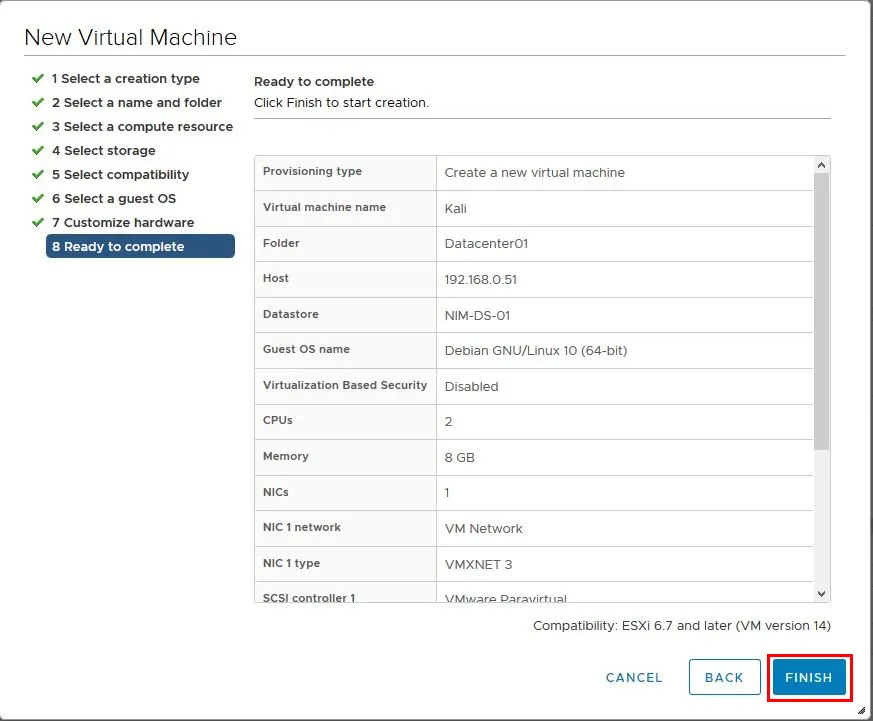
–> Lastly, review the settings you choose and click Finish:
Installing Kali Linux on VMware ESXi
1) Firstly, you should mount the ISO. You should connect the CD/DVD drive to the ISO you downloaded earlier.
2) So, to do this right-click on the name of your new Virtual Machine and choose Edit Settings.
3) Next, expand the CD/DVD drive 1.
4) Then choose Connect At Power On and browse to the ISO.
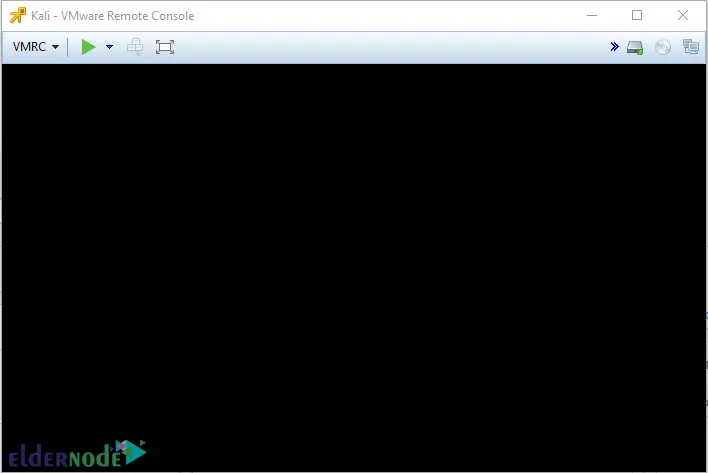
5) Now it’s time to power on your new Virtual Machine by choosing Launch Remote Console. You should see the following screen:
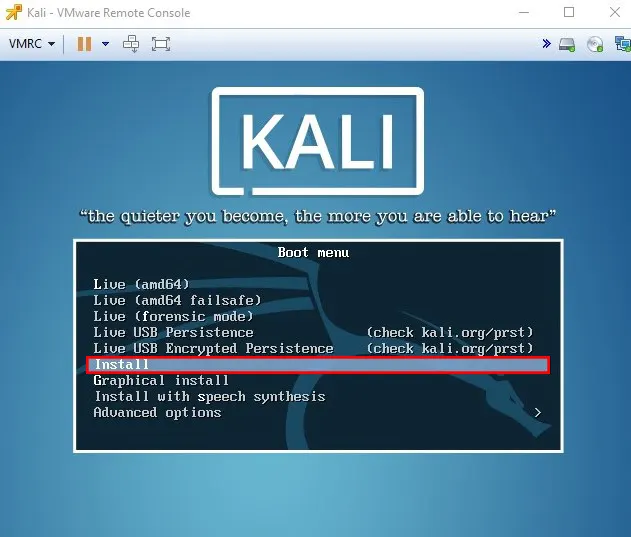
The boot menu will appear. Choose Install and press Enter:
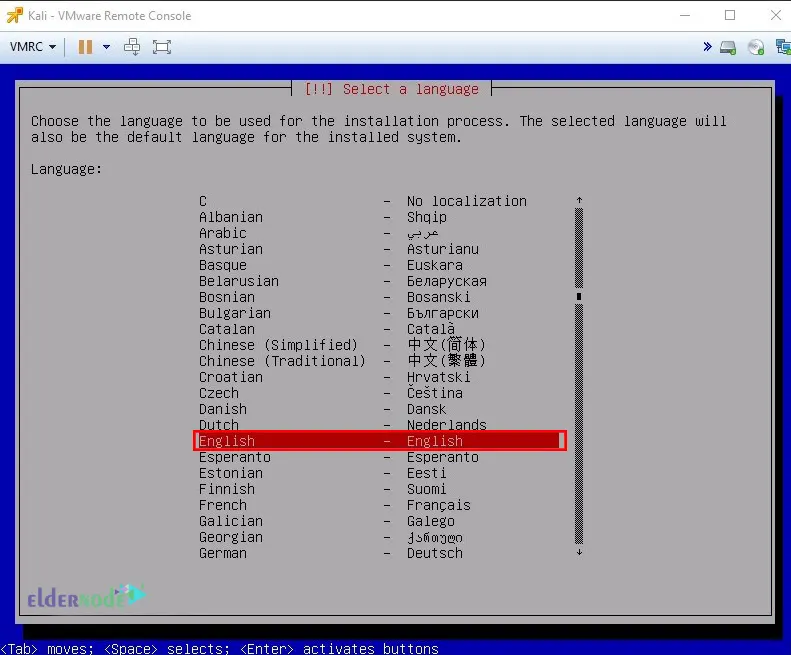
Choose the Language you want to use for the installation process:
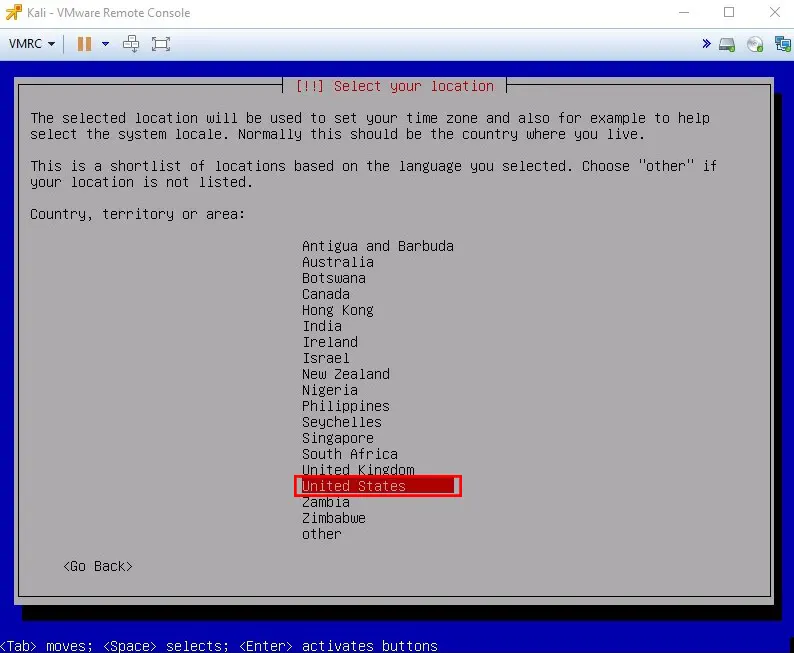
And now select the Location that will be used to set your time zone:
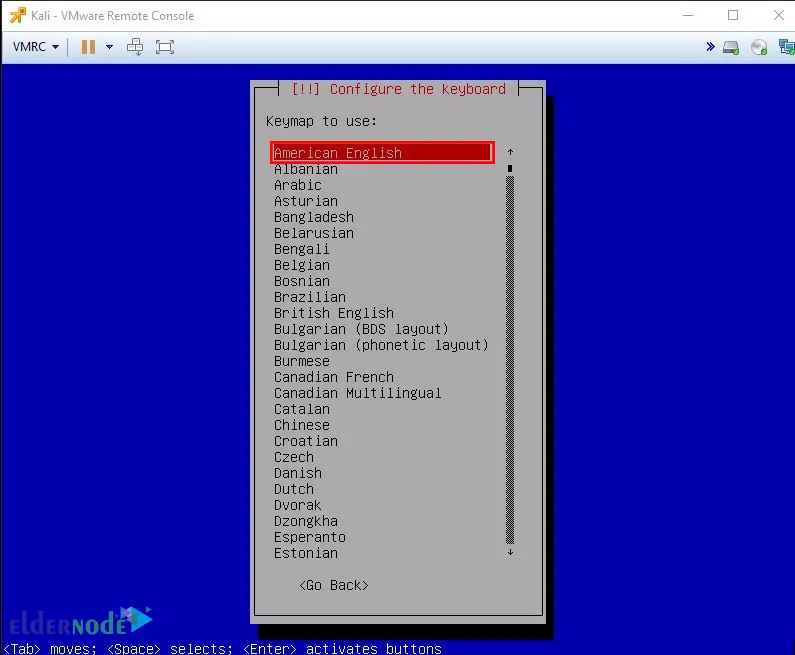
In this step, choose your desired Keyboard Layout:
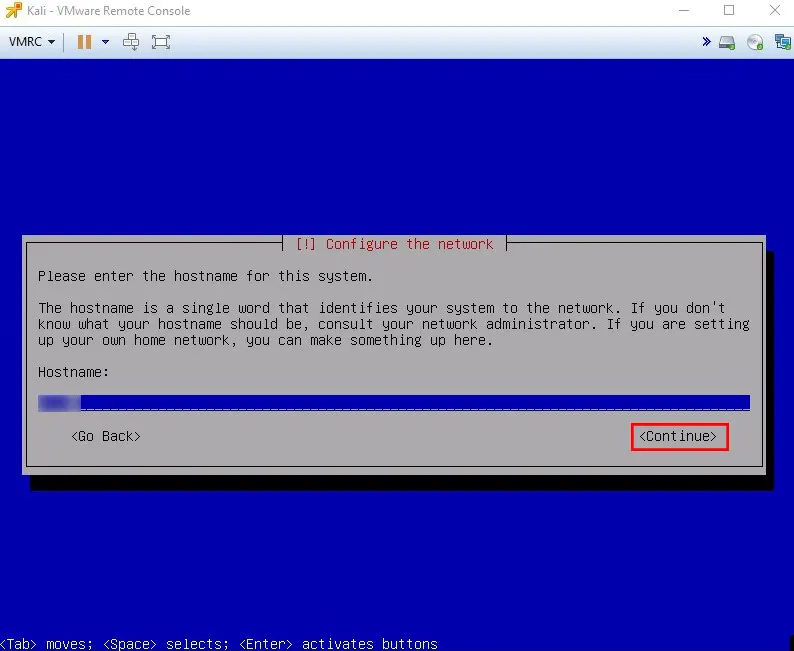
Next, you should enter the hostname for your system:
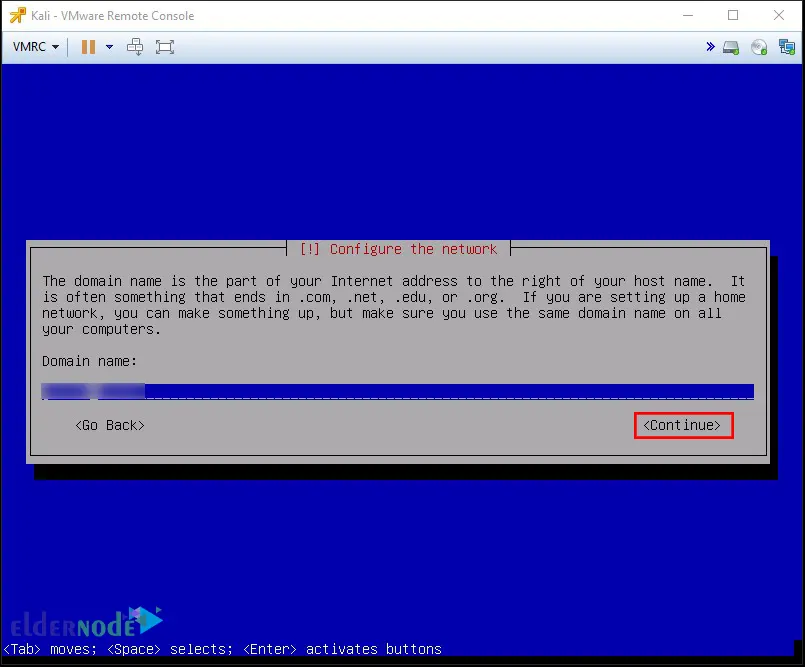
Now, enter your domain name if you have:
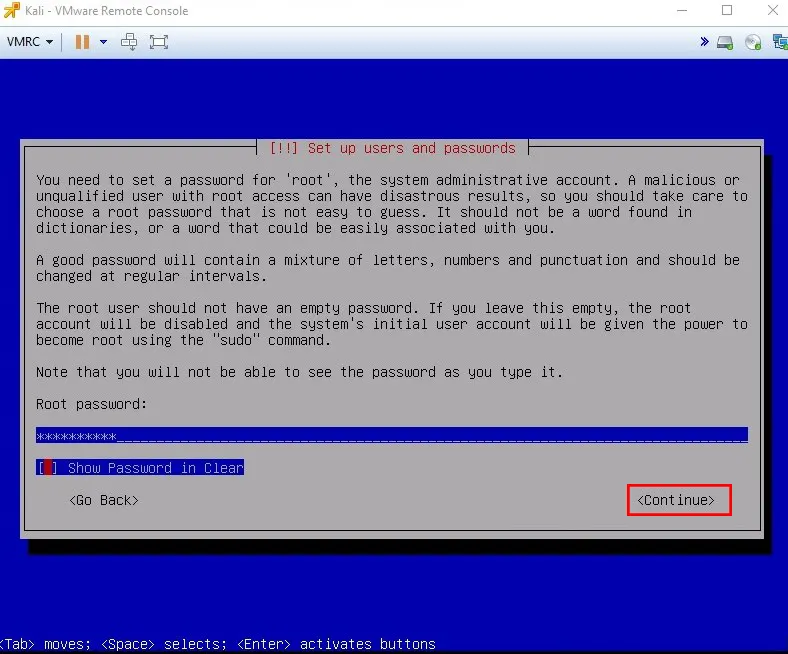
And specify the password for the root user:
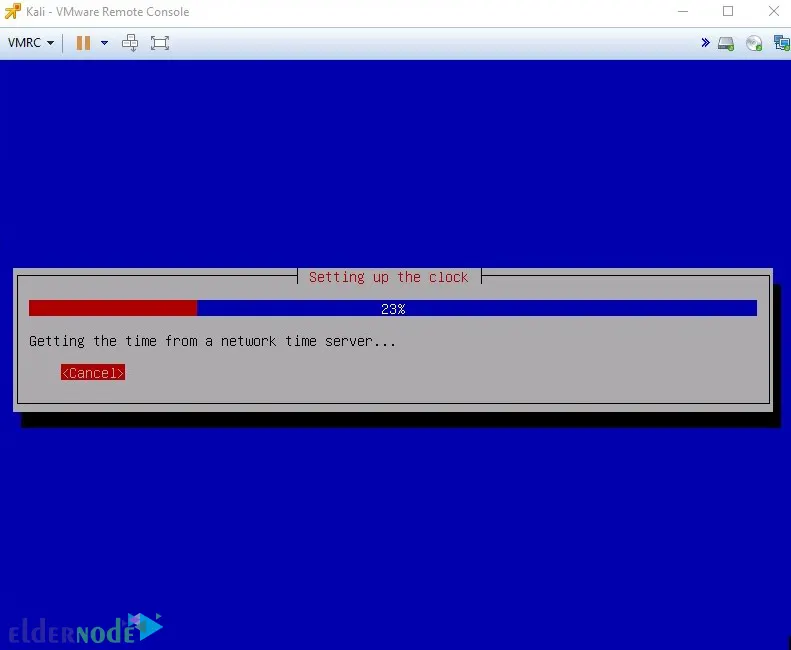
This screen will try to get the time from your network time server:
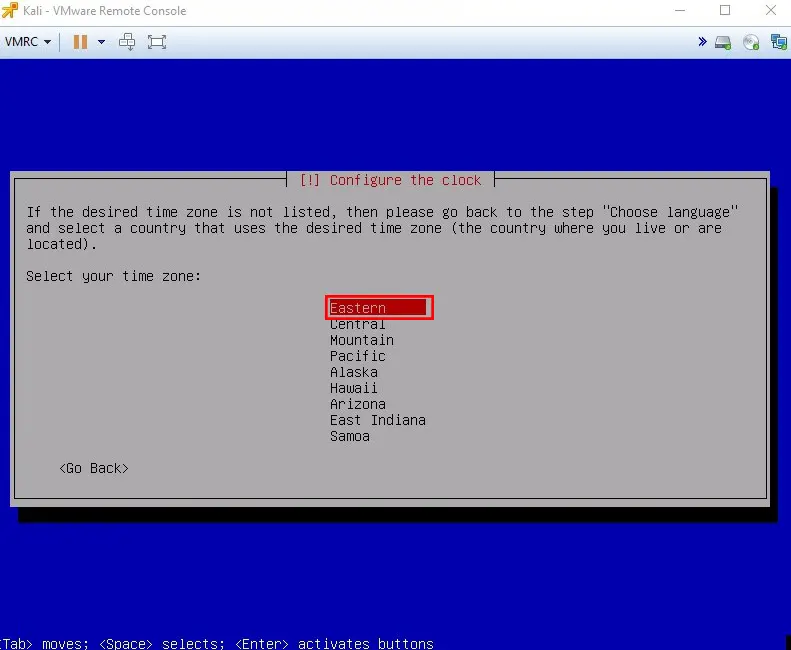
If that doesn’t work, you should choose the current time zone from the following list:
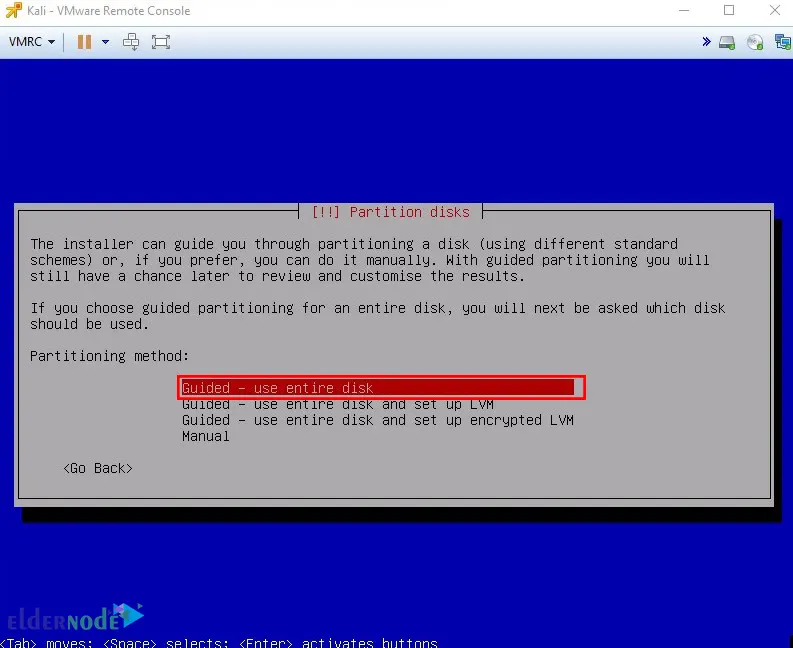
Now you will see the options for partitioning the disk. Choose the Guided – use entire disk option:
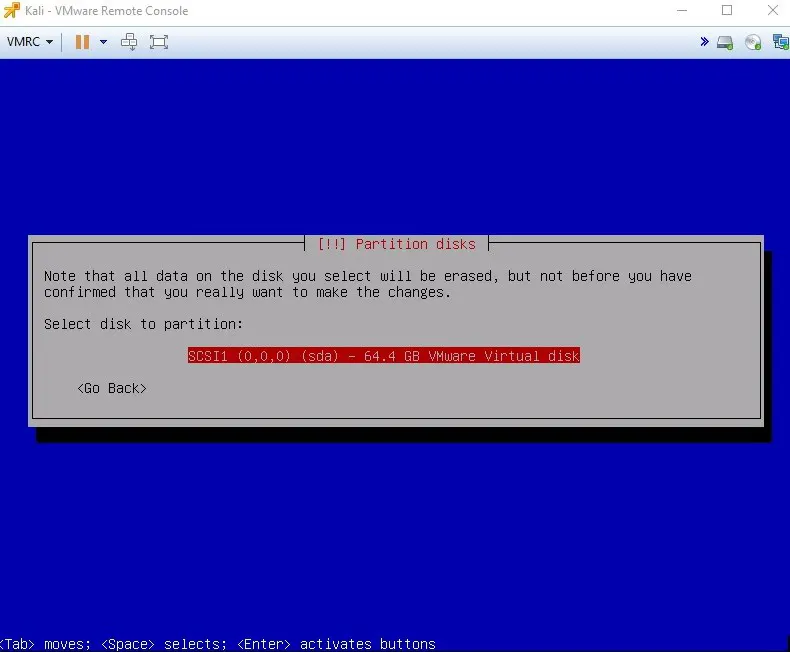
And choose the disk you want to partition:
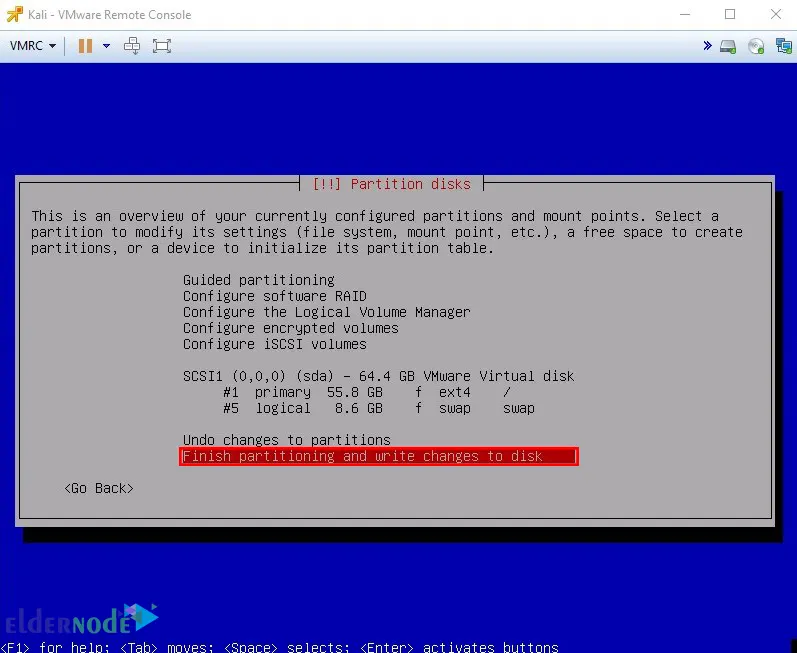
If everything is OK, choose Finish partitioning and write changes to disk:
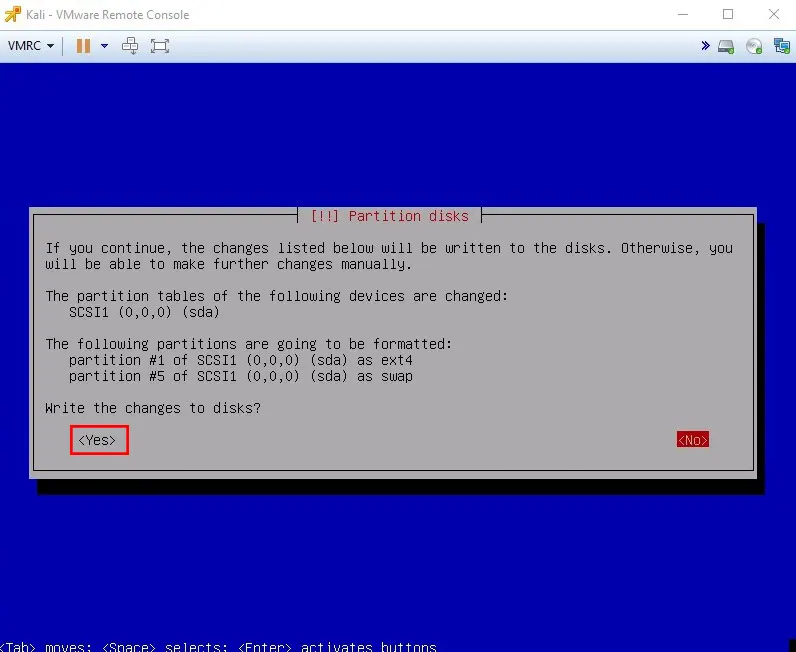
Press Yes to write the changes to disks:
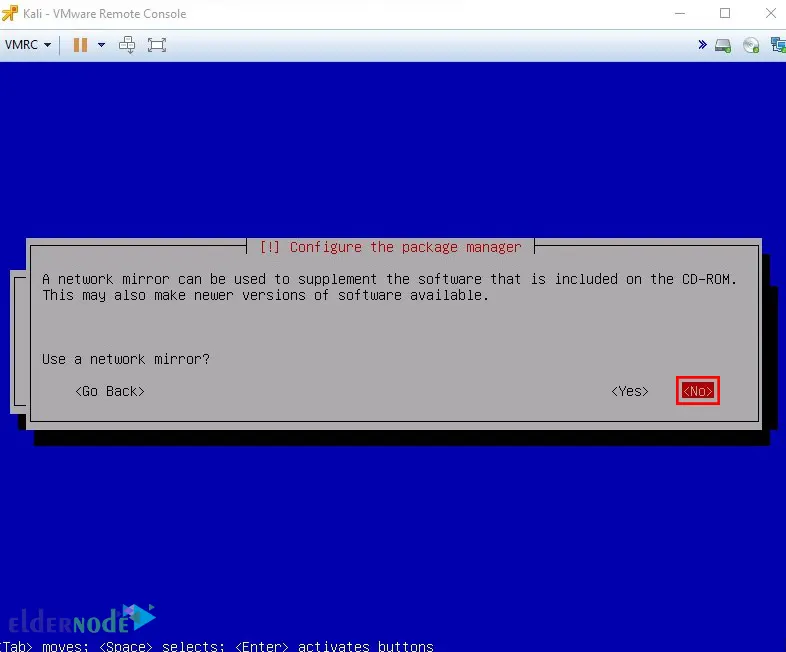
This screen will ask if you want to use Network Mirror. I prefer not to use it, so I press No:
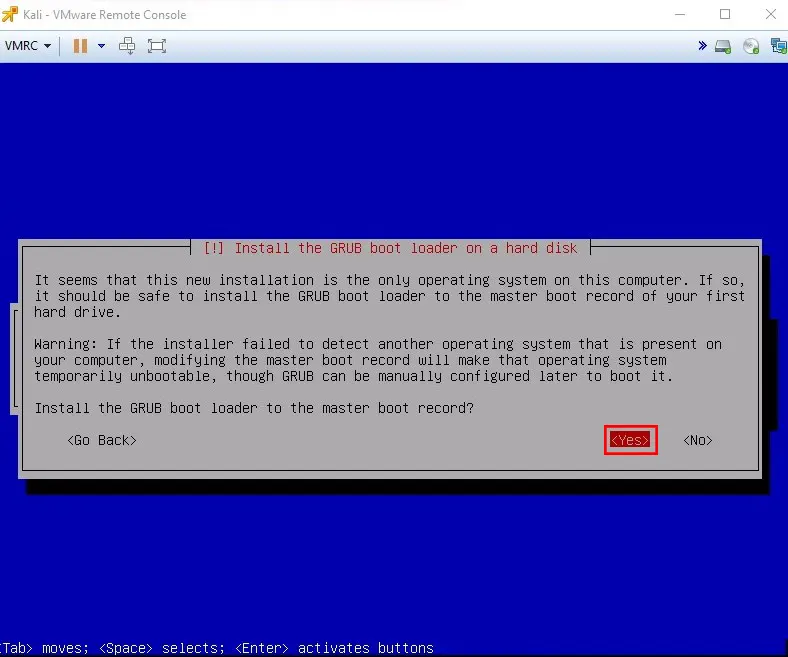
And now press Yes to install the GRUB boot loader on the HD:
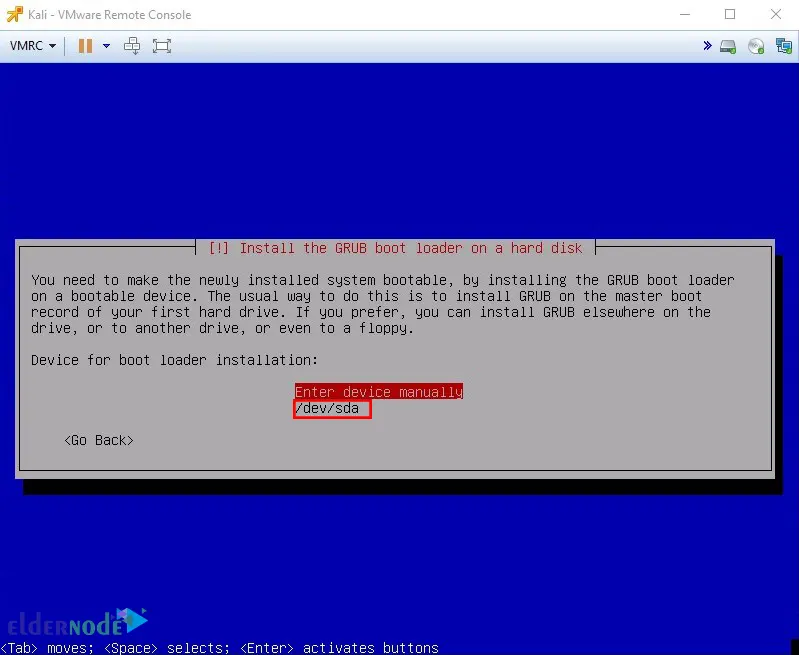
Choose the /dev/sda device for boot loader installation:
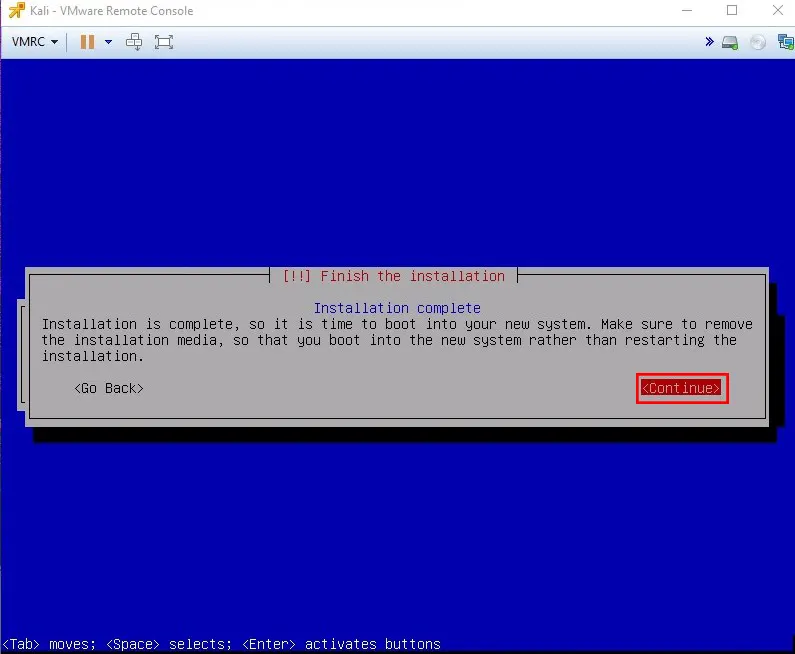
So, wait for the installation to complete.
Once completed, click on Continue to reboot your machine:
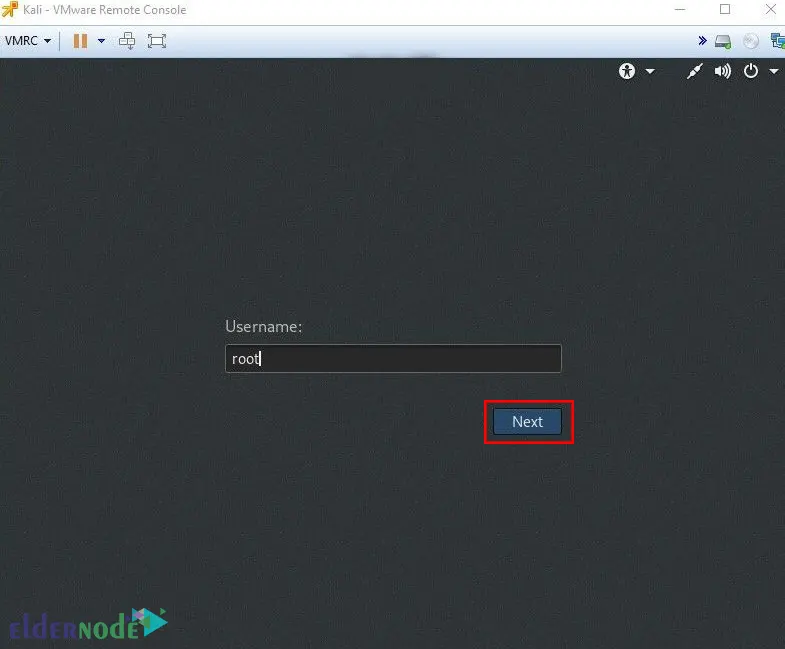
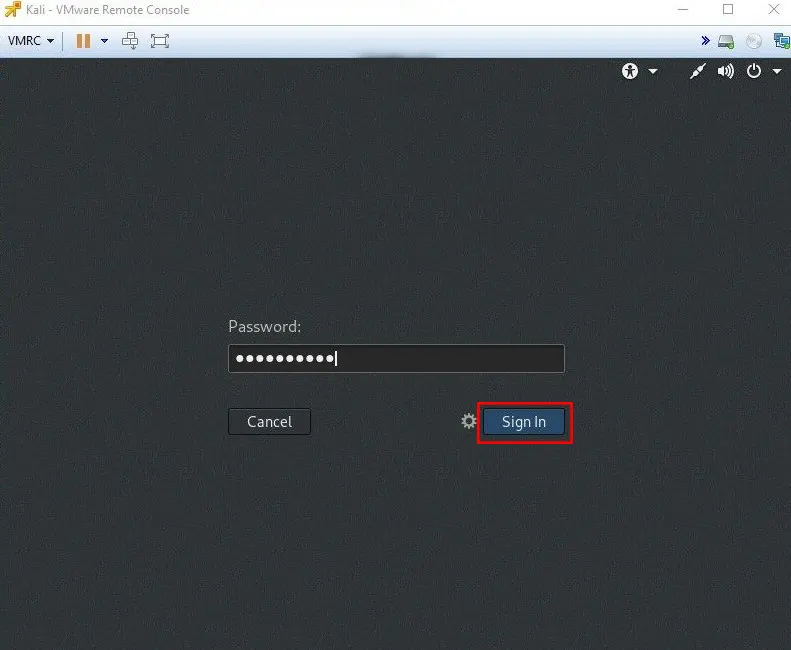
Once your machine reboots, you will face the log-on screen. Enter your root user and password setup during installation to log in to your new machine:
***
Lastly, you will see the Kali Linux environment:
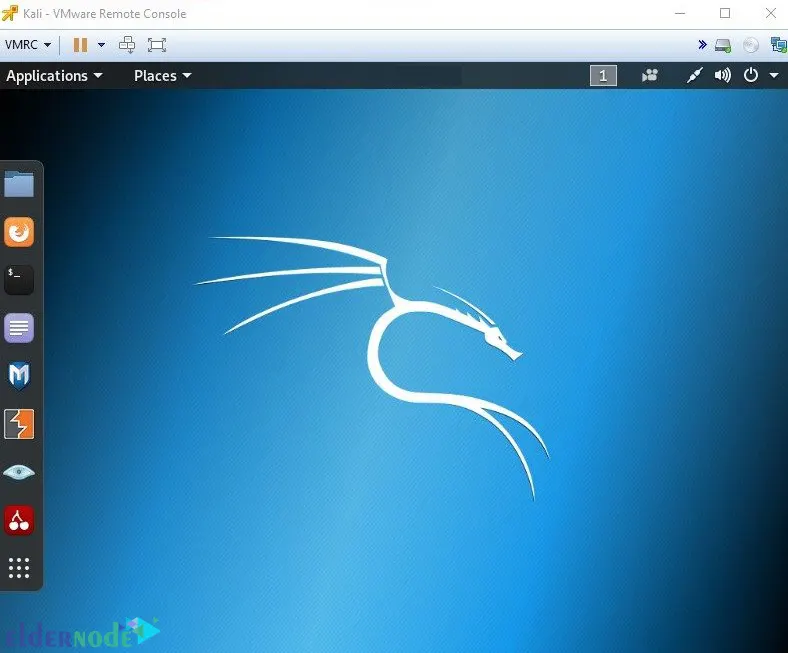
That’s it!
Conclusion
To get to know the Kali Linux operating system better, it is better to install it on VMware ESXi. This article taught you how to install and set up Kali Linux on VMware ESXi. I hope you found this tutorial useful and helps you to set up Kali Linux on VMware ESXi. If you encounter any problems in the installation process, you can contact us in the Comments section.