Installing on Microsoft IIS. How to install IIS 8.5 and WordPress 3.x by Using the Microsoft Web Platform Installer 5.0. This article describes how to install and configure WordPress 3.x on Windows clients and servers using the Microsoft Web Platform Installer (Web PI) version 5.0.
NOTE: As of 12.02.2020. Microsoft WPI (5.1) does not install PHP support correctly on Windows 10, thus the WordPress installation fails.
Table of Contents
What is Web PI?
The Web PI is a free tool that makes getting the latest components of the Microsoft Web Platform including Internet Information Services (IIS), MySQL, PHP, the Microsoft .NET Framework, and Visual Web Developer—quick and easy.
The Web PI also lets you install web applications such as WordPress with the built-in Windows Web App Gallery.
Prerequisites
The supported operating systems for the Microsoft Web Platform Installer (Web PI) 5.0 are:
Windows XP (SP2), Windows Vista, Windows 7, Windows 8 & 8.1, Windows Server 2003 (SP1) and later, Windows Server 2008 & R2, Windows Server 2012 & R2.
For this guide, it is assumed that you have either Windows Server 2012 R2 or Windows 8.1 Pro client installed on your computer.
You will also need an Internet connection and administrator privileges for your computer.
How to Install Microsoft Web Platform Installer 5.0
In this step, you must download, install, and launch the MS Web Platform Installer. To do this, follow below steps:
1. Log into your Windows machine as a user with administrative privileges.
2. Launch one of the browsers.
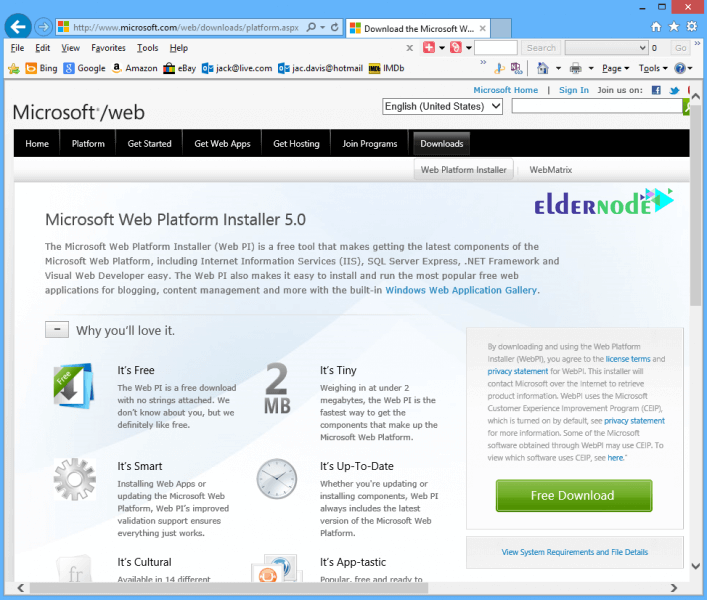
3. Go to the link below and click the Free Download button:
Download Web Platform Installer
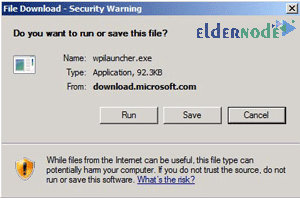
4. Click Run.
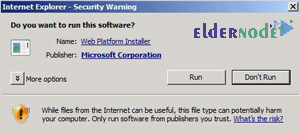
5. Click Run again.
6. Wait a few seconds for the Web PI 5.0 to start.
How to Select the products and applications to install
In this step, you select the version of WordPress that you want to install.
Note: WordPress 3.9.1 is used in this guide.
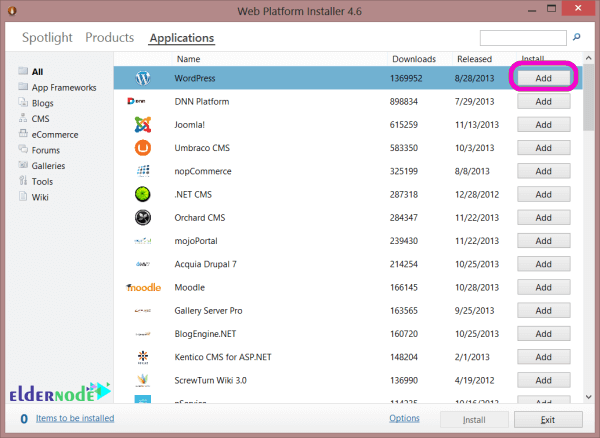
1. On the Web Platform Installer start screen click the Applications tab and then click the Add button associated with the right with WordPress.
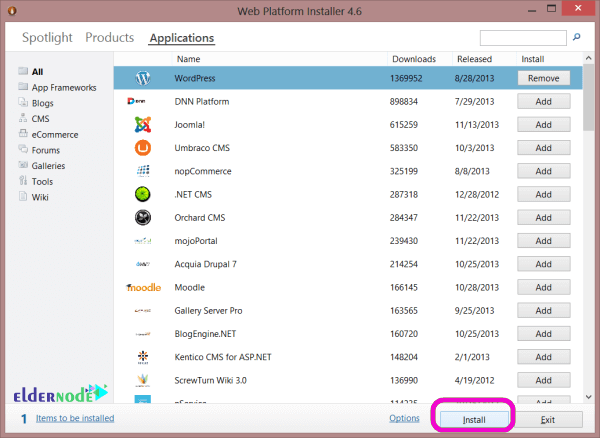
2. Click Install.
How to Review and configure the selected products and applications
In this step, you review and configure what you have added. Additionally, you add the database and configure the password for it.
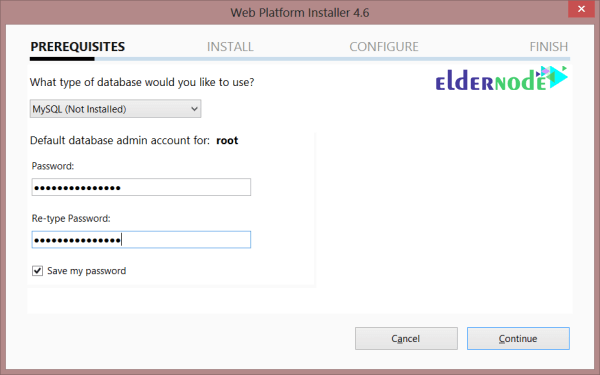
1. When you are asked which type of database you want to use, leave MySQL selected.
Note: This will install MySQL 5.1 for Windows to handle all the database transactions that are required by WordPress.
2. In password fields, type in a password for your database, and then click Continue.
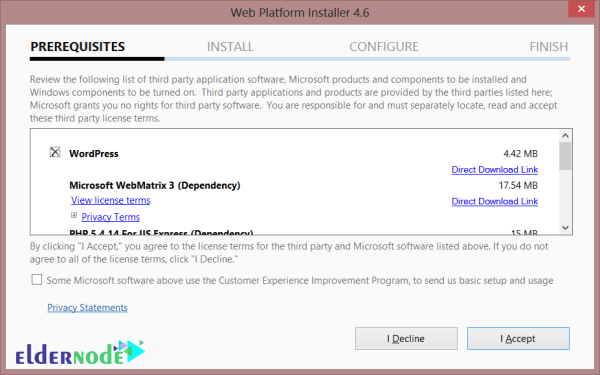
3. Review the files to be downloaded and installed, as well as the license agreements, and then click I Accept.
4. In this level allow the Web PI installation to complete.
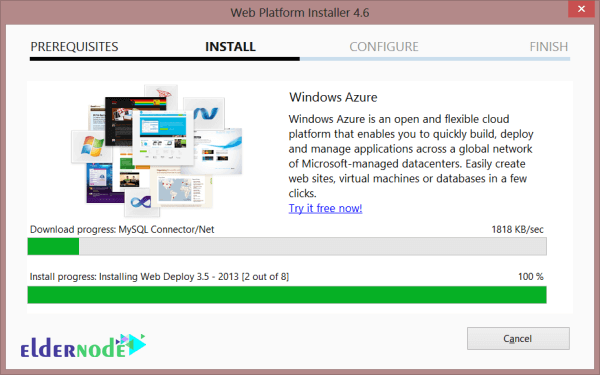
5. Configure Security Keys.
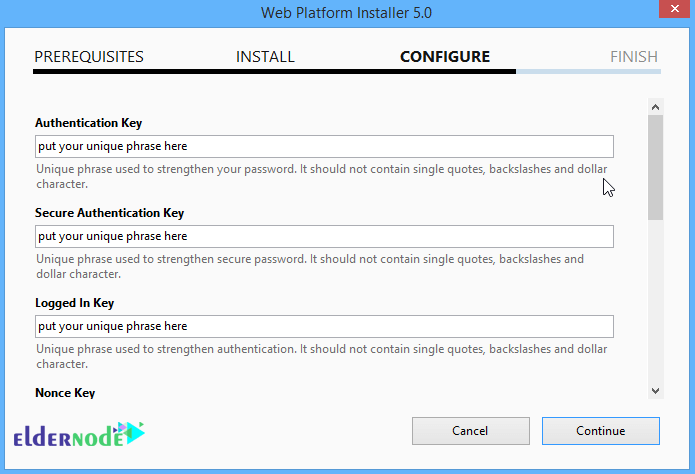
The keys don’t need to be remembered, they should just belong, random and complicated.
An easy way to generate the keys is to use the online key generator. Each time you click browser refresh, the online key generator creates a new set of keys.
Note: The online key generator produces keys that may contain dollar signs ‘$‘ which cannot be used with keys entered into Web-PI. Until this Web-PI issue is resolved, a simple solution is to check for dollar sign characters and simply replace ‘$‘ with ‘S‘.
Consider the following example:

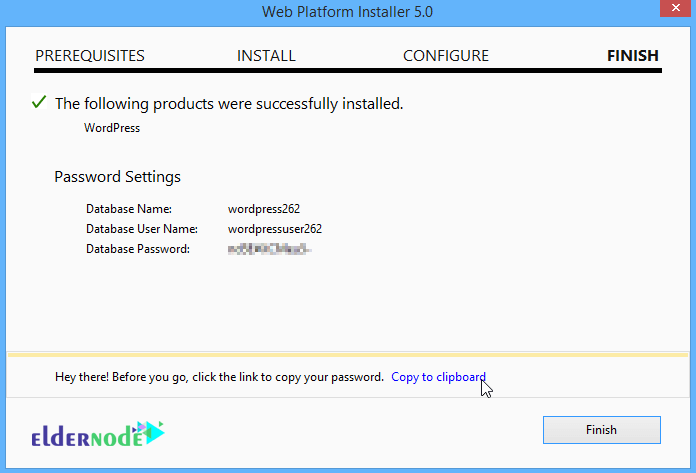
6. Finish.
On the FINISH dialog click the copy to clipboard link, paste and save this information in a file for future reference, and then click the Finish button.
Note: This copies your database settings and password to the clipboard.
7. Microsoft WebMatrix will open, allowing you to configure additional settings related to your WordPress site:
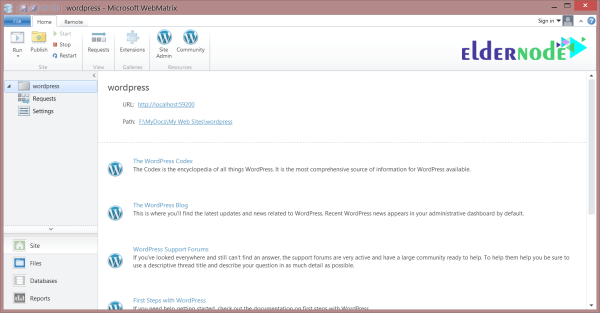
How to Complete the installation and configuration
1. Switch to one of the browsers.
2. Go to your WordPress website.
For example, go to http://localhost/myWordPress.
3. In the Site Title box, type the name of your site.
4. In the Password, twice boxes, type a password for the admin account.
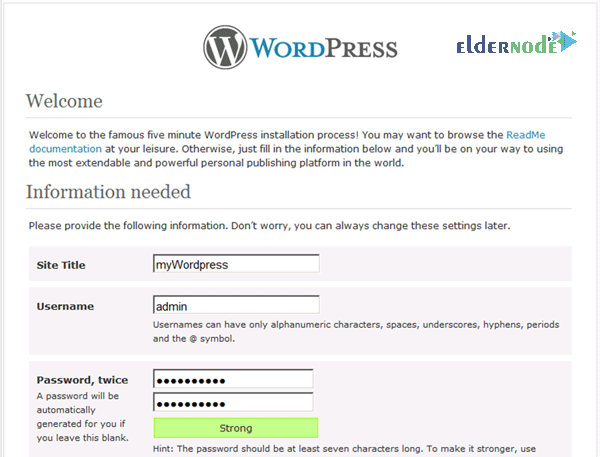
5. In the Your E-mail box, type the email address for the admin account.
6. Click Install WordPress.

7. Click Log In.
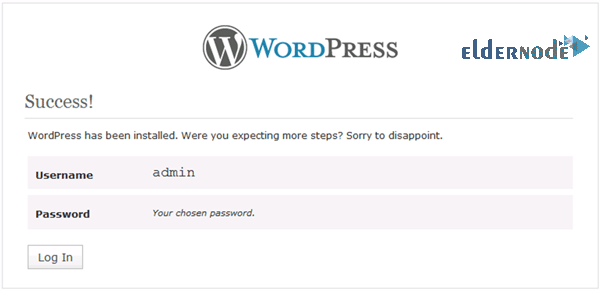
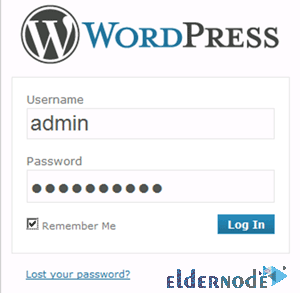
8. Type your username and password and then click Log In.
How to Enable clean URLs (Permalinks)
In this step, you enable Pretty Permalinks now that WordPress has been installed.
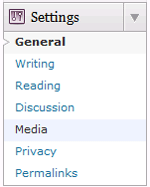
1. In the Dashboard menu, click Settings.
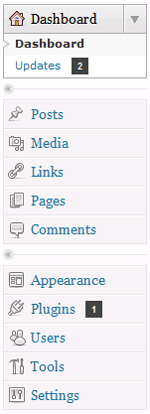
2. Scroll down, and then click Permalinks.
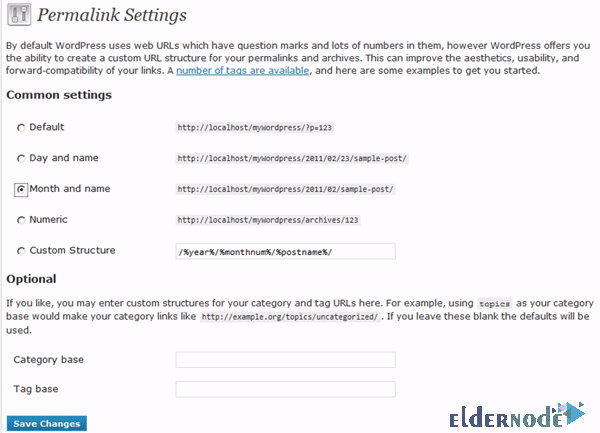
3. Under Common settings, select a common Permalink setting or select Custom Structure to create your own Permalink.
Then click Save Changes.
Installation completed successfully!
Installing on Microsoft IIS.
How to Running Microsoft WebMatrix with WordPress
The Microsoft Web PI installs WordPress to run in a localhost configuration in combination with Microsoft WebMatrix.
When WebMatrix is not running you will not be able to access your localhost WordPress site until WebMatrix is restarted.
Use the following steps to start WebMatrix and launch your localhost WordPress site:
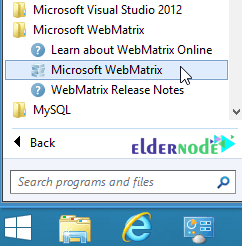
1. Click Start >> All Programs >> Open the Microsoft WebMatrix folder >> Click to launch the Microsoft WebMatrix.
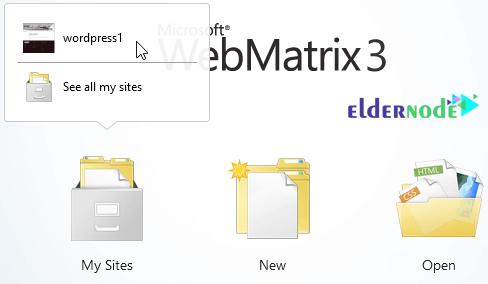
2. On the WebMatrix start page, click the My Sites button to display the installed sites, and then click your wordpress site that displays in the pop-up context menu.
3. After the site opens, click the lower-left Site tab to display links for the WordPress launch URL and file Path.
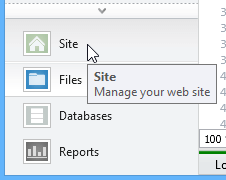
4. Click on the site URL link to launch your localhost WordPress site.

5. Finally, WebMatrix will open a browser window to your localhost WordPress site which you can customize and add content to.
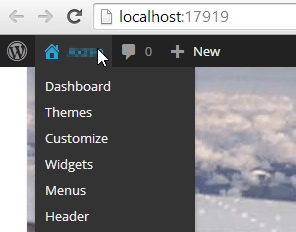
Note: WebMatrix must be left running while you interact with your localhost WordPress site.
Dear user, we hope you would enjoy this tutorial, you can ask questions about this training in the comments section, or to solve other problems in the field of Eldernode training, refer to the Ask page section and raise your problem in it as soon as possible. Make time for other users and experts to answer your questions.
Installing on Microsoft IIS.
Goodluck.
