WireGuard protocol has gained a lot of popularity. To the extent that big tech and programming figures like Linus Torvalds, the creator of Linux, have praised WireGuard software as a “work of art” compared to other VPN protocols like OpenVPN and IPSec. Tests show that this protocol connects much faster than other protocols and its encryption options are more secure than other options. In this article, we are going to teach you 2 ways to Install WireGuard on MacOS. If you want to Cheap VPS server, you can visit the packages offered on the Eldernode website.
Table of Contents
How to Setup WireGuard on MacOS with 2 way
Features of WireGuard
WireGuard is a VPN protocol; The way a client (such as your computer or phone) communicates with a VPN server. Also, WireGuard is a software that you can run on your different devices that works best. This software only supports UDP, which does not use handshake protocols.
Some of the features of WireGuard are:
1) Agility: WireGuard connects quickly, even when roaming across the network. In situations where other VPN protocols fail, this protocol remains connected.
2) Security: Compared to other VPN software, WireGuard software chooses smart and modern encryption tools with secure defaults.
3) Speed: WireGuard uses fast encryption code. Plus, its low-level component lives in the Linux kernel (on Linux servers and desktops), which makes it faster than other VPNs.
4) Ease of Deployment: Installing both the client and server parts of WireGuard software is very easy. On the server side, setting up WireGuard isn’t much harder than configuring SSH.
In the continuation of this article from the MacOS training series, we will teach you How to Install WireGuard on MacOS.
1) Installing WireGuard on MacOS using HomeBrew
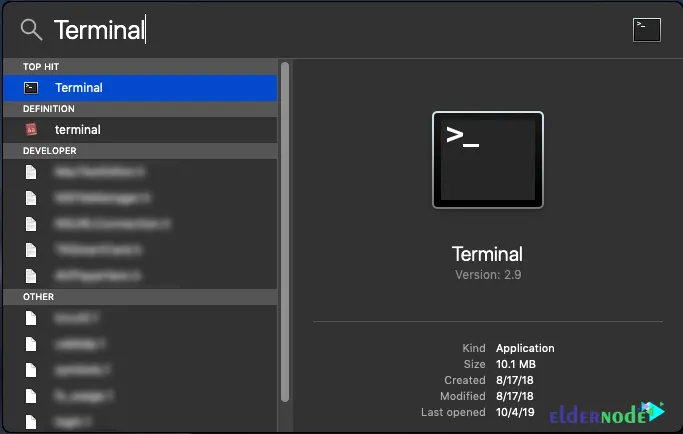
To install WireGuard with this method, first step is to install HomeBrew. To do this, just open the terminal and run the following command:
/usr/bin/ruby -e "$(curl -fsSL https://raw.githubusercontent.com/Homebrew/install/master/install)"Note that these steps may take up to 20 minutes.
Now you can install WireGuard using the following command:
brew install wireguard-tools; sudo mkdir -p /etc/wireguard/;You can view configuration and connection information via the following command:
sudo wg showYou can also use the following command to disconnect:
sudo wg-quick down <configuration name>To reconnect, you can run the following command:
sudo wg-quick up <configuration name>2) Installing WireGuard on MacOS
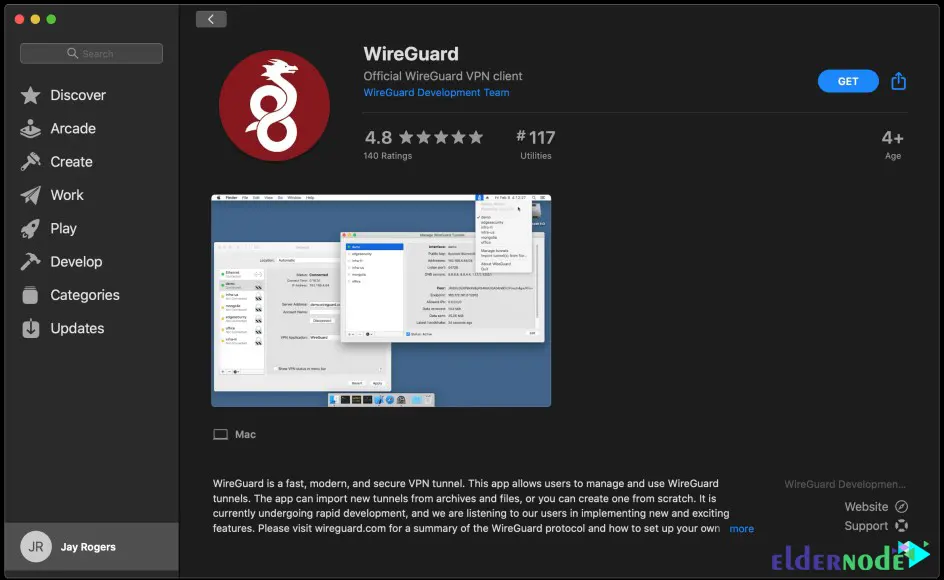
To install WireGuard using this method, you must follow the steps below. In the first step, it is necessary to download WireGuard by visiting the App Store:
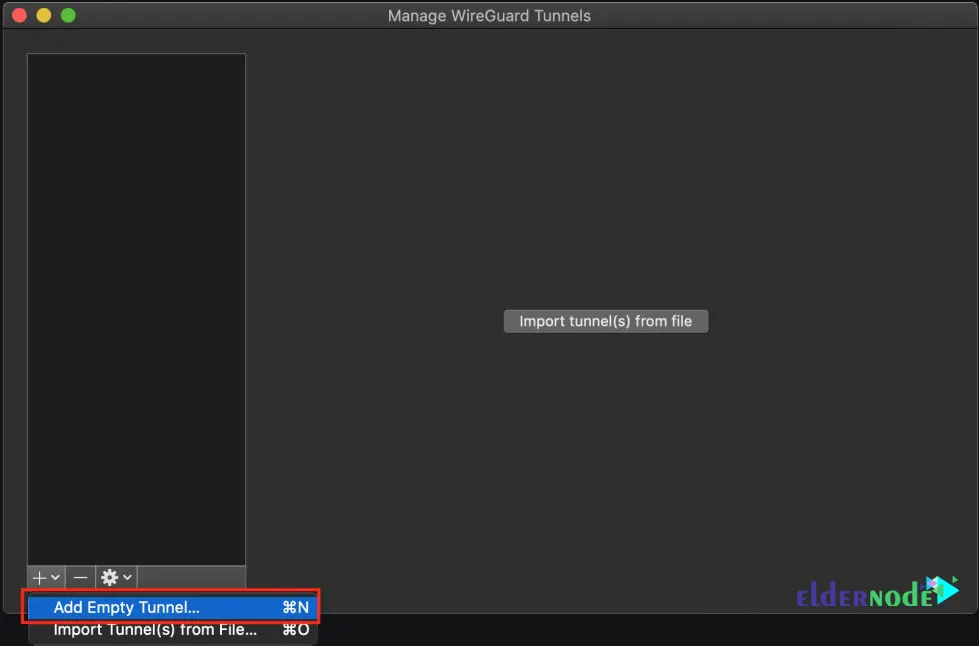
After downloading and installing WireGuard, you need to create a tunnel as shown below. Click on Add Empty Tunnel:
By clicking on the above option, you will see that keys will be generated for you. If you want to always be connected to your VPN, you need to enable the On-Demand option for “Ethernet” and “Wi-Fi”:
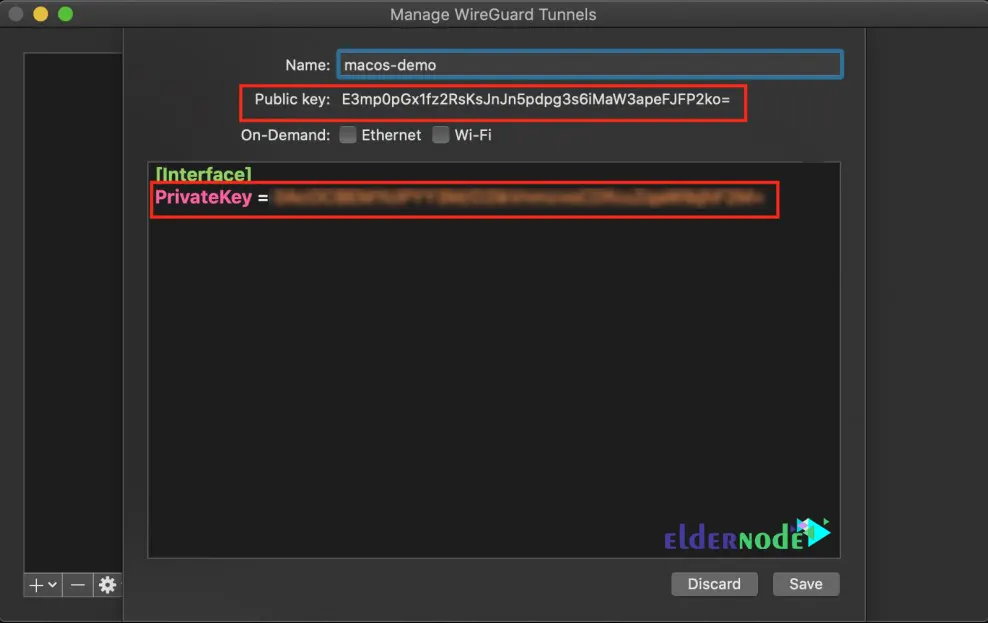
In the next step, you need to add your server as a “peer”. In this step you will configure your IP address and DNS for the remote network:
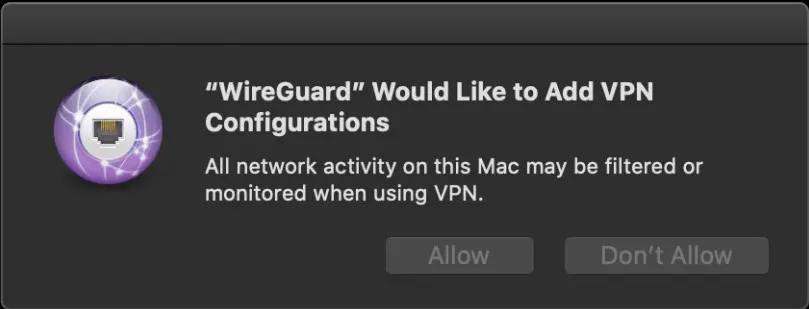
[Interface] PrivateKey = abcdefghijklmnopqrstuvwxyz1234567890=+ Address = 10.0.0.3/24 DNS = 1.1.1.1, 1.0.0.1[Peer] PublicKey = YOUR_SERVER_PUBLIC_KEY AllowedIPs = 0.0.0.0/0 Endpoint = YOUR_SERVER_WAN_IP:51820Save after entering your information. Now you may encounter a message like the image below. So you have to click on Allow:
Finally, to add your client to the server, you must run the following command:
sudo wg set wg0 peer YOUR_CLIENT_PUBLIC_KEY allowed-ips YOUR_CLIENT_VPN_IPConclusion
WireGuard is a secure tunneling protocol. In fact, WireGuard is one of the most secure VPN protocols out there, thanks to its use of modern and fully verified encryption. In this article, we tried to teach you How to Install WireGuard on MacOS. If you have any questions, you can share them with us in the comments section.