
As you already learned how to install VNC on CentOS 6, in this article we are going to learn how to install VNC on CentOS 7 Linux. Users generally use the terminal environment and SSH service to work with Linux servers. But for some users, working with Linux commands is a bit annoying. So they are interested in working with Linux in a remote graphical environment. Linux CentOS 7, as well as other Linux distributions, does not have the ability to control it by default from a remote graphical environment.
How to install VNC on CentOS 7 Linux
Before starting the VNC installation and setup process, update your CentOS 7 with the command below
yum update1- First, install the Gnome graphics environment on CentOS 7 Linux.
yum groupinstall "GNOME Desktop"Make sure the Gnome environment is fully installed.
2- After installing the Gnome graphics environment, enter the following command to download and install VNC.
yum install tigervnc-server xorg-x11-fonts-Type1The installation is complete now, and we will proceed to the VNC settings on the CentOS 7 Linux.
VNC settings on CentOS 7 Linux
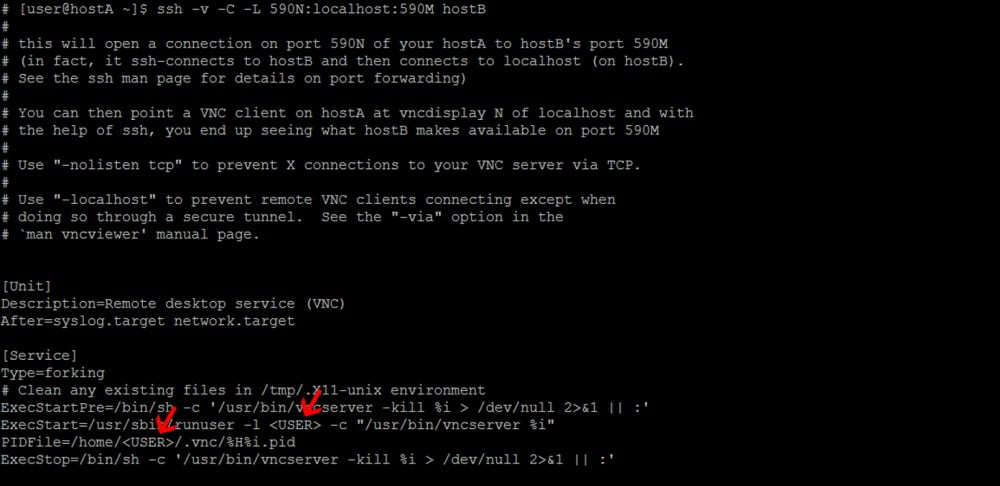
1- First, copy the VNC settings file.
Please note: at this point you need to specify the port, which the VNC is using.
In this command, we added the number 3, which means using port 5903.
If you want to use port 5901 or 5902, enter 1 or 2 instead of 3, respectively.
cp/lib/systemd/system/[email protected]/etc/systemd/system vncserver@:3.service2- Before setting up VNC, create a user to use it.
Keep in mind that root users cannot be used to connect to VNC.
useradd eldernodepasswd eldernode3- After creating the user with the vi editor, open the file /etc/systemd/system/vncserver@:3.service
4- Replace your built user in the parts you see the word.
5- Go to the user interface you created.
su eldernode5- Enter the VNCServer command and add the VNC password for the corresponding user.
firewall-cmd --permanent --zone=public --add-port=5903/tcp firewall-cmd --reload7- To run the VNC service, enter the following commands after each reboot.
Please note: The VNC service needs to be started manually after each reboot. To start automatically, enter the following command
systemctl daemon-reload systemctl start vncserver@:3.service systemctl enable vncserver@:3.service You have installed VNC on your CentOS 7 Linux till now, and here’s how to connect to it.
Install and configure VNC client
1- To connect to VNC Server, you must use the client version.
2- After downloading the program, run VNC Client.
3- In the top bar, enter the IP address along with the port.
4- After the search, you will be asked for the user password that you created for VNC.
Here you have managed to connect with your Linux. It may ask you for the password again for more security. Watch to not miss our related future articles.