TortoiseSVN is a free open-source Windows client for the Apache Subversion control system. In other words, TortoiseSVN manages files and directories over time. It should be noted that the files are stored in a central repository. This repository is very similar to a regular file server, except that it recalls all the changes that have been made to your files and directories. In this article, we are going to teach you How to Install TortoiseSVN on Windows 10. You can see the packages available in Eldernode if you want to buy a Windows VPS server.
Table of Contents
Tutorial Install TortoiseSVN on Windows 10
Introduction to TortoiseSVN
Using TortoiseSVN for Revision control, version control and source control is very easy on Windows. This is based on Apache Subversion (SVN). It is also interesting to note that TortoiseSVN provides an easy user interface for subversion.
TortoiseSVN is developed under the GPL and is free for all users. Note that the source code of this software is also available for free, so you can expand your version if you wish. The most important features of this software are the following:
1_ Easy to use
2_ All Subversion protocols are supported
3_ Powerful commit dialog
4_ The big picture
5_ Per project settings
6_ Integration with issue tracking systems
7_ Helpful Tools
8_ Available in many languages
9_ TortoiseSVN is stable
Install TortoiseSVN on Windows 10
In this section, we want to teach you to step by step how to Install TortoiseSVN on Windows 10. To do this, just follow the steps below in order.
The first step is to download the latest version of TortoiseSVN.
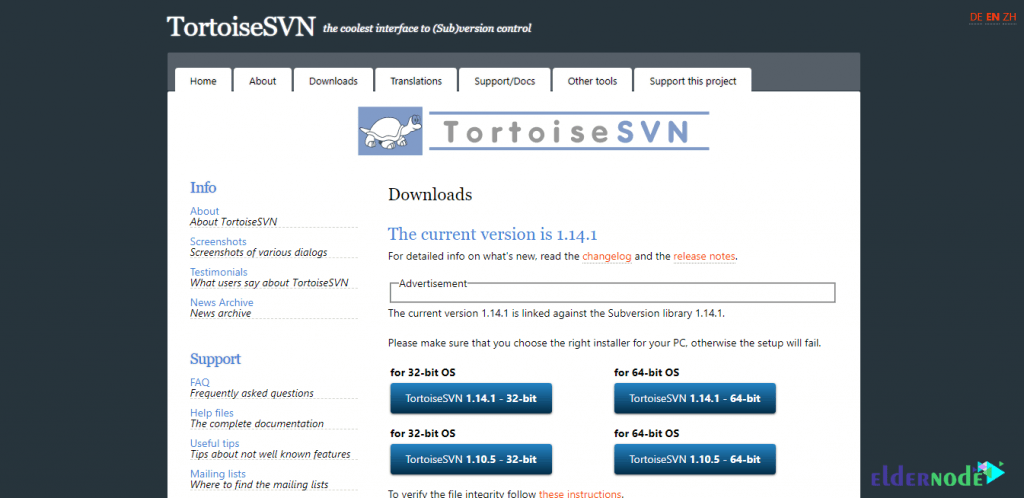
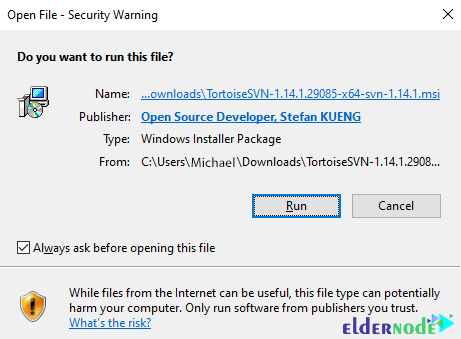
After you have downloaded TortoiseSVN, you should now go to the location where you downloaded the file. Double-click on the file and then click Run in the window that opens.
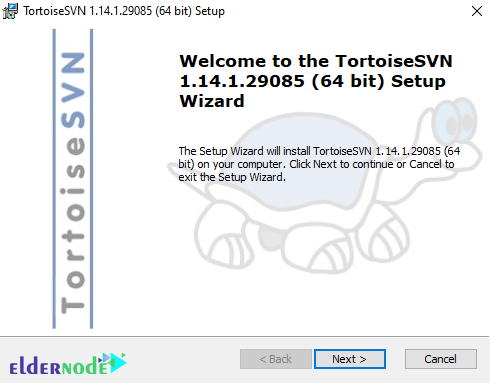
You will see that the TortoiseSVN installation process begins. In the window that opens, click Next.
In the next step called End-User License Agreement, you must select I accept the terms… and click Next.
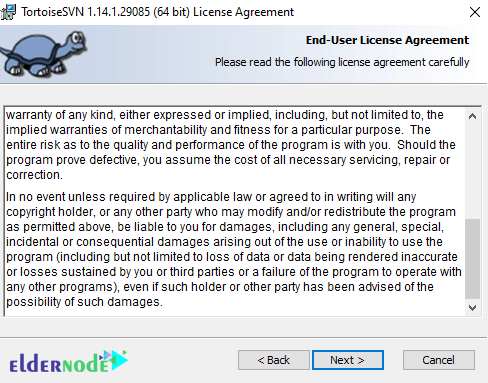
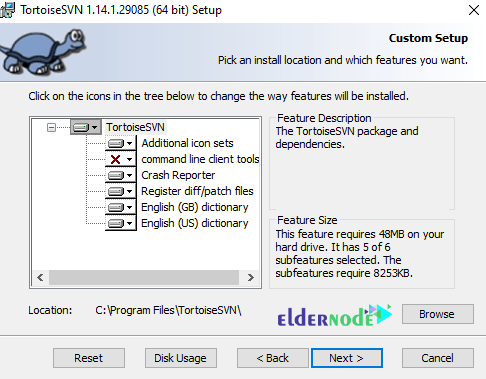
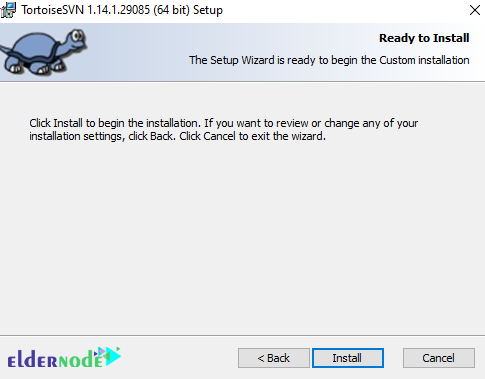
You will see that in the next step called Custom Setup, the settings are selected by default. Just click Next. Then click on Install to start installing TortoiseSVN.
*
*
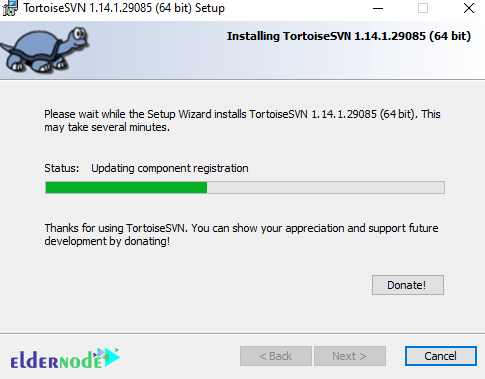
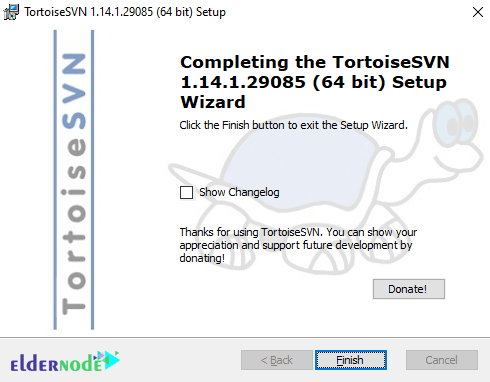
Finally, click Finish to complete the TortoiseSVN installation.
How to Access TortoiseSVN on Windows 10
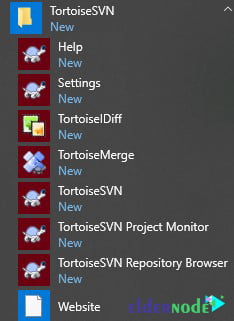
Now that you have successfully installed TortoiseSVN in the previous section, we now turn to how to access it. It should be noted that TortoiseSVN generally does not need to be configured, but to access a repository, a payment operation must be performed.
Here’s how to access TortoiseSVN. Note that when you click on “TortoiseSVN“, you may see a warning message saying that to use TortoiseSVN, you must right-click on each folder and use its features.
*
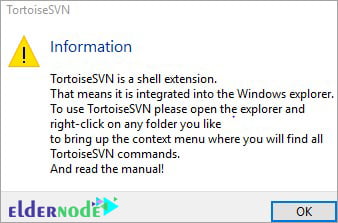
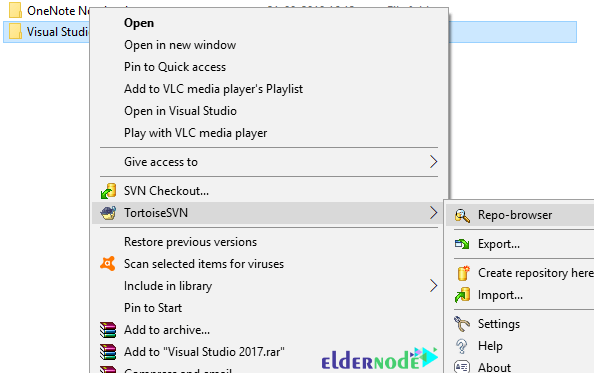
Now you have to click OK to close the warning message. You can easily right-click on any folder. By doing this you will see the “TortoiseSVN” menu which has the following menu items:
Conclusion
In this article, we have tried to teach you how to install, configure and access TortoiseSVN after fully introducing TortoiseSVN and its features. It’s intuitive and easy to use since it doesn’t require the Subversion command-line client to run. It is free to use, even in a commercial environment.
