MySQL is the most popular database in the world that provides users with good facilities and features. Our suggestion to you is to definitely install this database. So stay tuned to Eldernode with the MySQL installation tutorial on Windows Server. You can also buy and use the Windows VPS Server from Eldernode.
Table of Contents
Tutorial Install MySQL on Windows Server
MySQL software is a database management system designed to manage relational database systems and is a good choice for developing websites or web applications. It is an open-source software supported by Oracle. MySQL is very easy to learn compared to other database software.
Downloading MySQL for Windows
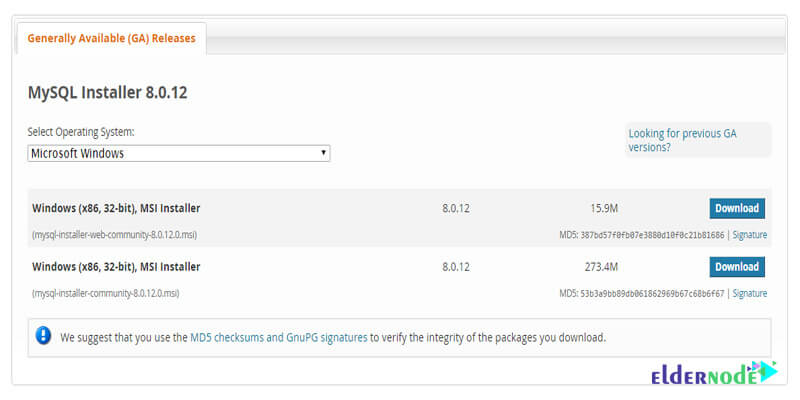
You must first download MySQL for your Windows server. To do this you need to go to the official MySQL site.
For easy access, we provide you with the link to the MySQL download page for Windows so that you can easily download the version you want.
After entering this page, select the version you want and click on the blue Download option:
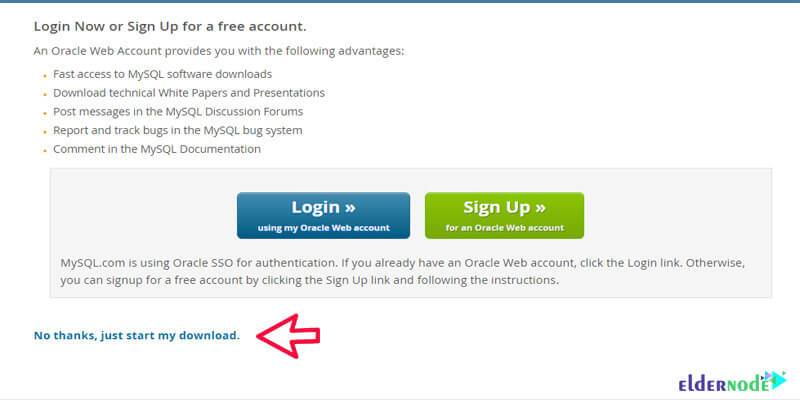
After opening the download page, go to the bottom of the page and click on the No thanks, just start my download link to start downloading the file:
Installing MySQL on Windows
After downloading MySQL, you can follow the steps to install MySQL on a Windows server according to the following steps:
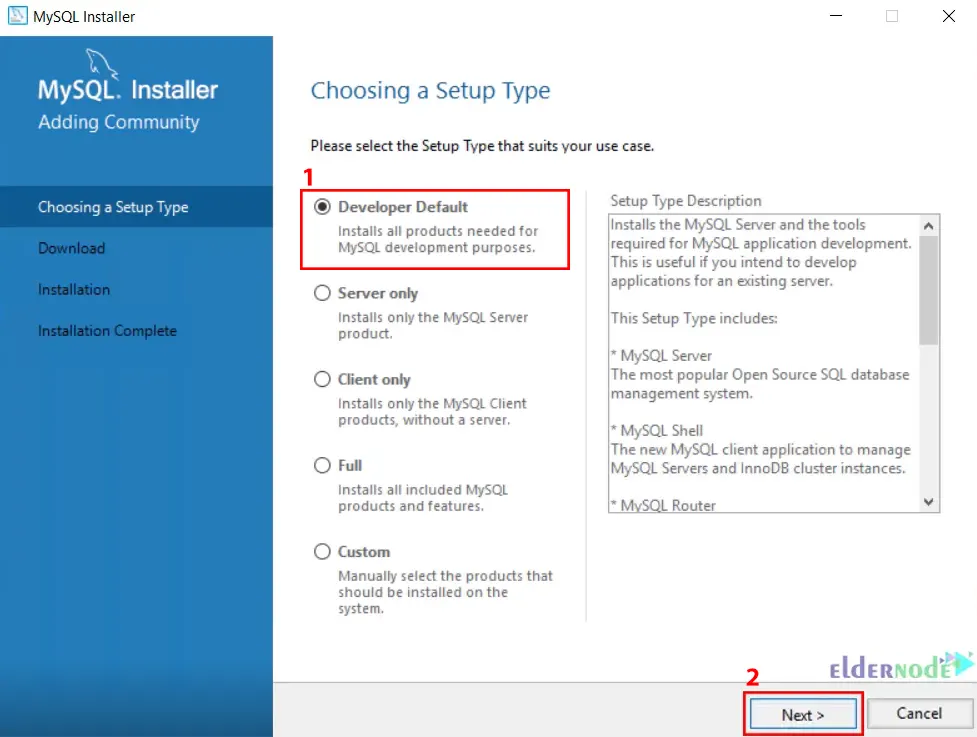
1. First, in Choosing a Setup Type step, you can select the required type from MySQL, but as suggested, you can select the Developer Default option.
Description of other options:
A) Developer Default: this is the full installation of MySQL Server and the other tools needed for development. If you are building your database from the ground up or will be managing the data directly in the database, you’ll want to use this setup type.
B) Server Only: if you only need MySQL Server installed for use with a CMS or other application and will not be managing the database directly, you can install just the server.
C) Client only: This option is suitable for the client or customer.
D) Full: This option includes all the features.
E) Custom: this setup type will allow you to customize every part of the installation from the server version to whichever additional tools you select.
2. In the check requirements window, click Next:

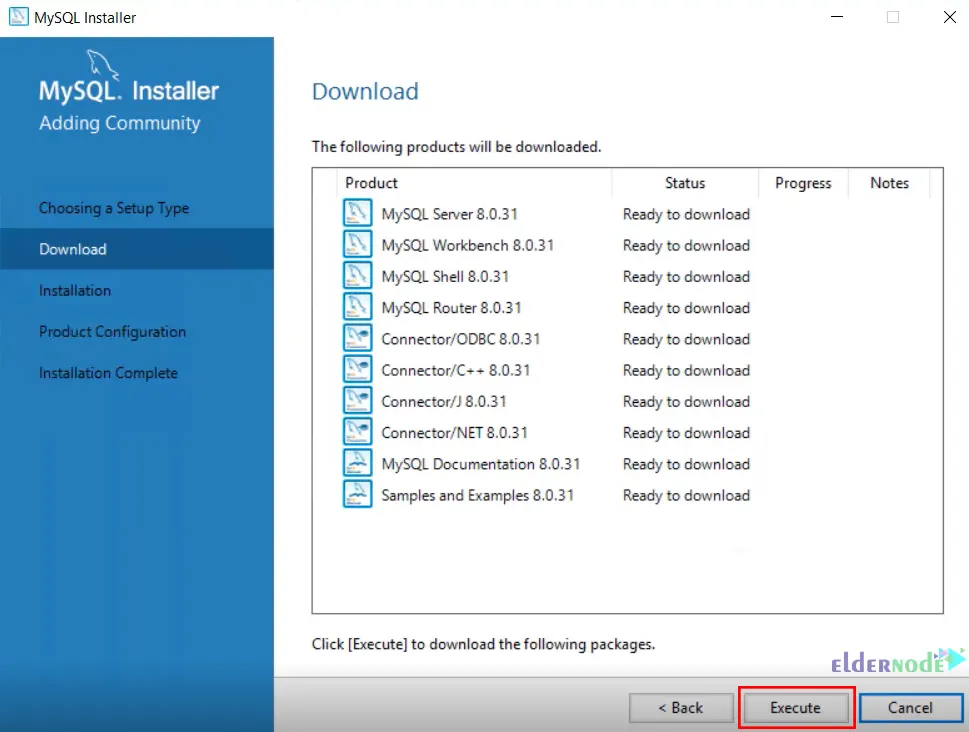
3. Now click on Execute to download the shown products:
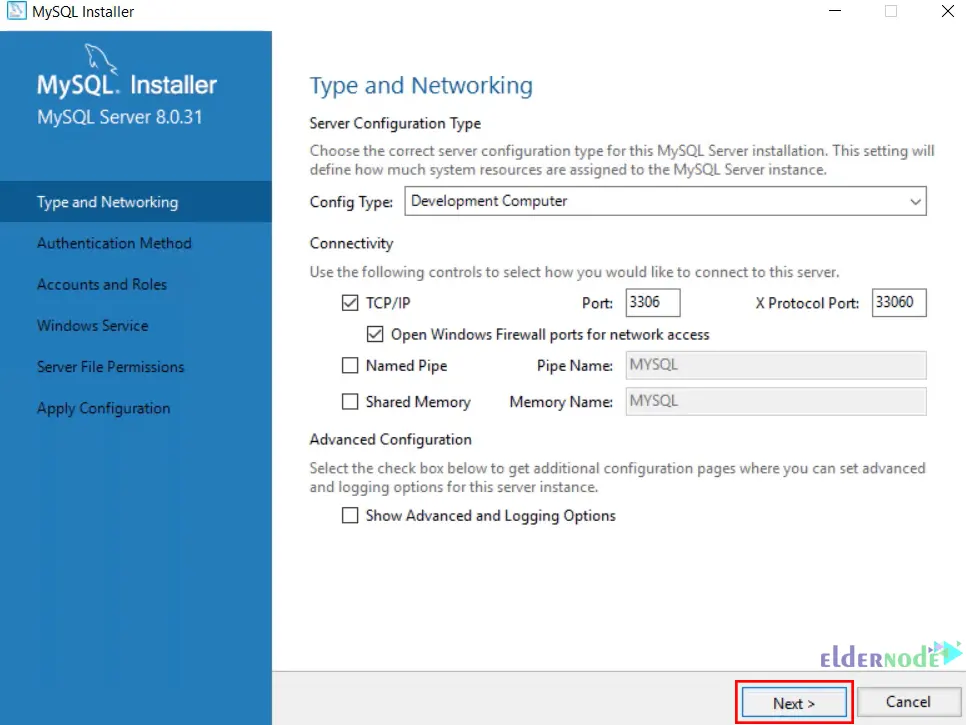
4. In the Type and Networking section, check the settings and click on Next:
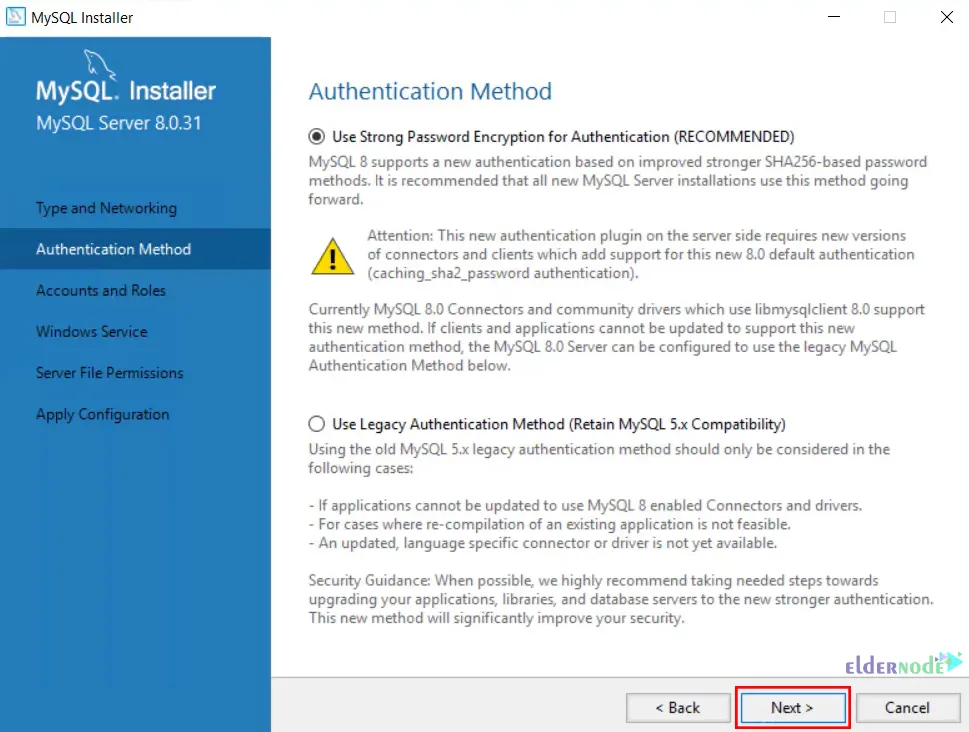
5. Choose your Authentication method and click on Next:
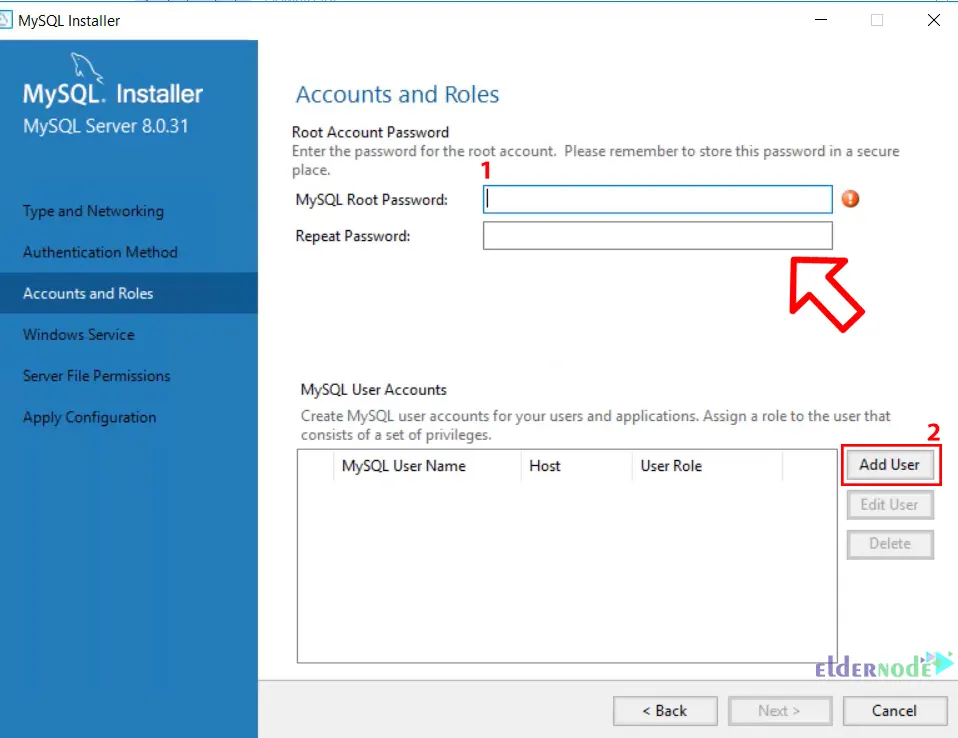
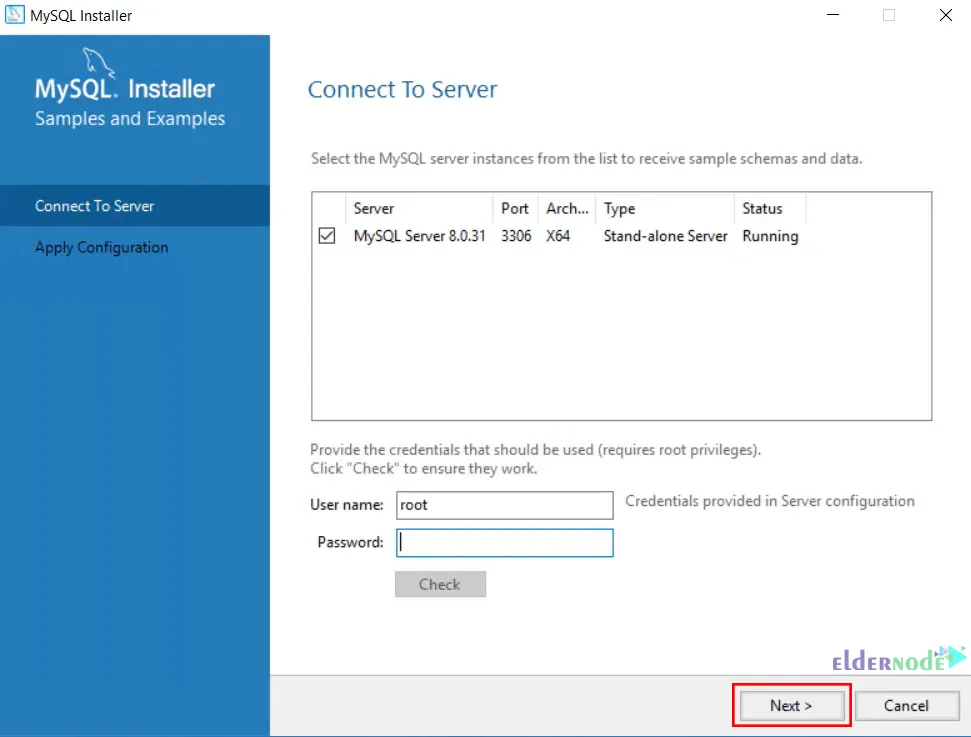
6. In the Accounts and Roles section, enter MySQL root password and click on Add User:
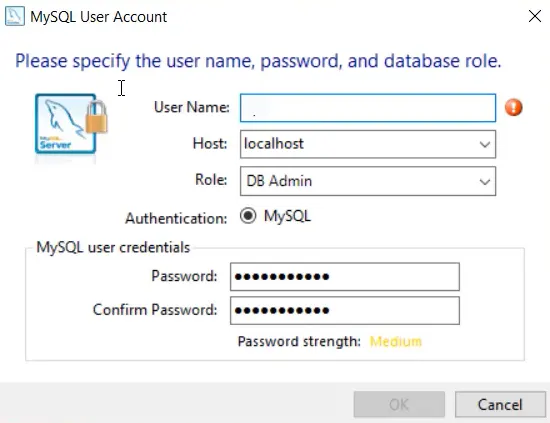
7. Now fill in the information and click on OK:
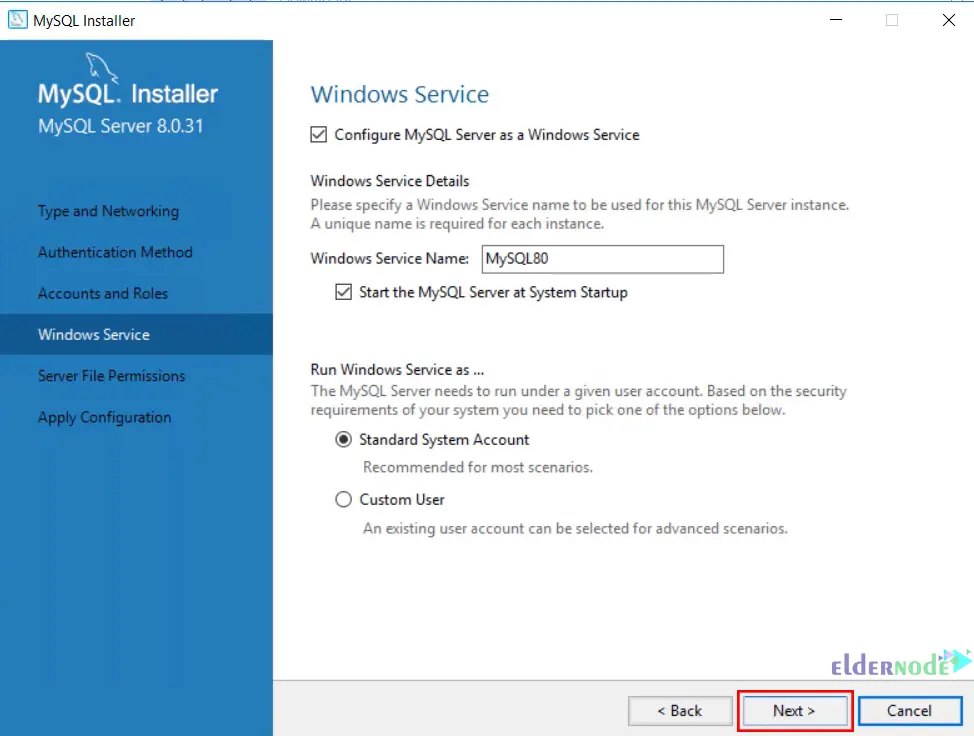
8. Then configure MySQL as a Windows service and click Next:
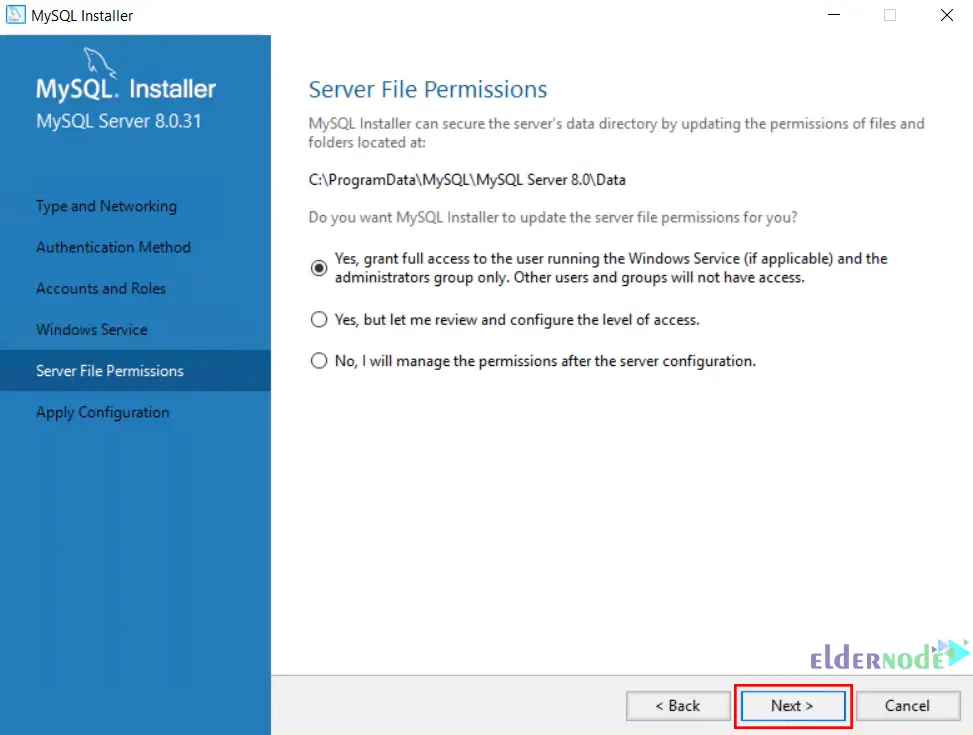
9. Update the server file permissions and click Next:
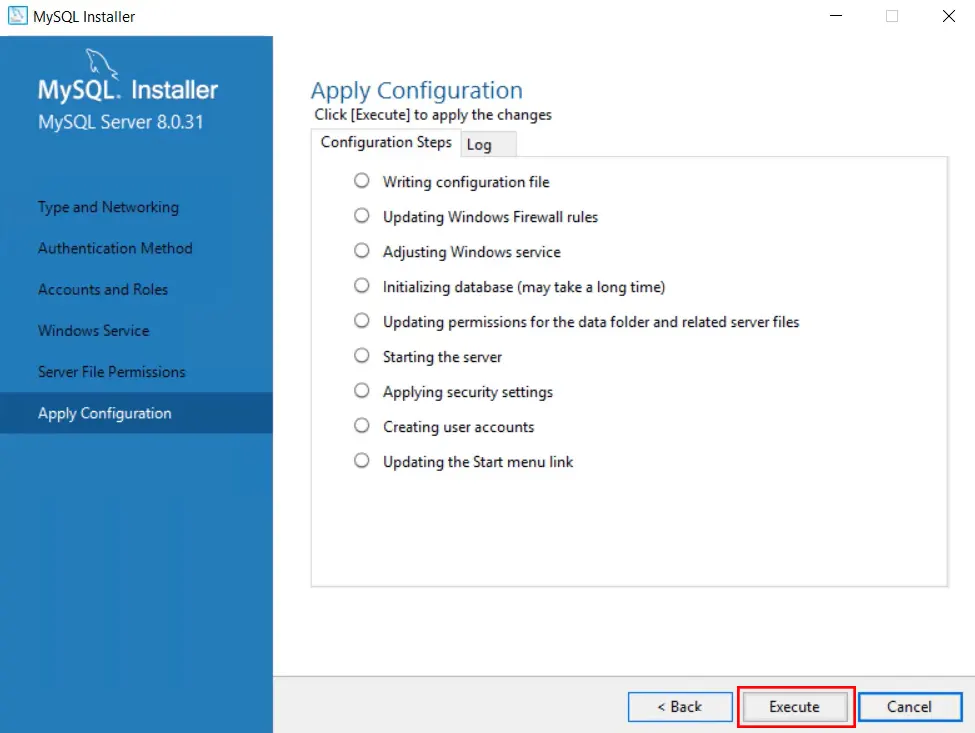
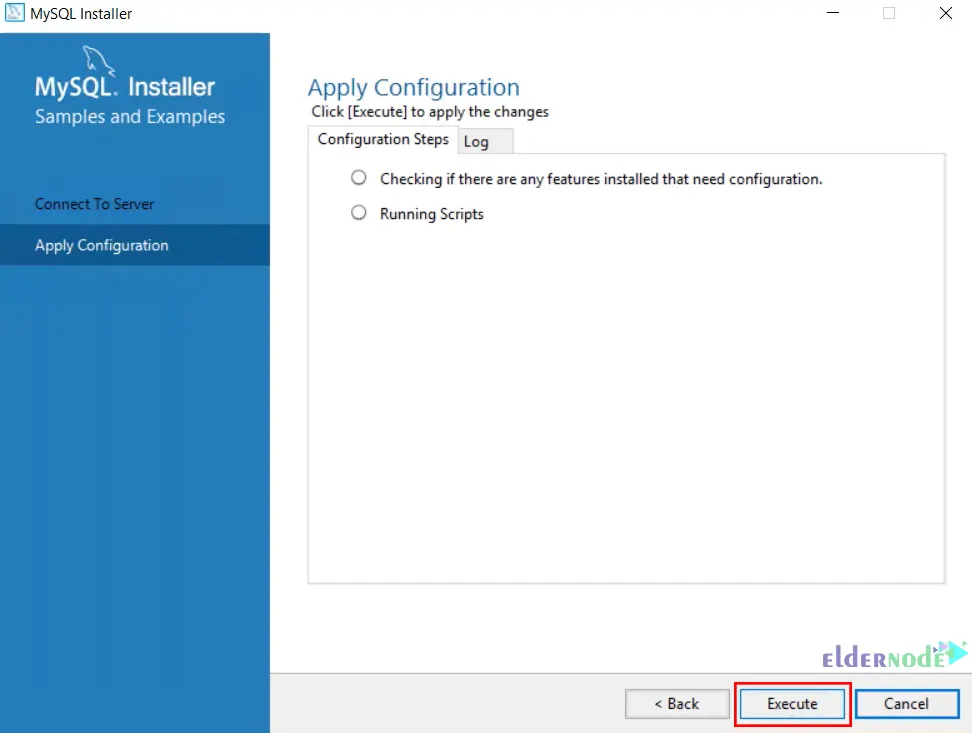
10. Click on Execute to apply the configuration:
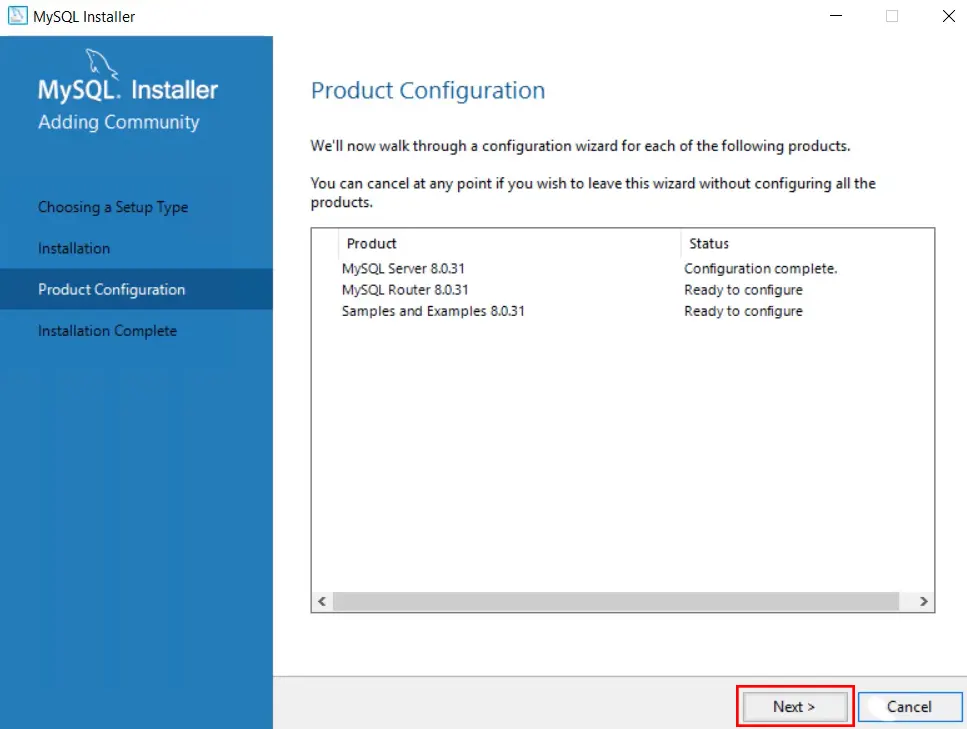
11. Click Next again:
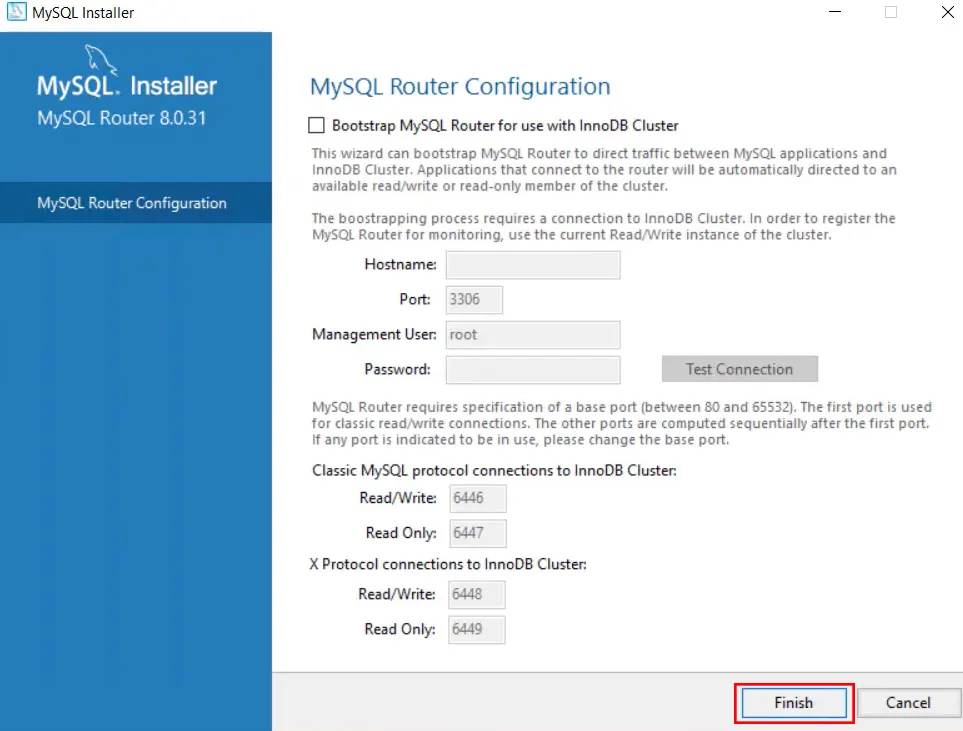
12. Configure MySQL router configuration and click on Finish:
13. Enter your password to connect to the server and click on Next:
14. Click Execute to apply the configuration:
15. Installation is completed, click on Finish:

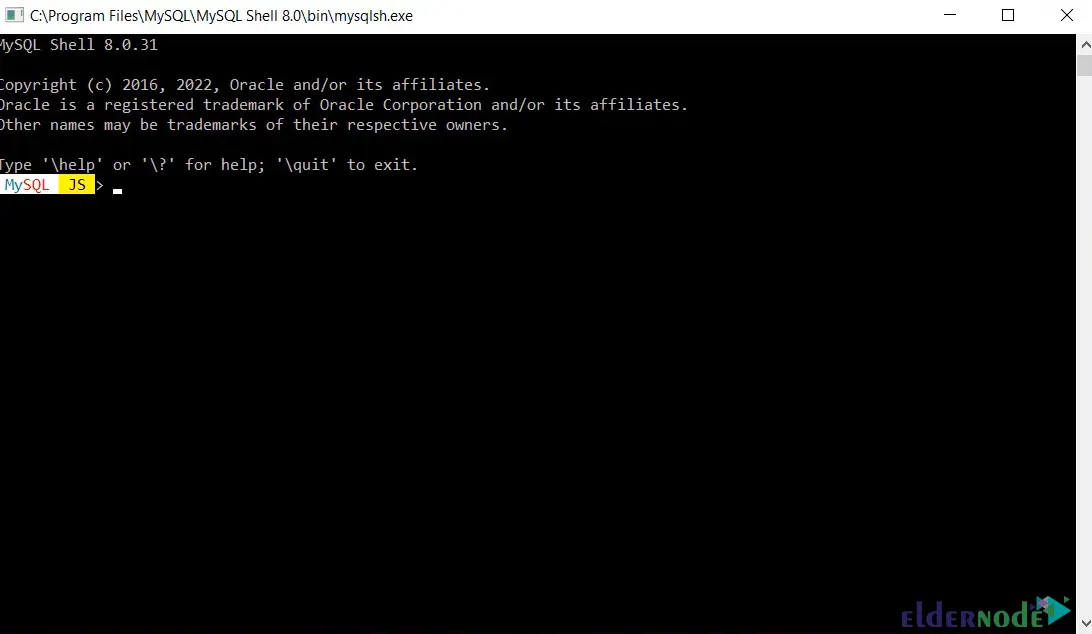
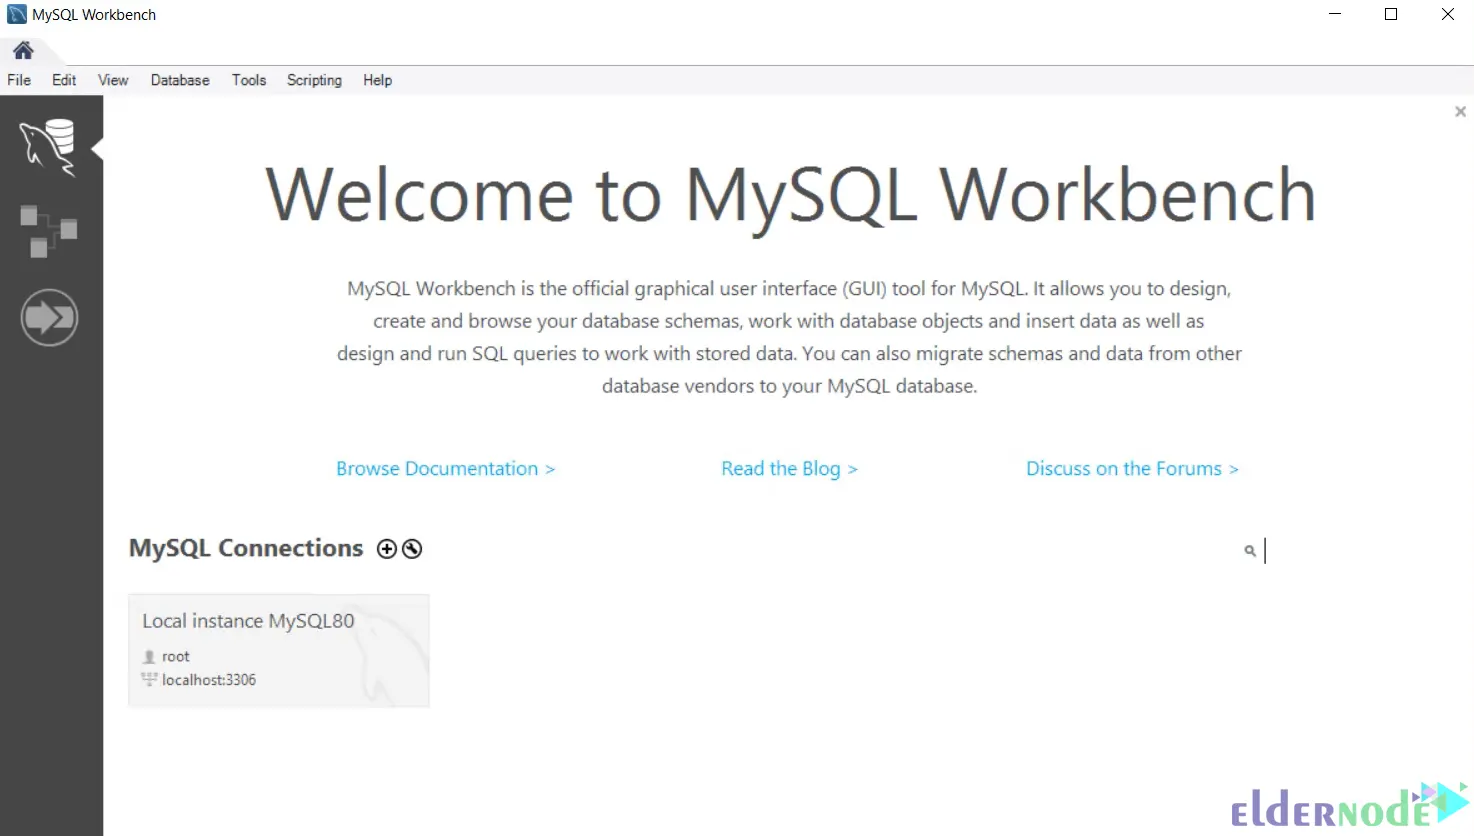
16. Once you press Finish, you should see the following screens:
That’s it!
Conclusion
Dear user, we hope you would enjoy this tutorial, you can ask questions about this training in the comments section, or to solve other problems in the field of Eldernode training, refer to the Ask page section and raise your problem in it as soon as possible. Make time for other users and experts to answer your questions.
Good luck.