If you are one of those people who play games are an integral part of your life, you will definitely need an online Minecraft server. These servers can create new challenges for you. Different Minecraft servers, no matter what type of game you play, offer more than the original game can offer. In this article we are going to teach you about How to Install Minecraft Server on Ubuntu 22.04 LTS. Let’s see how we can get the Minecraft server running on Ubuntu 22.04. If you want to buy an Ubuntu VPS server, visit the packages available on the Eldernode website.
Table of Contents
How to Install Minecraft Server on Ubuntu 22.04 LTS
What is Minecraft Server?
Minecraft game is one of the most popular mind games, different versions of which have been published for computer and mobile operating systems. The pc version of Minecraft was released as the alpha version in 2009, and after a series of updates to the alpha version, the original and final version was released in 2011.
In the same year, versions of the game released for Android and iOS, and the following year, a version of Minecraft was released for the Xbox 360 as the Xbox live version. All the versions of Minecraft can be updated periodically.
A Minecraft server is a multiplayer game server that can belong to one player, one team, or even a complete business. Previously, in a single-player game, the Minecraft client managed all game processes, and the server included a separate run of the game. From version 1.3.1, a player implicitly launches a server with special settings that reduce the number of errors due to a single implementation. On the server all the rules of the game mechanics work like a single player game.
In the continuation of this article, join us to teach you step by step how to Install Minecraft Server on Ubuntu 22.04 LTS.
Prerequisites
-> To setup, follow the Initial server setup on Ubuntu 22.04
-> Minecraft Java Edition
Installing Minecraft Server on Ubuntu 22.04 LTS
First, you should install the necessary software packages that Java is one of them. You will need Java to run Minecraft. By default, the new version of Java is not available on Ubuntu 22.04 LTS to run the latest versions of Minecraft. You can start this with following command:
sudo add-apt-repository ppa:openjdk-r/ppaThen update your package sources:
sudo apt updateNext press “Y” to confirm. To start any service, press “ENTER” to accept the defaults and continue.
Finally, install OpenJDK version 17 Java, specifically JRE Headless. This version removes support for graphical user interface applications, which makes Java applications run better on the server:
sudo apt install openjdk-17-jre-headlessYou can also use the Screen software to create a terminal session and detach from it and run the process started on it. This is important because if you set up a server, you will have to close your terminal, which will cause the session to crash and stop your server.
To install the Screen run the following command:
sudo apt install screenNow you need to enable the firewall to get traffic to the Minecraft server. In the initial setup of the server, only SSH traffic was allowed, but now you have to allow traffic to enter through port 25565 (Minecraft default port to allow connections). In some cases UFW uses named traffic rules, such as SSH , which always uses port 22 by default, but in less common cases, we specify the port number manually. For this purpose you can use the following command:
sudo ufw allow 25565You should now download the latest version of Minecraft server from the Minecraft website using the Download minecraft_server.X.X.X.jar link.
Use the following wget command to download the server:
wget https://launcher.mojang.com/v1/objects/c8f83c5655308435b3dcf03c06d9fe8740a77469/server.jarTo manage or upgrade your Minecraft server in the future, rename the downloaded server.jar file to minecraft_server_1.18.2.jar, and match the highlighted version numbers to the version you just downloaded:
mv server.jar minecraft_server_1.18.2.jarAfter downloading the Minecraft jar, to run it, first start a screen session by running the following command:
screenAfter the banner appears, press the Spacebar. The screen gives you a terminal session where you can start and execute a command here. Now you can do your initial configuration. The next command may encounter an error, but do not worry. According to Minecraft principles, you must first agree to the Company’s Licensing Agreement. Then you will do this:
java -Xms1024M -Xmx1024M -jar minecraft_server_1.18.2.jar noguiCommand-line Arguments that Setup your Server
Xms1024M: This argument configures the server to run with 1024MB or 1GB of RAM. You can increase this limit to have more RAM. Both M (megabytes) and G (gigabytes) are supported options. For example, Xms2G runs the server with 2G of RAM.
Xmx1024M: This option allows the server to use a maximum of 1024M of RAM. You can increase this limit if you want to increase the number of players or if your server is slow. The unique feature of Java programs is that you are always asked to specify the maximum amount of memory allowed.
jar: Use this option to specify the execution of the server jar file.
nogui: This option tells the server not to boot the graphical user interface.
When you first run this command to setup the server, you will receive this output:
Output [22:05:31] [environment second] [22:05:31] [main/ERROR]: Failed to load properties from file: server.properties [22:05:31] [main/WARN]: Failed to load eula.txt [22:05:31] [main/INFO]: You need to agree to the EULA in order to run the server. Go to eula.txt for more info.These errors occurred when the server could not find the two files needed to run:
- the EULA (End User License Agreement), found in eula.txt
- configuration file server.properties
The server created these files in your current to-do list, because it could not find them. This is to make sure Minecraft, that you read and agree to the EULA.
Open eula.txt in nano or another text editor:
nano eula.txtAfter viewing the EULA Minecraft link inside the file, copy the URL:
#By changing the setting below to TRUE you are indicating your agreement to our EULA (https://account.mojang.com/documents/minecraft_eula). #Tue Mar 24 22:05:31 UTC 2020 eula=falseOpen the URL in your web browser and read the agreement. Then find the last line in eula.txt, change eula=false to eula=true. Then save and close the file.
In nano, this means pressing Ctrl+X to exit, then while saving, press Y first and then ENTER.
After accepting the EULA, you can configure the server according to your specifications.
In your current business directory, there is a server.properties file that contains all the configuration options for your Minecraft server. A complete list of your server features is available on the Official Minecraft Wiki. Before setting up your server, modify this file with the settings you want:
nano server.propertiesYour file will look like this:
#Minecraft server properties #Thu Apr 30 23:42:29 UTC 2020 spawn-protection=16 max-tick-time=60000 query.port=25565 generator-settings= force-gamemode=false allow-nether=true enforce-whitelist=false gamemode=survival broadcast-console-to-ops=true enable-query=false player-idle-timeout=0 difficulty=easy spawn-monsters=true broadcast-rcon-to-ops=true op-permission-level=4 pvp=true snooper-enabled=true level-type=default hardcore=false enable-command-block=false max-players=20 network-compression-threshold=256 resource-pack-sha1= max-world-size=29999984 function-permission-level=2 rcon.port=25575 server-port=25565 server-ip= spawn-npcs=true allow-flight=false level-name=world view-distance=10 resource-pack= spawn-animals=true white-list=false rcon.password= generate-structures=true online-mode=true max-build-height=256 level-seed= prevent-proxy-connections=false use-native-transport=true motd=A Minecraft Server enable-rcon=falseServer.properties file Features
difficulty (default easy): Options of this case are peaceful, easy, normal and hard.
gamemode (default survival): Options are survival, creativity, adventure and spectator.
Level-name (default world): This option determines the name of your server that appears in the client.
motd (default A Minecraft Server): The message displayed in the Minecraft client server list.
pvp (default true): This option activates player-to-player combat. If set to true, players can go war with each other and hurt each other.
After setting the desired options, save them, close the file and start your server.
For example, let’s look at how to setup a server with 1024M RAM. If necessary, let Minecraft upgrade the RAM to 4G. This value is adjustable to suit server limitations or user needs.
java -Xms1024M -Xmx4G -jar minecraft_server_1.18.2.jar noguiAfter a few minutes your Minecraft server will start producing similar output:
Output [21:08:14] [Server thread/INFO]: Starting minecraft server version 1.18.2 [21:08:14] [Server thread/INFO]: Loading properties [21:08:14] [Server thread/INFO]: Default game type: SURVIVAL [21:08:14] [Server thread/INFO]: Generating keypair [21:08:15] [Server thread/INFO]: Starting minecraft server on *:25565After setting up the server, you will see the following output:
Output [21:15:37] [Server thread/INFO]: Done (30.762s)! For help, type "help"Your server is now up and you can see the server admin control panel. Try typing help:
helpThen you will see this output:
Output [21:15:37] [Server thread/INFO]: /advancement (grant|revoke) [21:15:37] [Server thread/INFO]: /ban <targets> [<reason>] [21:15:37] [Server thread/INFO]: /ban-ip <target> [<reason>] [21:15:37] [Server thread/INFO]: /banlist [ips|players] ...If you want the server to still be running even after disconnecting from the SSH session, follow the instructions bellow:
If you have used the screen before, you can leave the session by pressing Ctrl+A+D. You should now return to your original shell:
Output ubuntu@minecraft-2204:~$ screen [detached from 3626.pts-0.minecraft-2204] $Run this command to view all screen sessions:
screen -listYou will then receive an output with your session ID that you must resume:
Output There is a screen on: 3626.pts-0.minecraft-2204 (03/02/22 22:56:33) (Detached) 1 Socket in /run/screen/S-root.Send the -r flag to the screen command, then enter your session ID to resume the session:
screen -r 3626To exit the terminal, exit the session with Ctrl+A+D and then log out.
After setting up the server, you can connect to it and play as a Minecraft client.
Run the Minecraft Java Edition and select Multiplayer from the menu:
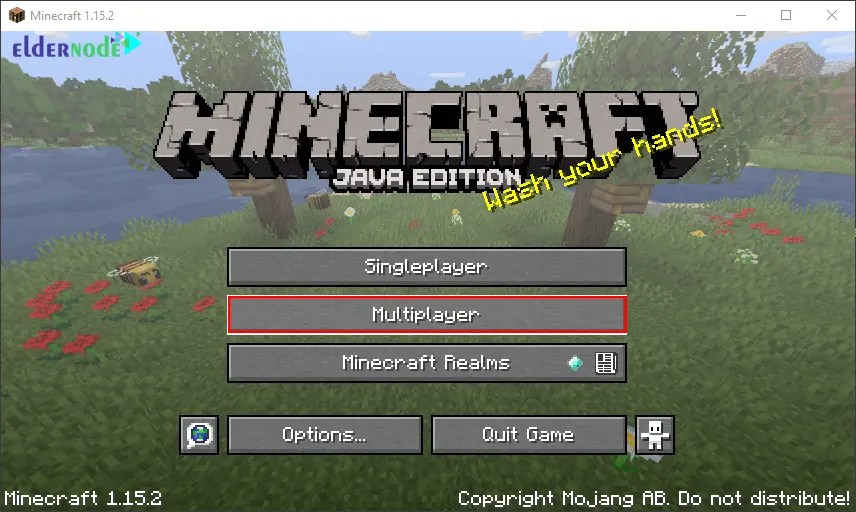
Next click the Add Server button:
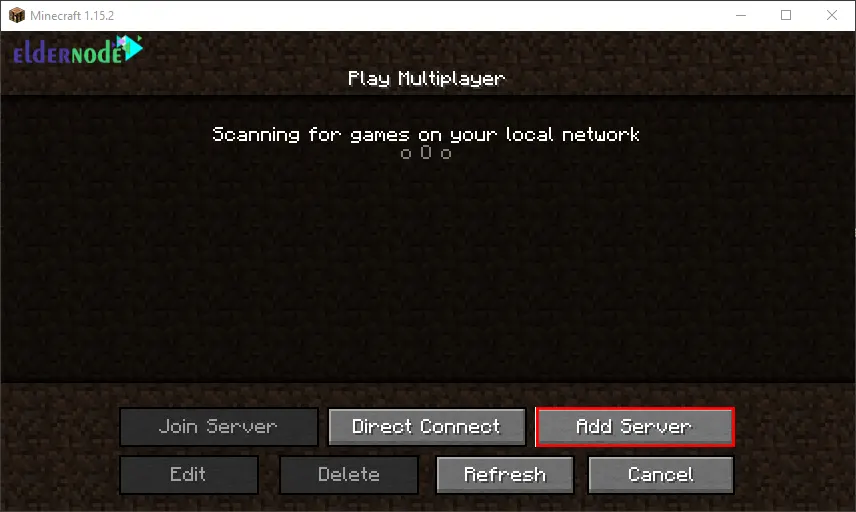
On the Edit Server Info screen, give a name to your server and type in the IP address of the server (the address you used to connect via SSH):

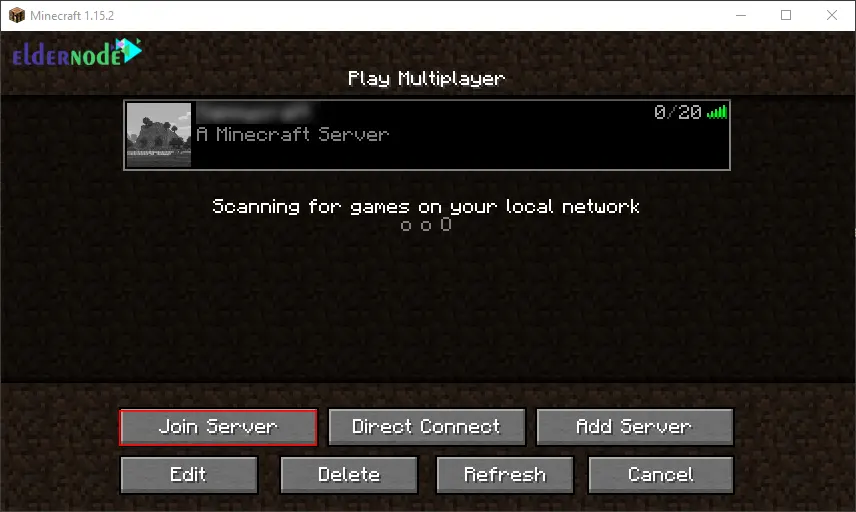
You will now be taken back to the Multiplayer screen, where your server will be listed. From now on you can select your server from this list and click on Join Server:
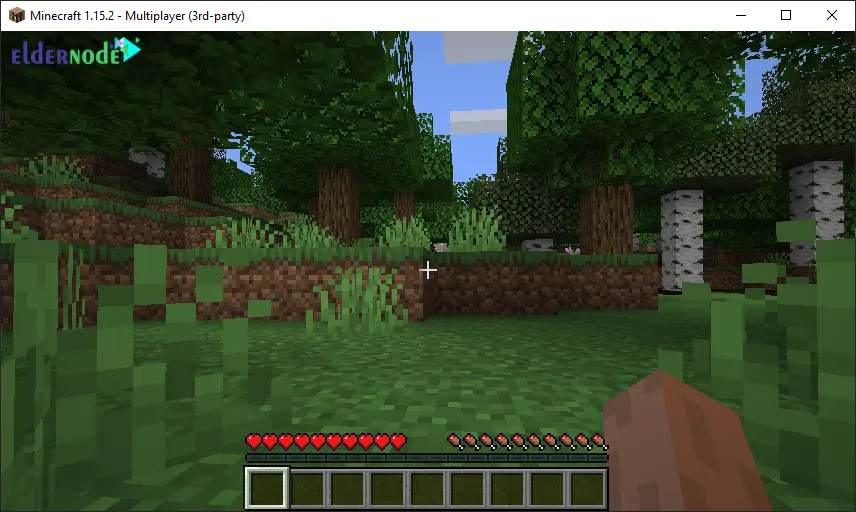
Your are now on your server and you can start playing:
Conclusion
Minecraft is a SandBox-style video game. Sandbox is a style of game in which the gamer has complete freedom of action and chooses how and under what conditions to continue the game. In this article, we learned How to Install Minecraft server on Ubuntu 22.04 LTS. So you can play with your friends. Now you can enjoy this new world.