Webuzo is a control panel that simplifies the process of deploying web applications and managing hosting environments. CloudLinux and Webuzo are not directly related or dependent on each other, but they can be used together. You can use CloudLinux with any web hosting control panel and also use Webuzo with any compatible operating system. This article will teach you How to Install CloudLinux on Webuzo. Eldernode offers an economically Linux VPS Server, which you can check out the offered package to purchase it.
Table of Contents
Tutorial Setup CloudLinux on Webuzo
Introduction to CloudLinux
CloudLinux is an operating system designed specifically for web hosting environments. It provides a number of features that make it easier to manage and secure web hosting servers, including advanced resource allocation controls, improved security and stability, and a variety of other tools and features. You can use CloudLinux with any web hosting control panel and also use Webuzo with any compatible operating system. To install CloudLinux on Webuzo, follow the steps below.
Installing CloudLinux on Webuzo
After installing CloudLinux on the Linux operating system, follow the steps below.
The Webuzo installation steps are similar to the general CloudLinux installation steps you follow for other control panels.
Firstly, install the CloudLinux using the following command:
wget https://repo.cloudlinux.com/cloudlinux/sources/cln/cldeployNow you should activate the CloudLinux license. If you use an activation key run the following command to activate the CloudLinux license:
sh cldeploy -k <activation_key>But if you use an IP-based license, you should enter the command below:
sh cldeploy -iOnce done, reboot your server as shown below:
rebootIn this step, after you have booted into CloudLinux Operating System, you need to install the CloudLinux plugin in Webuzo. To do this, run the following command:
wget -N https://files.webuzo.com/plugins/cloudlinux/cloudlinux.sh chmod +x cloudlinux.sh ./cloudlinux.shOnce done, the admins and users can see the CloudLinux utilities and you should see the following screen:
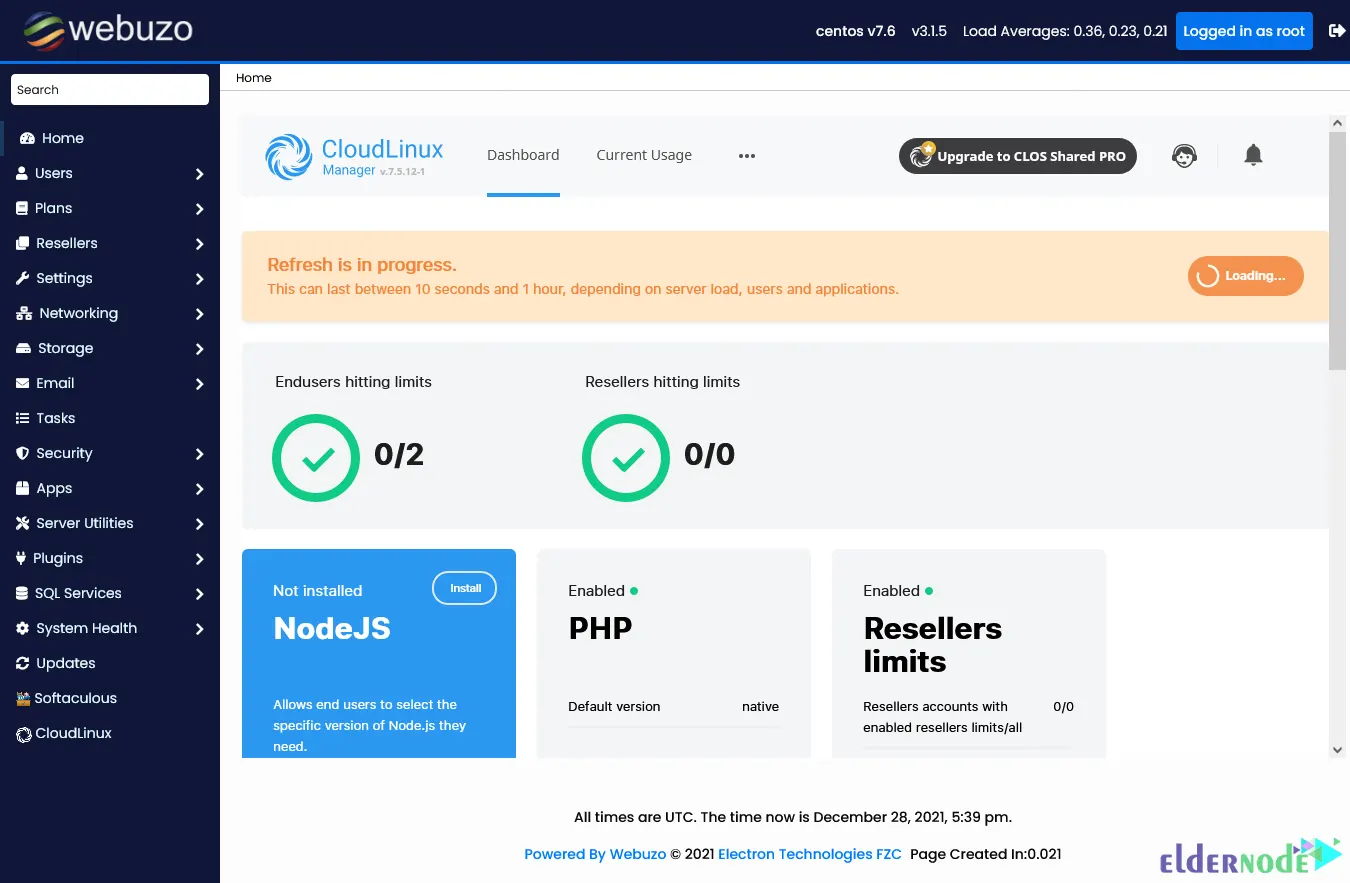
Note: You may see an error stating that you need to reboot your server with the correct kernel in Webuzo Tasks. In this case, just select the correct kernel for the CloudLinux operating system that has ‘LVE’ in the name.
That’s it! The installation of CloudLinux on Webuzo has been completed successfully.
Conclusion
CloudLinux supports another popular hosting control panel, Webuzo. In this article, we taught you how to install CloudLinux on Webuzo. I hope this tutorial was useful for you and that it helps you to install CloudLinux on Webuzo. If you have any questions or problems during the installation, you can contact us in the Comments section.