The file server on MikroTik simplifies file sharing and enables centralized storage and collaboration within a networked environment. This article will teach you How to Create a File Server on Mikrotik. Eldernode offers an economically Mikrotik VPS Server, which you can check out the offered package to purchase it.
Table of Contents
Tutorial Create File Server on Mikrotik
The file server on MikroTik is a feature that allows you to share files and folders over a network using the Server Message Block (SMB) protocol. This allows you to create a centralized storage location on your MikroTik router and allow access to clients for file sharing and collaboration. By creating the file server on MikroTik, you can create shared folders, control access permissions, and provide a convenient way for clients to access and manage files stored on the router.
Enabling the SMB File Share Service
In this section, you will learn how to enable the SMB file share service. To do this follow the steps below.
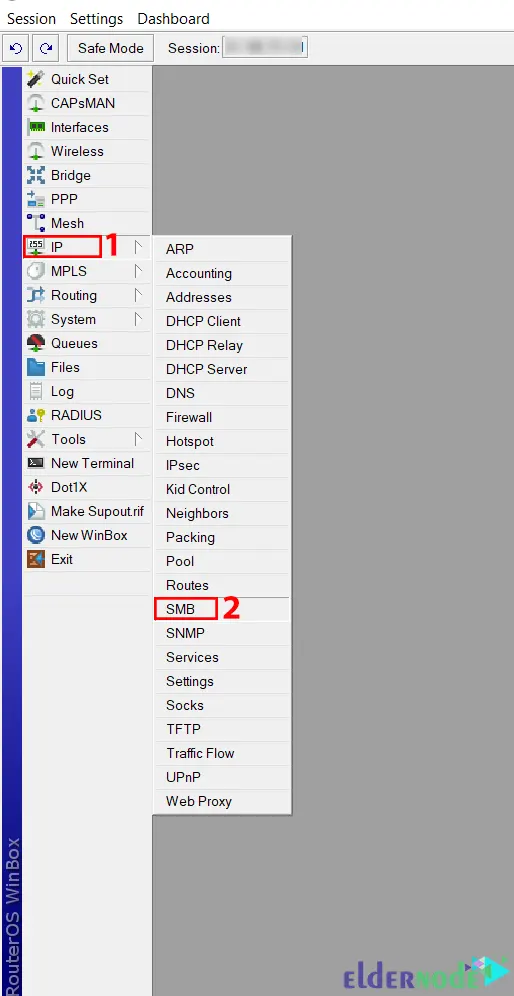
Firstly, log in to your Mikrotik Server through Winbox and navigate to the IP >> SMB path:
You will see the following screen. Setup the main parameters as shown below:
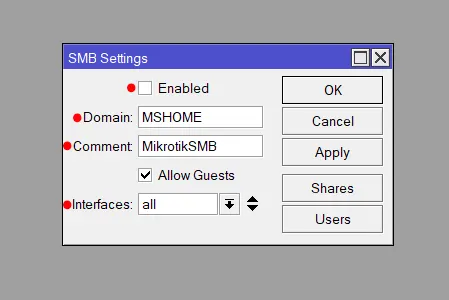
You can turn on or off the SMB service by checking the Enabled checkbox. Also, this can be enabled using the command below:
ip smb set enabled=yesThe second parameter is to not expose the file server to the Internet. For this, you need to select your local interface here. Also, this can be done by running the command below:
ip smb set interfaces=ether1,ether2,...Creating New File Shares
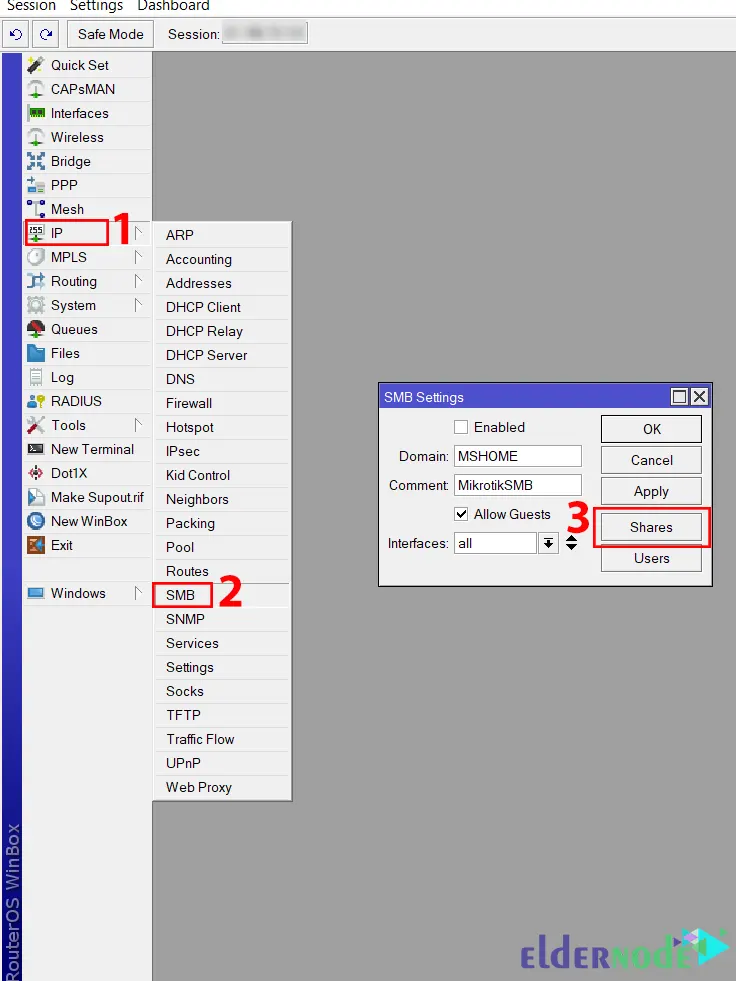
In the first step, go to the IP >> SMB path and click on the Shares button:
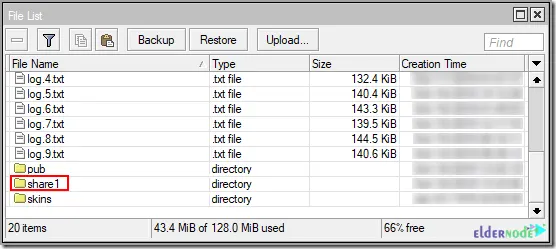
This will open a new window containing a list of all existing file shares. From there, you can enable, disable, add, or remove any share. To add a new share, click on the + button:
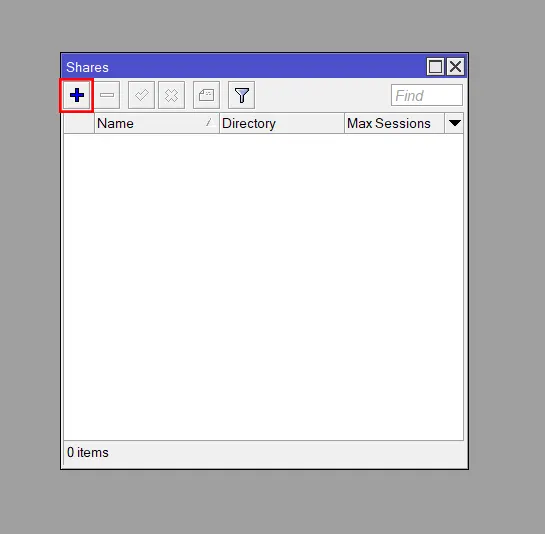
This can be done also using the command below:
ip smb shares add name=share1 directory=/share1ip smb shares print
That’s it!
Conclusion
The file server feature on MikroTik provides basic file management functionalities, allowing you to create, delete, copy, and move files and folders. In this article, we taught you how to create a file server on Mikrotik. I hope you found this tutorial useful for you and that it helps you to create a file server on your Mikrotik server. If you have any questions or problems, you can contact us in the Comments section.