A Quick Way To Connect RealVNC Remote Desktop on Windows 10. RealVNC is the name of the software that can be used to fully monitor small and large computer networks. In this software, facilities are provided for the network administrator to be able to remotely monitor network systems without having local access to the system. By software, you can visit the screens of all systems in the network. Using the help of this feature, a network administrator can easily be fully informed of the actions of network users and prevent them from accessing the network in the event of a problem.
With this introduction, we try to teach you how to connect realvnc Remote Desktop on Windows 10. If you need to Windows VPS server, you can see the packages available in Eldernode.
How to install RealVNC Remote Desktop on Windows 10
1. Download RealVNC first.
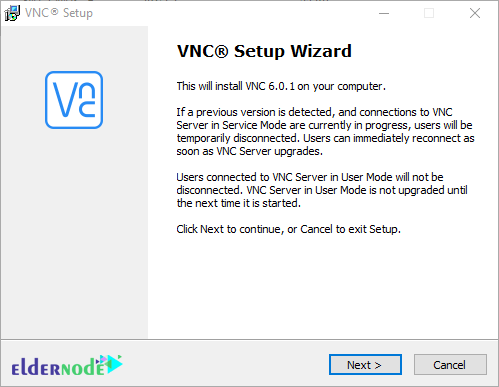
2. To install VNC software, double-click on its installation file to run the installation wizard.
Note: If the previous version is running and other systems are connected to your system and you are currently upgrading the program, then your connection will be temporarily disconnected to upgrade the program.
3. Click Next.
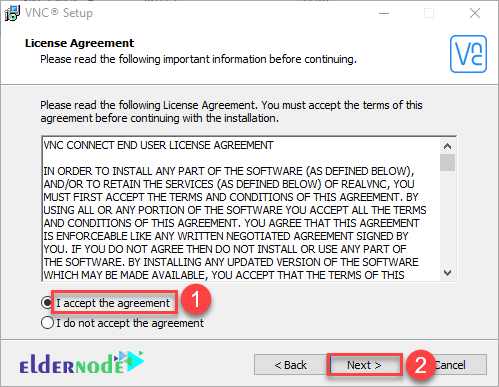
4. In the next step, you will see the License Agreement, which is a contract between you and the software company. Click on the first option here, I accept the agreement, which means you have accepted the contract, and click Next.
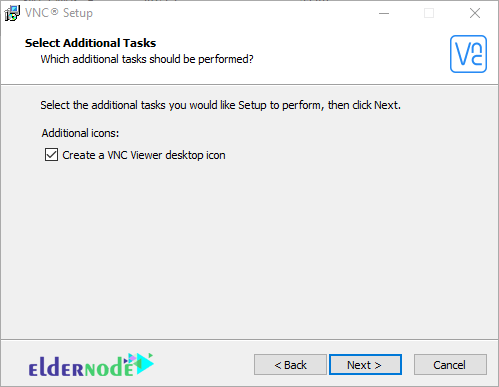
5. Now you need to specify how to use the program, which means that if you want other systems to connect to your system and be able to work with your system, the VNC Server option must be enabled. Also, if you want to connect to other systems and be able to work with those systems, the VNC Viewer option must be enabled.
The software itself suggests that you install both components on your system. If you are the administrator of a network and you want to connect to other network clients only yourself and other clients can not connect to each other, it is better for clients to just check the VNC server option and enable the VNC Viewer option for yourself.
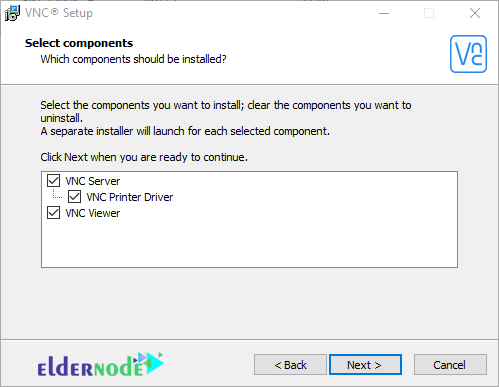
6. In the next step, the storage location of VNC Server files should be displayed, which you can change the storage location if you want.
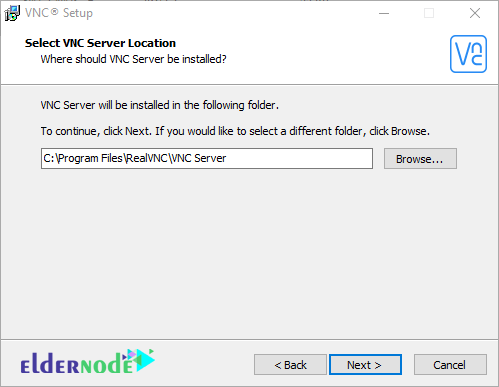
7. In the seventh step, you must specify the storage location of the VNC Viewer program. Then click Next.
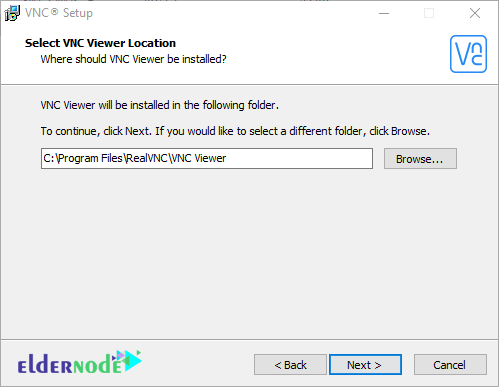
8. In the eighth step, you can enable the Create a VNC viewer desktop icon check box to place the program icon on the Desktop screen after installation.
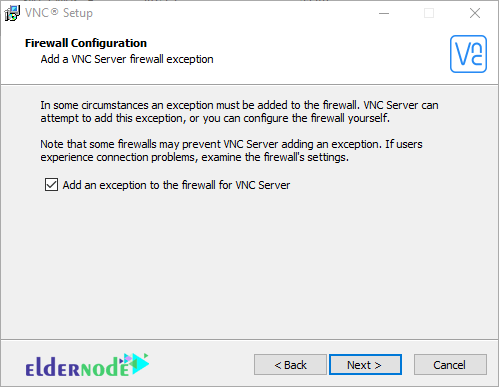
9. If you want to install the VNC Server component, you will encounter this step. This step tells you that this program is supposed to create a roll in your firewall so that others can remotely access your system. So if you uncheck Add an exception to the firewall for VNC Server, this role will not be created for you and you will encounter a problem when you try to remotely access this system.
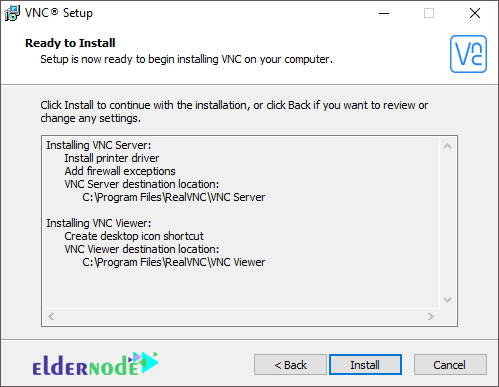
10. In this step, it displays a report of what you have done in the previous steps, click on Install to install the program.
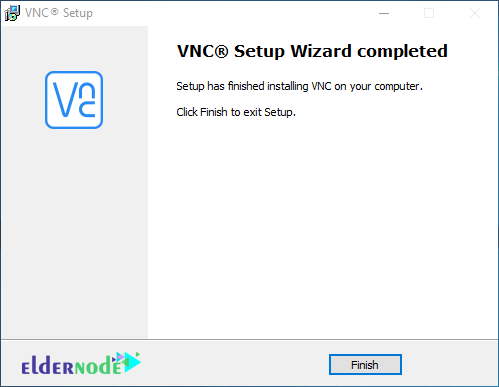
11. Finally, click on Finish.
How to connect RealVNC Remote Desktop on Windows 10
In order to remotely connect to a system using VNC software, open the VNC Viewer software in your system, and in the system you want to connect to, you must open the VNC Server software.
Note: VNC Server software cannot connect to any computer but provides an environment for other computers to connect to, but VNC Viewer software can only connect to other computers running VNC Server software.
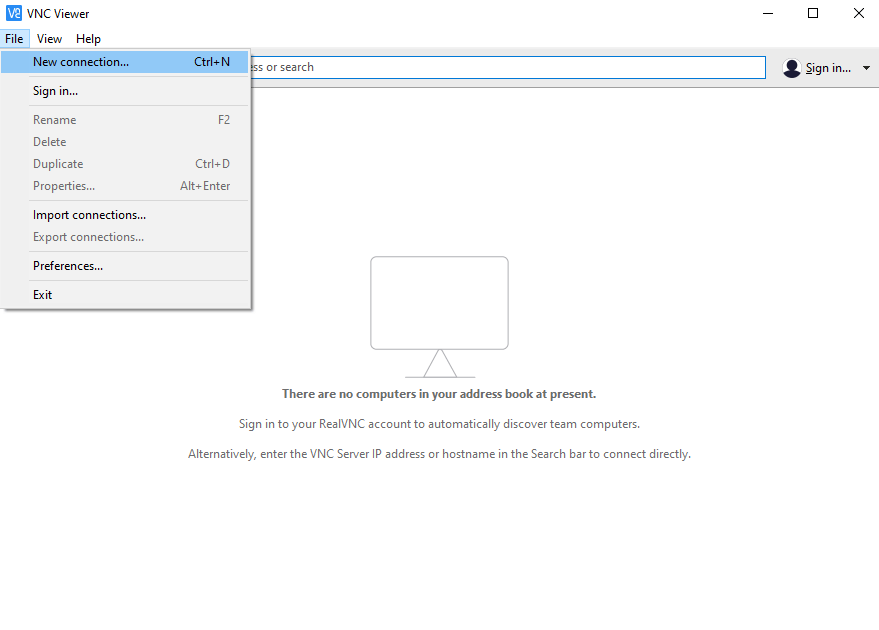
1. On the first computer of the same system where you ran the VNC Viewer software, select New connection from the File menu.
2. In the window that opens, you must enter the information of the second computer in the VNC Server box. You must enter the IP address of the second computer on the second computer, the same computer where you run the VNC Server software.
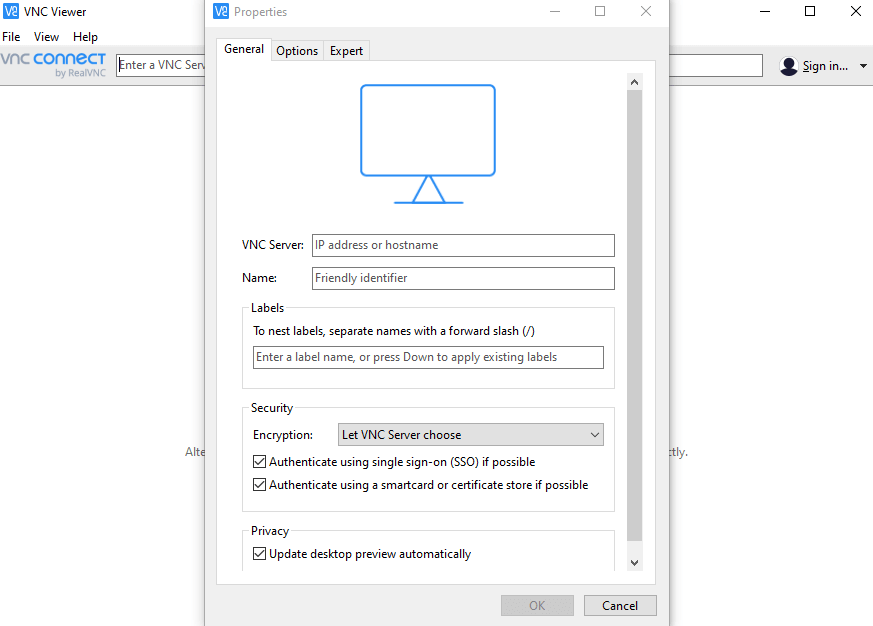
3. You can also select a name in the Name box.
4. In the Security section, you can specify that your connection to the second computer be encrypted to increase your security.
5. There are several options in the Encryption list:
– Let VNC Server Choose
– Always maximum uses the strongest encryption power for the connection, which uses 256-bit encryption.
– Always on does not support connections that are not encrypted and uses 128-bit encryption.
– Prefer on Using an encrypted connection if possible.
– Prefer off does not use encryption for connection. This option reduces connection security.
Note: If you uncheck Update desktop preview automatically, the second computer screen preview will no longer be displayed.
6. Well now click in Ok.
7. To connect, just right-click on the computer added to the list and click Connect. In the page that opens, enter the username of the second computer in the Username field and enter the password of the second computer in the Password field.
Note: If you check the Remember password option, the next time you want to remotely connect to the second computer, it will no longer ask for your username and password.
8. Click Ok to connect to the second computer.
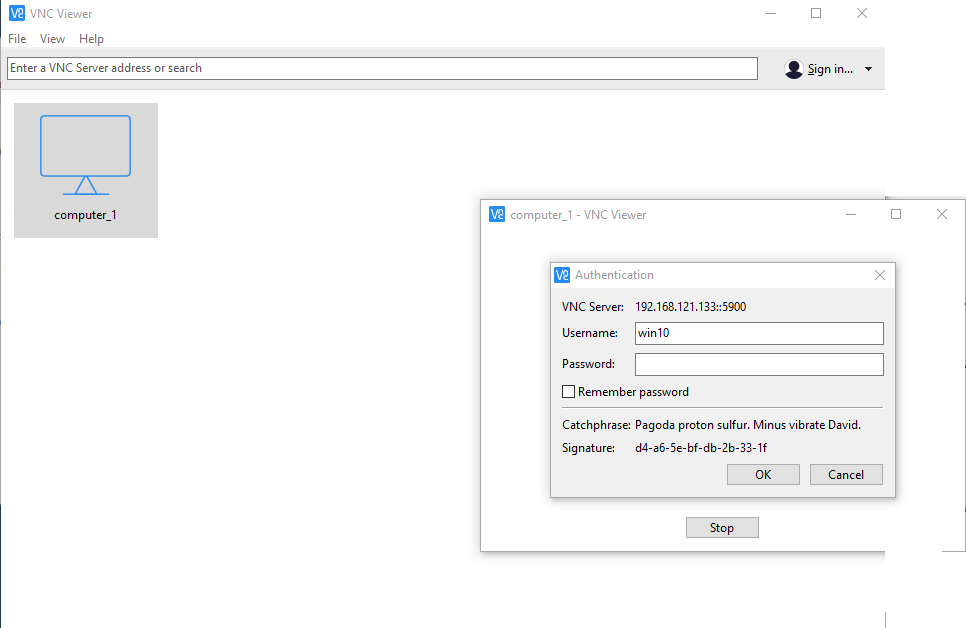
Then you will see the connection of the second computer screen and you can do whatever you want.
Conclusion
VNC In Windows operating systems, Remote Desktop Connection or RDC is used to communicate with a VPS server or dedicated server. VNC is often used in UNIX-like servers. With the help of VNC, you can connect to the server with a graphical interface and perform the desired operations. Because of the importance of RealVNC to network administrators, in this article we tried to teach How to connect RealVNC Remote Desktop on Windows 10.


