How To Configure Default Site in IIS Server 2019. In the previous article, we taught you how to install IIS Web Server on Windows Server 2019. As you know, by installing IIS, a website called Default Web Site is created by default, which can be used to test the health of IIS.
This website is configured to respond to user requests from the HTTP protocol over port 80, which’s all IPs assigned to the web server that do not belong to a particular website (All Unassigned).
We are going to use the default site by getting to know where its document root is and how to host a simple website within it. This way, you can upload your files and kick your site off and configuration.
ElderNode VPS hosting packages
1) Open Default Site
To open IIS Manager, do the following:
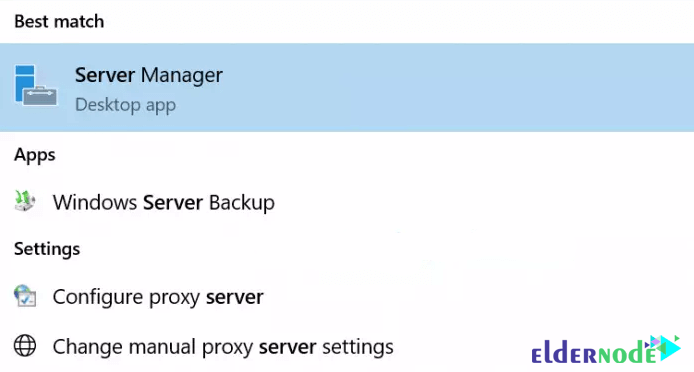
– First, press the Windows key.
– Then search for Server Manager and run it.
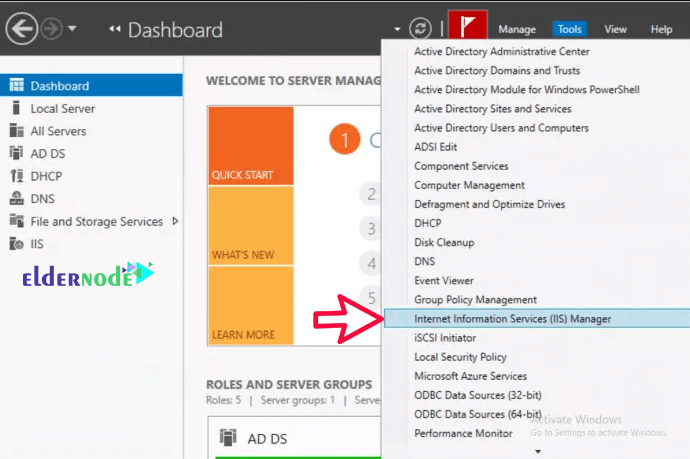
– From the Tools menu, click Internet Information Services (IIS) Manager.
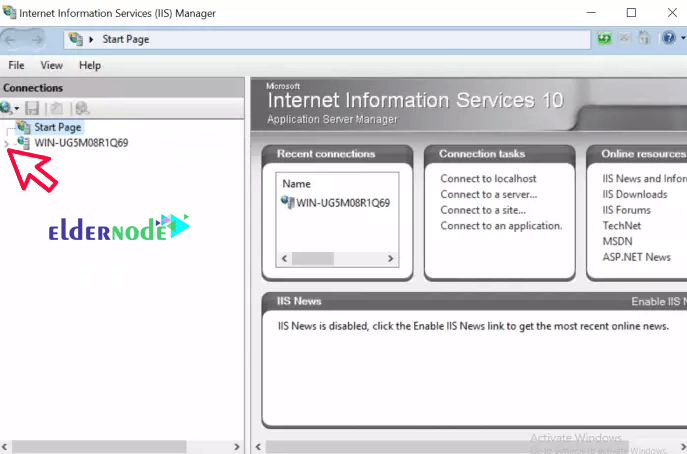
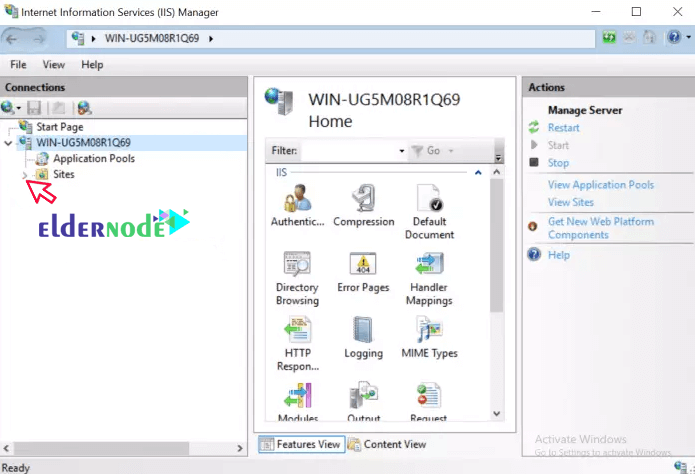
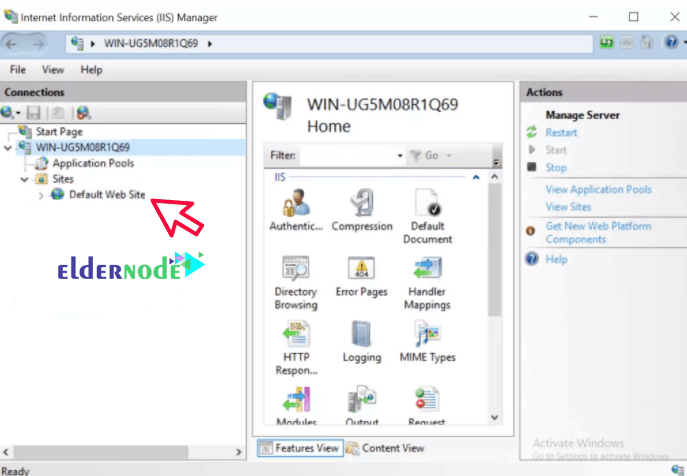
Once your IIS Manager is open, expand Server name below Start Page and further expand Sites folder to expose the default site.
*
Expand the Server name.
In the next step, expose the default site.
**
2) How to Check its files
The Default Site stores its files in a particular directory.
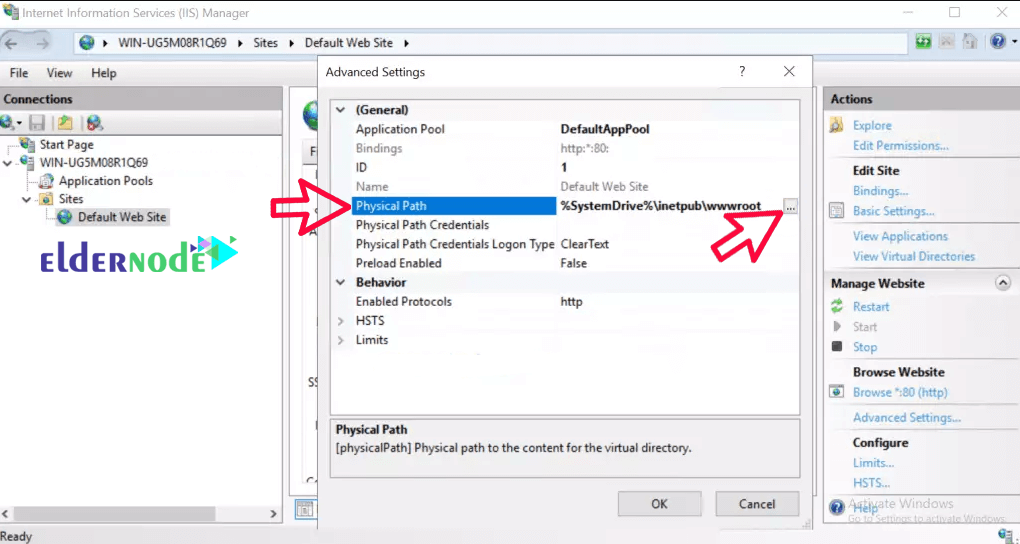
To expose this information, right-click on it, choose Manage Website then Advanced Settings as illustrated below:
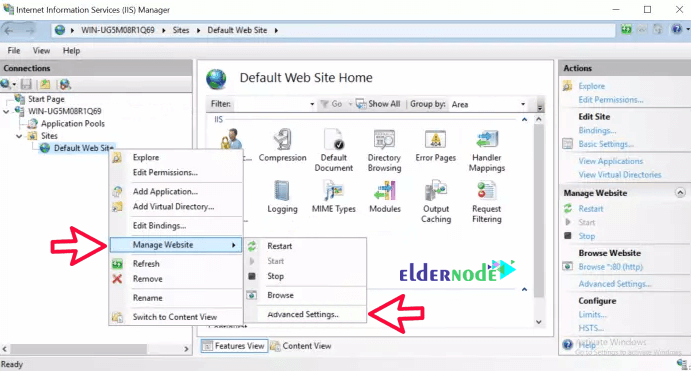
This will open a pop-up window with all of the Default Sites information such as files or Document Root as it is normally known, enabled protocols, and even bindings.
If you click on Physical Path a button appears on its extreme right where you can choose a different document root.
3) Default documents
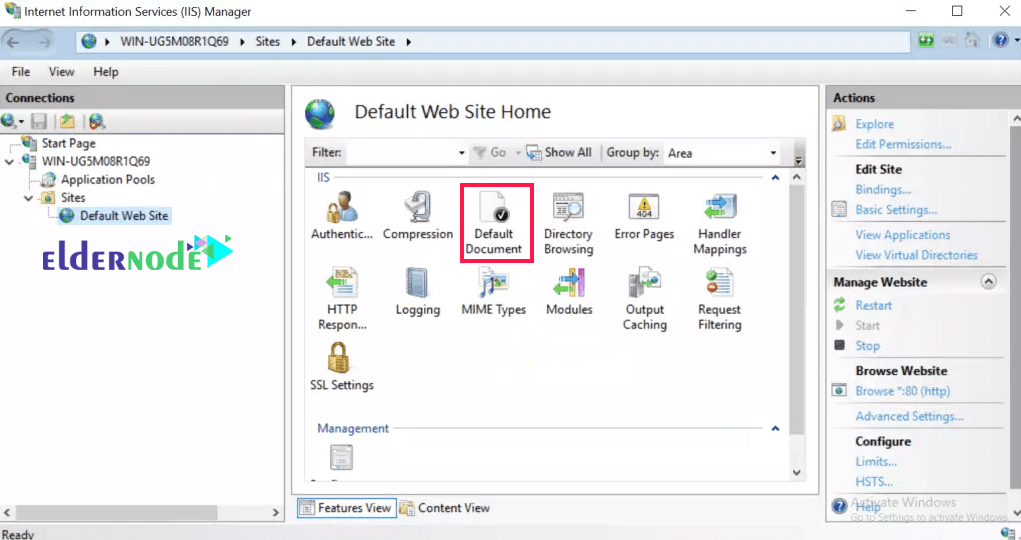
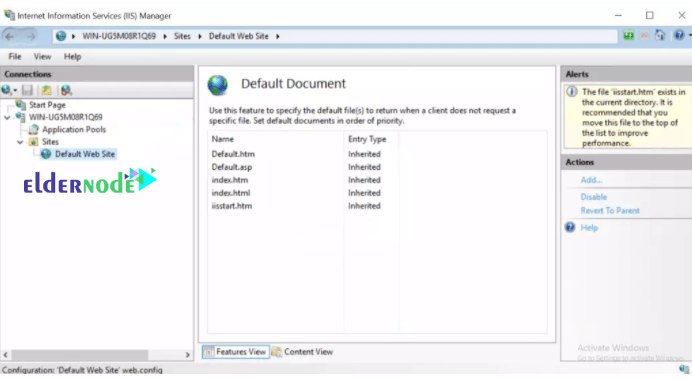
The “Default documents” feature in IIS Manager helps you to specify the default files to return when a client does not request a specific file from the web-server.
Double click on it to check the files shown. They are in order of priority.
***
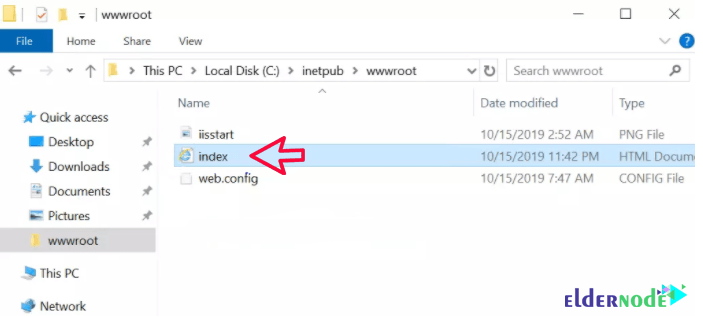
Create an index.html file in the document root and check if it gets loaded.
Open the browser you want and check in there.

You can see that it was downloaded successfully.
Goodluck.


