Virtualization is a safe and suitable solution for the optimal use of hardware and all resources at the disposal of information technology projects and has always been the focus of IT industry leaders in the world. What is important in the meantime is paying attention to the high cost of the license and the issue of information security in the face of the products available in the market. This has caused attention to be paid to the capacity of open-source software in the field of virtualization. One of the powerful virtualization platforms is the Proxmox platform. This article will teach you How to Add Let’s Encrypt SSL to Proxmox VE Server. If you intend to buy your own VPS server, you can check out the packages offered on the Eldernode website.
Table of Contents
How to Add Let’s Encrypt SSL to Proxmox VE Server
What is Proxmox VE Server?
Proxmox VE Server stands for Proxmox Virtual Environment and is an open-source, powerful, and free software server based on Linux. It has managed to become one of the most popular free virtualization platforms in the world using KVM virtualization, as well as LXC containers in the last 10 years. It is a solution fit for adoption in an enterprise virtualization environment. This server offers a web interface accessible after installation on your server, making management easy. You can run Virtual Machines, Containers, and manage Networking and software-defined storage resources without touching the command-line interface.
How to Add ACME Account
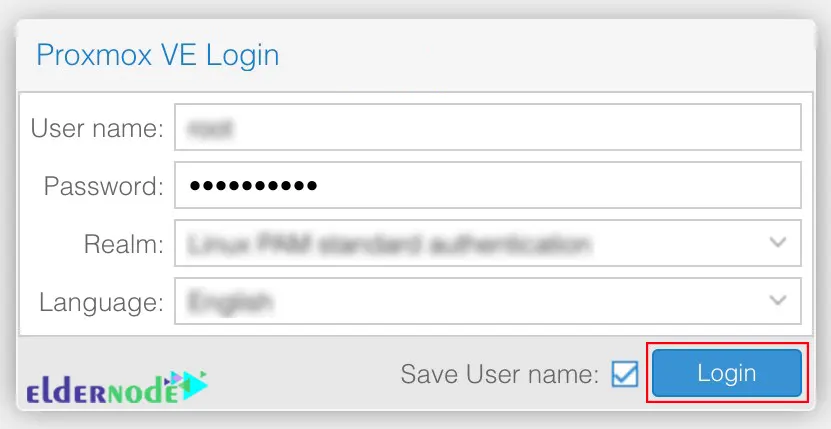
Before adding Let’s Encrypt SSL to Proxmox VE Server, you need to add an ACME account. To do this first, login to your Proxmox web dashboard as shown below:
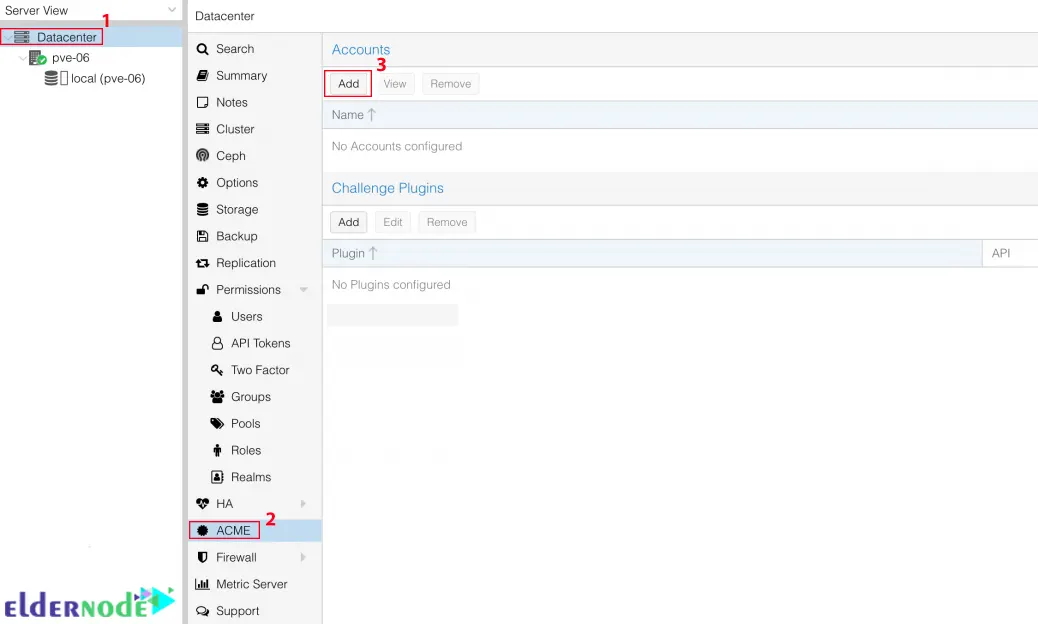
Now go to the Datacenter > ACME > Add path to add a new account. ACME Issuer needs an account that is registered with an Automated Certificate Management Environment certificate authority server. To do this click on Add:
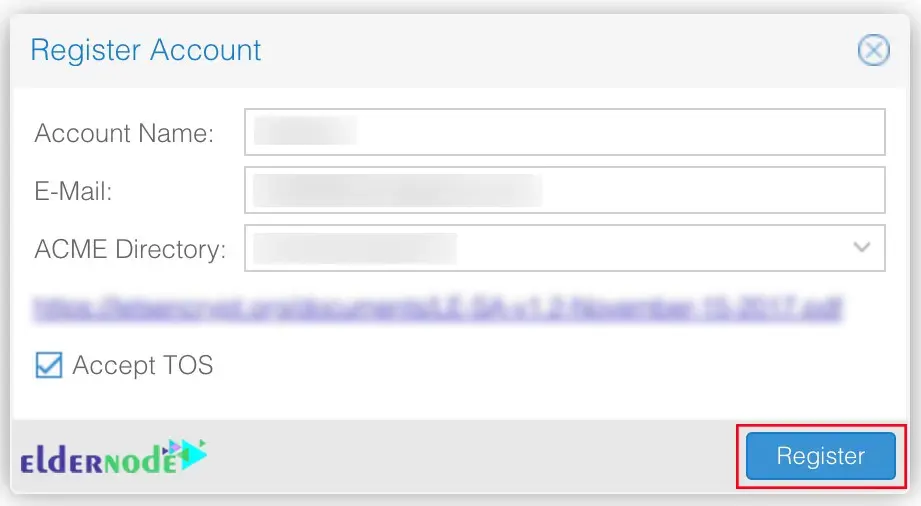
Next, fill in the required information and accept the terms of service:
You will see the following screen:

Finally, you should confirm the account is available for use:

How to Register Let’s Encrypt SSL Certificate for Proxmox VE
In this section, we will explain step by step, how to register the Let’s Encrypt SSL Certificate for Proxmox VE.
First go to the pve-06 > Certificates path:

Now choose the account created above:

Now you should add the Proxmox VE domain name as configured in your DNS server. To do this, click on Create:
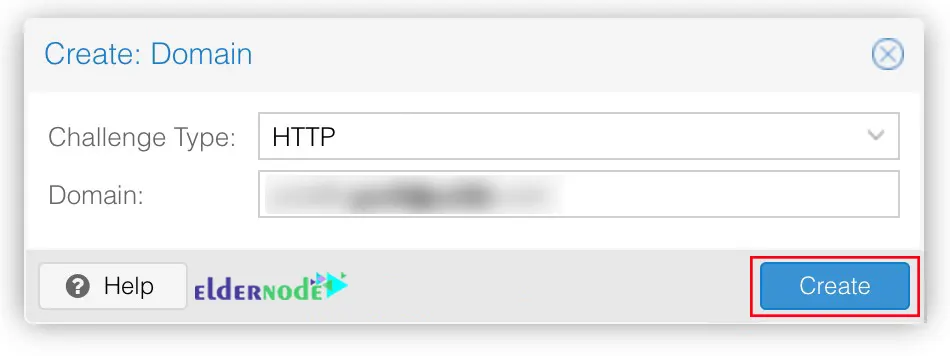
You can see the settings with the added domain name and selected ACME account. Click on Order Certificates Now to request a Let’s Encrypt SSL certificate:

Now you should see the following screen:
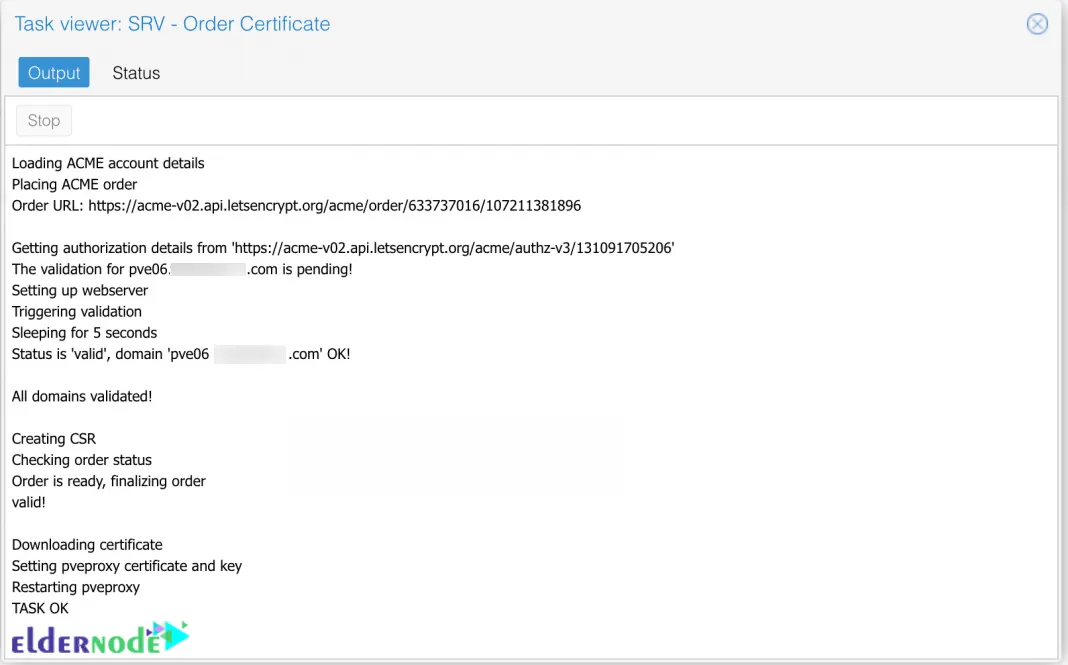
Finally, you need to confirm your new certificate under the Certificates section:

To load the new certificate, you should reload your web browser:
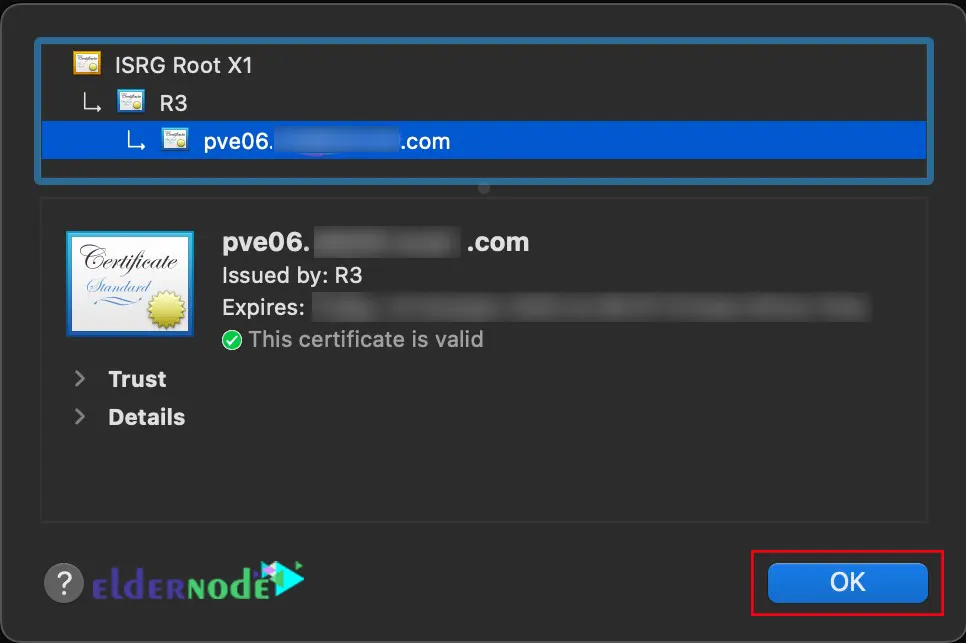
That’s it! You add Let’s Encrypt SSL to the Promox VE server successfully.


