How to Install React JS on Windows. React JS is a powerful and advanced library developed with the JavaScript programming language. The library was launched by Facebook in 2013 as open source. Since then, with the help of the JavaScript developer community, React JS has grown day by day and is now one of the most popular JavaScript libraries.
In this article, we will teach you how to install React JS on Windows.
Windows Virtual Private Server
Table of Contents
Install Node.js
The first step is to download the Node.js installer for Windows. Use the latest Long Term Support (LTS) version for Windows and choose the 64-bit version, using the Windows Installer icon.
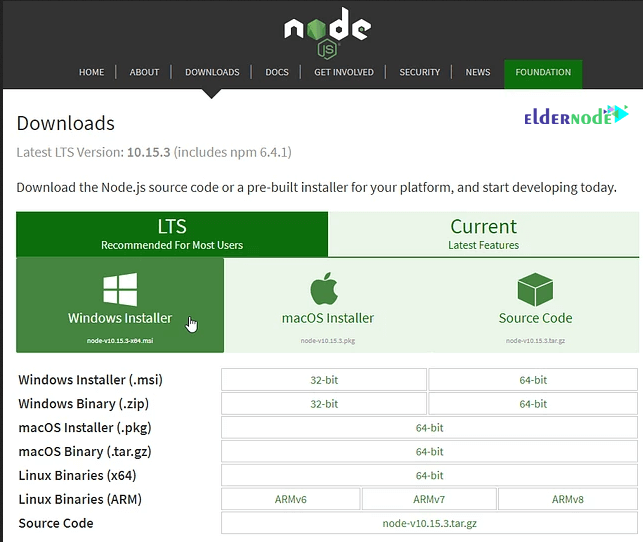
Run the Node.js installer after the download is complete. Follow the steps below until the installation process is complete:
1
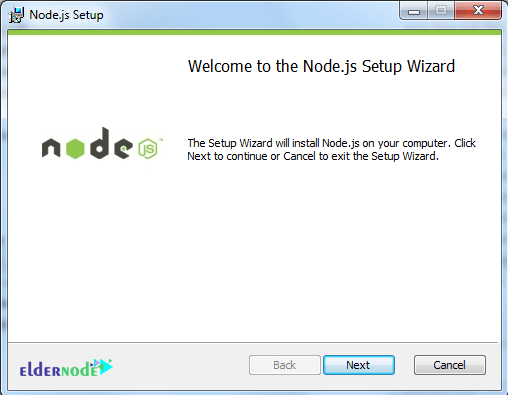
2
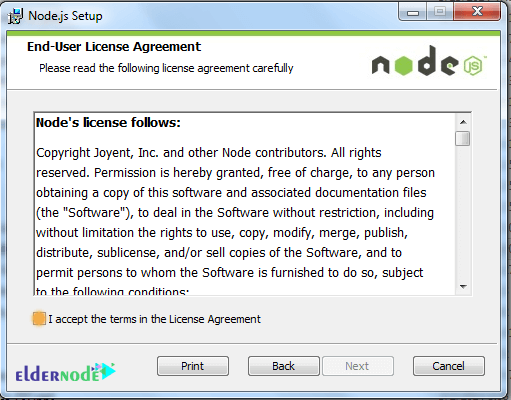
3
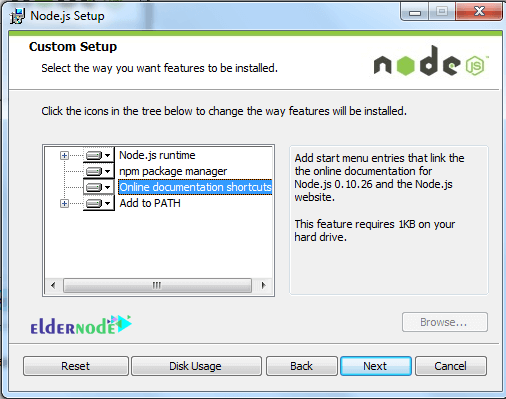
4
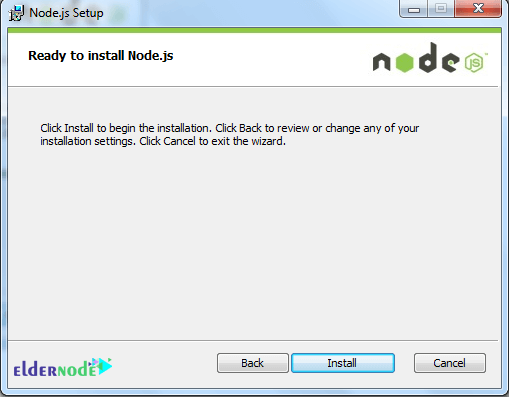
5
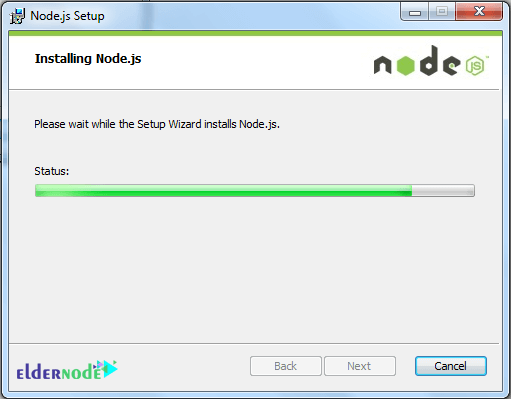
6
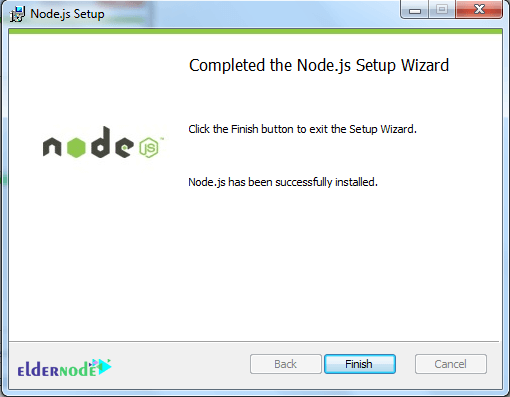
Now that Node.js has been successfully installed, we can move on to the next step.
The Command Prompt Environment
We’ll need to use the command prompt to interact with Node.js and the Node Package Manager (NPM) to install React. Below are the basic commands we will need to get around and create folders/directories:
1.How to list directory contents:
dir dir <directory_name>Result: Lists the contents of the current directory, or the directory specified.
2. How to change to a Directory:
cd <directory_name>Result: Changes to the specified directory. Note the Command prompt will change to show the current directory.
3. How to change to a Previous Directory:
cd..Result: Changes to the directory immediately above the current one.
4. How to Make Directory:
mkdir <directory_name>Result:Creates a new directory with the name specified.
Open a Command Prompt in Windows
a) Open the Start menu, type command, and search.
b) Choose either Command Prompt or the Node.js command prompt.
c) Either choice will work.
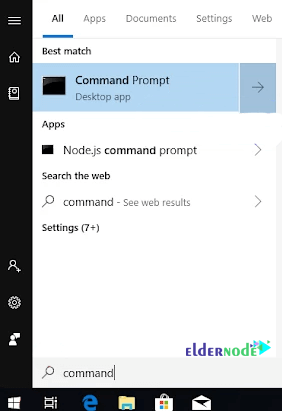
As in C:\Users\<username>, a window will open in which <username> on your system will be the user you are logged in as.

In the following example, we run one of the above commands to see the result:
dir
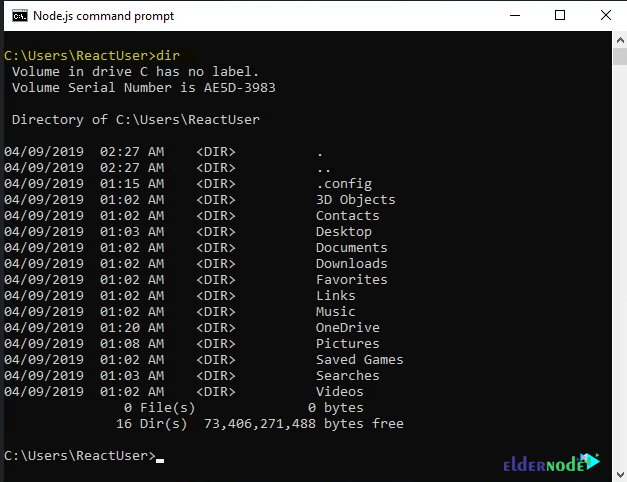
Let’s look at the contents of the downloads folder with this command:
dir downloads
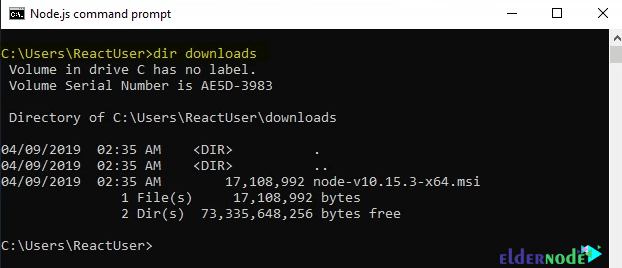
The path shows we are still in the directory C:\Users\ReactUser>, however, we are looking at the contents of C:\Users\ReactUser\downloads, and we see that it has one file.
Move to the downloads directory with following command:
cd downloads

We’ve changed to the downloads folder as the command prompt shows C:\Users\ReactUser\Downloads>. You can use the dir command to see the contents of this directory/folder. Next, back to the previous directory with this command:
cd..

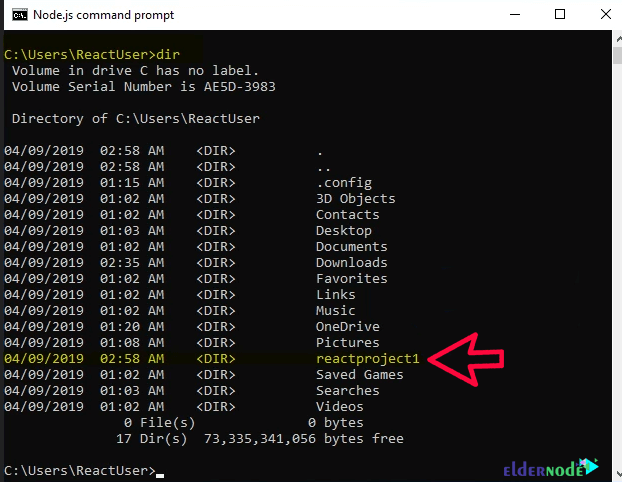
Create a new directory for our first project and name it reactproject1. We’ll use the following command:
mkdir reactproject1

Again, we use the dir command to list the files within our current folder:
dir
If you want to learn more about commands, please check out this Microsoft link.
Install React on Windows
There are two ways to install React for your projects. We teach both methods so you can choose which method is suitable for you.
The first method
This install option allows you to full control over everything that is installed and defined as dependencies.
1. In the first step, open the command prompt.
2. Create a project folder named reactproject1.
mkdir reactproject1Press Enter to execute the command.
3. Move to the project folder, using cd reactproject1, so you can install React into it.
cd reactproject14. Create a package.json file using the following command.
npm init
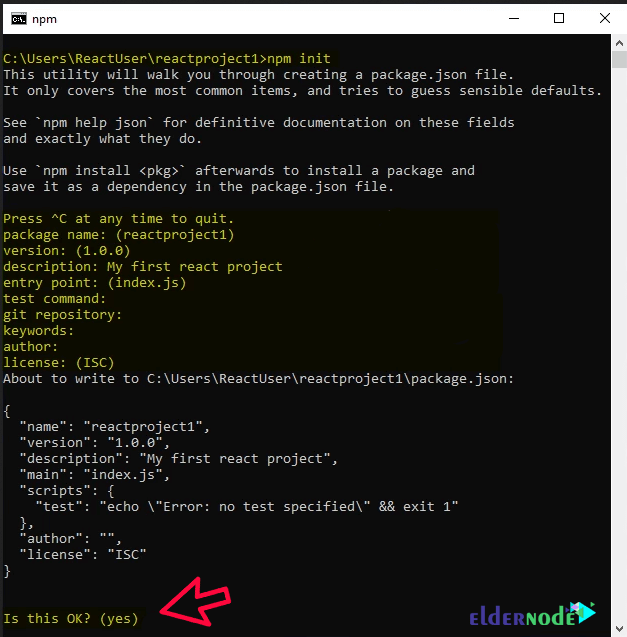
5. Install React and other modules using npm install — save react, this will install React into your project and update the package.json file with dependencies.
npm install --save reactYou can install additional packages using npm install — save and the name of the package you want to install.
Here we are installing react-dom:
npm install --save react-domThe second method
1. In the first step, open the command prompt and type npm install -g create-react-app. This installs the Create-React-App module which makes it very easy to create and deploy React into projects with a single command.
npm install -g create-react-appCreate-React-App is installed in the following location:
C:\Users\<username>\AppData\Roaming\npm\node_modules\create-react-app\
To make sure you are in the desired directory when creating a new project, you can use dir to see where you are, and cd <directory_name> or cd.. to get to the desired location.
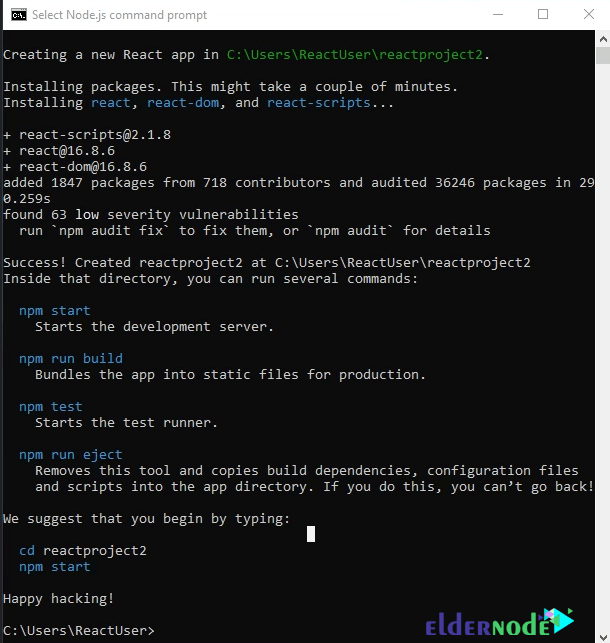
2. Step 2: To create a new project and deploy React into it, run create-react-app <project_name>. Do this to create reactproject2.
create-react-app reactproject2The entire process is automated and begins with creating a new React app folder for the project, then installs packages and dependencies.
The default packages include react, react-dom, and react-scripts. The installation will take a few minutes.
Run a React Project Application
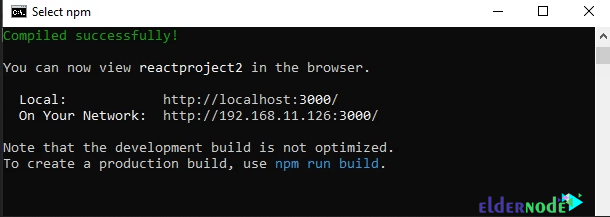
To do this, you need to use the command prompt to change to the project folder, then start it. The cd reactproject2 command will take us to the reactproject2 folder.
cd reactproject2npm start will run the project application.
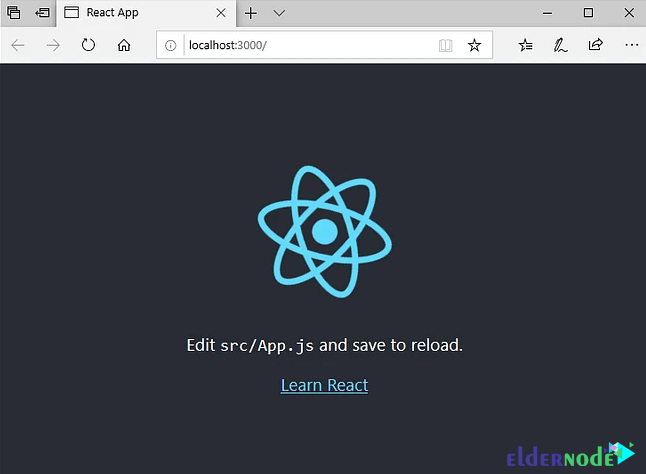
The default browser will open and load the project:
Dear user, we hope you would enjoy this tutorial, you can ask questions about this training in the comments section, or to solve other problems in the field of Eldernode training, refer to the Ask page section and raise your problem in it as soon as possible. Make time for other users and experts to answer your questions.
How to Install React JS on Windows.
Goodluck.

