InterWorx is a web hosting control panel that allows hosting providers to manage multiple websites and servers. You can use CloudLinux with InterWorx as the operating system for the server. This article will teach you How to Install and Use the CloudLinux for InterWorx. If you intend to buy a Linux VPS server, you can check out the packages on the Eldernode website.
Table of Contents
Tutorial Install and Use the CloudLinux for InterWorx
CloudLinux is an operating system designed specifically for web hosting providers that offer improved security, stability, and performance for shared hosting environments. InterWorx provides a plugin for CloudLinux that allows users to access and manage various CloudLinux services. It provides several features that can benefit an InterWorx environment, which are resource allocation, increased security, and improved stability.
Installing the CloudLinux for InterWorx
Firstly, log in to the server as root, via SSH, or from the terminal.
You can install CloudLinux using the command below:
wget https://repo.cloudlinux.com/cloudlinux/sources/cln/cldeployNow it’s time to activate the CloudLinux license. If you use an activation key enter the command below to activate the CloudLinux license:
sh cldeploy -k [activation_key]But if you use an IP-based license, run the following command:
sh cldeploy -iTo install the InterWorx CloudLinux plugin, run the following command:
yum install interworx-plugin-cloudlinuxAnd then reboot your server as shown below:
rebootYou can enable and install CageFS and the multiple PHP versions that are provided by CloudLinux from the GUI. Also, they can be installed manually at the command line. To do this, run the following commands:
yum install cagefs -y --disablerepo=remi* -y cagefsctl –init cagefsctl --enable-cagefsNote: If you access root via a sudo, you should add the user to /etc/cagefs/exclude/systemuserlist or /etc/cagefs/exclude/interworx before running cagefsctl –init.
And finally, install all CloudLinux PHP versions using the command below:
yum groupinstall alt-php --disablerepo=remi* -yHow to Enable the CloudLinux Plugin in NodeWorx
After the installation process, log in to NodeWorx from the browser as shown below:
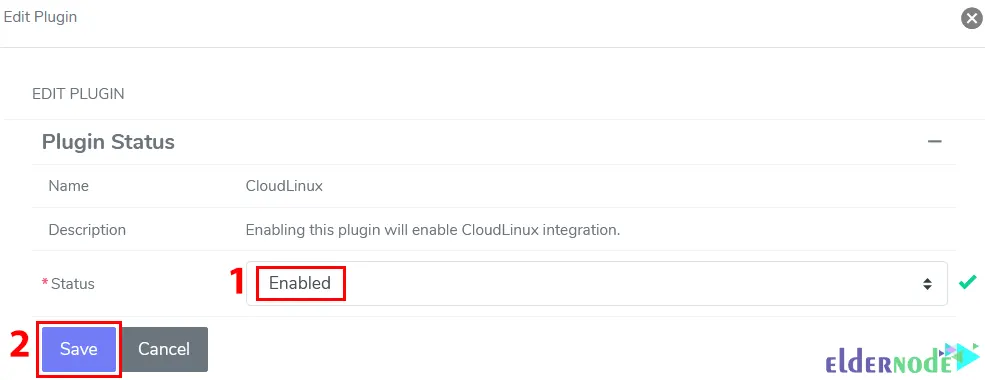
https://ip.ad.dr.ess:2443/nodeworxOnce you logged in, navigate to NodeWorx >> Plugins path and click the Pencil next to CloudLinux LVE Manager to open the Edit Plugin form.
Now select Enabled from the status dropdown menu and click Save:
How to Use the CloudLinux Plugin in NodeWorx
CloudLinux tools are located in NodeWorx under CloudLinux >> Lve Manager in the side menu.
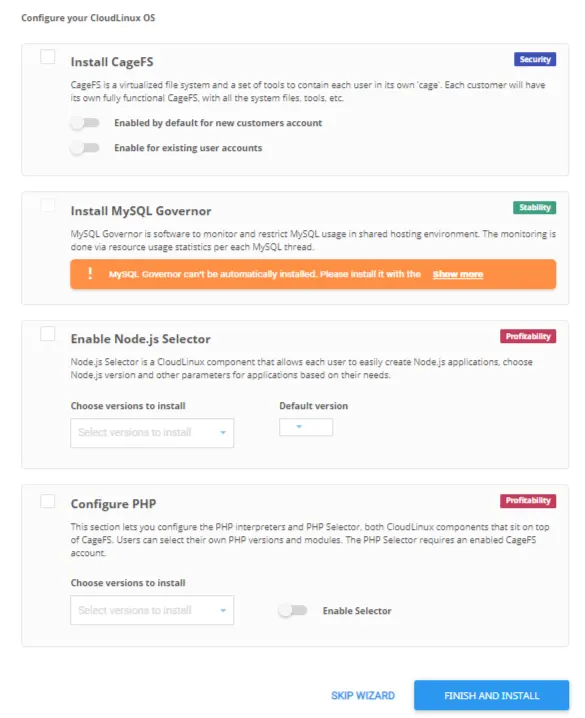
When you access LVE Manager for the first time, the CloudLinux installation wizard is automatically displayed for the first time. This will allow you to install and set up CloudLinux operating system components on InterWorx easily:
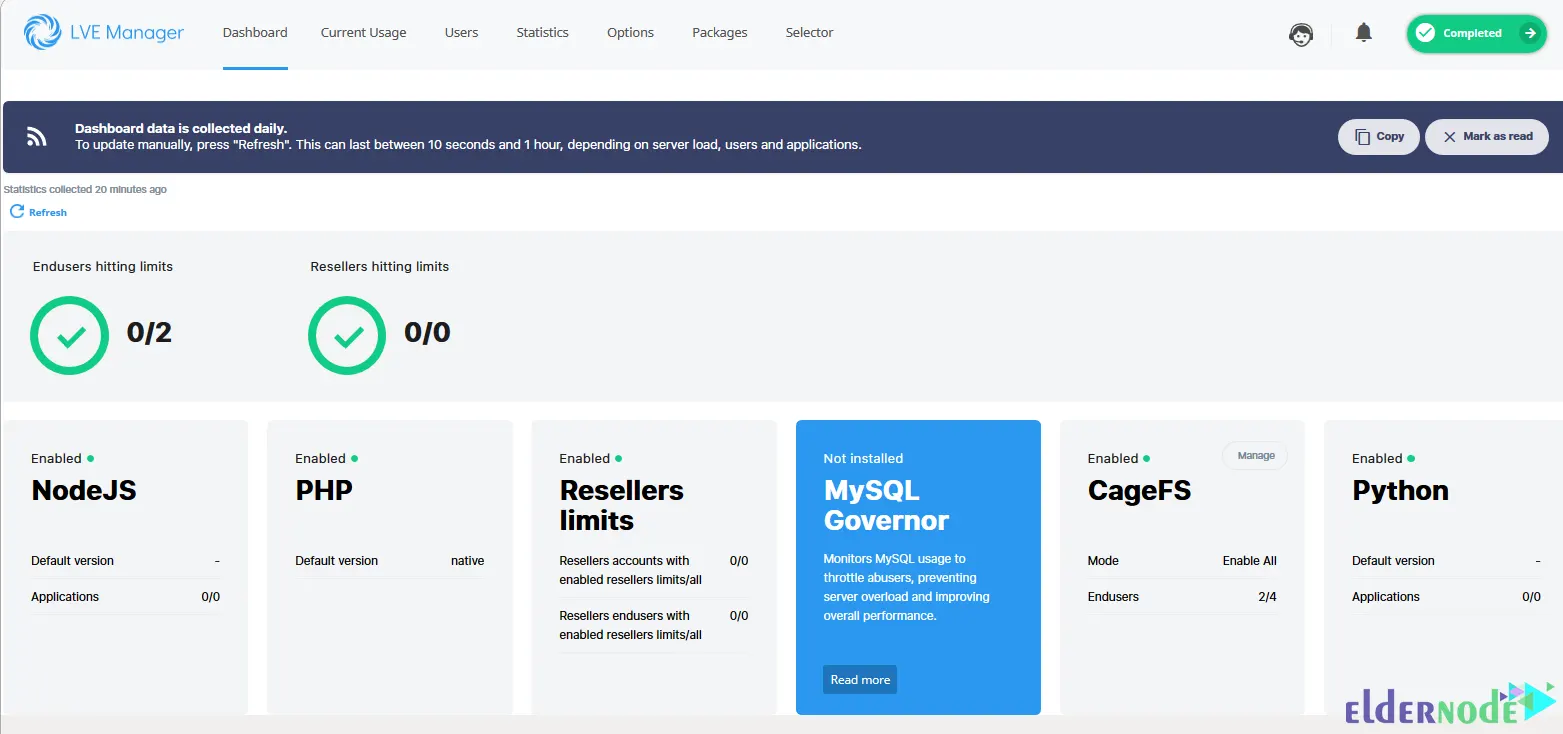
You can manage the following controls from the LVE Manager:
– Current Usage
– Users
– CageFS user Management
– Statistics
– CloudLinux PHP Selector
– Nodejs and Python installation
If you want to set the System PHP Mode, log in to NodeWorx from the browser as shown below:
https://ip.ad.dr.ess:2443/nodeworxThen go to the System Services >> Web Server >> Overview path, choose mod_suphp from the PHP Mode dropdown under PHP Integration Mode, and click on Update:

That’s it! You have successfully installed CloudLinux for InterWorx.
Conclusion
CloudLinux is a commercial Linux distribution marketed to shared hosting providers. This article taught you how to install and use CloudLinux for InterWorx. I hope you found this tutorial useful and that it helps you to install CloudLinux for InterWorx. You can contact us in the Comments section if you have any questions or problems during installation.

![Tutorial Install And Run Bluelog On Kali Linux [Security]](https://blog.eldernode.com/wp-content/uploads/2020/12/Tutorial-Install-And-Run-Bluelog-On-Kali-Linux-Security-300x164.png)