DirectAdmin has a Custom Error Pages feature that allows you to set up custom error pages, edit the existing error pages or create new custom error pages. This article will teach you How to set up Custom Error Pages in DirectAdmin. If you intend to buy a Linux VPS server, you can check out the packages offered on the Eldernode website.
Tutorial Install Custom Error Pages in DirectAdmin
Custom error pages are pages that are displayed to the user when an error occurs when trying to access a web page on a website. You can customize these error pages to display a message that is specific to the error that occurred. They allow users to understand why they are seeing an error message and how to return to the website. Generally, they provide a better user experience. Also, custom error pages can help improve SEO by providing a more informative and engaging error page that can retain visitors who might otherwise leave the website.
Setting Up Custom Error Pages in DirectAdmin
In this section, you will learn how to set up custom error pages in DirectAdmin. Just follow the steps below.
Firstly, log in to your DirectAdmin control panel using the following URL:
https://IP-address:2222and navigate to the Advanced Features section.
Next, you can access the custom error page settings by clicking on Custom Error pages:
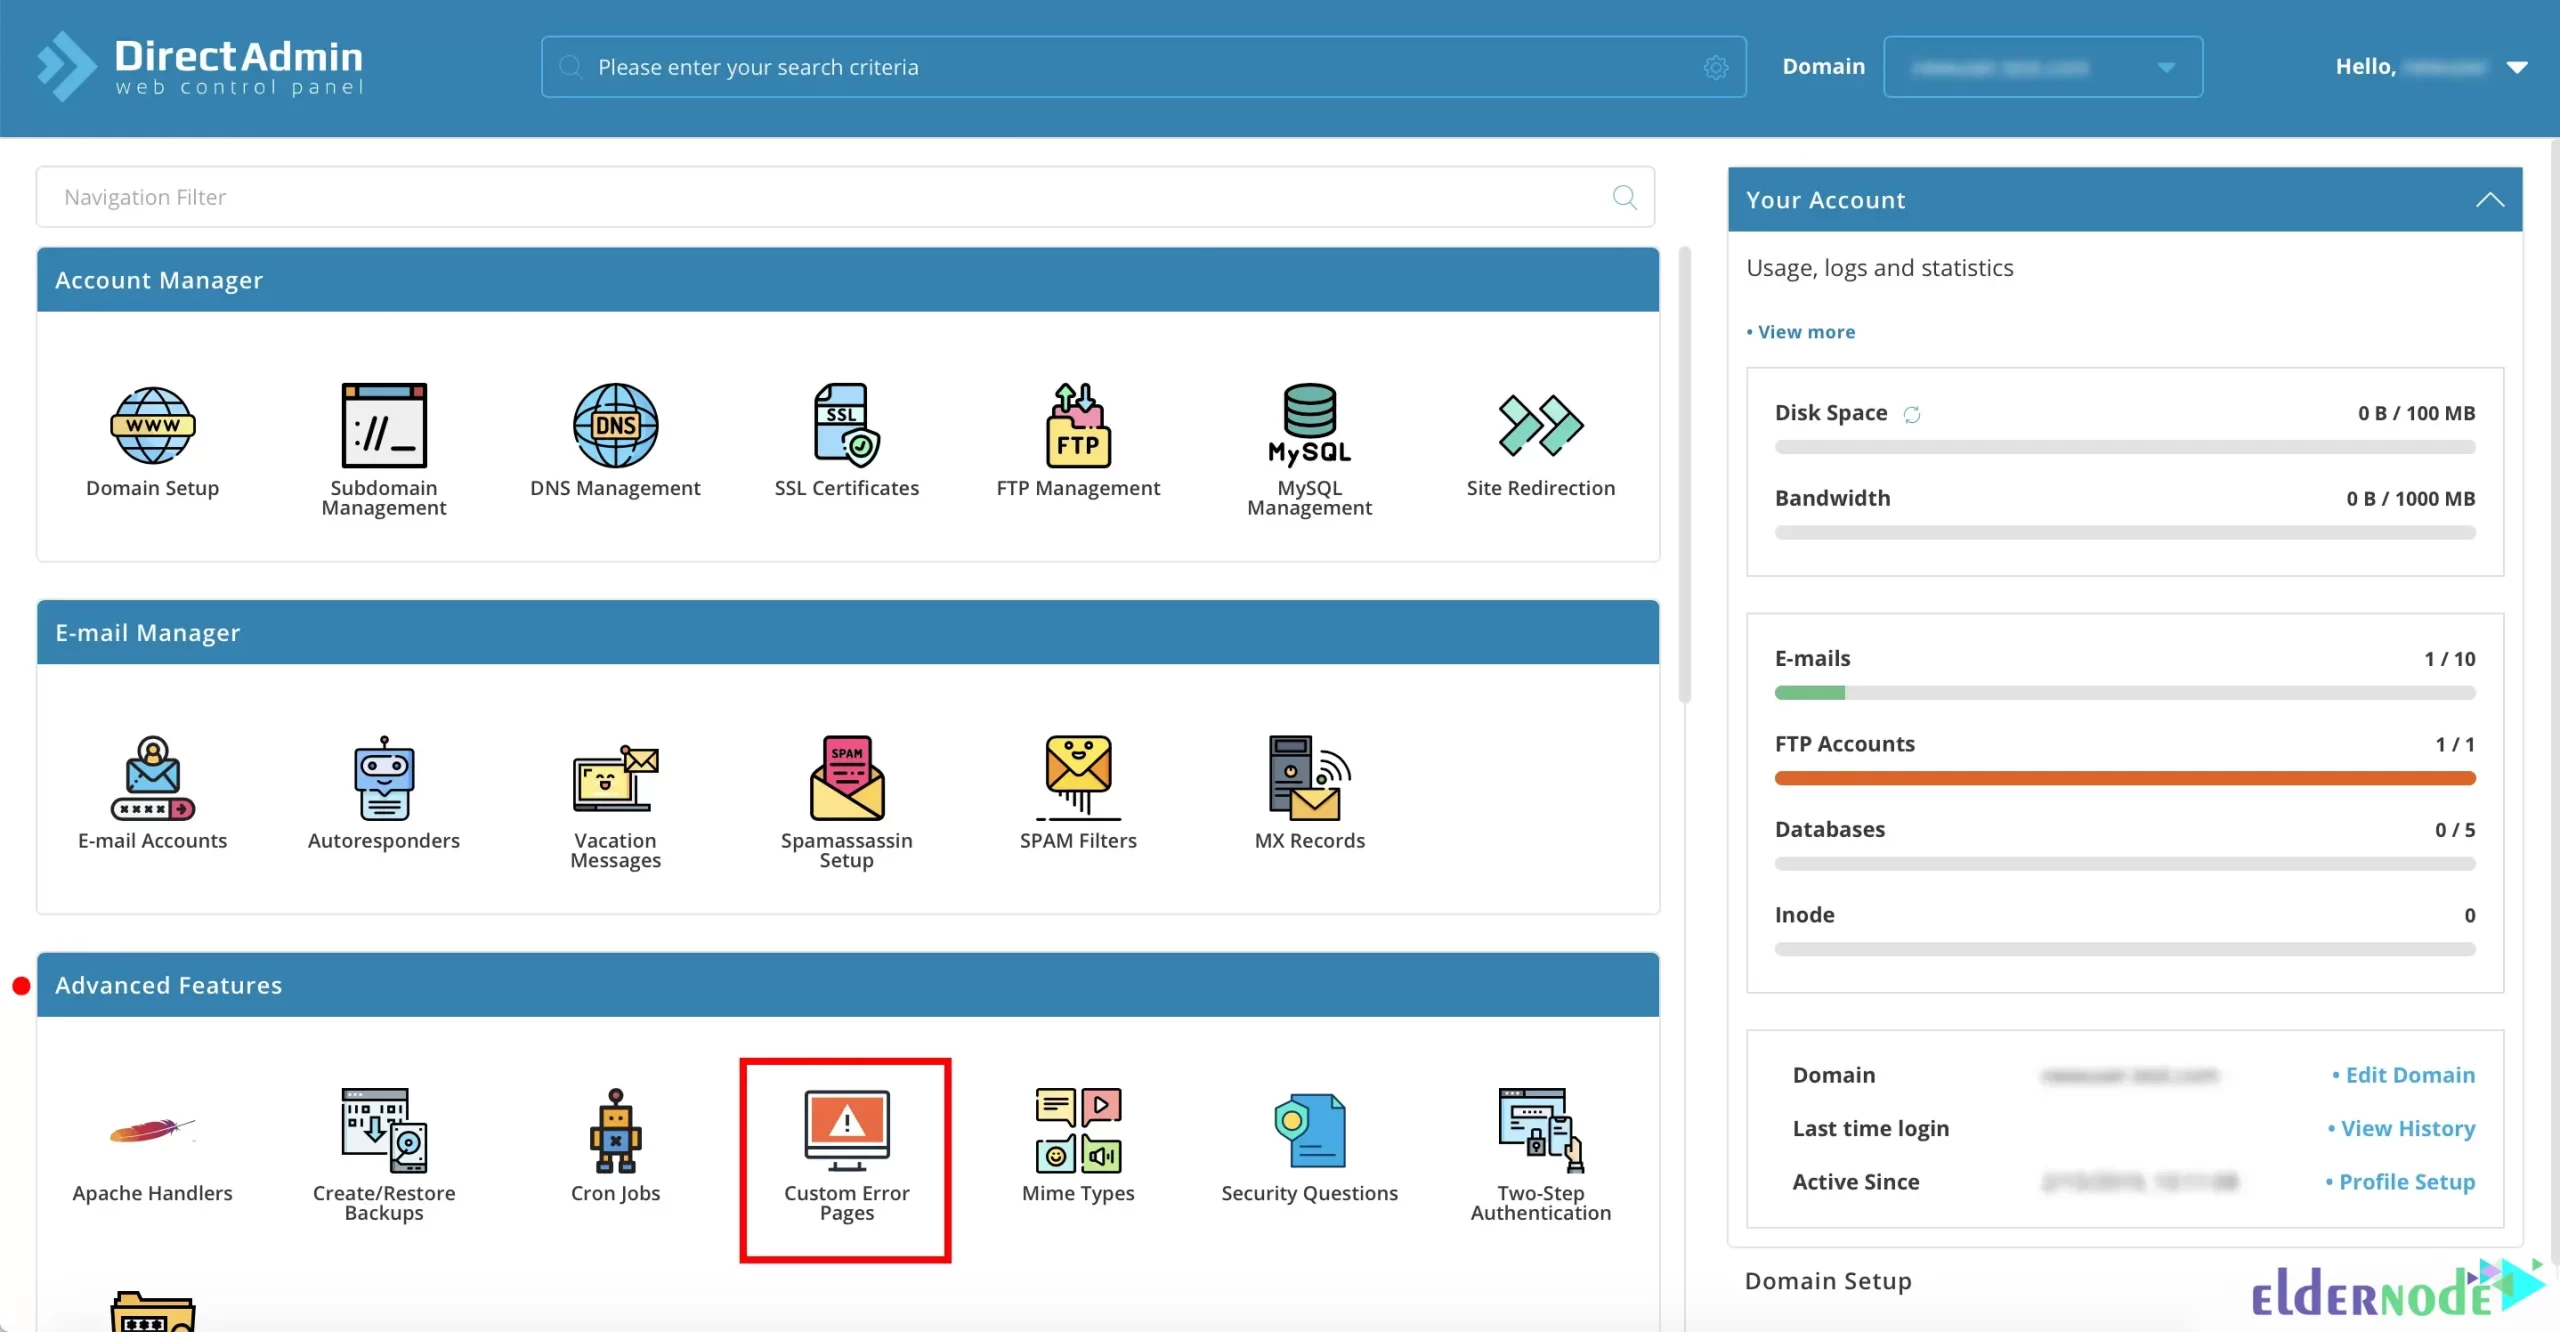
Then you will see a list of available error pages which you can customize. The opened page allows you to either edit the existing error pages or create new custom error pages. If you want to edit an existing error page, just click on the page you want to edit and make the necessary changes. But if you want to create a new custom error page, click on Add and select the type of error page you want to create.
Then you will see a list of available error pages which you can customize. Just click the Edit button to customize the error page you want:
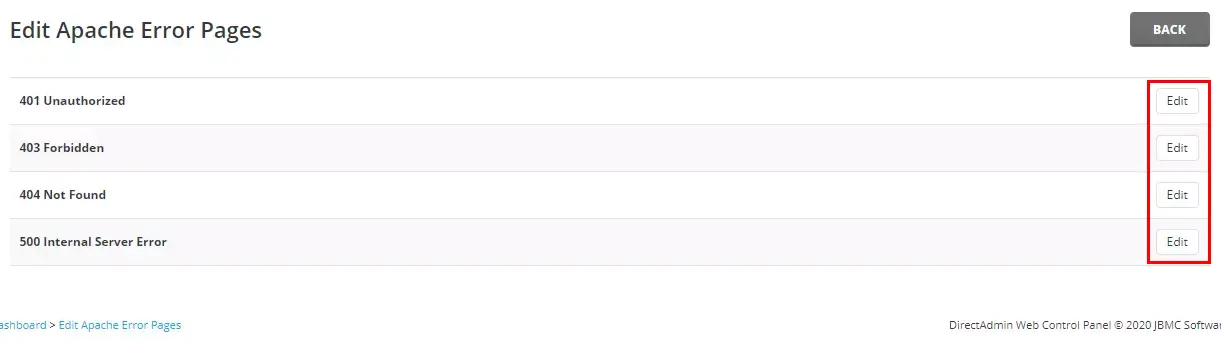
Now you should enter the HTML code for the error page in the Content section. Once finished, click the Save File button from the top-right corner:
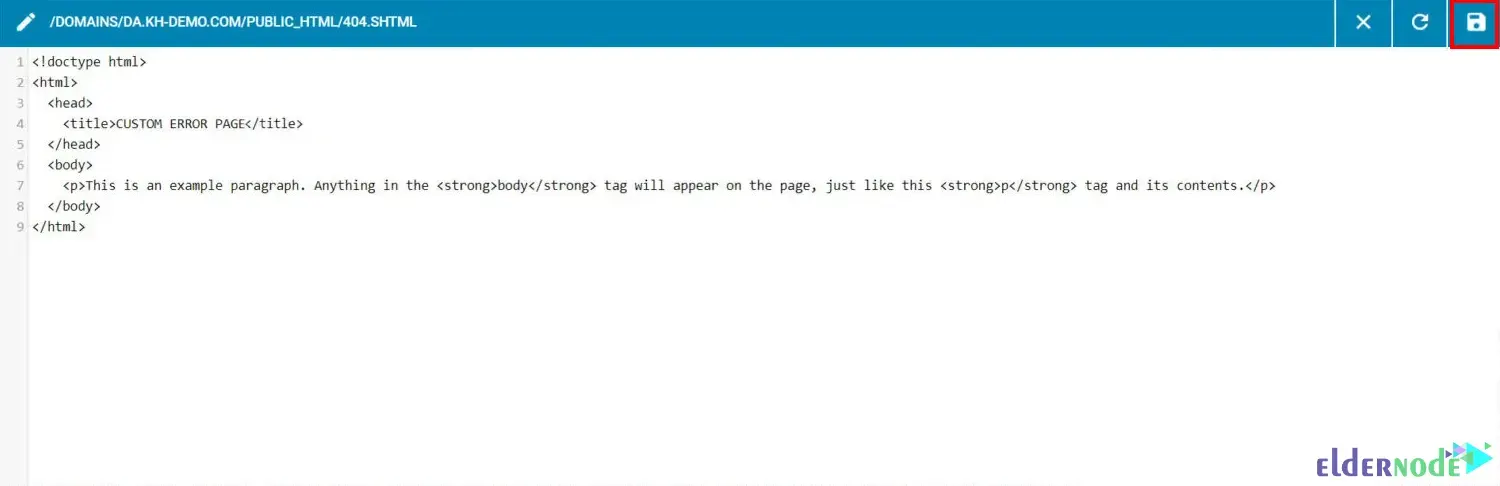
You can use variables such as %REQUEST_URI% and %SERVER_NAME% to display specific information on the error page.
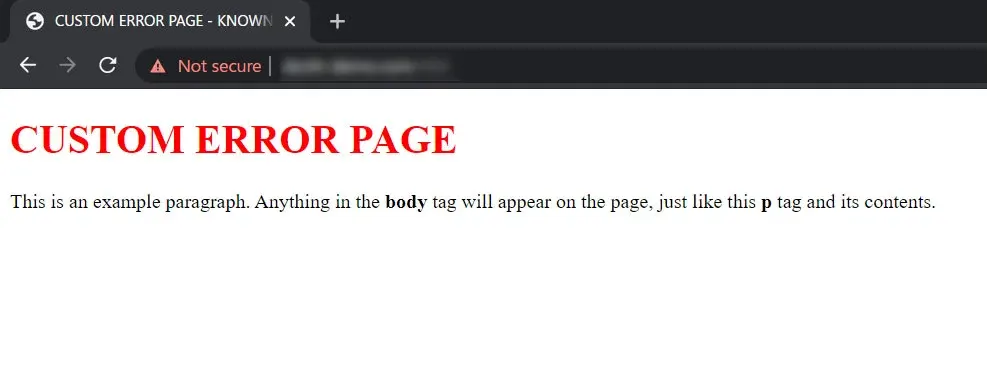
Lastly, type in a non-existent URL on your website to test your custom error page. Remember that you should see the custom error page instead of the default error page:
That’s it!
Conclusion
Once custom error pages have been setup in DirectAdmin, you can type in a non-existent URL on your website to test them. You should see the custom error page instead of the default error page. In this article, we taught you how to setup custom error pages in DirectAdmin. I hope this tutorial was useful for you and that it helps you to setup custom error pages in DirectAdmin. If you have any questions or suggestions in the setup process, you can contact us in the Comments section.
![How to install Laravel on Ubuntu 20.04 LTS [complete]](https://blog.eldernode.com/wp-content/uploads/2020/05/How-to-install-Laravel-on-Ubuntu-20.04-LTS-complete-300x164.png)