In this article, you are going to learn how to install phpMyAdmin on Debian 10. As a user, you need a database management system like MariaDB, but since all of them are not comfortable interacting with the system solely from the MariaDB prompt.
So we introduce the phpMyAdmin in which users are interacting with MariaDB through a web interface. Join us in this tutorial to know more and review how to install and secure phpMyAdmin from Source to use it safely and manage your databases on a Debian 10 system.
Prerequisites
The tutorial may be more useful if you know:
- a non-root user with sudo privileges and a firewall configured with ufw.
- To set up, follow our Initial Setup with Debian 10
- A LAMP (Linux, Apache, MariaDB, and PHP) stack installed on your Debian 10 server.
Table of Contents
How to install phpMyAdmin on Debian 10
Although the MariaDB is a community-developed fork of MySQL, they are closely related. phpMyAdmin is designed for managing MySQL databases, so you need to ensure that your installation of MariaDB will work correctly with phpMyAdmin.
To start the installation, you are forced to consider some important security tips like:
- Communicates directly with your MariaDB installation
- Handles authentication using MariaDB credentials
- Executes and returns results for arbitrary SQL queries
As you see, you should not run phpMyAdmin on remote systems over a plain HTTP connection, because it is a widely-deployed PHP application and you may face frequently targeted for attack.
Installing phpMyAdmin and recommended packages
To enable certain functionalities and improve performance, you need to install a few PHP extensions onto your server and then begin to install and configure.
To explain more, we suggest you review it below.
- php-mbstring: a PHP extension used to manage non-ASCII strings and convert strings to different encodings
- php-zip: a PHP module that supports uploading .zip files to phpMyAdmin
- php-gd: another PHP module, this one enables support for the GD Graphics Library
First, you need to update your server’s package index.
sudo apt updateTo pull down the files and install them on your system, use apt
sudo apt install php-mbstring php-zip php-gdWe use the all-language package in this tutorial, but you can install only the english package.
To download the tarball to your server, Replace the link in the following wget command with the download link and press ENTER.
wget https://files.phpmyadmin.net/phpMyAdmin/4.9.0.1/phpMyAdmin-4.9.0.1-all-languages.tar.gz Then extract the tarball:
tar xvf phpMyAdmin-4.9.0.1-all-languages.tar.gz By running the below command, move the the phpMyAdmin-4.9.0.1-all-languages directory and all its subdirectories to the /usr/share/ directory.
sudo mv phpMyAdmin-4.9.0.1-all-languages/ /usr/share/phpmyadmin Configuring phpMyAdmin manually
To make a new directory where phpMyAdmin will store its temporary files, run the following command.
sudo mkdir -p /var/lib/phpmyadmin/tmp To set the Linux user profile type the below command.
sudo chown -R www-data:www-data /var/lib/phpmyadminThen, make a copy of the file which you extracted to use it as your base configuration file. you need to keep it in the /usr/share/phpmyadmin directory, and rename it config.inc.php:
sudo cp /usr/share/phpmyadmin/config.sample.inc.php /usr/share/phpmyadmin/config.inc.phpChoosing your favorite text editor, open the below file
sudo nano /usr/share/phpmyadmin/config.inc.php By default, phpMyAdmin uses the cookie authentication method and allows you to log in to phpMyAdmin as any valid MariaDB user.
. . .$cfg['blowfish_secret'] = ''; /* YOU MUST FILL IN THIS FOR COOKIE AUTH! */ . . .The phrase is just be used internally by the AES algorithm:
. . . $cfg['blowfish_secret'] = 'STRINGOFTHIRTYTWORANDOMCHARACTERS'; /* YOU MUST FILL IN THIS FOR COOKIE AUTH! */ . . .Note: To generate a truly random string of characters, you can install and use the pwgen program
sudo apt install pwgenNext, to point to a secure your chosen password, uncomment the controluser and controlpass directives by removing the preceding slashes. Then update the controlpass directive. It helps the default password to not remain in place and unknown users could not easily gain access to your database through the phpMyAdmin interface. So you would see:
. . . /* User used to manipulate with storage */ // $cfg['Servers'][$i]['controlhost'] = ''; // $cfg['Servers'][$i]['controlport'] = ''; $cfg['Servers'][$i]['controluser'] = 'pma'; $cfg['Servers'][$i]['controlpass'] = 'password'; . . .If you remove the slashes at the beginning of each line and uncomment each line in this section, you would see as below.
. . . /* Storage database and tables */ $cfg['Servers'][$i]['pmadb'] = 'phpmyadmin'; $cfg['Servers'][$i]['bookmarktable'] = 'pma__bookmark'; $cfg['Servers'][$i]['relation'] = 'pma__relation'; $cfg['Servers'][$i]['table_info'] = 'pma__table_info'; $cfg['Servers'][$i]['table_coords'] = 'pma__table_coords'; $cfg['Servers'][$i]['pdf_pages'] = 'pma__pdf_pages'; $cfg['Servers'][$i]['column_info'] = 'pma__column_info'; $cfg['Servers'][$i]['history'] = 'pma__history'; $cfg['Servers'][$i]['table_uiprefs'] = 'pma__table_uiprefs'; $cfg['Servers'][$i]['tracking'] = 'pma__tracking'; $cfg['Servers'][$i]['userconfig'] = 'pma__userconfig'; $cfg['Servers'][$i]['recent'] = 'pma__recent'; $cfg['Servers'][$i]['favorite'] = 'pma__favorite'; $cfg['Servers'][$i]['users'] = 'pma__users'; $cfg['Servers'][$i]['usergroups'] = 'pma__usergroups'; $cfg['Servers'][$i]['navigationhiding'] = 'pma__navigationhiding'; $cfg['Servers'][$i]['savedsearches'] = 'pma__savedsearches'; $cfg['Servers'][$i]['central_columns'] = 'pma__central_columns'; $cfg['Servers'][$i]['designer_settings'] = 'pma__designer_settings'; $cfg['Servers'][$i]['export_templates'] = 'pma__export_templates'; . . .Finally, find the bottom file and add the following line to configure phpMyAdmin to use the /var/lib/phpmyadmin/tmp directory you created earlier as its temporary directory. for a faster page loading, phpMyAdmin will use this temporary directory as a template cache.
. . . $cfg['TempDir'] = '/var/lib/phpmyadmin/tmp';If you used nano, save and close the file now by pressing CTRL + X, Y, then ENTER.
It is time to create the phpMyAdmin storage database and tables. As you installed phpMyAdmin, it came with a file named create_tables.sql.
To create the configuration storage database and tables, run the following command to use the create_tables.sql file.
sudo mariadb < /usr/share/phpmyadmin/sql/create_tables.sql Open up the MariaDB prompt and create the administrative pma user.
sudo mariadb Run the following command to create the pma user and grant it the appropriate permissions
mariaDB [ (none) ] > NGRANT SELECT, INSERT, UPDATE, DELETE ON phpmyadmin.* TO 'pma'@'localhost' IDENTIFIED BY 'password';Create a regular MariaDB user for the purpose of managing databases through phpMyAdmin. Try to log in using another account than the pma user and create a user that has privileges to all tables within the database.
mariaDB [ (none) ] > GRANT ALL PRIVILEGES ON *.* TO 'noodi'@'localhost' IDENTIFIED BY 'password' WITH GRANT OPTION; Then, exit the MariaDB shell:
mariaDB [ (none) ] > exitNow the phpMyAdmin is fully installed and configured on your server.
Configuring Apache to Serve phpMyAdmin
The installation process creates an Apache configuration file automatically and places it in the /etc/apache2/conf-enabled/ directory, while the phpMyAdmin installation.
Create a file named phpmyadmin.conf in the /etc/apache2/conf-available/ directory
sudo nano /etc/apache2/conf-available/phpmyadmin.confAdd the following content to the file
phpMyAdmin default Apache configuration Alias /phpmyadmin /usr/share/phpmyadmin <Directory /usr/share/phpmyadmin> Options SymLinksIfOwnerMatch DirectoryIndex index.php <IfModule mod_php5.c> <IfModule mod_mime.c> AddType application/x-httpd-php .php </IfModule> <FilesMatch ".+\.php$"> SetHandler application/x-httpd-php </FilesMatch> php_value include_path . php_admin_value upload_tmp_dir /var/lib/phpmyadmin/tmp php_admin_value open_basedir /usr/share/phpmyadmin/:/etc/phpmyadmin/:/var/lib/phpmyadmin/:/usr/share/php/php-gettext/:/usr/share/php/php-php-gettext/:/usr/share/javascript/:/usr/share/php/tcpdf/:/usr/share/doc/phpmyadmin/:/usr/share/php/phpseclib/ php_admin_value mbstring.func_overload 0 </IfModule> <IfModule mod_php.c> <IfModule mod_mime.c> AddType application/x-httpd-php .php </IfModule> <FilesMatch ".+\.php$"> SetHandler application/x-httpd-php </FilesMatch> php_value include_path . php_admin_value upload_tmp_dir /var/lib/phpmyadmin/tmp php_admin_value open_basedir /usr/share/phpmyadmin/:/etc/phpmyadmin/:/var/lib/phpmyadmin/:/usr/share/php/php-gettext/:/usr/share/php/php-php-gettext/:/usr/share/javascript/:/usr/share/php/tcpdf/:/usr/share/doc/phpmyadmin/:/usr/share/php/phpseclib/ php_admin_value mbstring.func_overload 0 </IfModule> </Directory> # Authorize for setup <Directory /usr/share/phpmyadmin/setup> <IfModule mod_authz_core.c> <IfModule mod_authn_file.c> AuthType Basic AuthName "phpMyAdmin Setup" AuthUserFile /etc/phpmyadmin/htpasswd.setup </IfModule> Require valid-user </IfModule> </Directory> # Disallow web access to directories that don't need it <Directory /usr/share/phpmyadmin/templates> Require all denied </Directory> <Directory /usr/share/phpmyadmin/libraries> Require all denied </Directory> <Directory /usr/share/phpmyadmin/setup/lib> Require all denied </Directory>Save and close the file, then enable it by typing the following command.
sudo a2enconf phpmyadmin.conf to put the configuration changes into effect, reload the apache2 service
sudo systemctl reload apache2Then, you will be able to access the phpMyAdmin login screen by navigating to the following URL in your web browser:
https://your_domain/phpmyadmin 
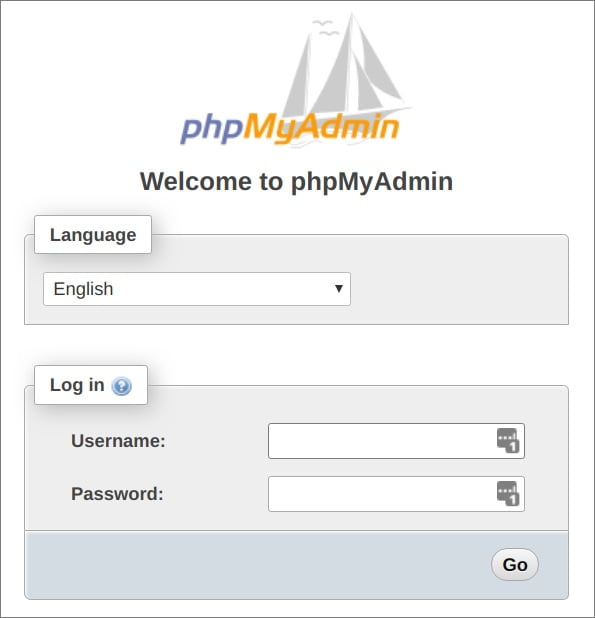
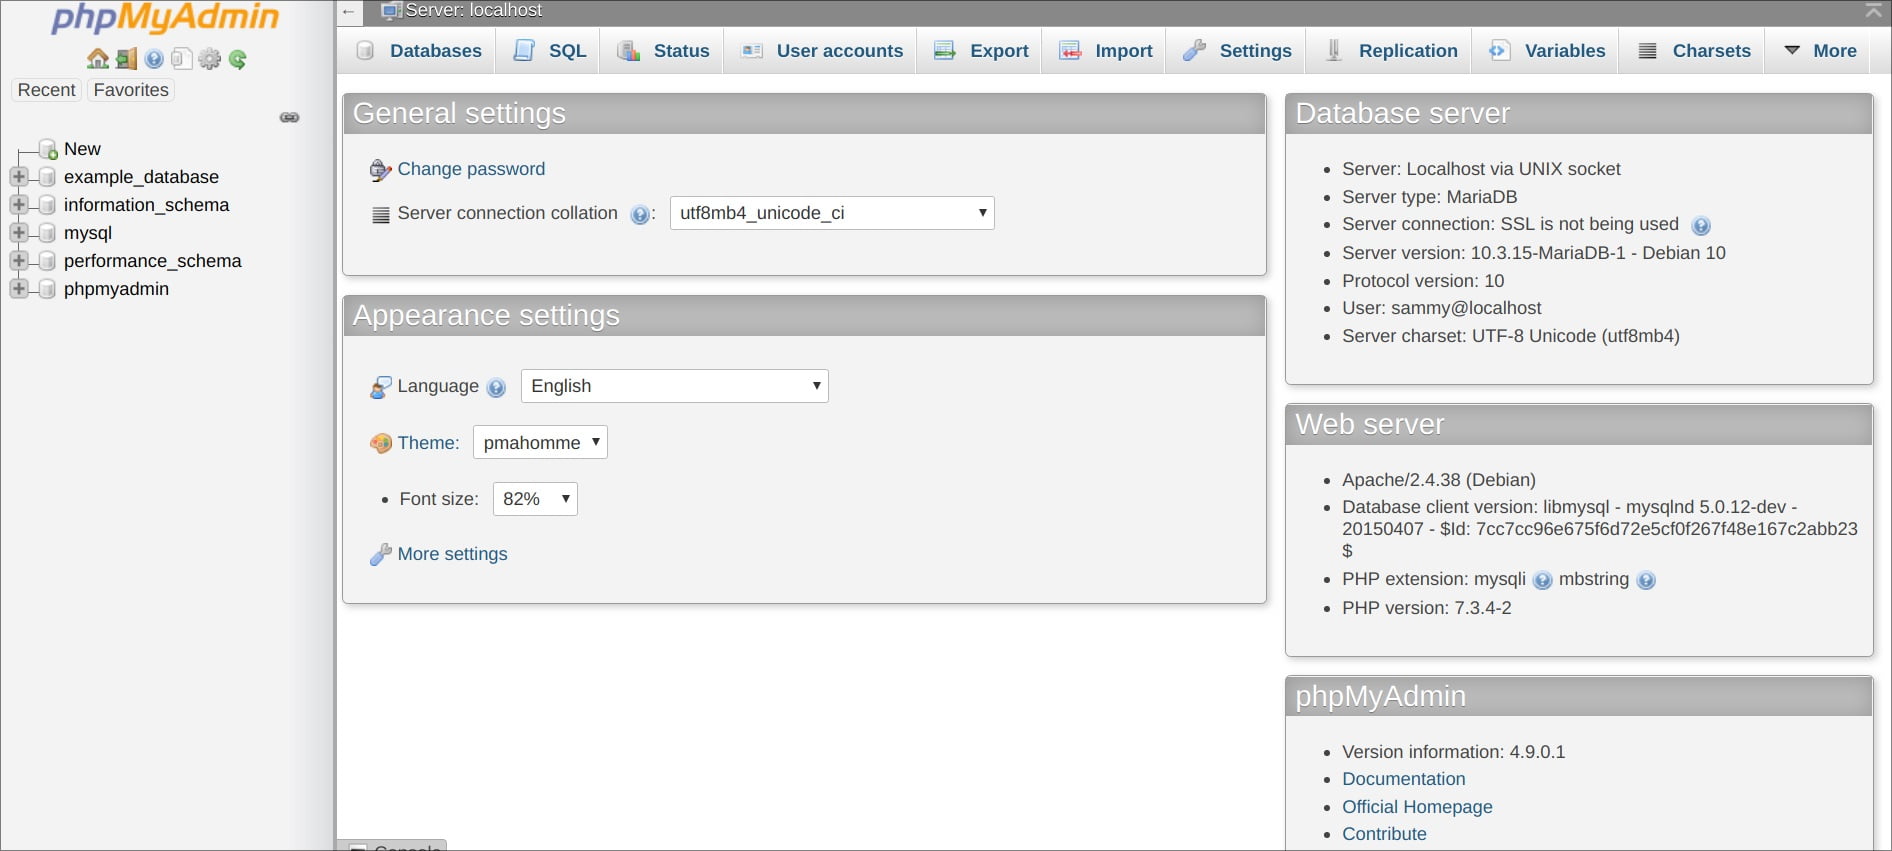
You can Log in to the interface with the MariaDB username and password you configured, then you will see the user interface.
Securing your phpMyAdmin instance
As the phpMyAdmin is a popular target for attackers, you should take extra care to prevent unauthorized access. Placing a gateway in front of the entire application by using Apache’s built-in .htaccess authentication and authorization functionalities is one of the best ways of protecting.
Edit the linked file that has been placed in your Apache configuration directory:
sudo nano /etc/apache2/conf-available/phpmyadmin.conf Add an AllowOverride All directive within the <Directory /usr/share/phpmyadmin> section of the configuration file.
<Directory /usr/share/phpmyadmin> Options FollowSymLinks DirectoryIndex index.php AllowOverride All <IfModule mod_php5.c> . . .After adding the line, save and close the file. And to implement the changes you made, restart Apache, run the following command.
sudo systemctl restart apache2 After enabling .htaccess, use for your application, you need to create one to actually implement some security. Then create the necessary file and open it in your text editor with root privileges by typing:
sudo nano /usr/share/phpmyadmin/.htaccess Enter the following content
AuthType Basic AuthName "Restricted Files" AuthUserFile /usr/share/phpmyadmin/.htpasswd Require valid-userIn case you need to know the meanings of the lines:
AuthType Basic: This line specifies the authentication type that you are implementing. This type will implement password authentication using a password file.
AuthName: This sets the message for the authentication dialog box. You should keep this generic so that unauthorized users won’t gain any information about what is being protected.
AuthUserFile: This sets the location of the password file that will be used for authentication. This should be outside of the directories that are being served. We will create this file shortly.
Require valid-user: This specifies that only authenticated users should be given access to this resource. This is what actually stops unauthorized users from entering
Save and close the file when you are finished. And create this file and pass it an initial user with the htpasswd utility:
sudo htpasswd -c /usr/share/phpmyadmin/.htpasswd username Then, you will sked to choose and confirm a password for the user you are creating, so the file is created with the hashed password that you entered.
Also, you need to do so without the -c flag, if you want to enter an additional user
sudo htpasswd /etc/phpmyadmin/.htpasswd additionaluser You will be asked to add an account name and password that you just configured, while you are accessing your phpMyAdmin subdirectory.
https://your_domain_or_IP/phpmyadmin
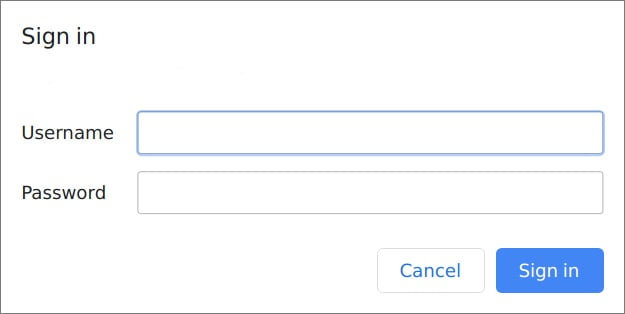
Finally, To enter your MariaDB credentials, you will see the regular phpMyAdmin authentication page, after entering the Apache authentication.
Dear user, we wish this tutorial how to install phpMyAdmin on Debian 10 would be helpful for you, to ask any question or review the conversation of our users about this article, please visit Ask page. Also to improve your knowledge, there are so many useful tutorials ready for Eldernode training.