WordPress is a popular content management system (CMS) that can be installed and managed on the InterWorx control panel. This article will teach you How to Install WordPress on Interworx. If you intend to buy an economical VPS server, you can check out the packages offered on the Eldernode website.
Table of Contents
Tutorial Setup WordPress on Interworx
WordPress is popular software that you can use to make building a website easier and user-friendly. InterWorx is a web hosting control panel that provides a user-friendly interface to manage web hosting accounts, domains, and server resources. It does not directly support WordPress, but you can easily install and use it on InterWorx servers.
Installing WordPress on Interworx Using Softaculous
InterWorx ships with a standard license for Softaculous. WordPress is part of their premium packages, you need a premium Softaculous license. You can purchase Softaculous licenses from their website.
Firstly, open your web browser and navigate to the following URL:
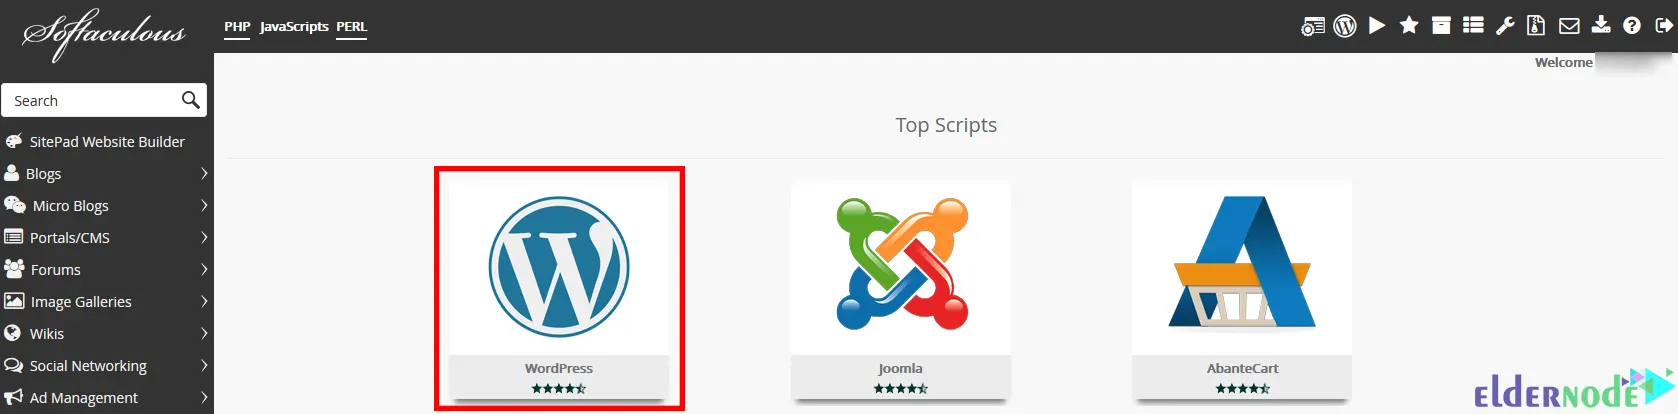
https://ip.ad.dr.ess:2443/siteworxOnce you logged in, go to the Hosting Features >> Softaculous path from the side menu or SiteWorx home.
Now click the WordPress button to open the WordPress installation page.
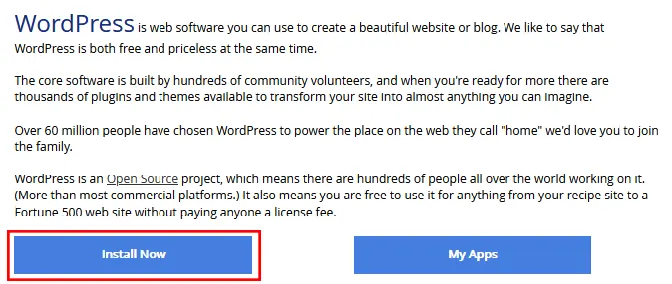
Then press Install Now to open the WordPress Software Setup page:
Note: If you make any setting changes from the default, remember to update the desired fields.
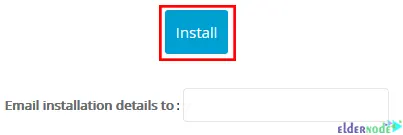
Next press Install to refresh the page to show the installation status:
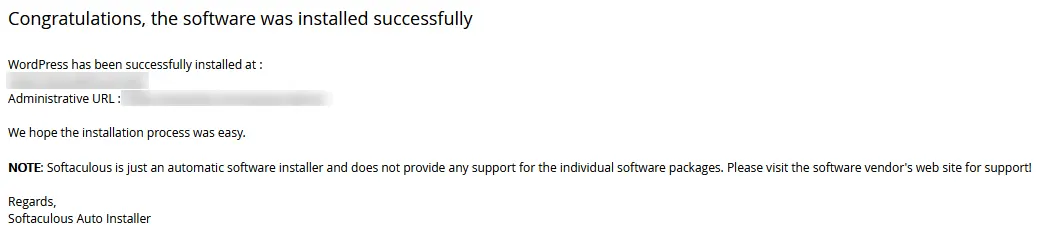
Once finished, you will see the following screen:
Installing WordPress on Interworx Manually
In this section, you will learn how to install WordPress on InterWorx manually.
How to Setup Database
In the first step to installing WordPress manually, you should setup the database. To do this, open your web browser and navigate to the following URL:
https://ip.ad.dr.ess:2443/siteworxAnd go to the Hosting Features >> MySQL >> Databases path from the SiteWorx home or the side menu.
Now click + to open the Add a MySQL Database section.
The following screen should appear:
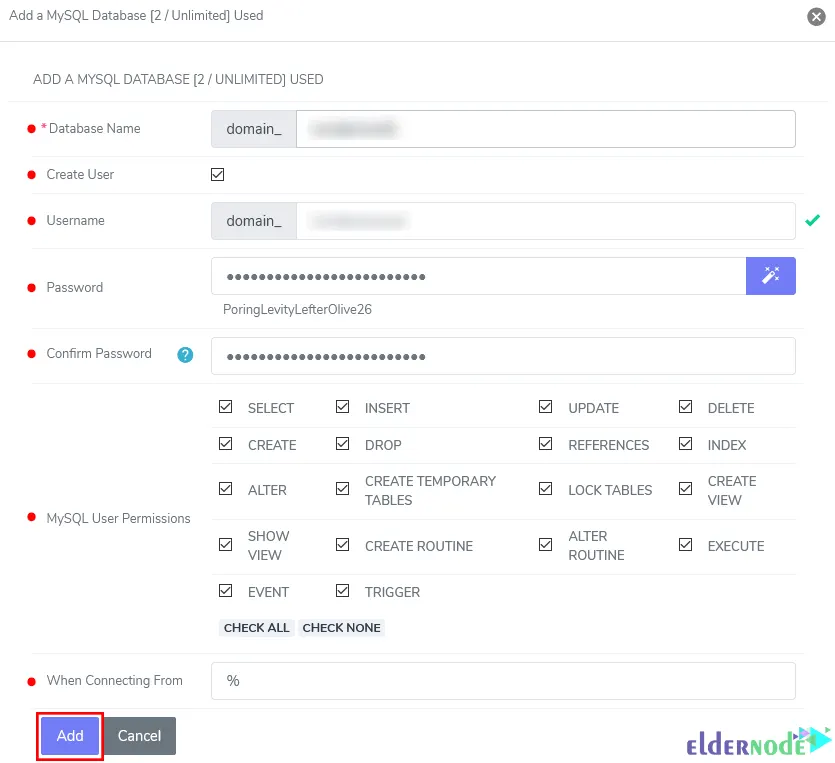
You need to update the desired following fields:
– Database Name: This is your database’s name. SiteWorx will add the SiteWorx’s unix username to the database name provided automatically.
– Create User: If you check this box, the form will expand to include database user options. We recommended creating a database user for the new WordPress database.
– Password/Confirm Password: This is the database user’s password. You can click the Magic Wand to automatically generate a secure password.
– MySQL User Permissions: Choose the permissions the database user should have.
– When Connecting From: Enter the host the database user will connect from. % is the default.
Once done, click Add.
How to Download the WordPress Config Files
Firstly, log in to the server as a SiteWorx user.
Navigate to the following address from the CLI:
cd /home/mywebsit/mywebsite.com/html/Download the latest WordPress version using the following command:
wget https://wordpress.org/latest.tar.gzOnce the download is completed, extract the package as shown below:
tar xfz latest.tar.gzThis will extract the files into a new folder named WordPress.
Now you should move all of the files in the newly created WordPress folder into the current directory as shown below:
mv wordpress/* ./How to Configure WordPress
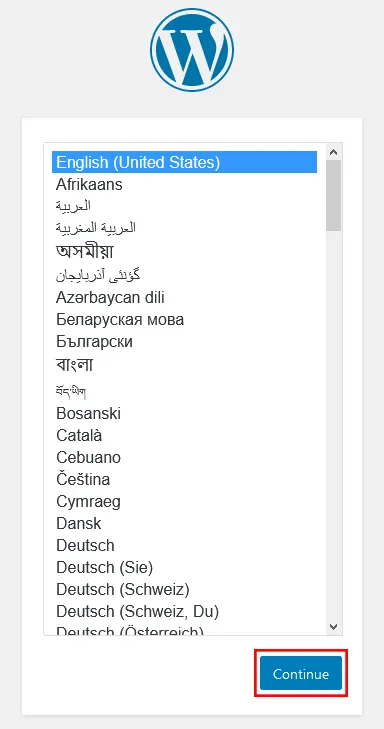
In the first step, open the browser and navigate to the domain. You will see the WordPress Setup page, choose the default language and click Continue:
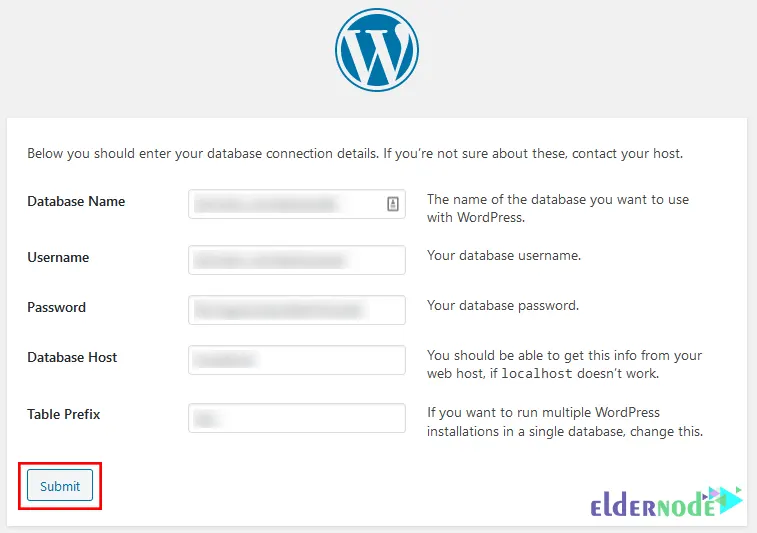
Next, you will see the database connection details page. You should provide the credentials for the database and click Submit:
Now click on Run the Installation:

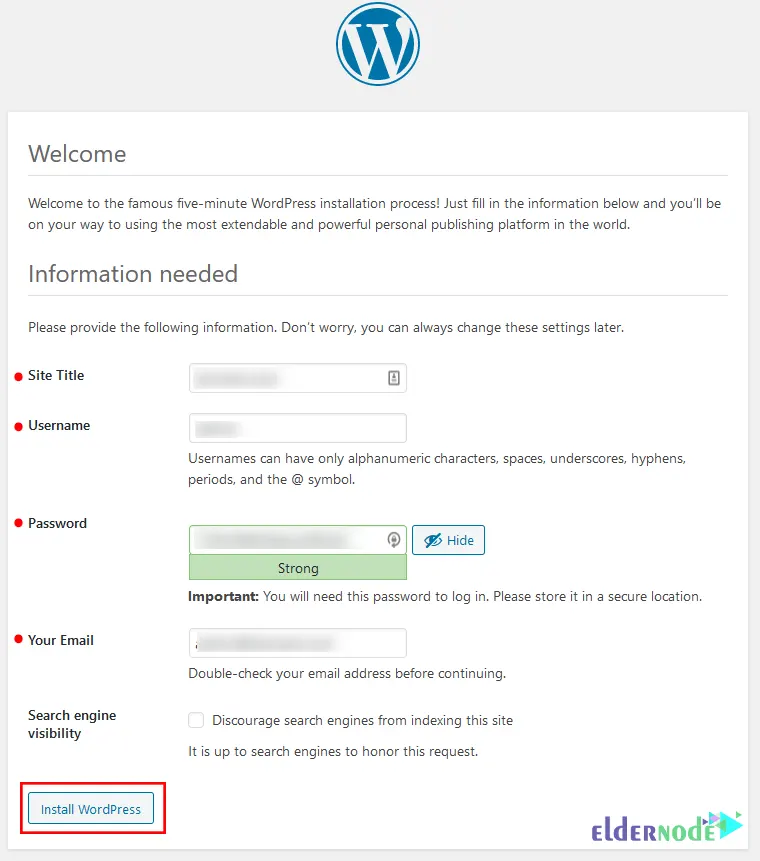
You should see the following welcome page. All you have to do is to update the required fields and click Install WordPress:
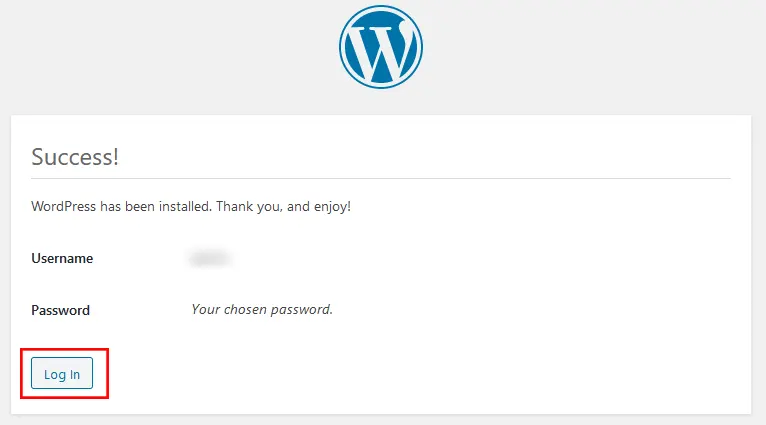
Once the installation is finished, you will see the user login information:
That’s it!
Conclusion
WordPress is a popular content management system that you can install and manage on the InterWorx control panel. In this article, we taught you how to install WordPress on Interworx. I hope you found this tutorial useful and that it helps you to install WordPress on Interworx. If you have any questions or problems during the installation process, you can contact us in the Comments section.