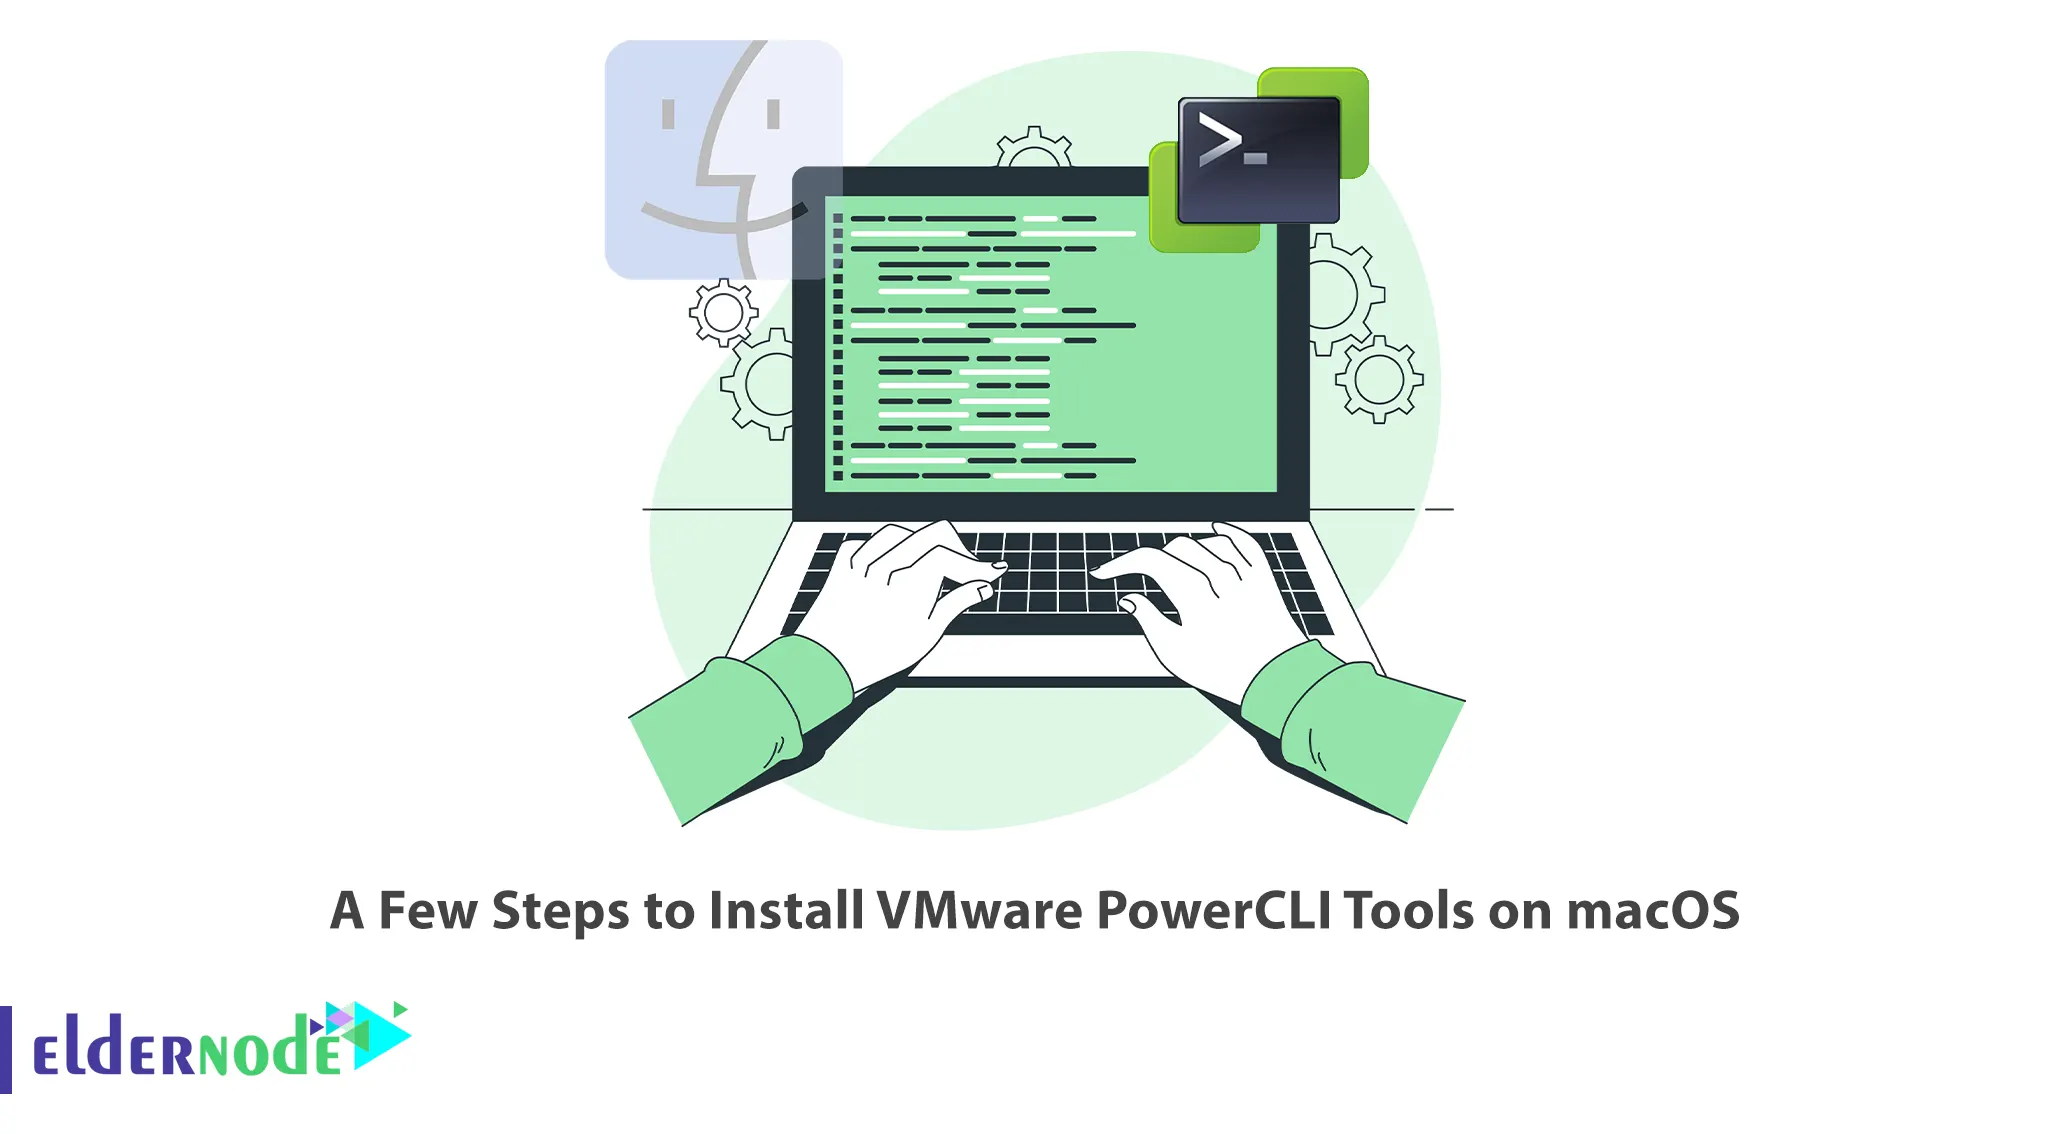
If you are a VMware virtualization administrator, you may want to install VMware PowerCLI on your Mac to perform most vSphere management tasks or automate many operations. This article will teach you A Few Steps to Install VMware PowerCLI Tools on macOS. We provide economical VPS servers, which are the best choice for users. If you want to Instant VPS server, you can visit the plans offered on the Eldernode website.
Table of Contents
Tutorial Setup VMware PowerCLI Tools on macOS
VMware PowerCLI is a command line and set of PowerShell modules that are used to manage, monitor and automate processes in the VMware vSphere environments. Commands of PowerCLI are executed in the Windows PowerShell environment, and these commands are called cmdlets but you can also install it on your Mac. These commands are invoked programmatically through PowerShell APIs and VMware PowerCLI provides more than 700 of them.
Step 1: Installing Homebrew on macOS
First of all, you need to install Homebrew on macOS. Homebrew is a package manager that allows you to install packages like PowerShell directly from the command line. If you have already installed it, skip this step.
You can download Homebrew using the command below:
/bin/bash -c "$(curl -fsSL https://raw.githubusercontent.com/Homebrew/install/HEAD/install.sh)"Verify your installation with the following command:
brew --versionStep 2: Installing PowerShell on macOS
In this step, you will learn how to install PowerShell on macOS. As mentioned earlier, you will install PowerShell on macOS with the help of the Homebrew package you installed in the previous step.
To install PowerShell using Homebrew, just run the following command:
brew install --cask powershellYou can check your PowerShell installation with the following command:
pwshTo get a newer version of PowerShell, just update the Homebrew formulas and upgrade PowerShell as follows:
brew update brew upgrade powershell --caskStep 3: Installing VMware PowerCLI Tools on macOS
Now it’s time to install VMware PowerCLI Tools on macOS.
First, open PowerShell on macOS as shown below:
pwshYou can install all PowerCLI modules by running the following commands in PowerShell:
PS /Users/eldernode> Install-Module VMware.PowerCLI -Scope CurrentUserIf you get a warning about installing modules from an untrusted repository as shown below, just press “Y” or “A” to confirm the installation.
Untrusted repository You are installing the modules from an untrusted repository. If you trust this repository, change its InstallationPolicy value by running the Set-PSRepository cmdlet. Are you sure you want to install the modules from 'PSGallery'? [Y] Yes [A] Yes to All [N] No [L] No to All [S] Suspend [?] Help (default is "N"): AModules are automatically downloaded and saved in the correct folder. You can use the -Scope parameter to make PowerCLI modules available to AllUsers as shown below:
PS /Users/eldernode> Install-Module VMware.PowerCLI -Scope AllUsersList all available modules using the command below:
Get-Module -ListAvailableThe modules will store in the ~/.local/share/powershell/Modules directory on your macOS workstation. To access modules, run the command below:
ls ~/.local/share/powershell/ModulesStep 4: Using PowerCLI on macOS
In this step, we will give an example of using VMware vSphere cmdlets to automatically manage the vSphere environment. First, enter the following command to get details about the installed version of PowerCLI:
PS /Users/eldernode> Get-PowerCLIVersionYou should update the configuration to ignore accepting self-signed certificates for SSL connection. To do this enter the command below:
PS /Users/eldernode> Set-PowerCLIConfiguration -InvalidCertificateAction IgnoreStep 5: Connecting to the Environment
First, set up a new connection using the command below:
PS /Users/eldernode> Connect-VIServer -Server esxi01.example.com -Protocol httpsPass the username and password in the CLI to connect non-interactively:
Connect-VIServer -Server <ServerIP_or_Hostname> -Protocol https -User <Username> -Password <Password>Retrieve the datastores available by running a cmdlet as shown below:
PS /Users/eldernode> Get-DatastoreTo search for cmdlets commands use regex inPowerCLI as follows:
PS /Users/eldernode> Get-VICommand *switchThat’s it!
Conclusion
In this article, we taught you how to install VMware PowerCLI tools on macOS step by step. I hope you found this tutorial useful and that it helps you to install VMware PowerCLI tools on macOS. If you encounter any issues during the installation process, you can contact us in the Comments section.
