We are back with another CentOS 7 Linux article. Today you are going to learn how to install OpenVAS on CentOS 7 Linux. It is free software that basically uses the Nessus software engine to check and test security holes.
Since 2005, when Nessus software switched from open source mode to closed source version (with activation license), GreenBone has continued its open-source project and initially developed a vulnerable scanner software called GNessUs, which was later renamed OpenVAS. OpenVAS stands for Open Vulnerability Assessment System, which is now available for free to scan your entire network and identify the security holes. The steps for installing OpenVAS are very simple and all you have to do is run a number of Linux commands.
Install OpenVAS on CentOS 7 Linux
1- First, connect to your CentOS 7 terminal environment.
2- Enter the following command to download the OpenVAS repository.
wget -q -O - http://www.atomicorp.com/installers/atomic |shAfter downloading the license, the Agreement will be displayed to you.
3- Enter the following command to start OpenVAS.
yum -y install openvas4- After installing the software, enter the following command to set up and launch OpenVAS.
openvas-setupPlease note: During the installation process, you would enter your username and password to connect to the OpenVAS interface. After completing the installation steps, a phrase like the one below will be displayed.
Setup complete, you can now access GSAD at: https://<IP>:9395- Stop your firewall completely, to not encounter any problems during the installation.
5.1 If your CentOS 7 Linux uses Iptables, enter the following command.
systemctl stop iptables.service5.2 Enter the following command if your CentOS 7 Linux operating system uses Firewalld.
systemctl stop firewalld6- After stopping the firewall, go to install the personal certificate for the OpenVAS management interface.
Enter the following command to start the Certificate installation process.
openvas-mkcert-client -n om -iYou do not need to enter any information at this stage.
7- After assigning the Certificate, rebuild the OpenVAS database with the following command.
openvasmd --rebuild8- After completing the Recovery command, enter the following command to start the OpenVAS service.
openvasmd9- After a full startup, enter the IP address of your server along with port 9392, in a browser.
You are learning how to Install OpenVAS on CentOS 7 Linux
For example, the desired IP address is 192.168.1.10, and you should enter the address in the browser as follows.
https://192.168.1.10:9392
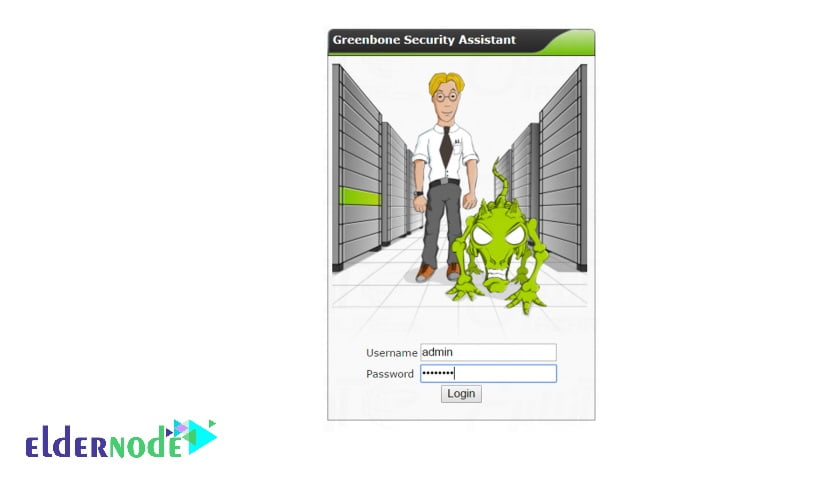
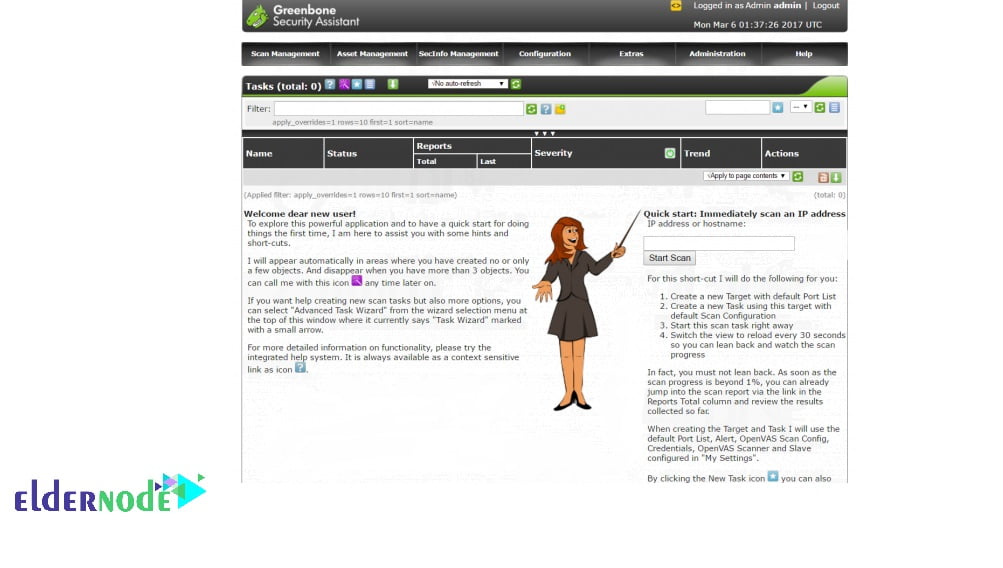
10- After entering the address, the OpenVAS management page will open, and you can connect to the OpenVAS software management environment by entering the username and password that you entered during the installation.
11- After entering, you will see the bellow page.
Dear user, we wish this tutorial would be helpful for you, to ask any question or review the conversation of our users about this article, please visit Ask page. Also to improve your knowledge, there are so many useful tutorials ready to on Eldernode training.
