OpenSSL is a comprehensive encryption library that uses the TLS protocol, which is an open-source application. OpenSSL was first released in 1998 and is available for Linux, Windows, macOS, and BSD systems. This allows users to perform a variety of tasks, including creating a CSR, generating private keys, and installing SSL certification with SSL. Most Linux distributions are done with the OpenSSL composite draft, but if you’re using Windows, follow the tutorial below. In this article, we are going to teach you about Tutorial Install OpenSSL on Windows Server 2019. You can choose your perfect Windows VPS Server Packages from Eldernode.
Table of Contents
How to Install OpenSSL on Windows Server 2019
Introduction to OpenSSL
OpenSSL is one of the most widely used tools in the field of SSL. SSL certificates are in high demand now. Since the launch of HTTPS Everywhere, the landscape of encryption has changed dramatically. First, they introduced SEO as an incentive to install digital certificates, and later, they made Chrome HTTPS mandatory for all websites. If you do not use an SSL certificate, popular browsers such as Chrome and Firefox will not consider your site as a “secure” website.
In the continuation of this article, join us to teach you to step by step how to Install OpenSSL on Windows Server 2019.
Install OpenSSL on Windows Server 2019
In this section, we want to teach you how to install OpenSSL on Windows Server 2019. First, you need to enter your Windows server by entering your username and password. Then you need to open one of the browsers you want.
Now, you should download the latest version of OpenSSL. Depending on the CPU architecture, you can download the 64-bit, light, or full version.
You can download OpenSSL using the command line below:
curl.exe -L -o Win64OpenSSL.exe https://slproweb.com/download/Win64OpenSSL-1_1_0j.exe
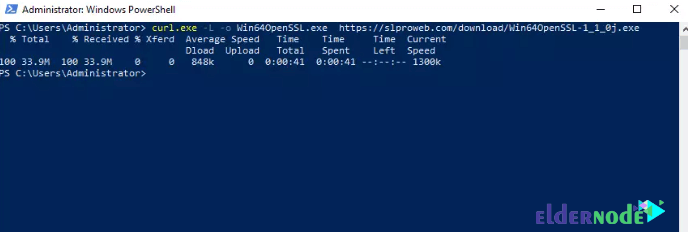
After the file is downloaded, double-click and run it.
You can run OpenSSL by entering the following command in PowerShell:
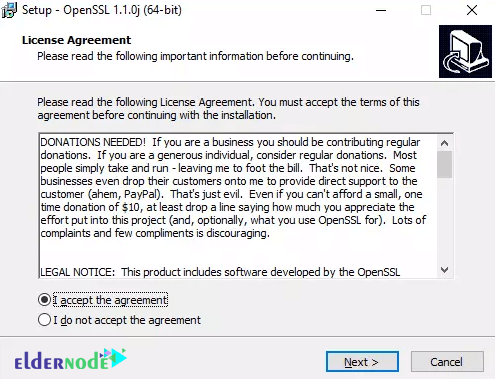
.\Win64OpenSSL.exe After viewing the image below, click I accept the agreement. Then click Next:
In the next step, specify the OpenSSL installation path. Then click Next:
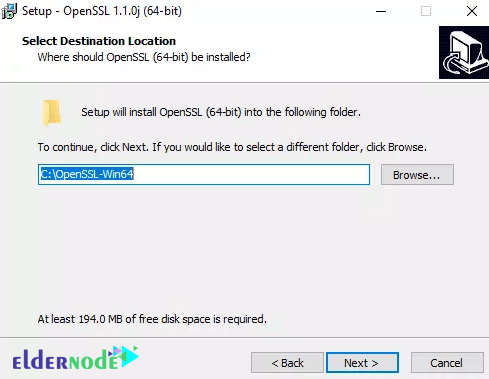
*
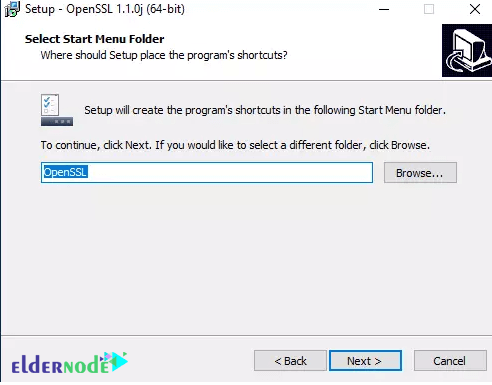
Select directory for Application shortcut:
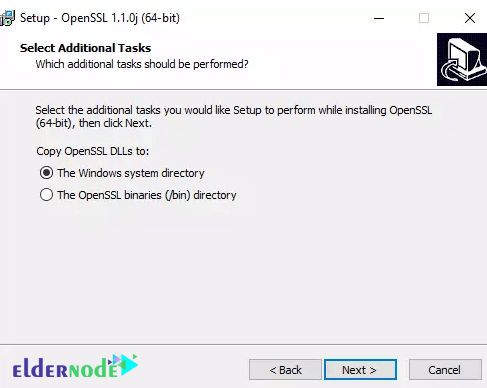
Next, click Install to begin the OpenSSL installation:
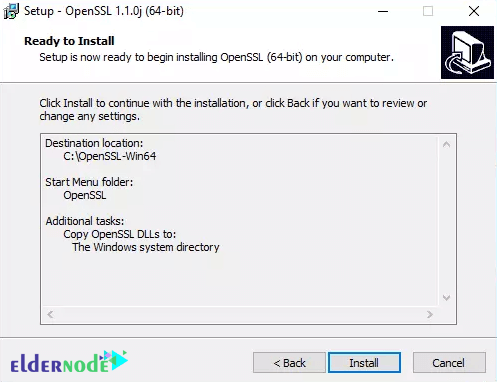
Wait for the installation to complete and finally click Finish.
Finally, add C:\OpenSSL-Win64 to the Windows environment PATH.
$userenv = [System.Environment]::GetEnvironmentVariable("Path", "User") [System.Environment]::SetEnvironmentVariable("PATH", $userenv + "C:\OpenSSL-Win64\bin", "User") Note: If your system is 32-bit, in the above code you should type win32 instead of win64.
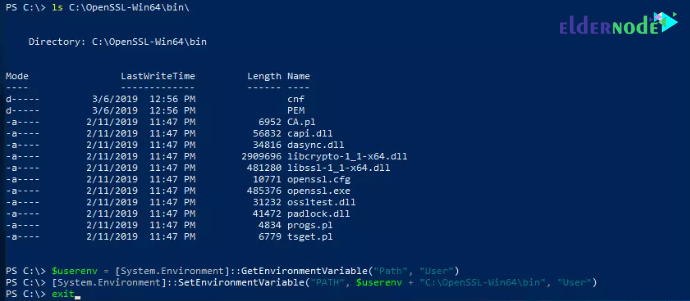
Start executing OpenSSL by entering the following command:
set OPENSSL_CONF=C:\OpenSSL-Win64\bin\openssl.cfg You can check the accuracy of installing OpenSSL by entering the command line below:
openssl.exe req -new -nodes -keyout server.key -out server.csr -newkey rsa:2048 Conclusion
In this article, we tried to teach you how to install OpenSSL on Windows Server 2019 after introducing OpenSSL. We hope you would enjoy this tutorial, you can ask questions about this training in the comments section, or to solve other problems, refer to the community section and raise your problem in it as soon as possible.

