VPN clients are software-based tools used to establish a secure connection between the client and the VPN server. They provide an interface between the user and the device for the tools to interact, so the device can communicate with the secure VPN server. OpenConnect is a VPN client and this article will teach you How to Install OpenConnect on Ubuntu 20.04. If you want to purchase an Ubuntu VPS server, you can check out the packages offered on the Eldernode website.
Table of Contents
What is OpenConnect?
OpenConnect VPN server is an open-source, cross-platform, multi-protocol SSL VPN client. It supports Cisco AnyConnect, Array Networks AG SSL VPN, Juniper SSL VPN, Pulse Connect Secure, Palo Alto Networks GlobalProtect SSL VPN, F5 Big-IP SSL VPN, and Fortinet Fortigate SSL VPN protocols. It is designed for organizations that need a remote access VPN with enterprise user management and control.
In the continuation of this article from the Ubuntu training series, we will teach you how to install OpenConnect on Ubuntu 20.04.
How to Install OpenConnect on Ubuntu 20.04
In this step, we will explain the installation process of OpenConnect on Ubuntu 20.04.
First of all, log in as the root user and provide your password when prompted.
Now update your system packages using the command below:
sudo apt updateAnd then upgrade your system packages:
sudo apt upgradeNow it’s time to download OpenConnect on your Ubuntu 20.04. To do this and save the script on your server, just run the following command:
curl -O https://raw.githubusercontent.com/iw4p/OpenConnect-Cisco-AnyConnect-VPN-Server-OneKey-ocserv/master/ocserv-install.shTo make the script executable, use the command below:
chmod +x ocserv-install.shYou can install OpenConnect on Ubuntu 20.04 by entering the following command:
./ocserv-install.shYou will see the following screen. Choose the first option and press Enter:

Type Y and press Enter:

Then it will ask you again if you want to continue, type Y and hit Enter:

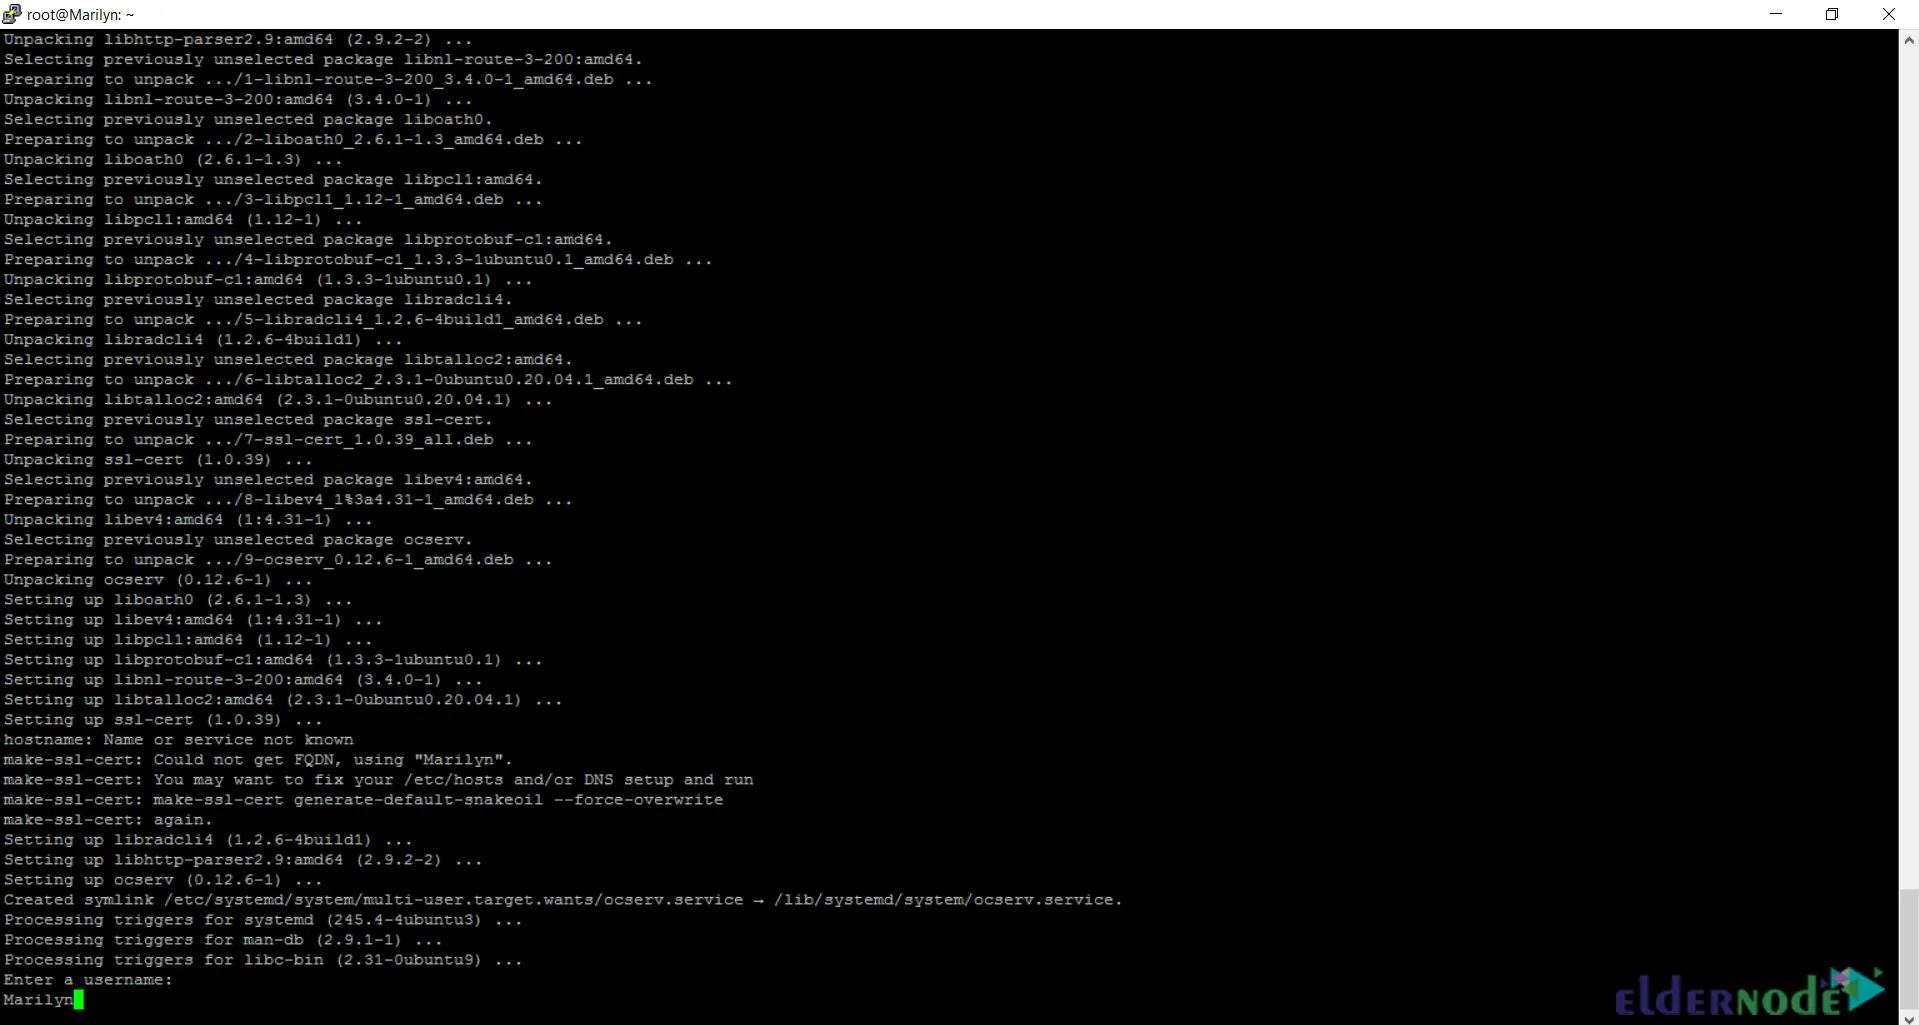
Enter the username you want and press Enter:

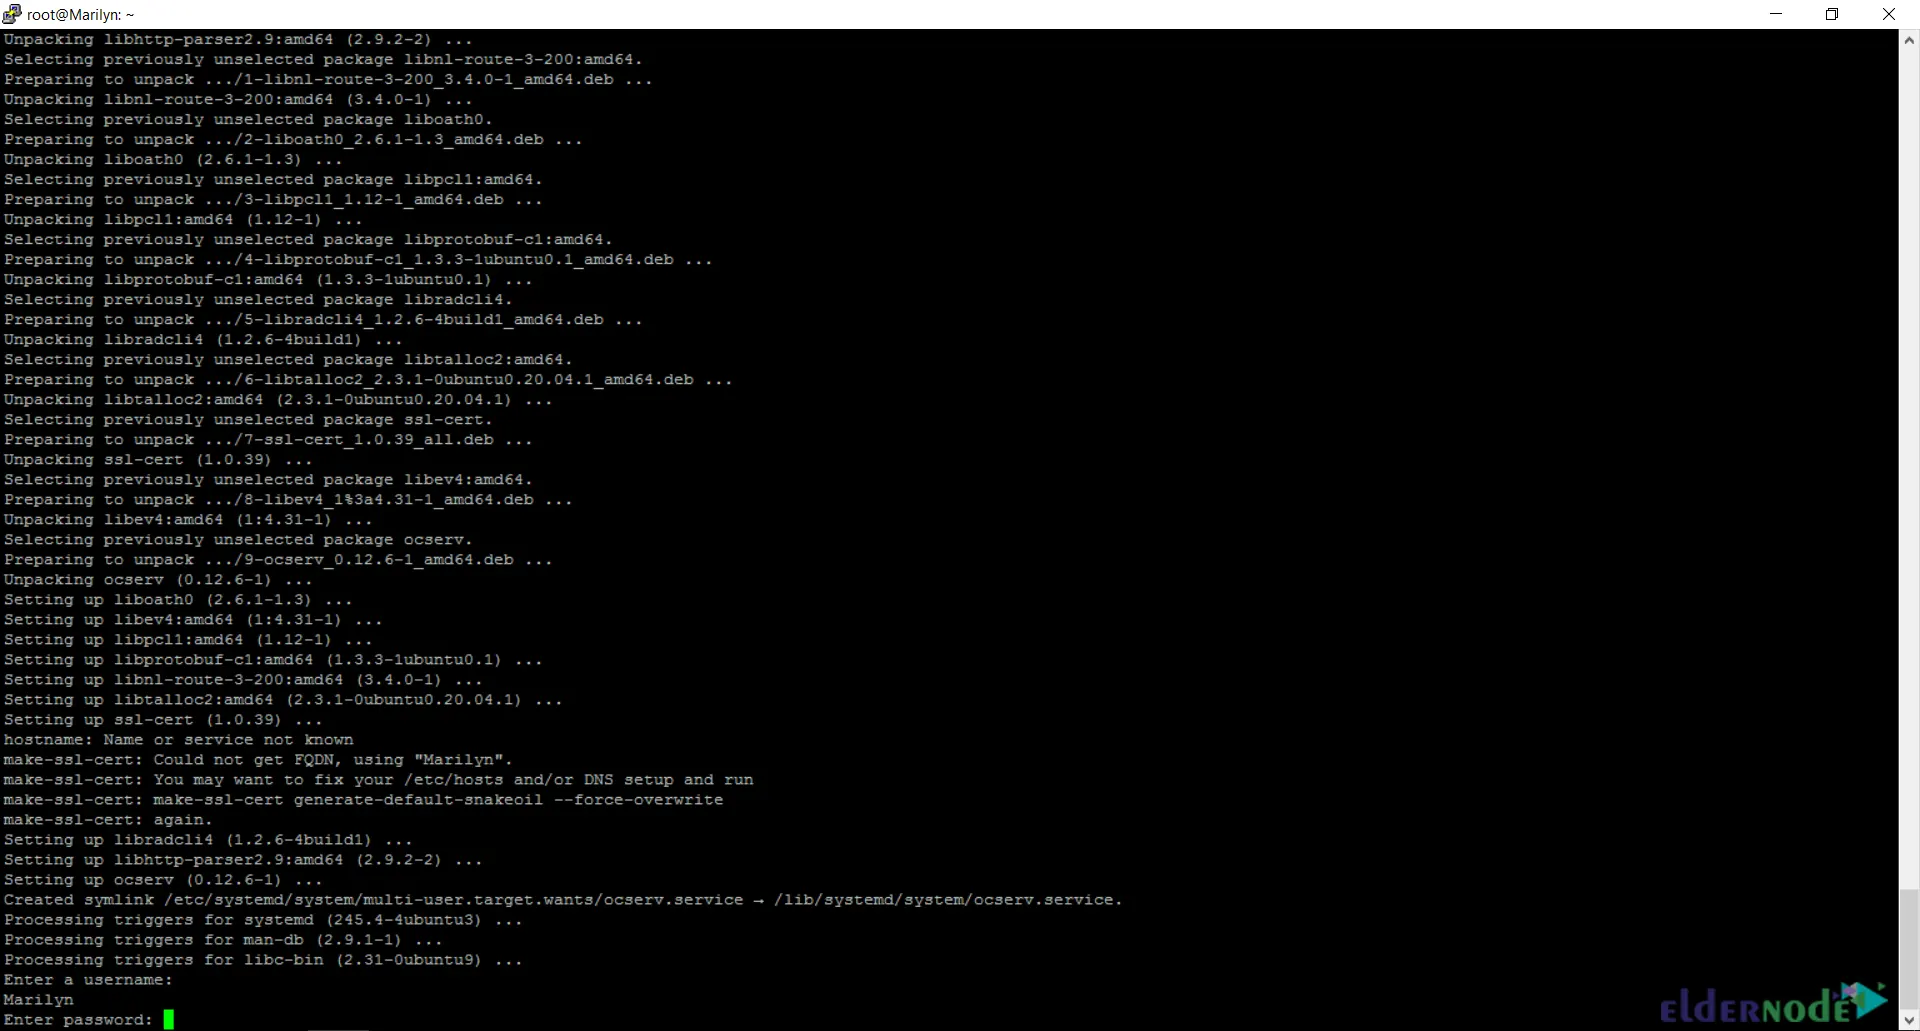
Provide Password and press Enter:

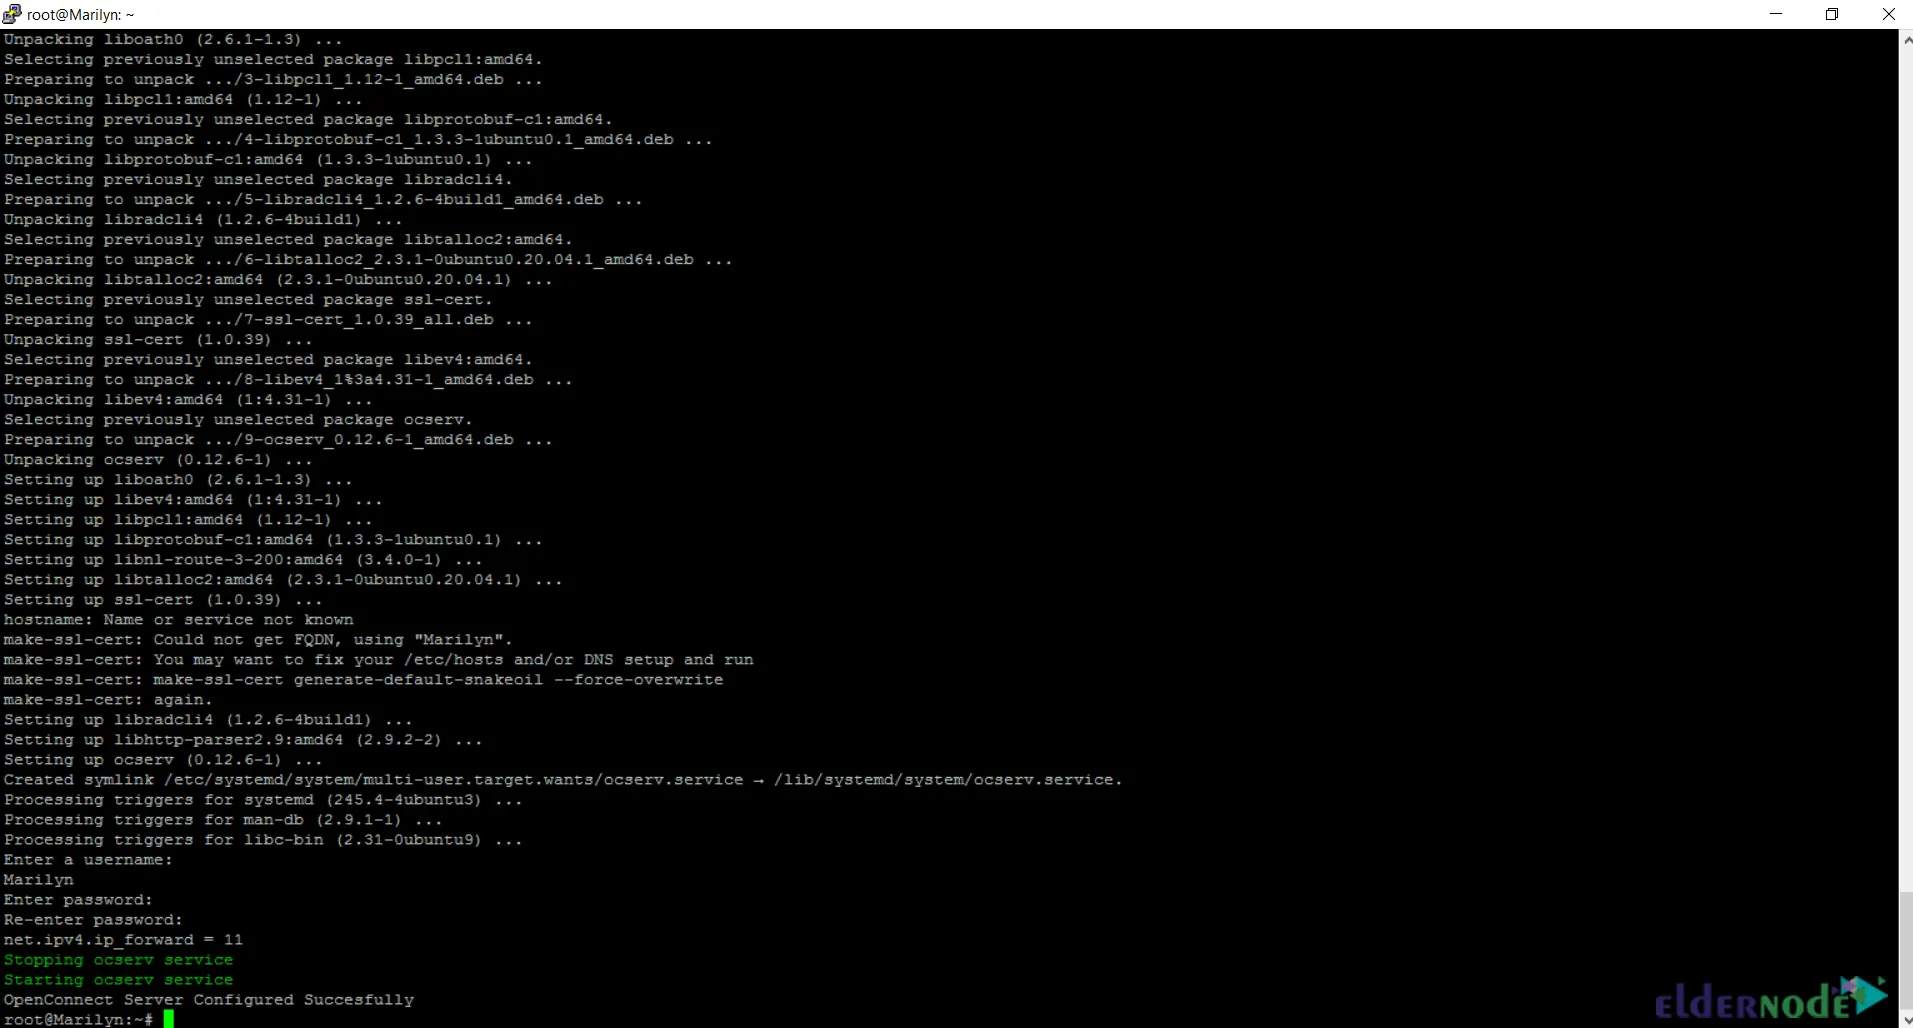
Finally, you should see the following screen confirming that OpenConnect Server has been successfully configured:

Connecting to SSL VPN Server using OpenConnect on Ubuntu 20.04
In this section, you will learn how to connect to SSL VPN Server with OpenConnect on Ubuntu 20.04.
Connecting to SSL VPN Server with OpenConnect Manually
You can connect to SSL VPN simply with the following command:
sudo openconnect -u user --passwd-on-stdin vpnserverAnd enter your password when prompted.
Connecting to SSL VPN Server with OpenConnect using Bash Script
The following bash script simplifies connecting to facilitate connecting to the Cisco Autoconnect SSL VPN server. You can put it to ~/.zshrc or ~/.bashrc depending on your shell:
myvpn () { local vpn_server="vpnserver" local vpn_username="user" local vpn_password="password" # try connect while true; do retry_time=$(($(date +%s) + 30)) sudo openconnect \ -u $vpn_username $vpn_server --non-inter --passwd-on-stdin <<< "$vpn_password" current_time=`date +%s` if [ $current_time -lt retry_time ]; then sleep $(( $retry_time - $current_time )) fi done }Remember to provide the correct variables and save the file. If you want to connect to the VPN, you can call the function by name:
myvpnYou should know the SHA-1 of Pulse Connect Secure, to connect to it:
openconnect --servercert=sha1:<HASH> \ --authgroup="single-Factor Pulse Clients" \ --protocol=nc <VPN_SERVER_ADDRESS>/dana-na/auth/url_6/welcome.cgi \ --pid-file="/var/run/work-vpn.pid" --user=<USERNAME>That’s it! You successfully installed OpenConnect on Ubuntu 20.04.
Conclusion
In this article, we taught you how to install OpenConnect on Ubuntu 20.04. I hope this article was useful for you and helps you to install Openconnect on Ubuntu 20.04 server. If you have any questions or suggestions, you can contact us in the Comments section.


