Anyone running a small business needs an in-house operating system that serves as a veritable multi-tool. In this case, one of your choices that can meet the needs of your small business is NethServer, based on CentOS 7. This article will teach you How to Install and Configure NethServer 7 on CentOS. You can check out the CentOS VPS server packages offered on the Eldernode website to purchase them.
Table of Contents
What is NethServer?
NethServer is an open-source CentOS-based and flexible operating system suitable for small businesses. Distro NethServer was launched as an SME Server service with the aim of facilitating server configuration and has a powerful built-in web interface that simplifies administrative tasks. You can deploy and configure almost every aspect of your deployed servers through a browser-based interface. It can be used to run a Web filter, Mail server, File Cloud server, Web server, firewall, VPN server, File Sharing Server, and more. You can get security fixes, and updates from the official CentOS repositories.
In the continuation of this article from the CentOS training series, we intend to teach you step by step How to Install and Configure NethServer 7 on CentOS.
Install NethServer 7 on CentOS
In the next sections, we are going to teach you How to Install and Configure NethServer 7 on CentOS using 2 ways. These two methods are:
1) Using the Yum Repository
2) Using the ISO file
How to Install NethServer 7 on CentOS From YUM Repository
First, you should enable the NethServer 7 YUM repositories by entering the following command:
sudo yum install -y http://mirror.nethserver.org/nethserver/nethserver-release-7.rpmNow you can Install the NethServer 7 base system using the following command:
sudo nethserver-installThen run the following command to install additional modules along with the base system:
sudo nethserver-install nethserver-mail nethserver-nextcloudHow to Install NethServer 7 on CentOS From ISO file
First, go to the official NethServer Downloads page and download the latest Nethserver 7.
Now you need to create a bootable USB or DVD by entering the following command:
sudo lsblksudo dd bs=4M if=/nethserver-7.9.2009-x86_64.iso of=/dev/sdX status=progress oflag=syncNote: Remember to put the appropriate path of the ISO file instead of nethserver-7.9.2009-x86_64.iso and the path of your DVD or USB stick instead of /dev/sdX.
After the bootable media is created, you need to insert the media into the physical device and change your boot options to boot from it.
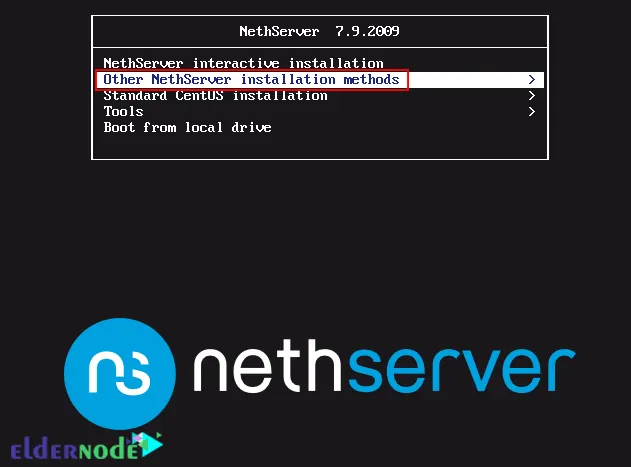
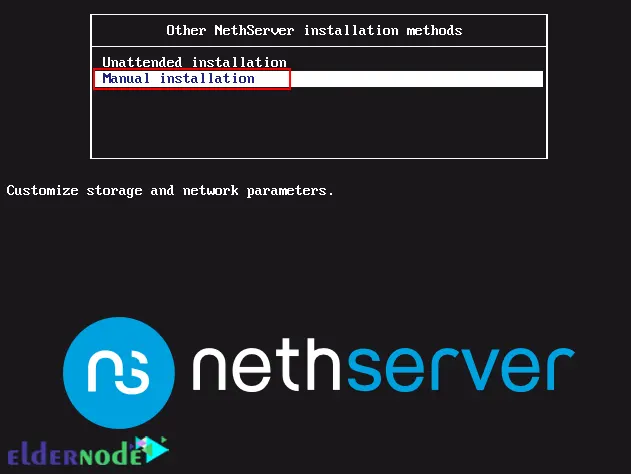
When the system boots in NethServer 7, you will see the following menu where you have to choose one of the different types of installation. We will choose the Other NethServer installation methods:
Now choose the Manual installation to configure the network, keyboard, time zone and storage and etc manually:
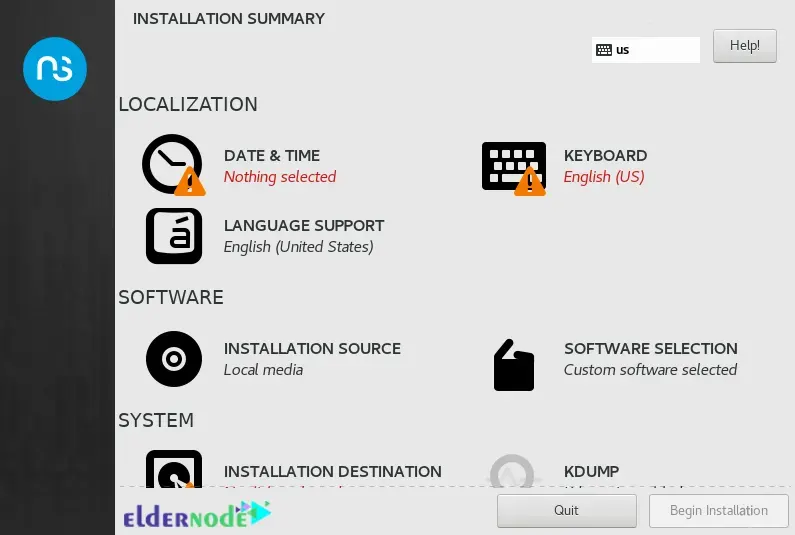
Then you will see the following page where you should begin to make the required configurations:
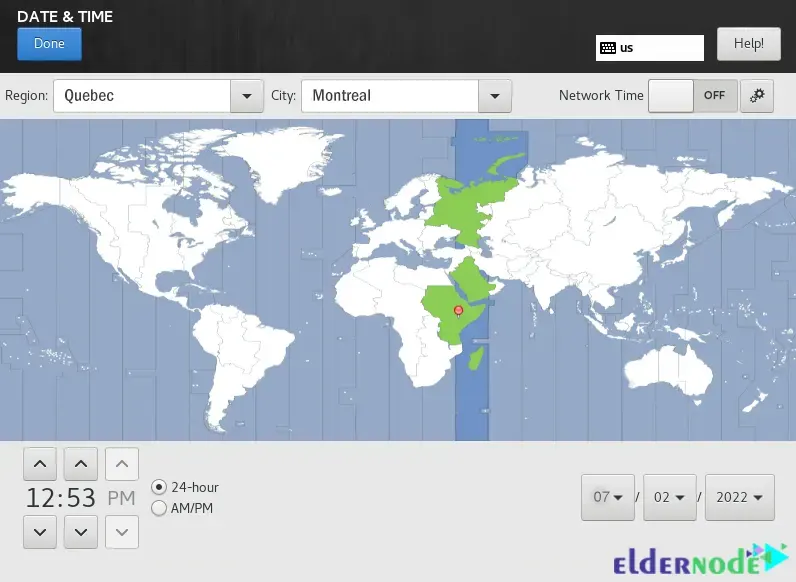
First, we configure the Date and Time:
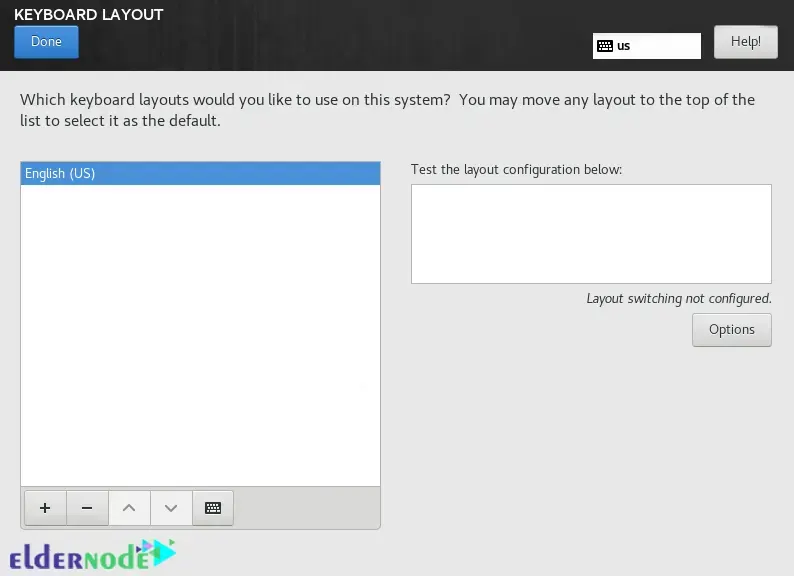
Next, you should configure the Keyboard:
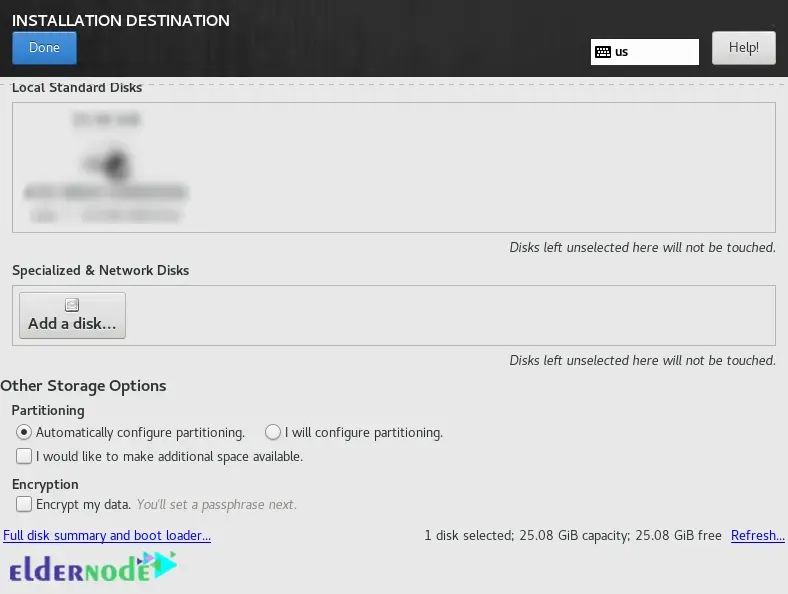
And then configure the installation destination:
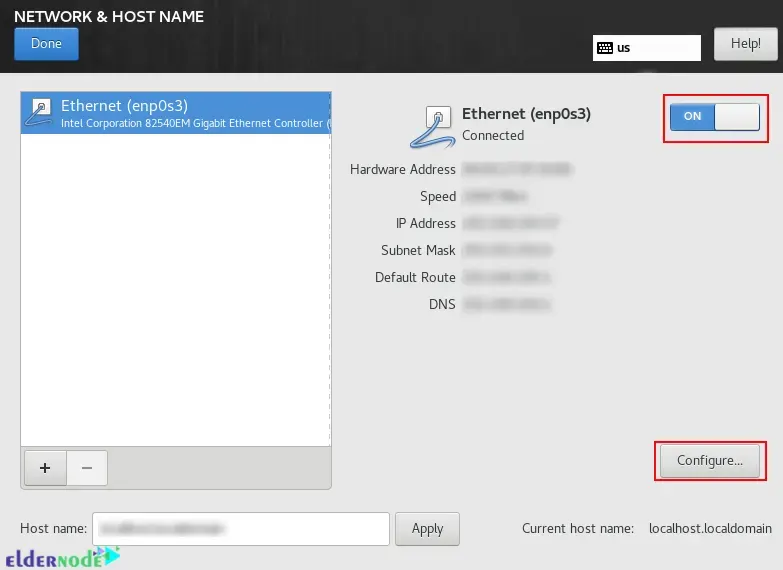
Now configure the Network and hostname as follows and make sure the network interface is connected:
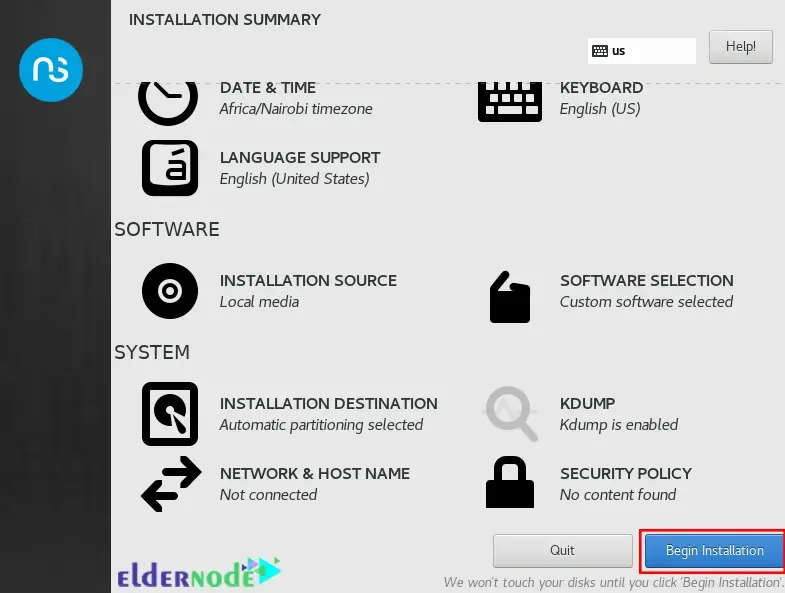
Now it’s time to install NethServer. Click on Begin Installation:
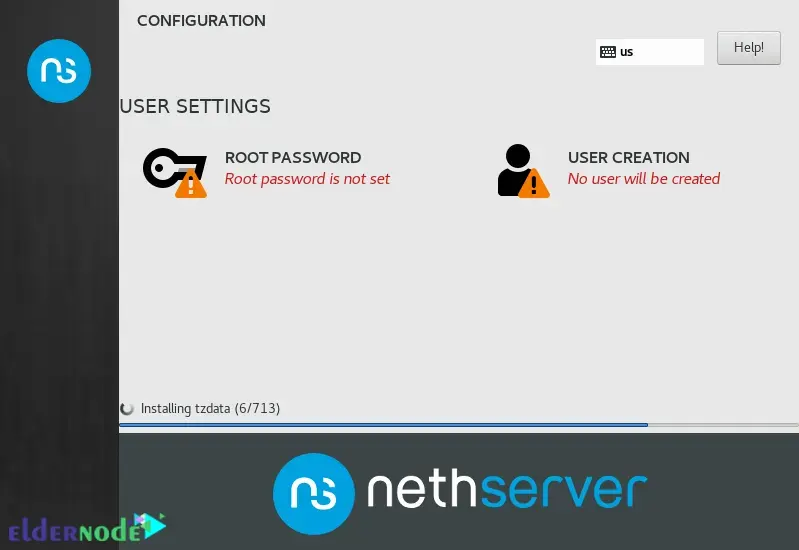
Then you should create the system user and set a password for the root user:
Finally, reboot the machine and make it unbootable to eject the media from booting.
How to Access the Server Manager on CentOS
First, you need to access the admin server web interface by entering the following command:
URL https://IP_address:9090https://domain_name:9090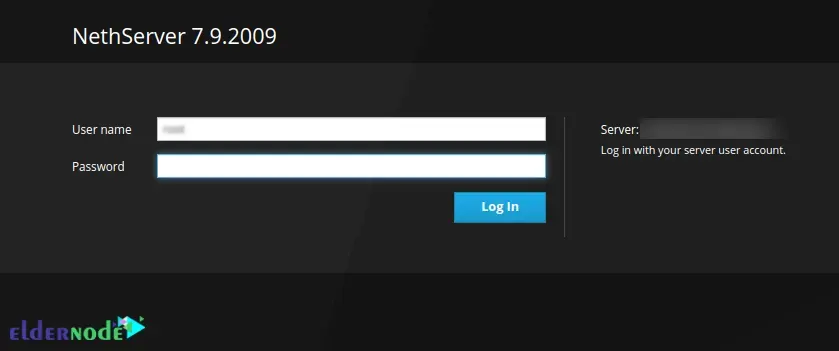
Now login as the root user. You can reset the root password if needed using the following command:
sudo passwd rootAfter you log in, you should see the Dashboard:
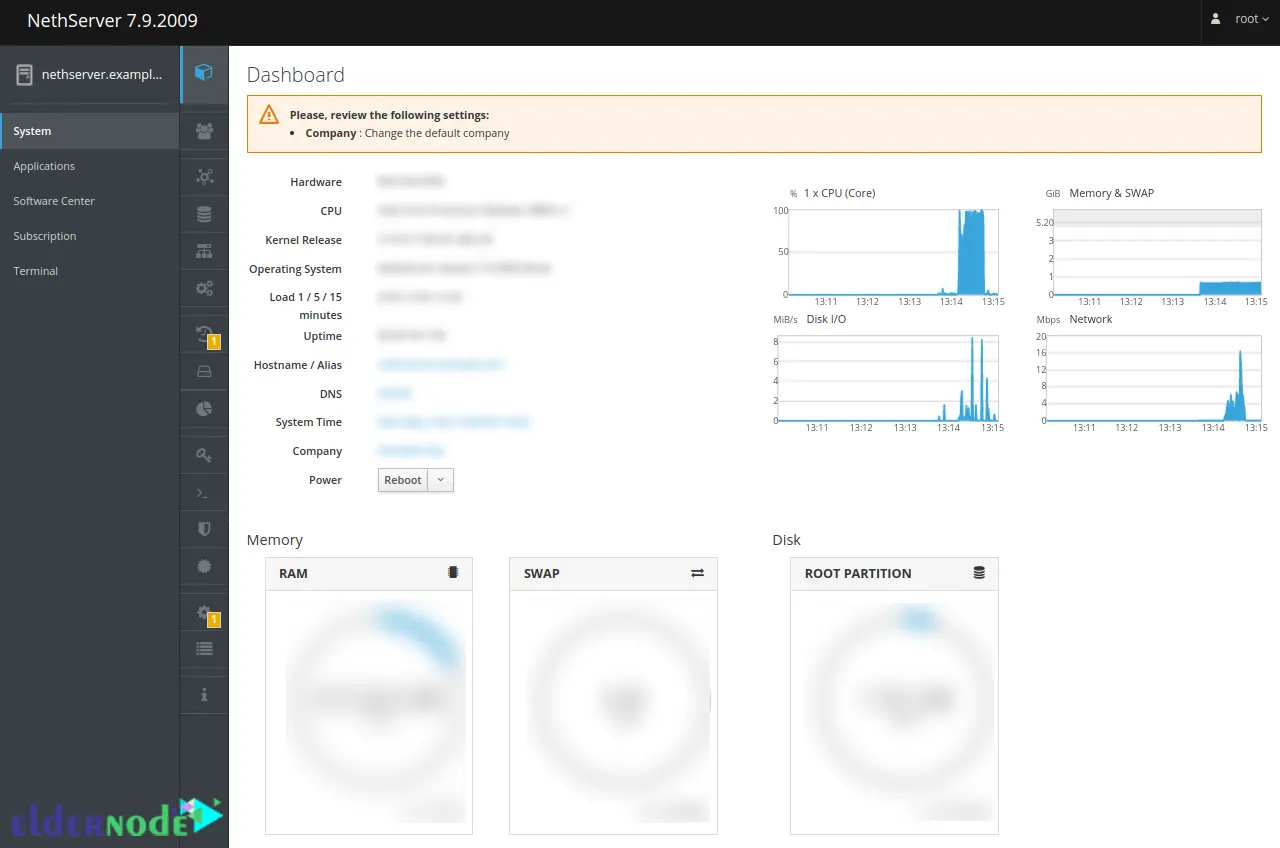
That’s it!
Conclusion
You can use built-in modules to convert your system to DNS, Web, Proxy, mail, IDS, Vpn, Cloud, and Samba by installing NethServer. In this article, we taught you how to Install and Configure NethServer 7 on CentOS. I hope this tutorial was useful for you. If you have any questions, you can contact us in the Comments.