Mint is a Debian and Ubuntu-based Linux distribution that users who have just joined Linux can easily use. In this article, we are going to teach you how to install Linux Mint on Windows 10 RDP. Also, you can visit the packages available in Eldernode if you wish to purchase a Windows 10 RDP .
Table of Contents
Tutorial Install Linux Mint on Windows 10 RDP
What is Linux Mint?
Linux Mint is one of the most popular Linux distributions that is free and open-source and used by millions of people. This operating system is easier to install than most Linux distributions. Unlike most Linux distributions, Mint includes proprietary third-party browser plugins, Java, multimedia support, and other components to enable support for commonly accepted standards. This support allows DVD and Blu Ray playback as well as a flash to play media. The main license of Mint is GNU GPL along with LGPL. Linux Mint consists of several different software packages that are released under one of the free licenses.
How to Download Linux Mint on Windows 10 RDP
First of all, you have to go to the official Linux Mint website from your favorite web browser.
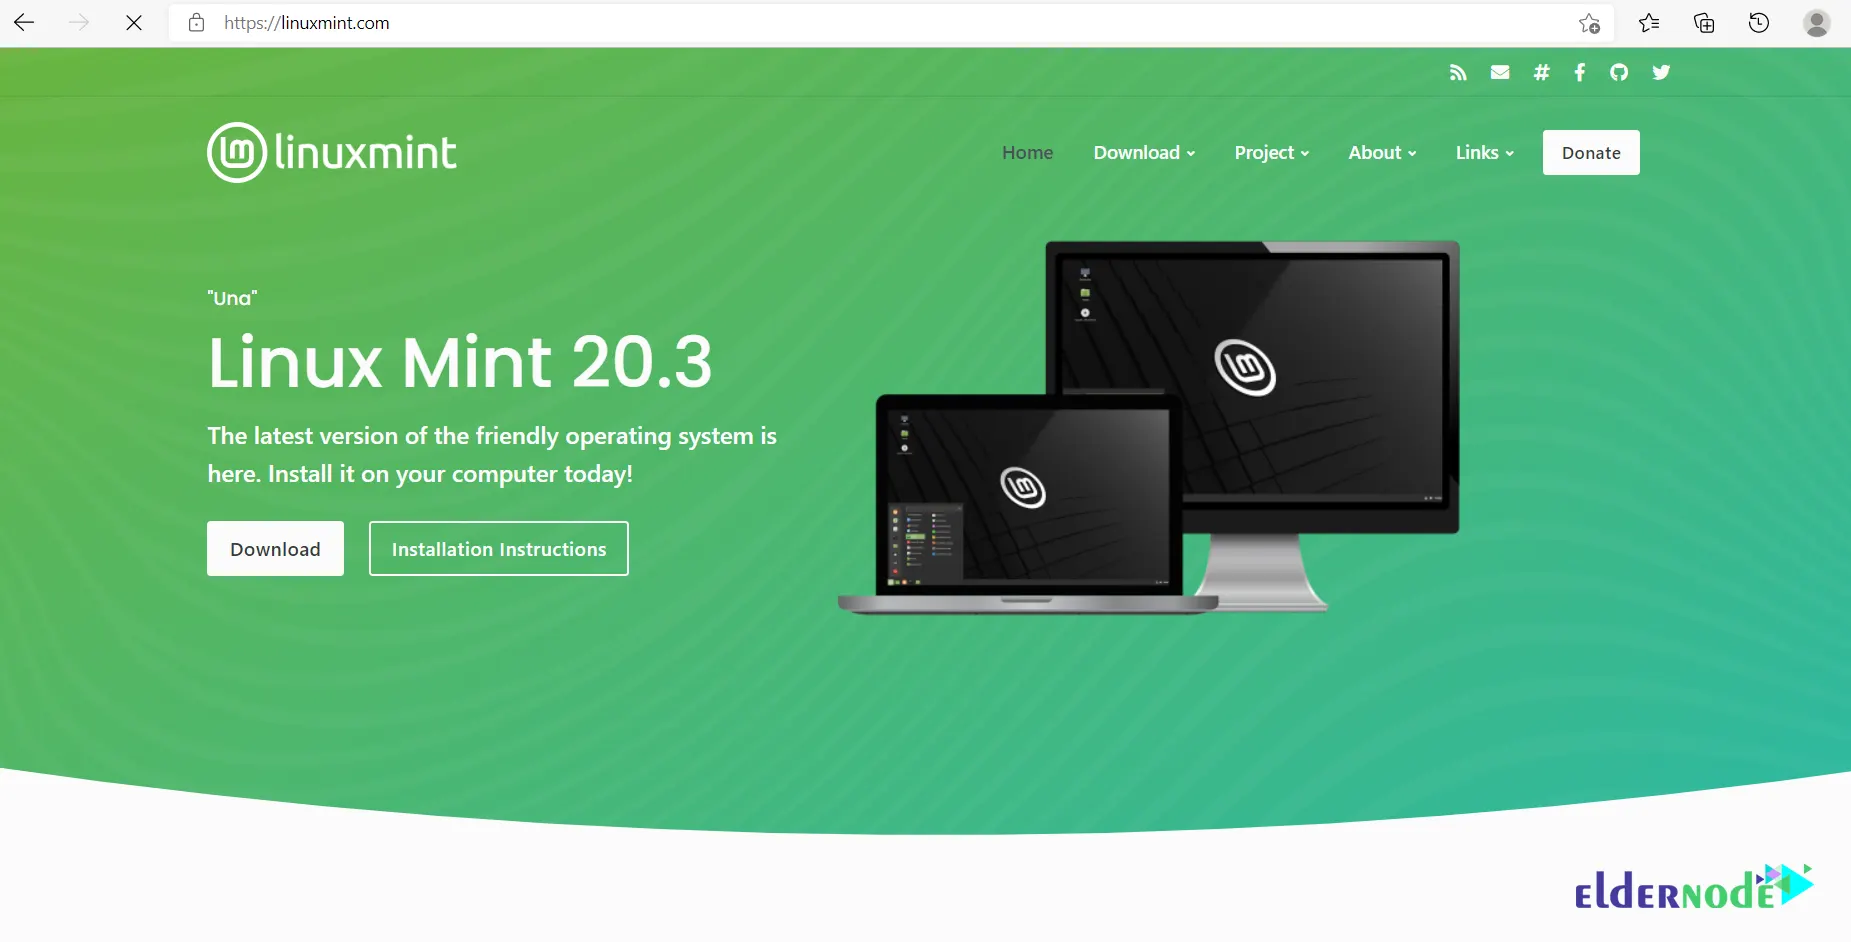
Then go to the Downloads section and scroll down to see the edition of Linux Mint. You should choose the desired version of Linux Mint you want to install. If you want a more stable and lighter version, you can choose the XFCE version. But if you want a version that has more features, the Cinnamon version is a better option.

*
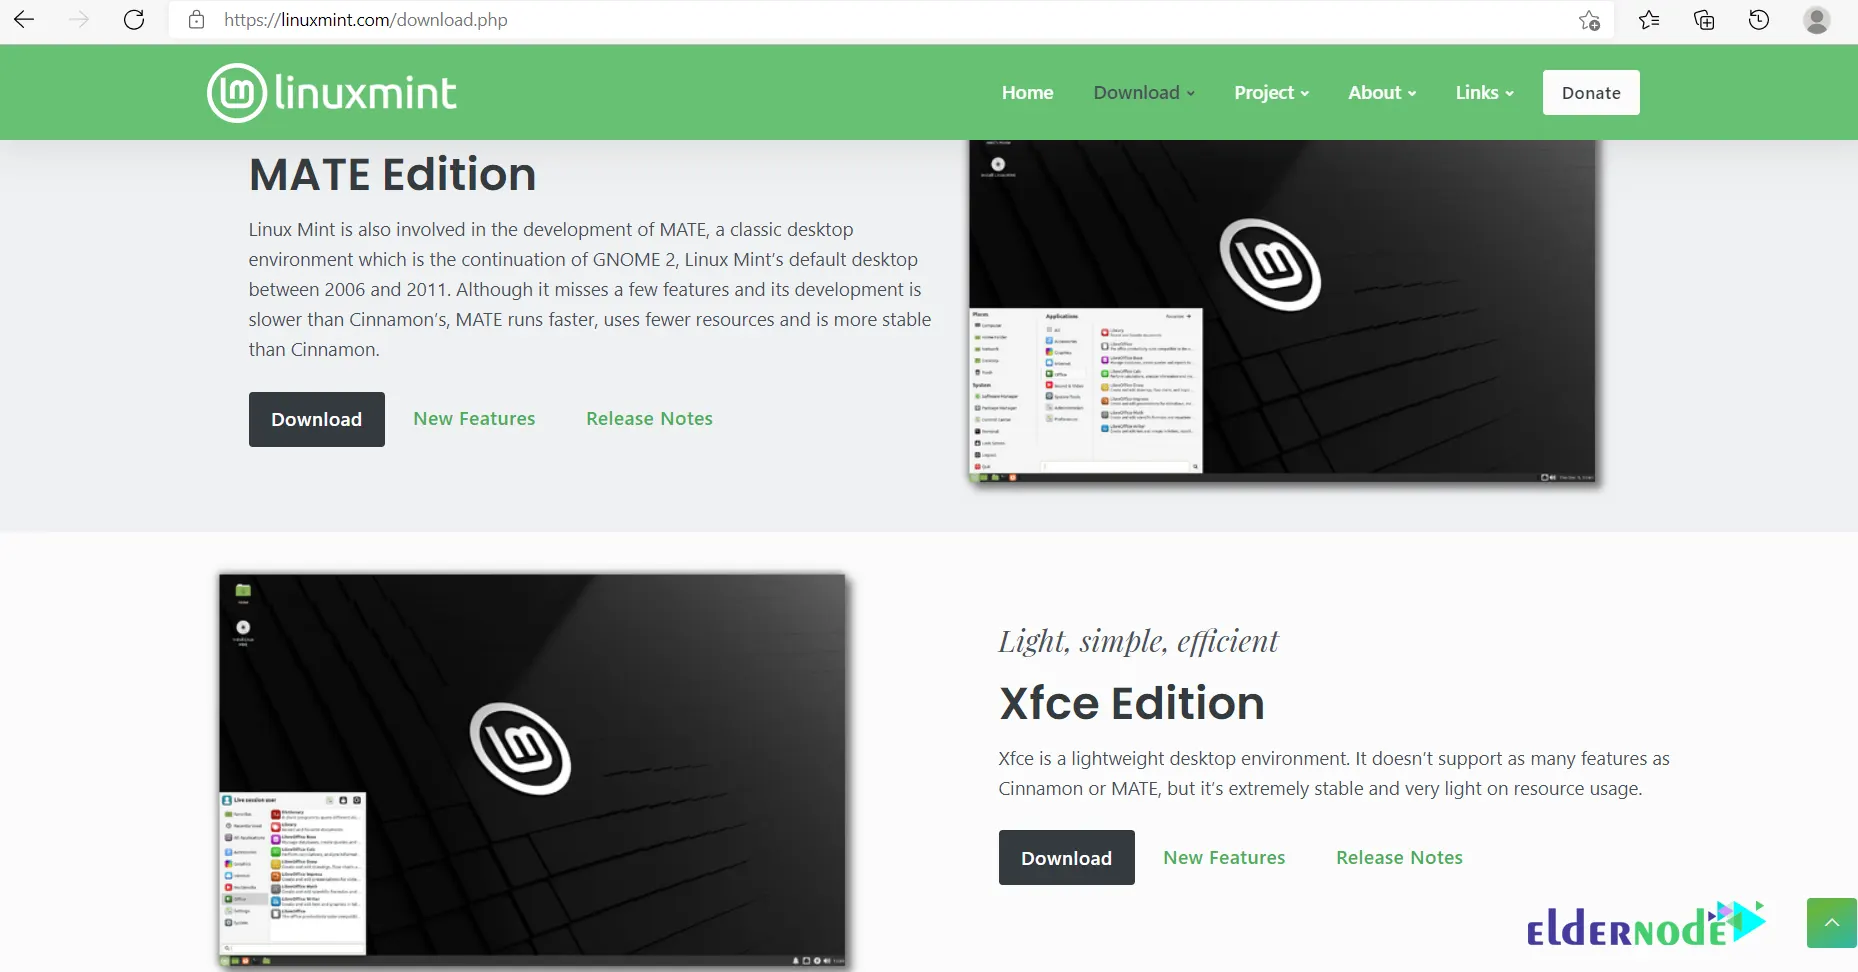
You can download from the Download Mirrors directly from your country or from the Torrent option.
Now you should click on the desired link and in opened window select “Save File” and click OK.
Next, The download must have started. After the download is complete, go to the downloads folder and click on the downloaded file.
Remember you should create bootable media, DVD, or USB drive to install the Operating System. You can create bootable media with Rufus software.
In this step, you should download the Rufus software from Rufus official website. If you downloaded the portable version, you don’t need to install it on your system.

Then go to the Downloads folder and open the downloaded file. After opening the file you can see that no USB drives are attached and you have to insert a USB drive.
In the Device section, you can see the imported USB drive. You should select “Disk or ISO image” in the second section called Boot Selection and finally click on Select.
Next, you need to select the downloaded Linux Mint ISO file.
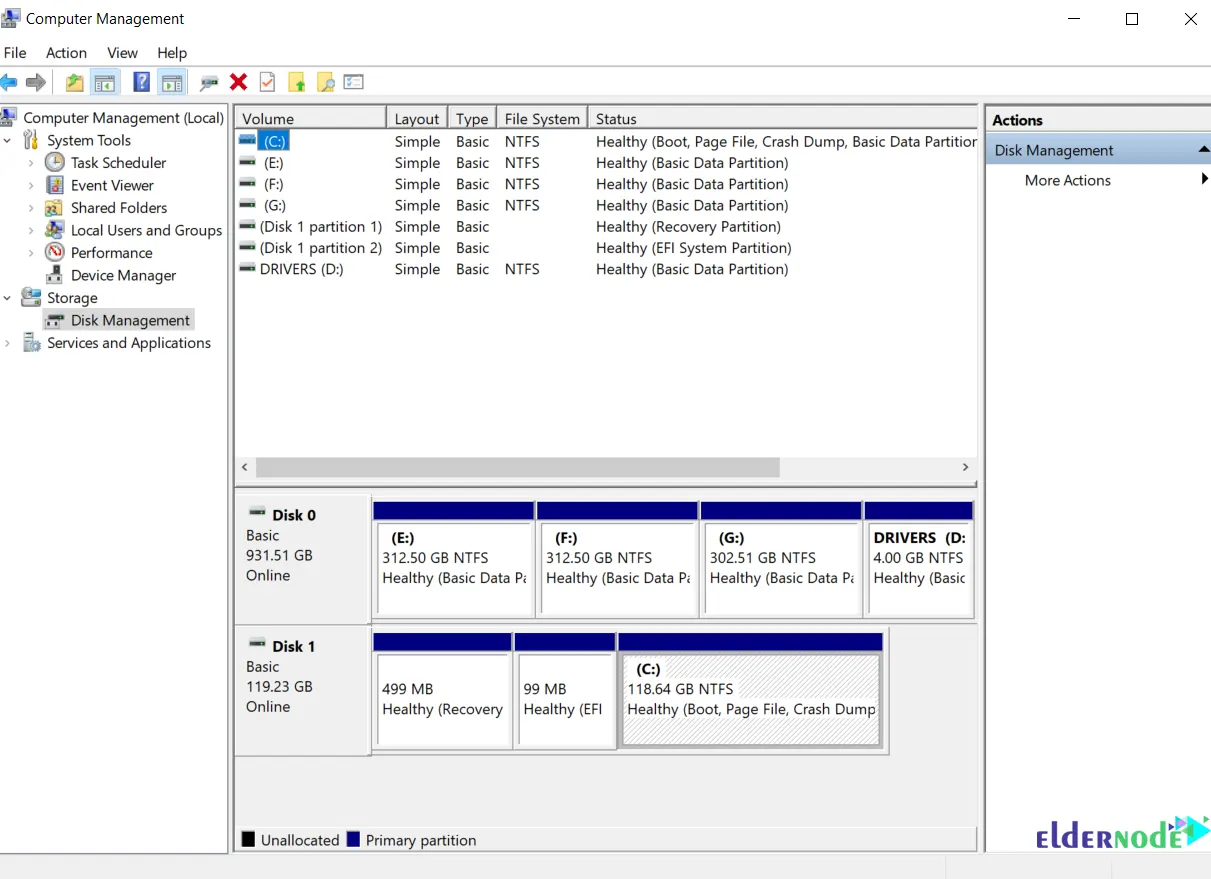
There are two options in the Partition Scheme section that includes MBR and GPT. At first, you should check the partition scheme of your hard drive and then select one of them that you are going to install Linux Mint. To do this you can right-click on “This PC” on the desktop and then select Manage.
After the Computer Management opens you should select Disk Management.
Now right-click on the disk that you want to install Linux Mint and click on Properties. Then you can determine the partition style of your hard drive in the Volumes section.
If your hard drive style partition is MBR, you should select MBR in the Partition Scheme section and click on Start.
After the download is complete click on OK.
Then you will receive a warning that all data on the USB drive will be destroyed and you should back up any files from the flash drive.
Wait a few moments to complete the process. Click Close after the process is complete.
Finally, you should eject the USB drive and shut down the Windows.
Install Linux Mint on Windows 10 RDP
First, turn on the computer again and press the boot menu key. You have to press the special function key and tell the machine firmware (UEFI) to boot up from the appropriate DVD or USB drive. Then restart the PC.
Remember that the special function keys are usually F12, F10, or F2 depending on the motherboard manufacturer.
Now The USB drive should be listed as USB in the boot menu. You have to select it and press Enter.
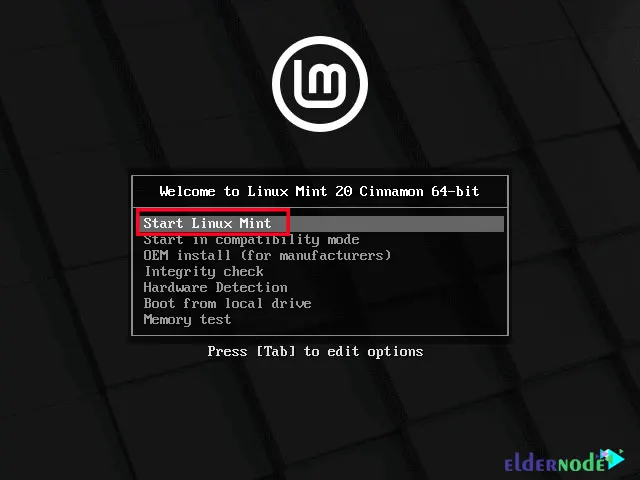
In this step, you should see Linux Mint welcome screen. Choose Start Linux Mint and press Enter.
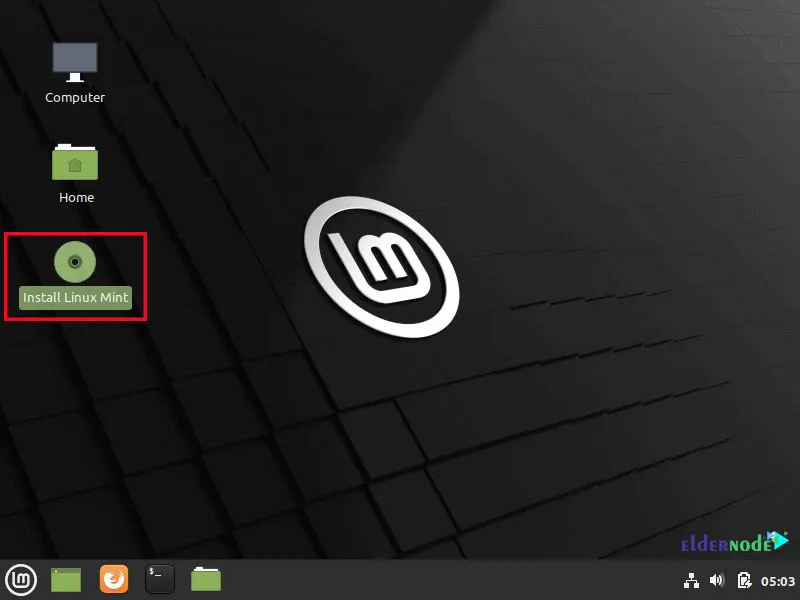
After the system loads in RAM, click on “Install Linux Mint”.
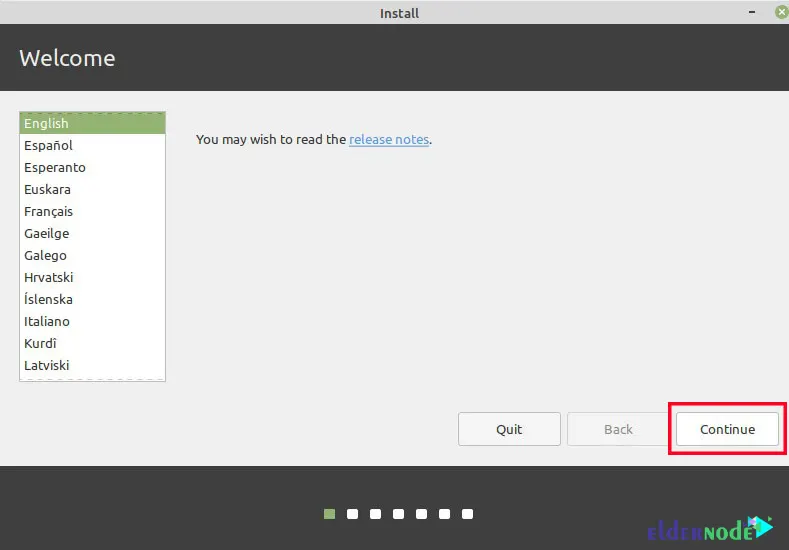
Now you should select your language and click on Continue.
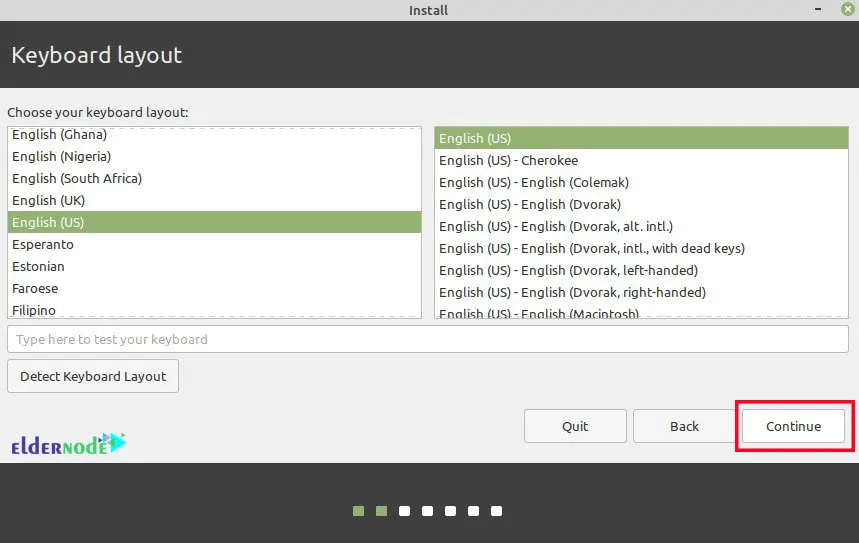
In this step, you can choose your keyboard layout. Click on Continue after selecting the keyboard layout.
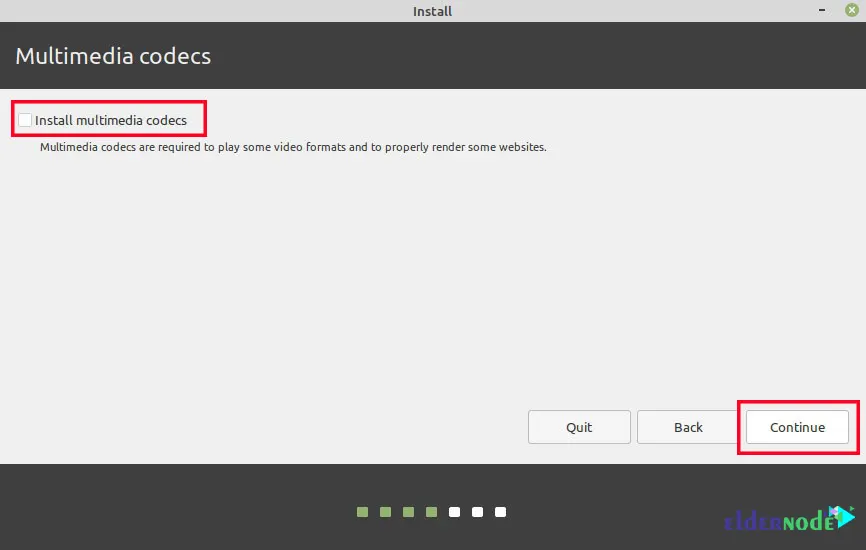
Now you should check the checkbox to download and install multimedia codecs and then click on Continue.
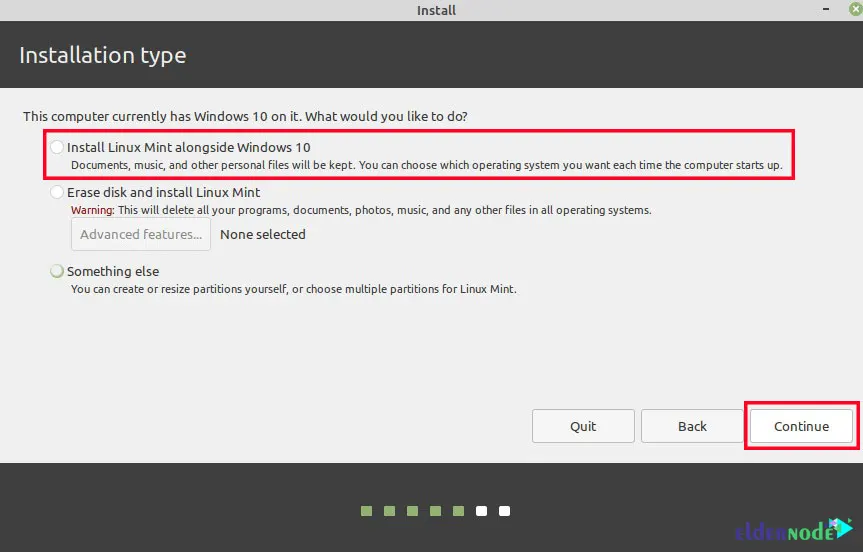
In the next step choose “Install Linux Mint alongside Windows 10” and click on Continue.
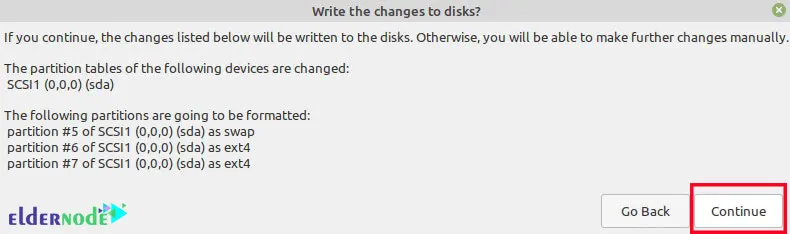
Next, you should allocate some space to Linux Mint. The partition resizing operation begins. Now click on Continue to create a partition for Linux Mint.
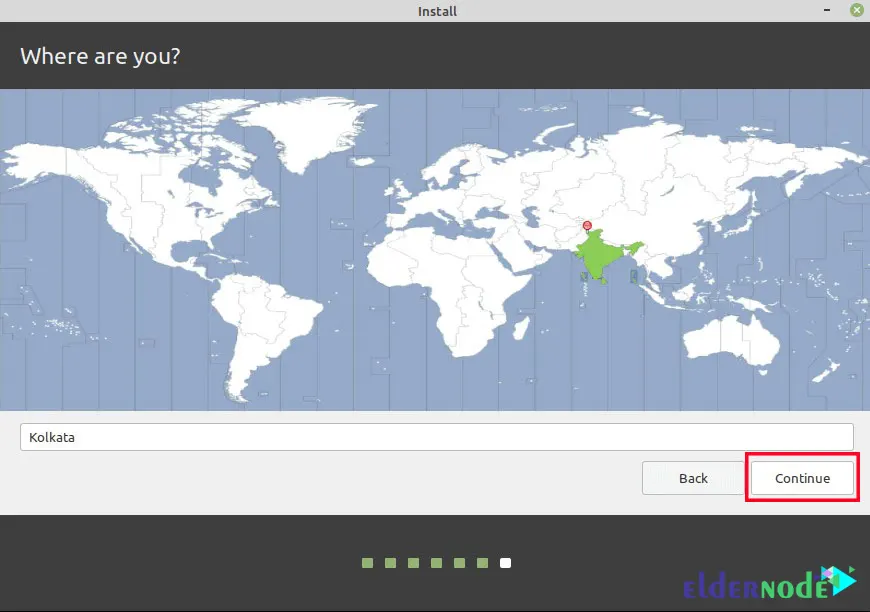
Now you should select your location and click on Continue.
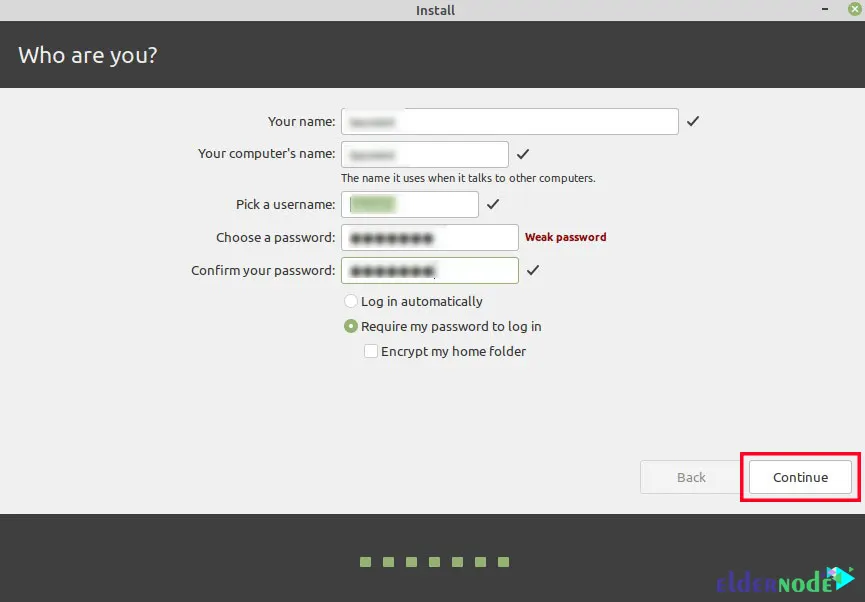
In this step fill in your username and password and click on Continue.
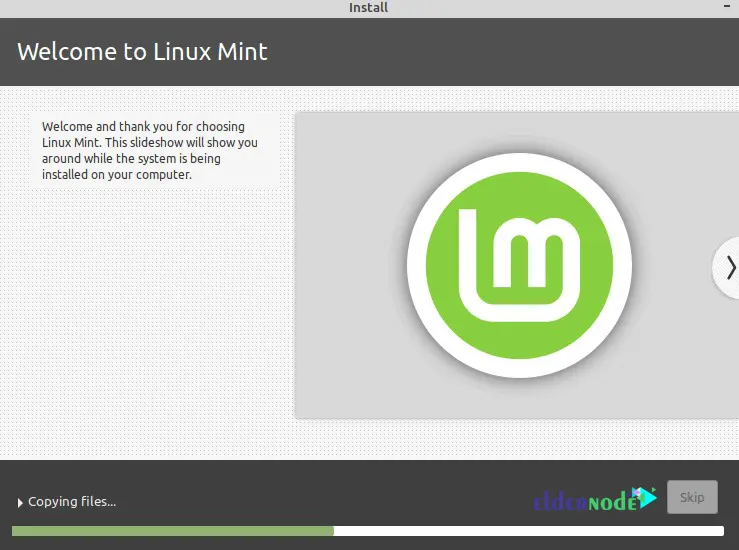
Installing Linux Mint on Windows 10 RDP
Now Linux Mint installation should begin.
After the Linux Mint installation is complete, click on “Restart Now”. You should remove your USB drive and press Enter to restart the computer.
Now you can choose whether to boot the computer in Linux or Windows. We will select Linux Mint and press Enter.
You should enter your password again and login.
If your computer is a new UEFI firmware system, the Grub boot loader will not be displayed by default and the device will boot automatically in Windows. You have to press the special function boot key to boot into Linux, after rebooting and from there press to select more Operating systems you want to start.
You can enter the UEFI settings, select your default operating system, and save the changes to change the default boot order.
Conclusion
Linux Mint has been released for easy use by users who have just joined Linux. In this article, we taught you how to install Linux Mint on Windows 10 RDP. I hope this tutorial was useful for you.