All Linux operating systems have different distributions and are distributed and supported by a specific company. Kali Linux is a type of Linux distribution. In this article, we are going to teach you how to install Kali Linux alongside Windows VPS or Windows RDP. You can see the packages available in Eldernode if you need to purchase a Windows VPS server.
Table of Contents
Tutorial Install Kali Linux Alongside With Windows VPS
What is Kali Linux?
Kali Linux is a command-line system without a GUI environment and is one of the most important Linux distributions based on the Debian operating system. Kali Linux is used for advanced penetration testing and security auditing and uses more than 600 security devices to be able to prevent any hacking and intrusion. Kali Linux software is produced by a security company called Offensive Security, which has a special reputation in the field of security training. The first Kali Linux distribution was released in 2012, which is an updated version of Backtrack.
Key Features of Kali Linux
- Open-source
- Free for Download
- Customizable
- Multi-lingual support
- Availability of a plethora of tools
How to Download Kali Linux in Windows
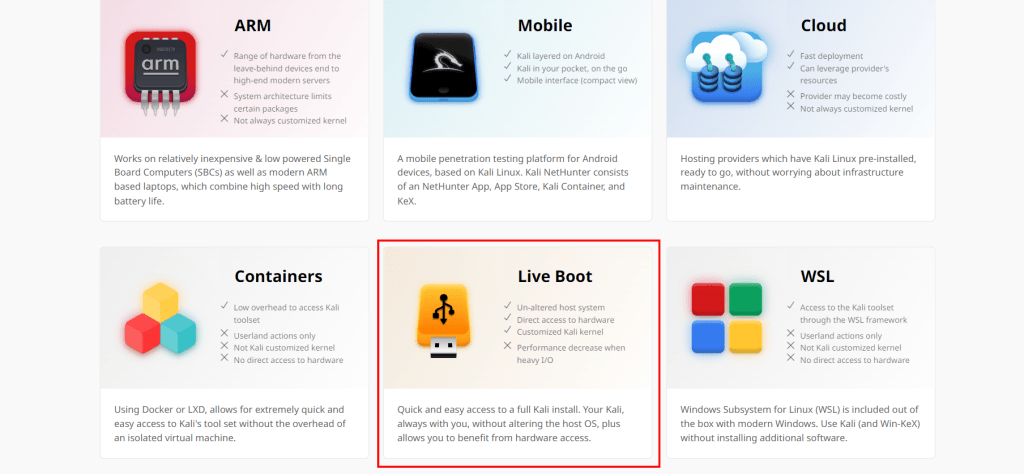
At first, you should go to Kali Linux’s official Website and choose your platform. Then scroll down to find the Live Boot section where you can download the Kali Linux ISO file. The Kali Linux ISO file will be bootable on USB.
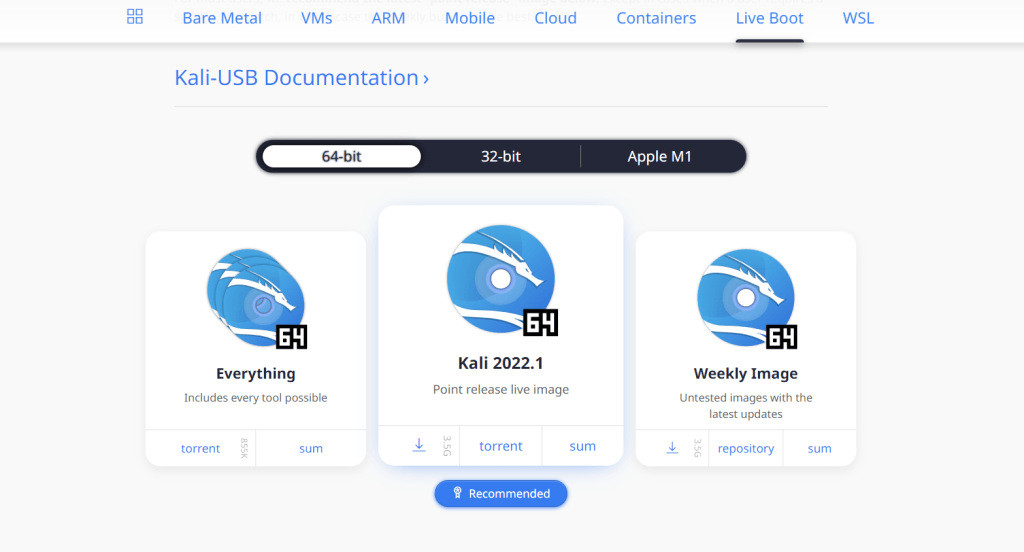
Now click on the Live Boot section to see the available versions. Then you should choose the right version and click on the download icon. We will choose the 64-bit version.
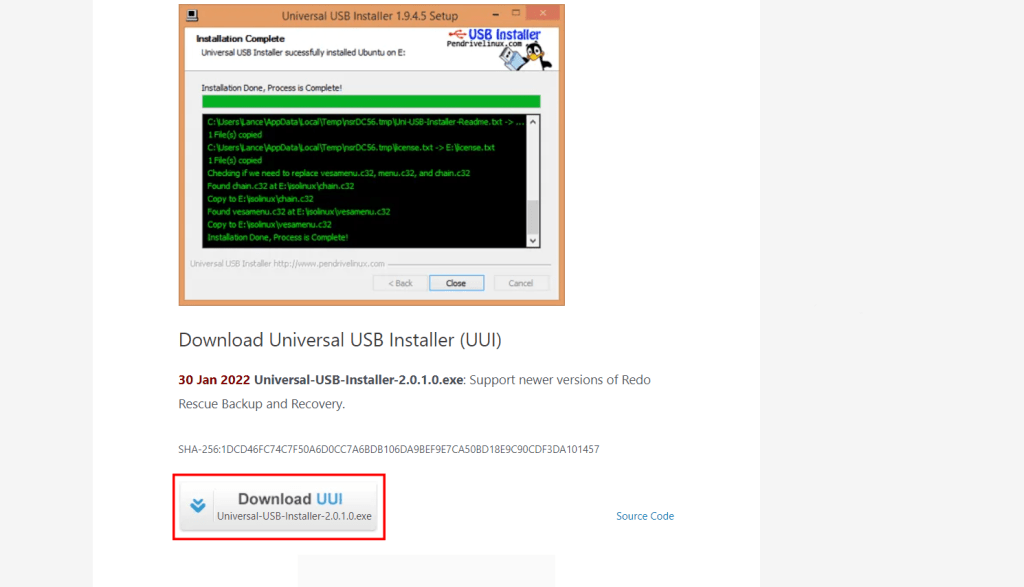
In this step, you should download Universal USB Installer. After opening the link, scroll down and click on Download UUI.
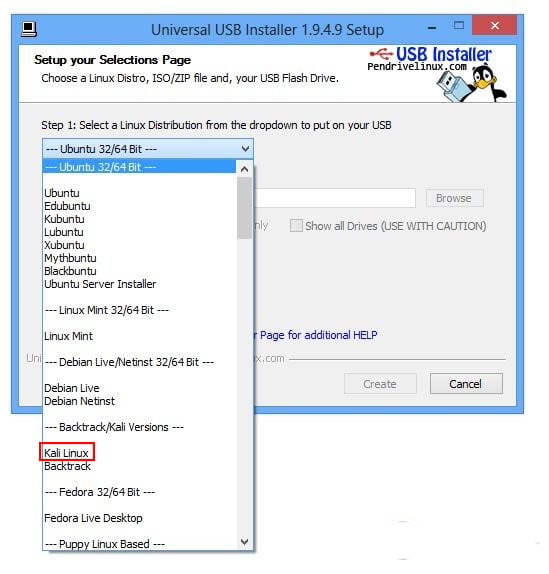
Now open the Universal USB installer as an administrator. In the first section, you should choose the operating system with which you will make a bootable USB. In this tutorial, we are going to choose Kali Linux.
Now, you should select the Kali Linux ISO file that you downloaded earlier and click on Open.
Then, select your drive letter of USB. After you have done all the above, click Create.
Now Bootable USB process will be started. This process takes about half an hour. When the process is complete, click on Close.
In this step, You should create a partition on your hard disk. You can resize the partition to the desired size by booting a live session of Kali Linux with desired installation medium. Note that Kali Linux will all be in memory and the disk will not be in use. If you don’t turn off Fast Startup in Windows 10, you will get an error when resizing the partition. To do this, you should open Control Panel and select Hardware and Sound and then Power Options. On the left, click Choose what the power buttons do, and then at the top click Change Settings that are currently unavailable. Finally, you should unselect the Turn on Fast Startup option and click Save Changes.
Now insert the Kali Linux installation medium and power on the device. You should see a new option in the boot menu. You may see more options depending on the manufacture, hardware, and how the system is configured and installed.
In this step, you should see the following page. In this case, select Live to boot Kali Linux default desktop.

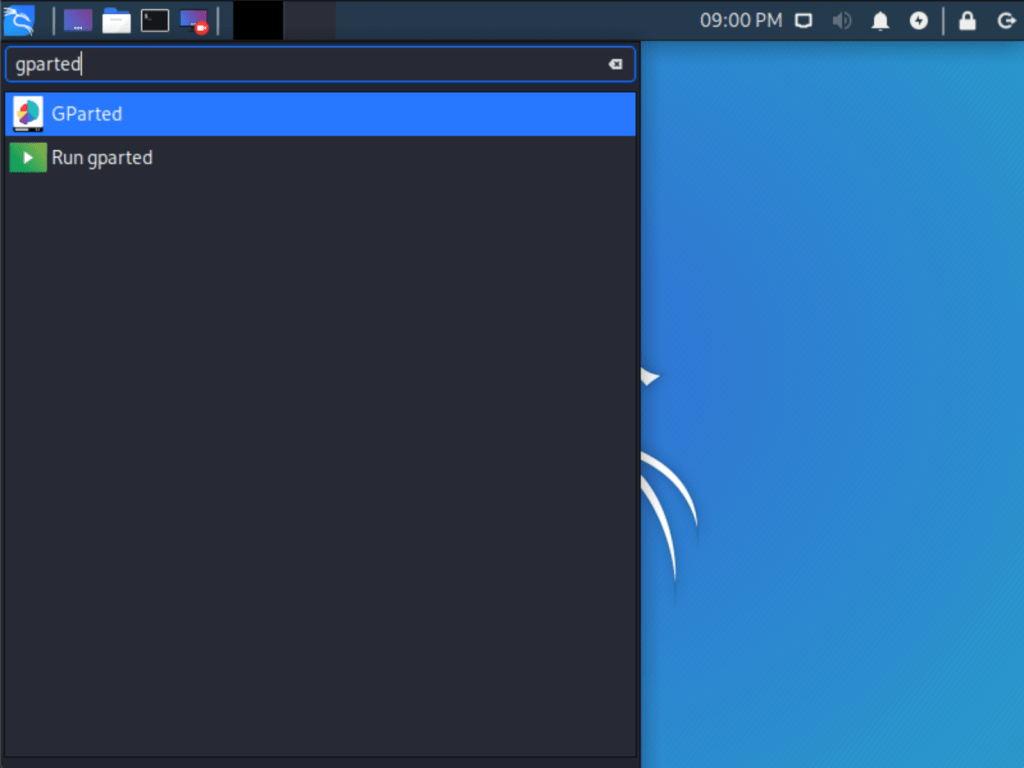
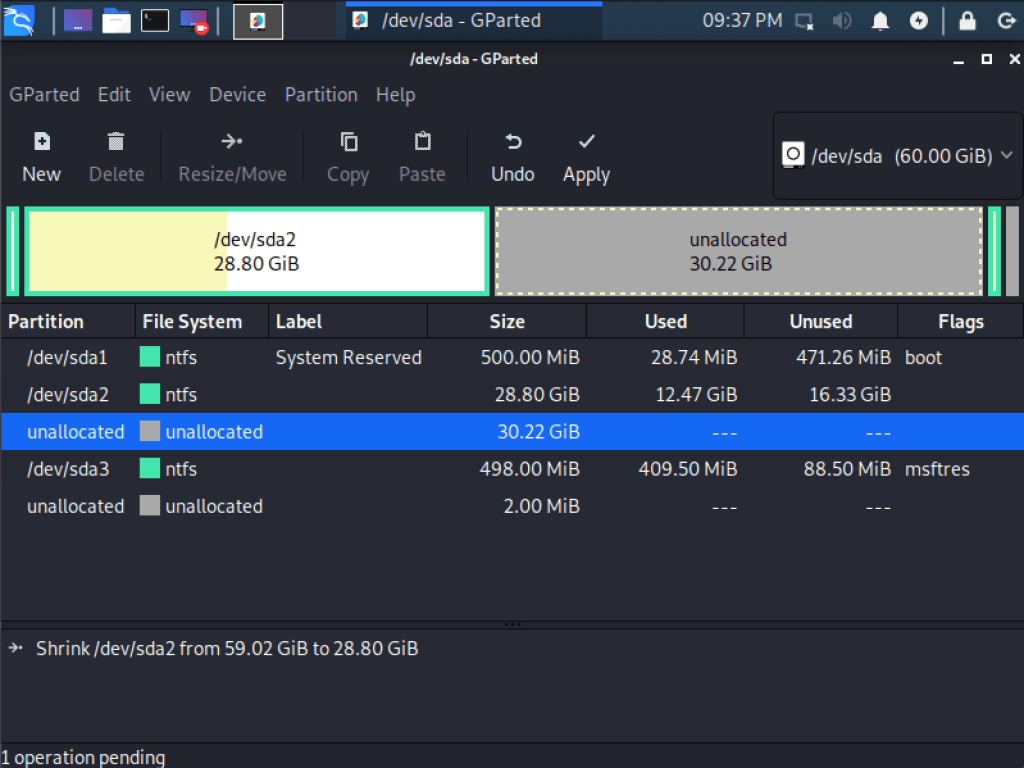
Now you should launch GParted which can shrink the existing Windows partition to give you enough room to install Kali Linux in the free space.
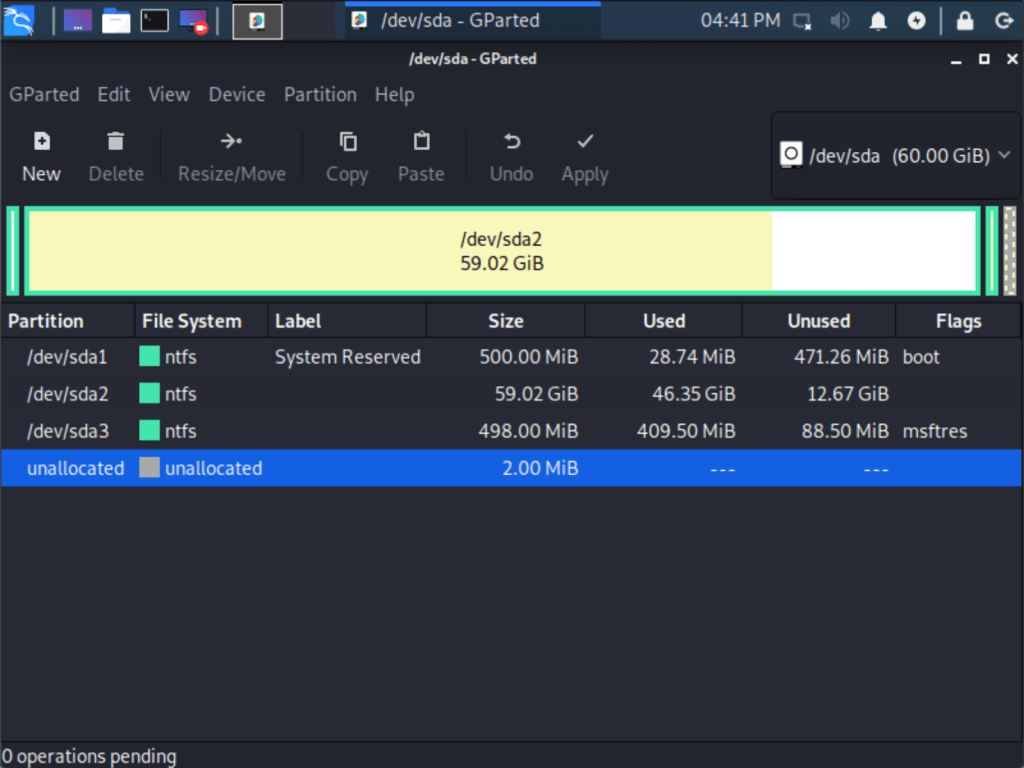
After GParted opens, you need to select your Windows partition and resize it to leave enough space to install Kali Linux. Usually, the second option is Windows Partition. Of course, it also depends on your settings. We have three partitions:
- Boot partition of Windows (/dev/sda1)
- The main operating system of Windows (/dev/sda2)
- System Recovery partition of Windows (/dev/sda3)
If you move past to another non-white partition, then you are editing the section that is being used.
Be sure to remove only the unused partition of the area. You should leave the third partition (/dev/sda3) and shrink the actual installation (/dev/sda2).
At the end of resizing the Windows partition, you should Apply All operations on your hard disk. Finally, exit GParted and reboot your system.
Install Kali Linux Alongside Windows
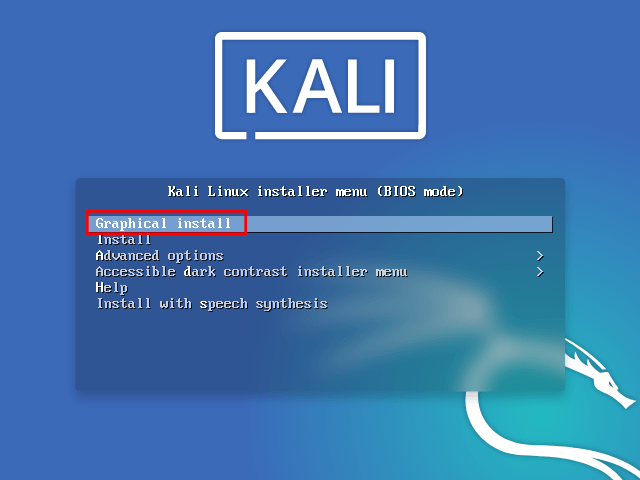
1) You should boot with your chosen installation medium. Now choose Graphical install in the following Kali Linux Boot screen. Then press Enter.
Then select your desired language that will be used for the setup process and use Kali Linux. then click Continue.

Next, select your location and click Continue.

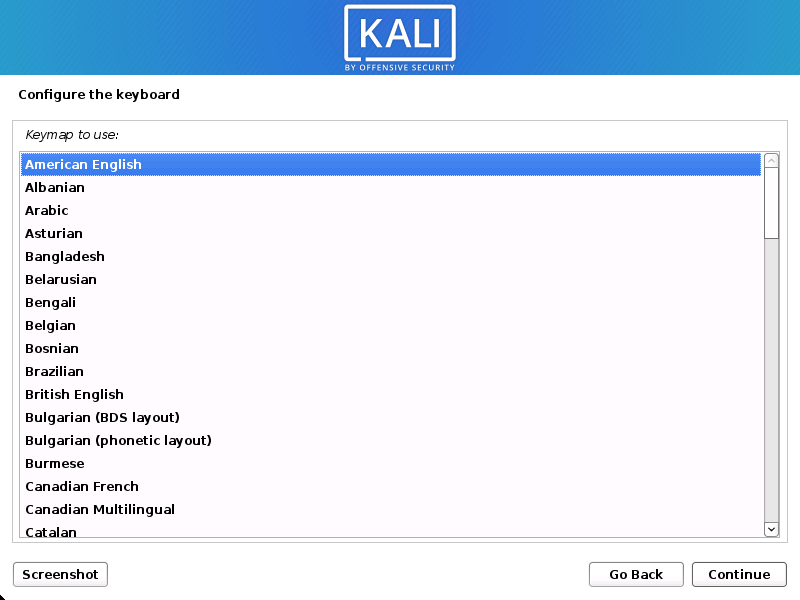
Select your keyboard layout and click Continue.
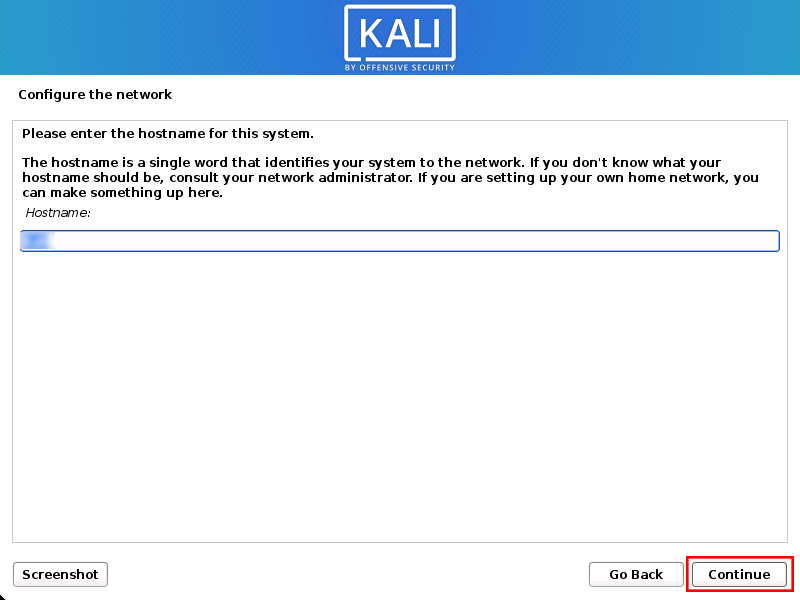
At this point of setup, the network connections are probed and the DHCP service is searched. Then you need to enter a hostname for your system and click Continue.
Next, provide a default domain name.

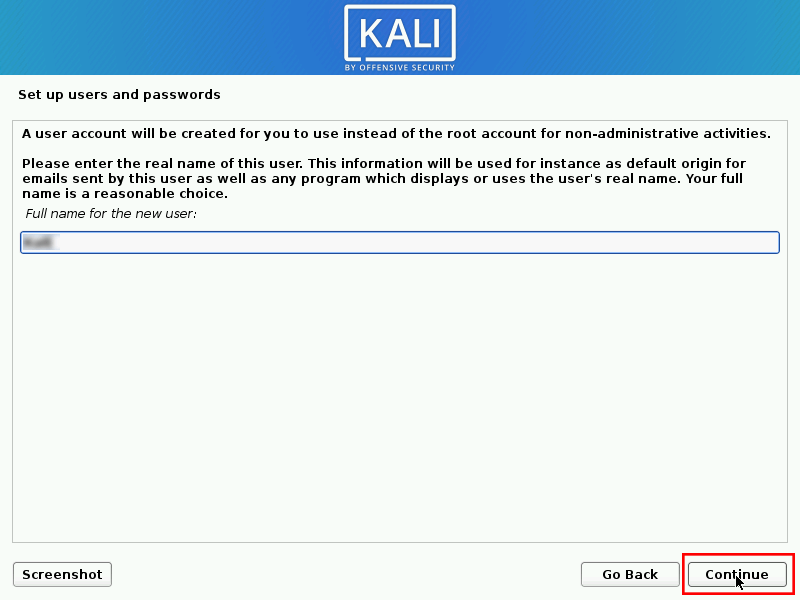
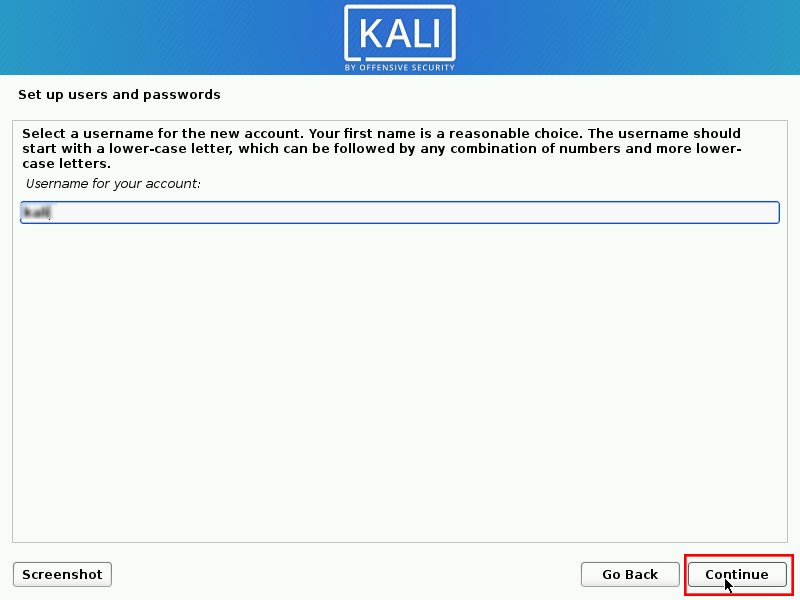
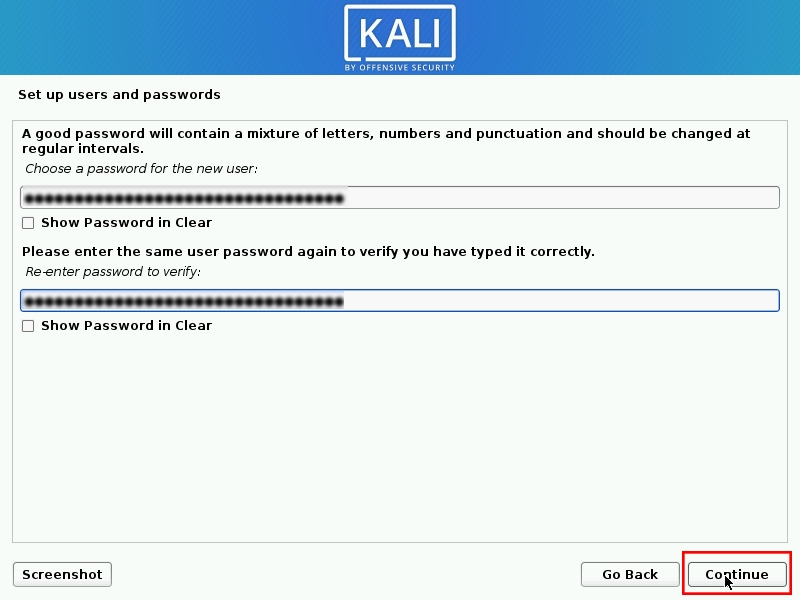
Now you should create the user account for the system. To do this, enter your Full name, username, and password.
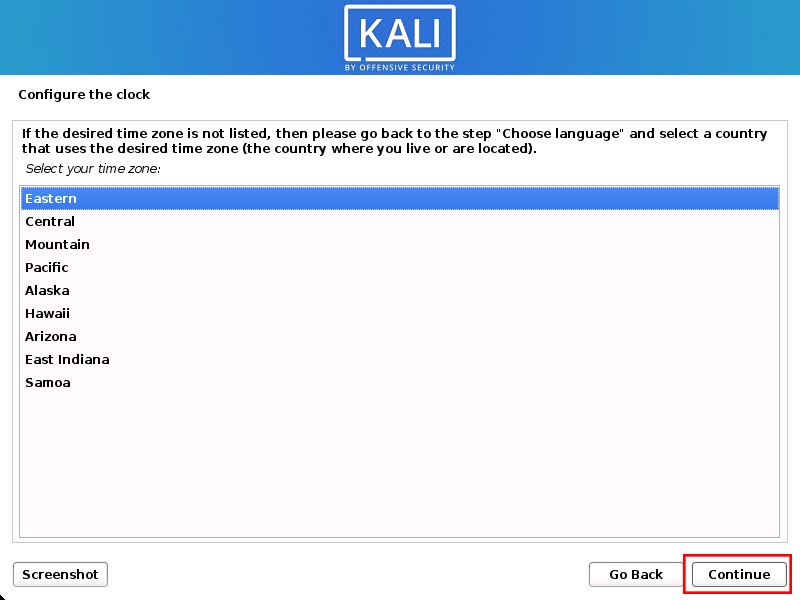
Now you should set your time zone and click Continue.
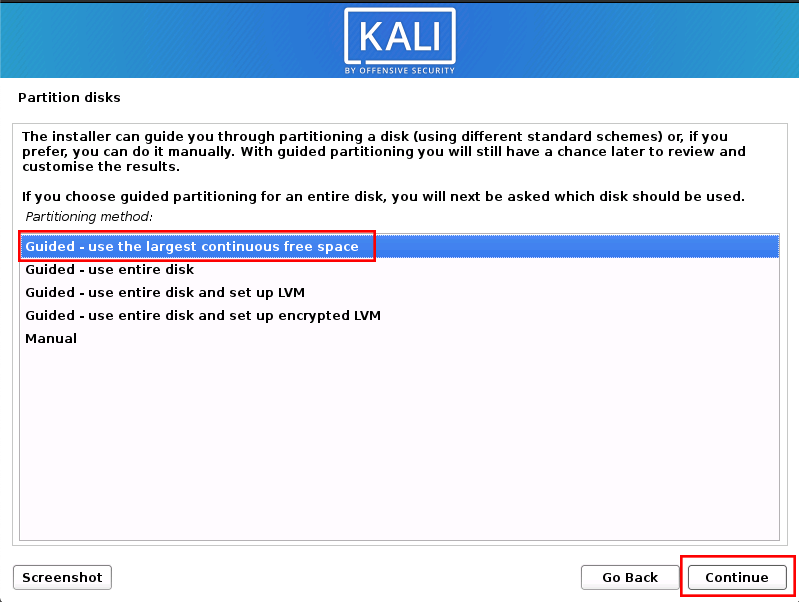
You should choose “Guided – use the largest continuous free space” instead of “Guided – the entire disk”. The free space was created with GParted in the previous step. Then click on Continue.
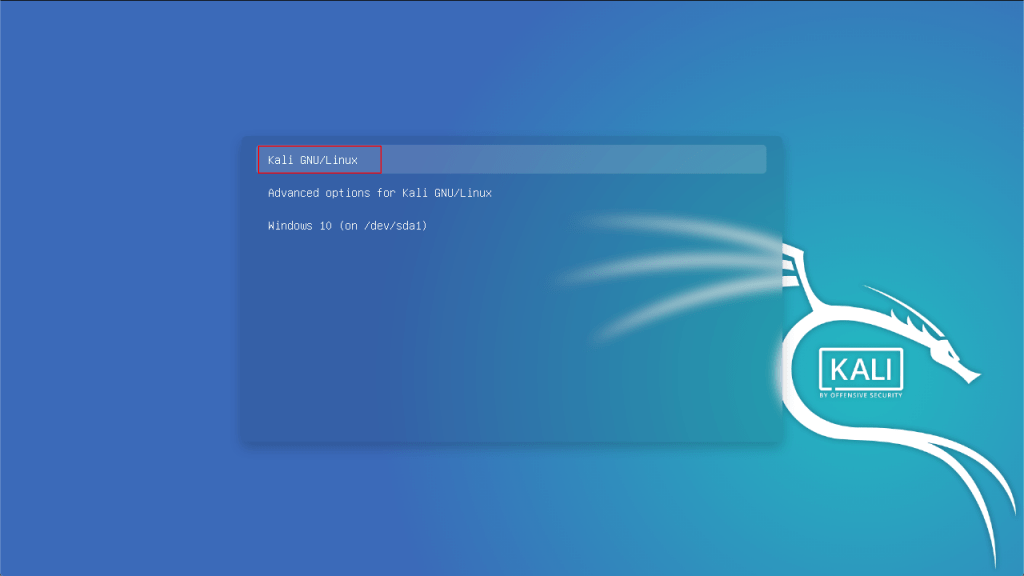
Finally, you should see a GRUB boot menu that allows you to boot into Kali Linux or Windows.
If the time between Windows and the Linux system changes, you can do the following:
kali@kali:~$ timedatectl set-local-rtc 1 --adjust-system-clockkali@kali:~$To undo this, you can do:
kali@kali:~$ timedatectl set-local-rtc 0 --adjust-system-clockkali@kali:~$Conclusion
In this article, we taught you how to install Kali Linux alongside Windows. Installing Kali Linux next to a Windows installation has its benefits. I hope this tutorial was useful for you. If you have any questions, you can contact us in the comments.