Backup is essential for any website because the possibility of data loss and technical problems is very high. You should have a new backup in these cases. There are many options for backup, but usually, a reputable hosting company will help a lot and keep backup copies of the site. There are other tools that provide the possibility of backup for yourself. One of these tools is JetBackup. This article will teach you How to Install JetBackup on WHM / Cpanel. If you want to purchase a VPS server, you can check out the packages offered on the Eldernode website.
Table of Contents
Secure Your Website Data with JetBackup on WHM / CPanel
What is JetBackup?
JetBackup is a customized paid backup solution for servers with Linux operating system and Cpanel / WHM control panel. This plugin can be said to upgrade the Cpanel backup section because Cpanel has limited features in its backup section by default. It offers a user-friendly GUI and helps you to take the backup of your Cpanel accounts and files through Cpanel remote incremental backups. This backup solution provides for automating backups as well as restores in a corn job.
JetBackup Features
– Multi-scheduling
– Account Filters
– Custom Hooks
– Hybrid Backups
– GDPR Mode
In the continuation of this article from the Cpanel training series, we intend to teach you step by step How to Install JetBackup on WHM / Cpanel.
Installing JetBackup on WHM/Cpanel
In this section, we will explain how to install JetBackup on WHM / Cpanel. Just follow the steps below.
First, you should log in to the WHM server as root.
Next, you need to setup the required repositories to install the JetBackup using the following commands:
yum install http://repo.jetlicense.com/centOS/jetapps-repo-latest.rpm yum clean all --enablerepo=jetapps* yum install jetapps-cpanel --disablerepo=* --enablerepo=jetappsNow it’s time to install JetBackup on WHM / Cpanel using the following command:
jetapps --install jetbackup stableHow to Configure JetBackup on WHM / Cpanel
Now you will learn how to configure JetBackup on WHM / Cpanel.
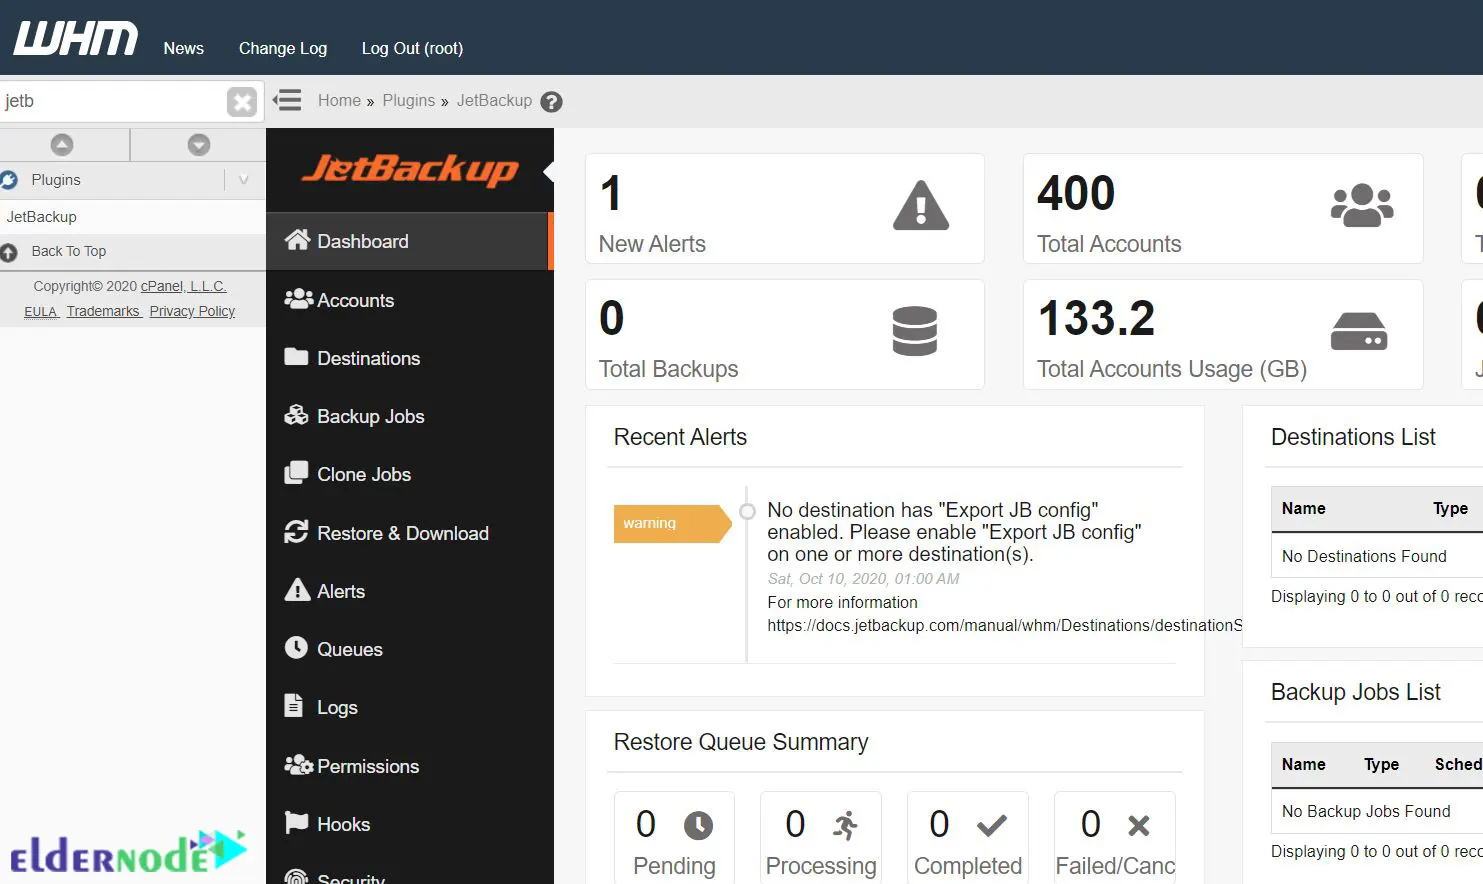
First, navigate to the WHM panel under the Plugins section. You should see the following screen:
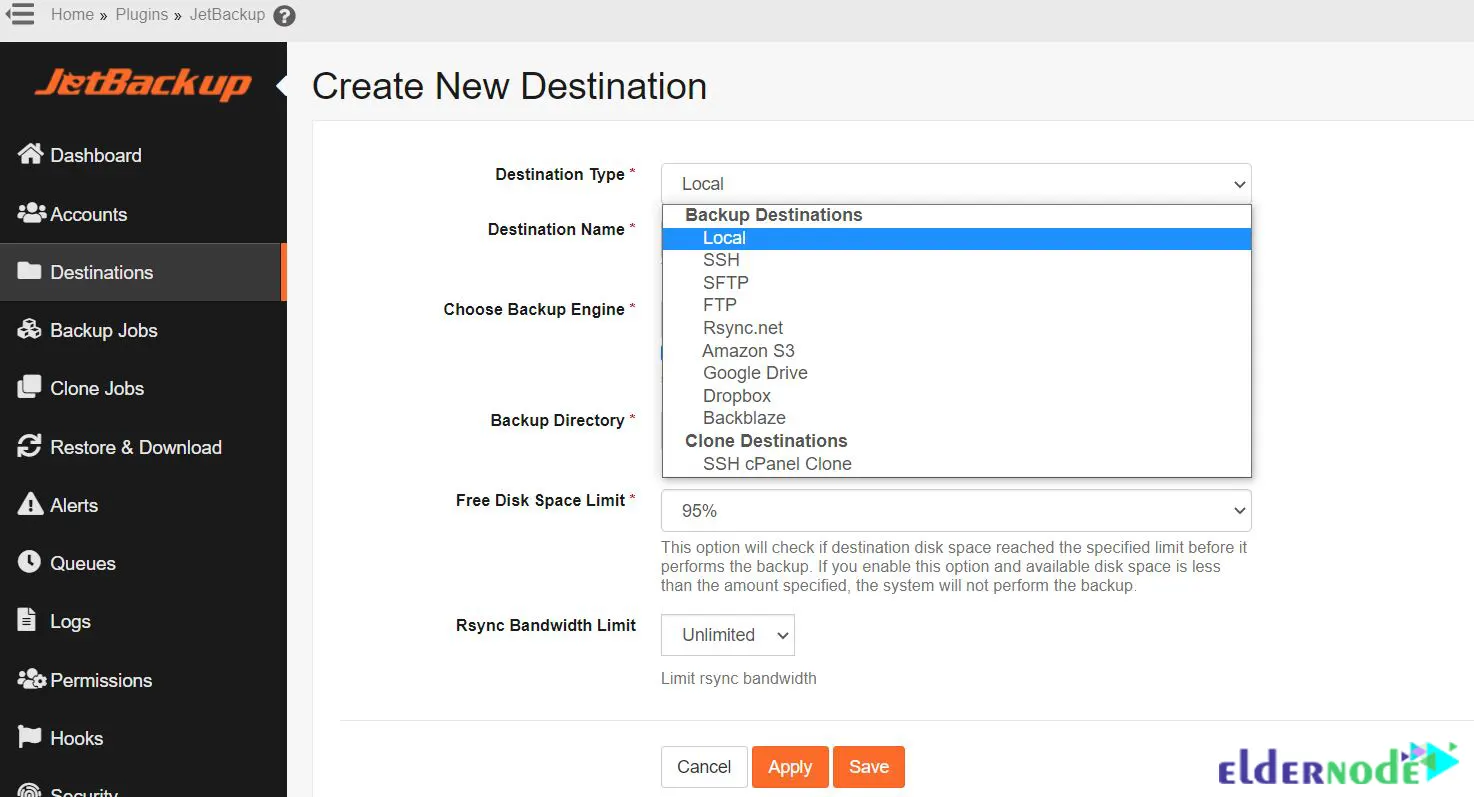
Now you need to set Destinations to store backups:
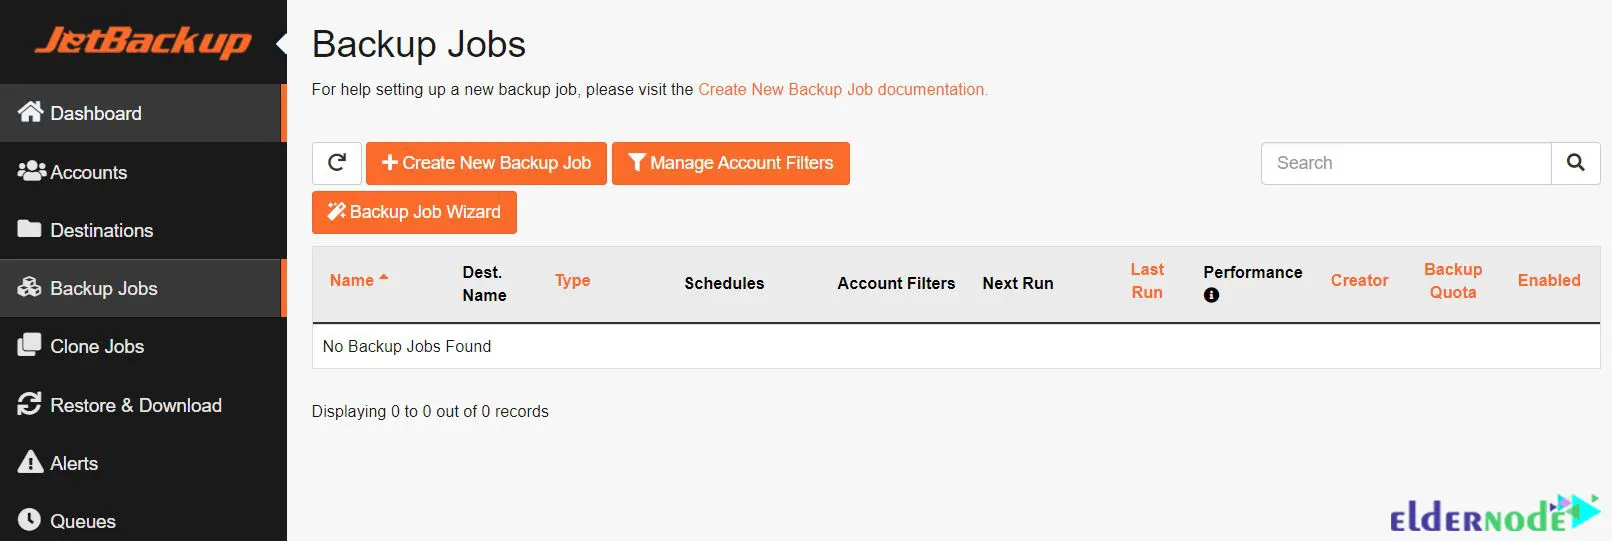
Then select your Cpanel accounts and create new Backup Jobs based on your needs:
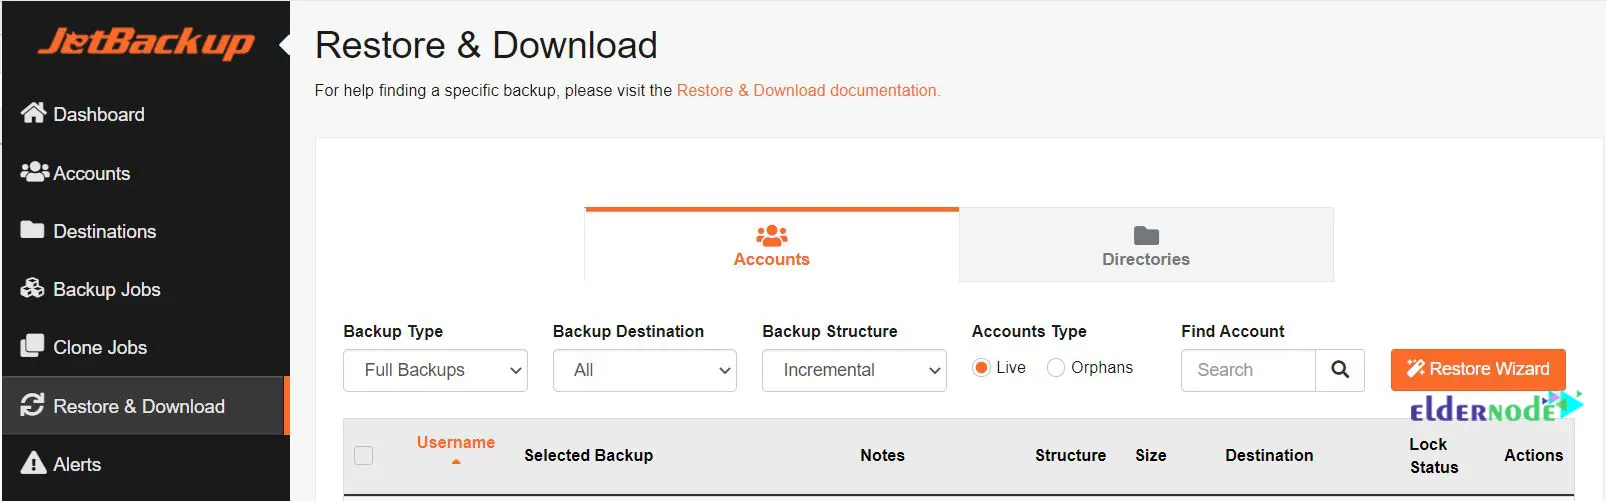
You can restore the backup or download it using the Restore & Download option in the panel:
That’s it! The installation of JetBackup on WHM / Cpanel is completed successfully.
Uninstalling JetBackup on WHM / Cpanel
If you want to remove JetBackup, you can run the following command:
yum remove jetbackup-coreTo remove Jetapps and Jetapps plugins use the following command:
yum remove jetapps-repoConclusion
JetBackup is a leading backup solution in the hosting industry for Cpanel and WHM. It provides the ability to perform local and remote backups to various destinations. This article taught you how to install Jetbackup on WHM / Cpanel. I hope this tutorial was useful for you and you enjoy it. If you have any problems, you can contact us in the Comments.