Version control is tracking and managing changes in the software code. Version control systems, Git being one of them, allow you to track every change in a file. Gitlab is a Git repository that provides a distributed version control platform. This article will teach you How to Install Gitlab on AlmaLinux. If you intend to buy a Linux VPS server, you can visit the packages offered on the Eldernode website.
Table of Contents
Tutorial Setup Gitlab on AlmaLinux
GitLab is an open-source and web-based Git repository that offers a distributed version control platform. It has evolved from a code management platform to a monitoring and deployment platform and calls itself a complete DevOps platform. This tool allows professionals to perform all the tasks in a project and also allows teams to collaborate and build better software. With the help of GitLab, teams can reduce product life cycles and increase productivity, which in turn creates value for customers.
GitLab offers two main editions which are GitLab Community Edition (CE) and GitLab Enterprise Edition (EE). It should be noted that GitLab Community Edition (CE) is a free version, but GitLab Enterprise Edition (EE) requires a license to use. In this article, we will teach you how to install the free version of GitLab.
Adding the GitLab CE Repository on AlmaLinux
First, start by updating the available packages to their latest available versions:
sudo dnf -y updateAnd install the required package dependencies using the following command:
sudo dnf -y install curl vim policycoreutils python3-policycoreutils gitAlmaLinux does not have Gitlab in default repositories. So you should add the official repository to your system to be able to install Gitlab. To do this, open the following file with your desired text editor:
sudo vim /etc/yum.repos.d/gitlab_gitlab-ce.repoAnd add the following lines to the file:
[gitlab_gitlab-ce] name=gitlab_gitlab-ce baseurl=https://packages.gitlab.com/gitlab/gitlab-ce/el/8/$basearch repo_gpgcheck=1 gpgcheck=1 enabled=1 gpgkey=https://packages.gitlab.com/gitlab/gitlab-ce/gpgkey https://packages.gitlab.com/gitlab/gitlab-ce/gpgkey/gitlab-gitlab-ce-3D645A26AB9FBD22.pub.gpg sslverify=1 sslcacert=/etc/pki/tls/certs/ca-bundle.crt metadata_expire=300 [gitlab_gitlab-ce-source] name=gitlab_gitlab-ce-source baseurl=https://packages.gitlab.com/gitlab/gitlab-ce/el/8/SRPMS repo_gpgcheck=1 gpgcheck=1 enabled=1 gpgkey=https://packages.gitlab.com/gitlab/gitlab-ce/gpgkey https://packages.gitlab.com/gitlab/gitlab-ce/gpgkey/gitlab-gitlab-ce-3D645A26AB9FBD22.pub.gpg sslverify=1 sslcacert=/etc/pki/tls/certs/ca-bundle.crt metadata_expire=300Now check if the repository is added or not with the help of the below command:
dnf repolistInstalling and Configuring GitLab CE on AlmaLinux
Now it’s time to install Gitlab CE on AlmaLinux as shown below:
sudo dnf install gitlab-ce -yThe GitLab configuration file is stored in /etc/gitlab/gitlab.rb. You should edit the configuration to the variables that are suitable for your environment.
So, open the configuration file with your desired text editor:
sudo vim /etc/gitlab/gitlab.rbAnd find the following line:
external_url 'http://gitlab.example.com'Then you should replace gitlab.example.com with your domain name for GitLab.
Once finished save the file and apply the changes as follows:
sudo gitlab-ctl reconfigureYou can check the status of GitLab using the command below:
sudo gitlab-ctl statusTo stop Gitlab, run the following command:
sudo gitlab-ctl stopAnd to start it, use the command below:
sudo gitlab-ctl startAlso, remember to allow the HTTP/HTTPS and SSH services through the firewall as shown below:
sudo firewall-cmd --permanent --add-service={ssh,http,https} --permanentFinally, reload the Firewall:
sudo firewall-cmd --reloadAccessing GitLab Web Console on AlmaLinux
First, open your browser and go to the following URL:
http://gitlab.example.comYou will see the following screen:
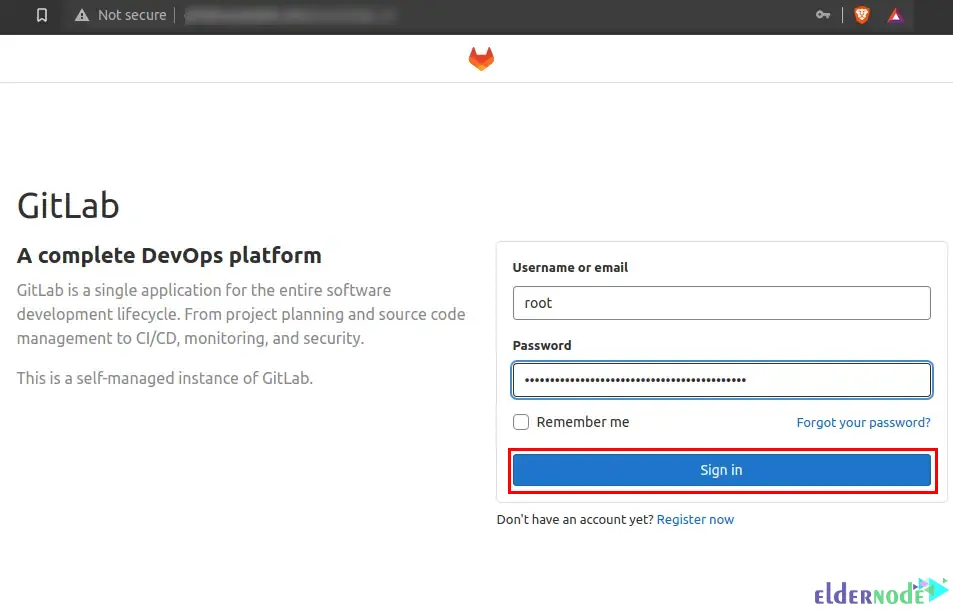
As you see, it asks you for the root password. To obtain the root password, use the following command:
sudo cat /etc/gitlab/initial_root_passwordNow you can sign in to GitLab.
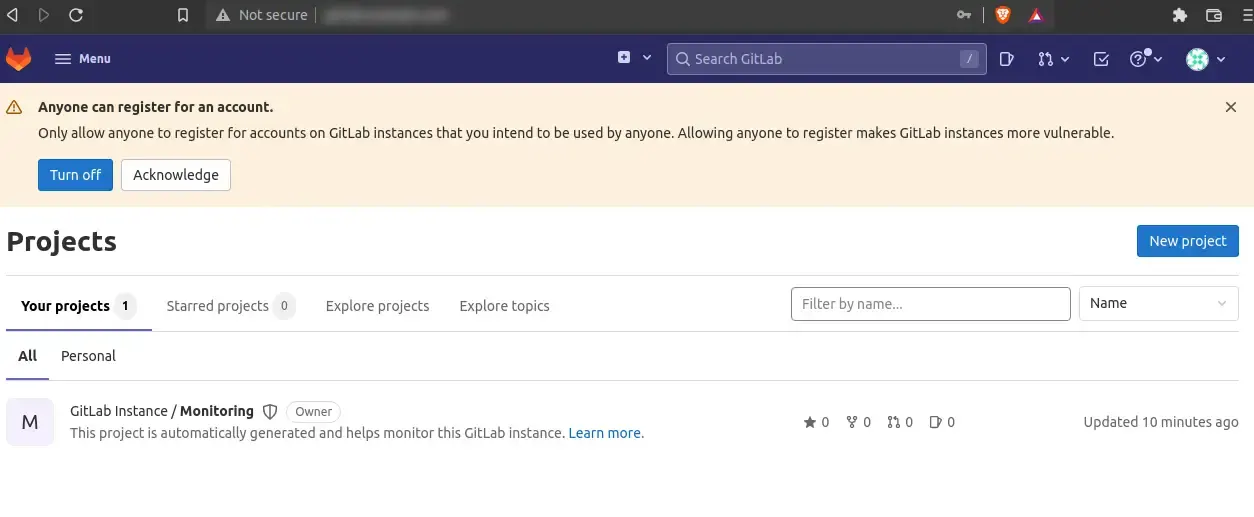
Once you logged in, you should see the following dashboard. You can set if you want the account to be used by everyone or for personal use by disabling/enabling user sign up:
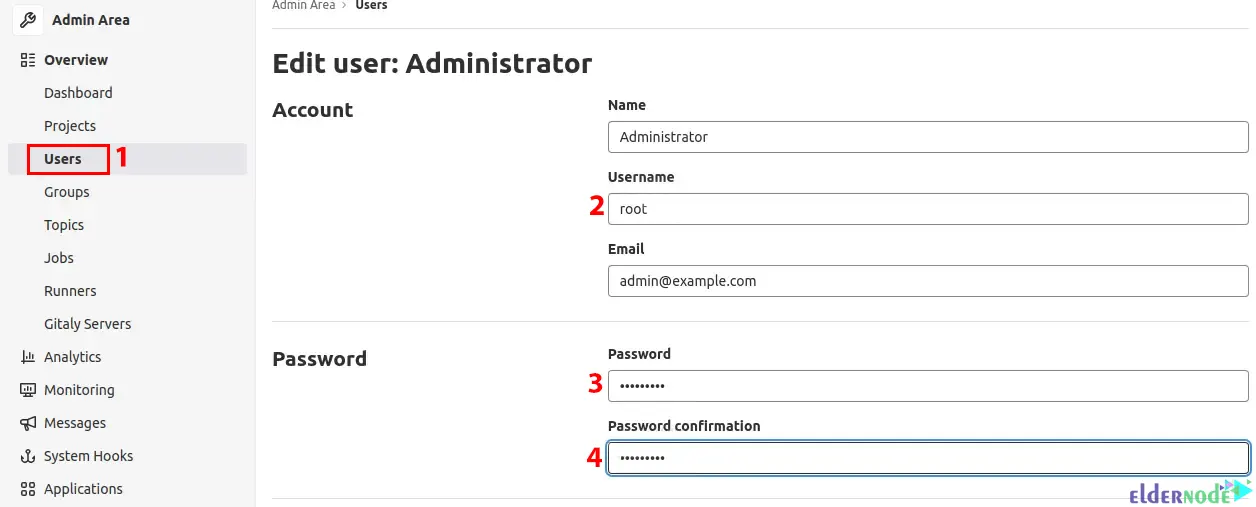
It’s better to change the root password. You can do this from the Admin Area section:
Now click on New Projects as shown below to create a new project:
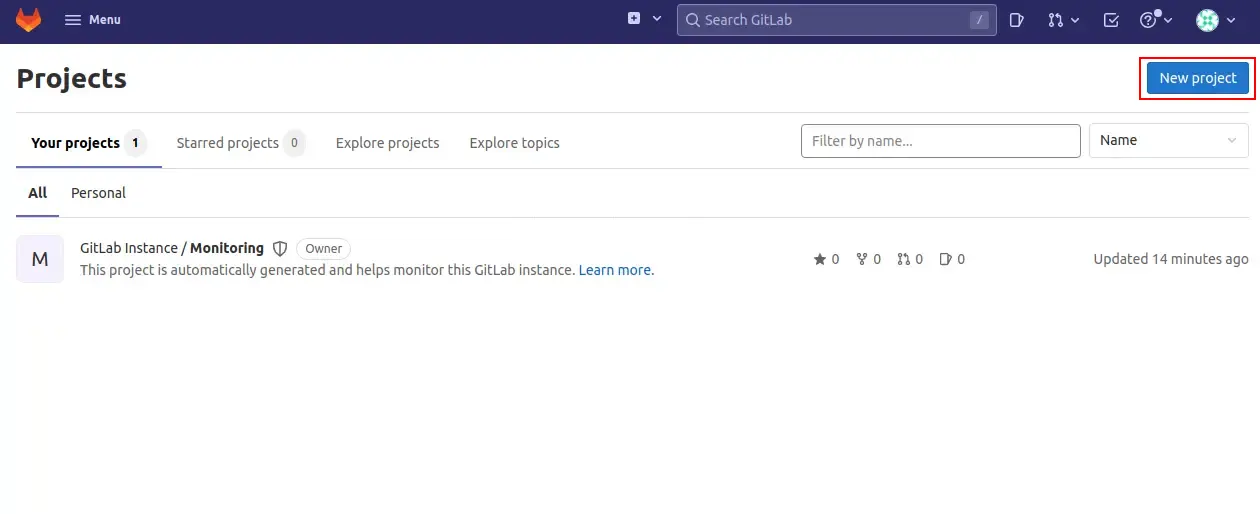
There are 3 options provided to create a new project which are create a blank project, import, or create using a template. Choose one of them to proceed:
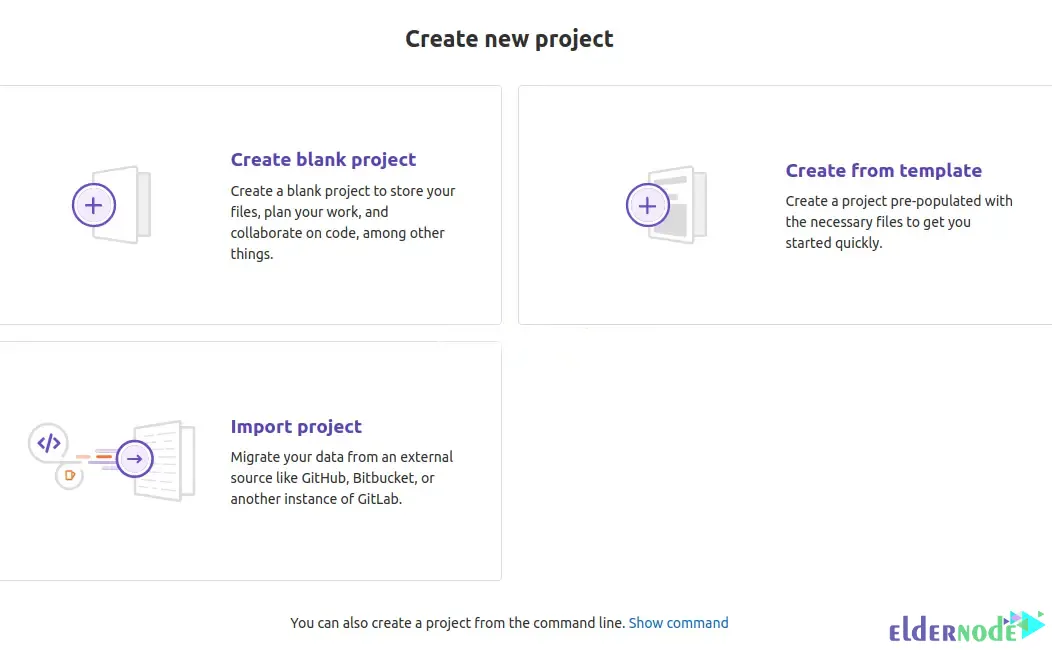
You can use a template as shown below:

After you created the Project, it will appear as you see below:
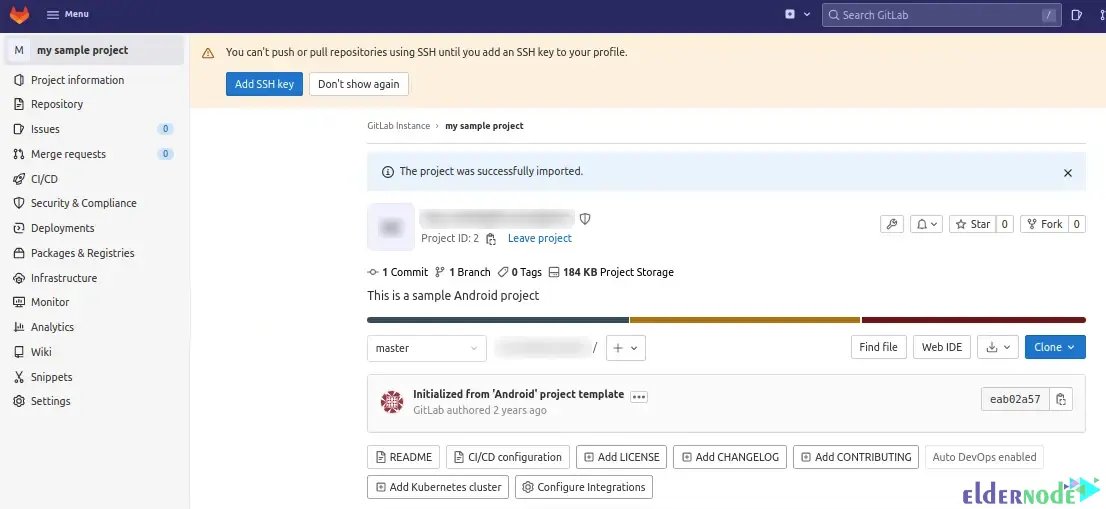
That’s it!
Conclusion
GitLab is a complete DevOps platform that enables professionals to manage various project tasks on their servers. In this article, we introduced you to Gitlab and taught you how to install it on AlmaLinux. I hope this tutorial was helpful for you and helps you to install Gitlab on AlmaLinux. You can contact us in the Comments section if you face any problems or have any questions.