As a live website, you need to have additional considerations, including connecting to a database. In this article, you will learn how to install Django on Ubuntu 20.04, and also how to set up a development environment.
Table of Contents
Introduction
Django is a high-level Python Web framework that is free, open-source, and rapid development. It is also known for its loose coupling and framework-level consistency for individual components. Django is necessary for setting up a domain name and adding layers of security. Ridiculously fast, reassuringly secure, and exceedingly scalable are the most useful features of Django.
Prerequisites
The tutorial may be more useful if you know:
1- Be careful to execute commands with root access in the user interface, you must use the Sudo command before all commands.
2- Python 3 set up with a virtual programming environment
Also, you can see more information at Initial server setup on Ubuntu 20.04
How to install Django on Ubuntu 20.04
Let’s walk through the steps of this guide to learn how to install Django on Ubuntu 20.04
Step 1- Installing Django
Between the several ways to install Django, the Python package manager pip within a virtual environment, we would go on in a safe and smooth way. you need to create the directory which will contain your Django application through the server’s home directory. So to create a directory run the following command. You can choose the name of your choice (instead of Django-apps)to navigate to the directory.
mkdir django-appscd django-appsCreate your virtual environment inside the django-apps directory. Again you need to choose a suitable name. (instead of env).
virtualenv env Active the virtual environment bt entering the following command:
. env/bin/activate While you change the prefix to (env), it will be active, and depending on what directory you are in, the result would be as below:
(env) noodi@ubuntu:$Install the Django package using pip, in the environment. It helps you to create and run Django applications.
(env) noodi@ubuntu:$ pip install djangoAfter installing, verify your Django installation by running a version check:
(env) noodi@ubuntu:$ django-admin --versionSomething like below will be the output:
Output
3.0.6
Step 2– Adjusting Firewall Settings
You can open the port with the following command for the UFW firewall:
(env) noodi@ubuntu:$ sudo ufw allow 8000Step 3- Starting the Project
In this part, you can generate an application called django-admin. Run the following command to create the project directory structure.
(env) noodi@ubuntu:$ jango-admin startproject testsiteTo obvious what files were created, Navigate to the testsite directory.
(env) noodi@ubuntu:$ cd testsite (env) noodi@ubuntu:$ lsmanage.py testsiteThen, you would view manage.py script by running as below.
(env) noodi@ubuntu:$ less manage.pyPress q to quit viewing the file after finishing reading the script.
To view the other files, navigate to the testsite directory.
(env) noodi@ubuntu:$ cd testsite/To list the contents of the directory, enter the following command.
(env) noodi@ubuntu:$ lsThen, you will see 4 files.
Output
__init__.py asgi.py settings.py urls.py wsgi.py Let’s know what are these 4 files.
__init__.py is the entry point for your Python project.
asgi.py is a good successor of WSGI. Which is about the configuration of the optional deployment to the Asynchronous Server Gateway Interface.
settings.py lets Django know which settings are available and describes the configuration of your Django installation.
urls.py contains a urlpatterns list, that routes and maps URLs to their views.
wsgi.py contains the configuration for the Web Server Gateway Interface, which provides a standard for synchronous Python apps.
Step 4– Configuring Django
Now you can view the website on a designated host after starting the server by entering the runserver command.
add your server IP address to the list of ALLOWED_HOST in the settings.py file located in
We’ll need to add your server IP address to the list of ALLOWED_HOSTS in the settings.py file located ~/test_django_app/testsite/testsite/
Also, you can use your considered text editor to add the IP address. If you are using nano, run the command below.
(env) noodi@ubuntu:$ nano ~/django-apps/testsite/testsite/settings.pyIf you want to change and exit nano, hold down the CTRL+X keys and then press the y key.
Finally, you can create an administrative user by using createsuperuser command.
(my_env) $ python manage.py createsuperuseryou will be asked to enter a username, an email address, and a password for your user.
Step 5– Accessing the Django Web App
Be sure to navigate back to the directory where manage.py is located, when the configuration is completed.
(env) noodi@ubuntu:$ cd ~/django-apps/testsite To replace your server-ip text with the IP of your server, run the following command.
(env) noodi@ubuntu:$ python manage.py runserver 0.0.0.0:8000 Then, navigate to the following link to view what your skeleton website looks like, and replace the highlighted text with your server’s actual IP:
http://your-server-ip:8000/
You would see the page below as a result.

It shows that Django has been properly installed and your test project is working correctly. Also, you can add /admin/ to the end of your URL to access the admin interface.
http://your_server_ip:8000/admin/
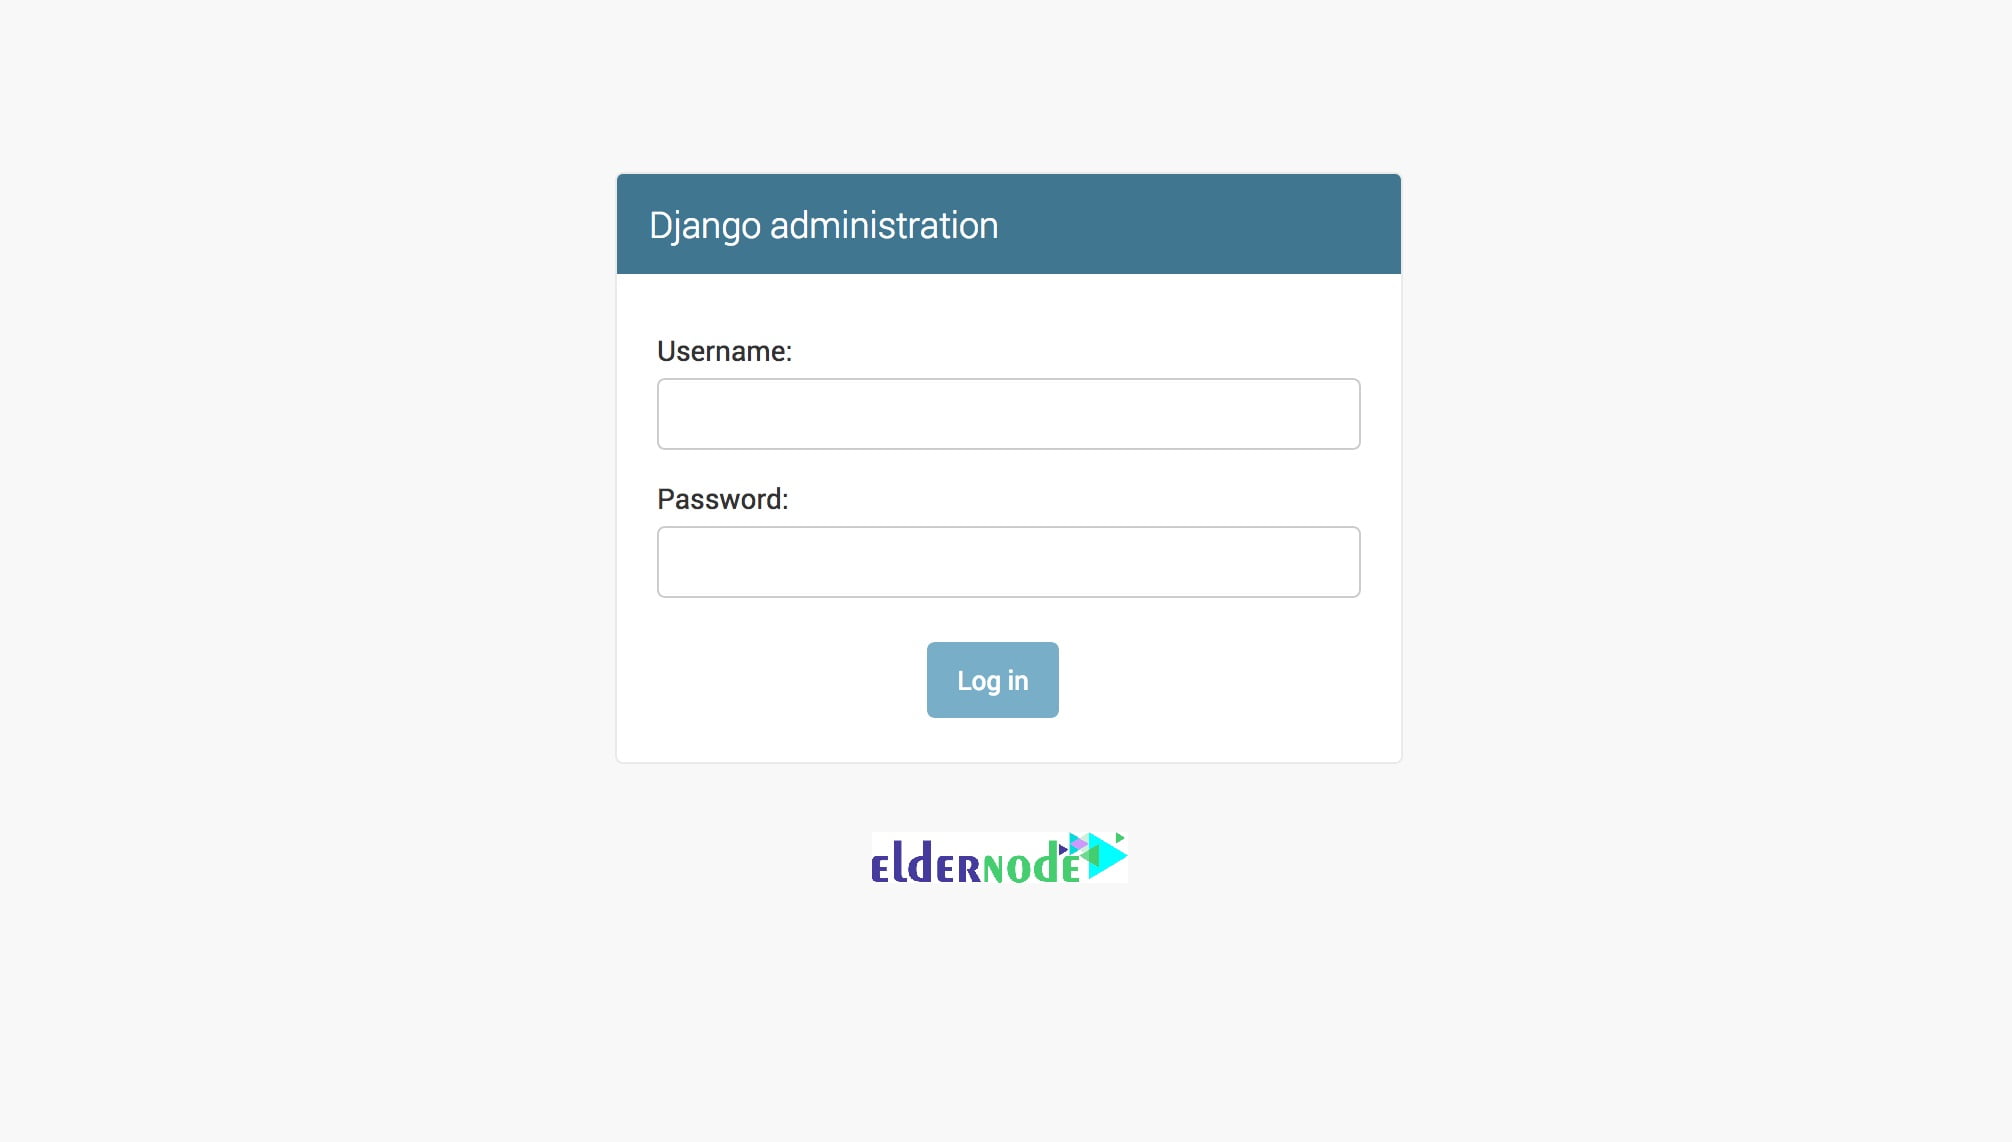
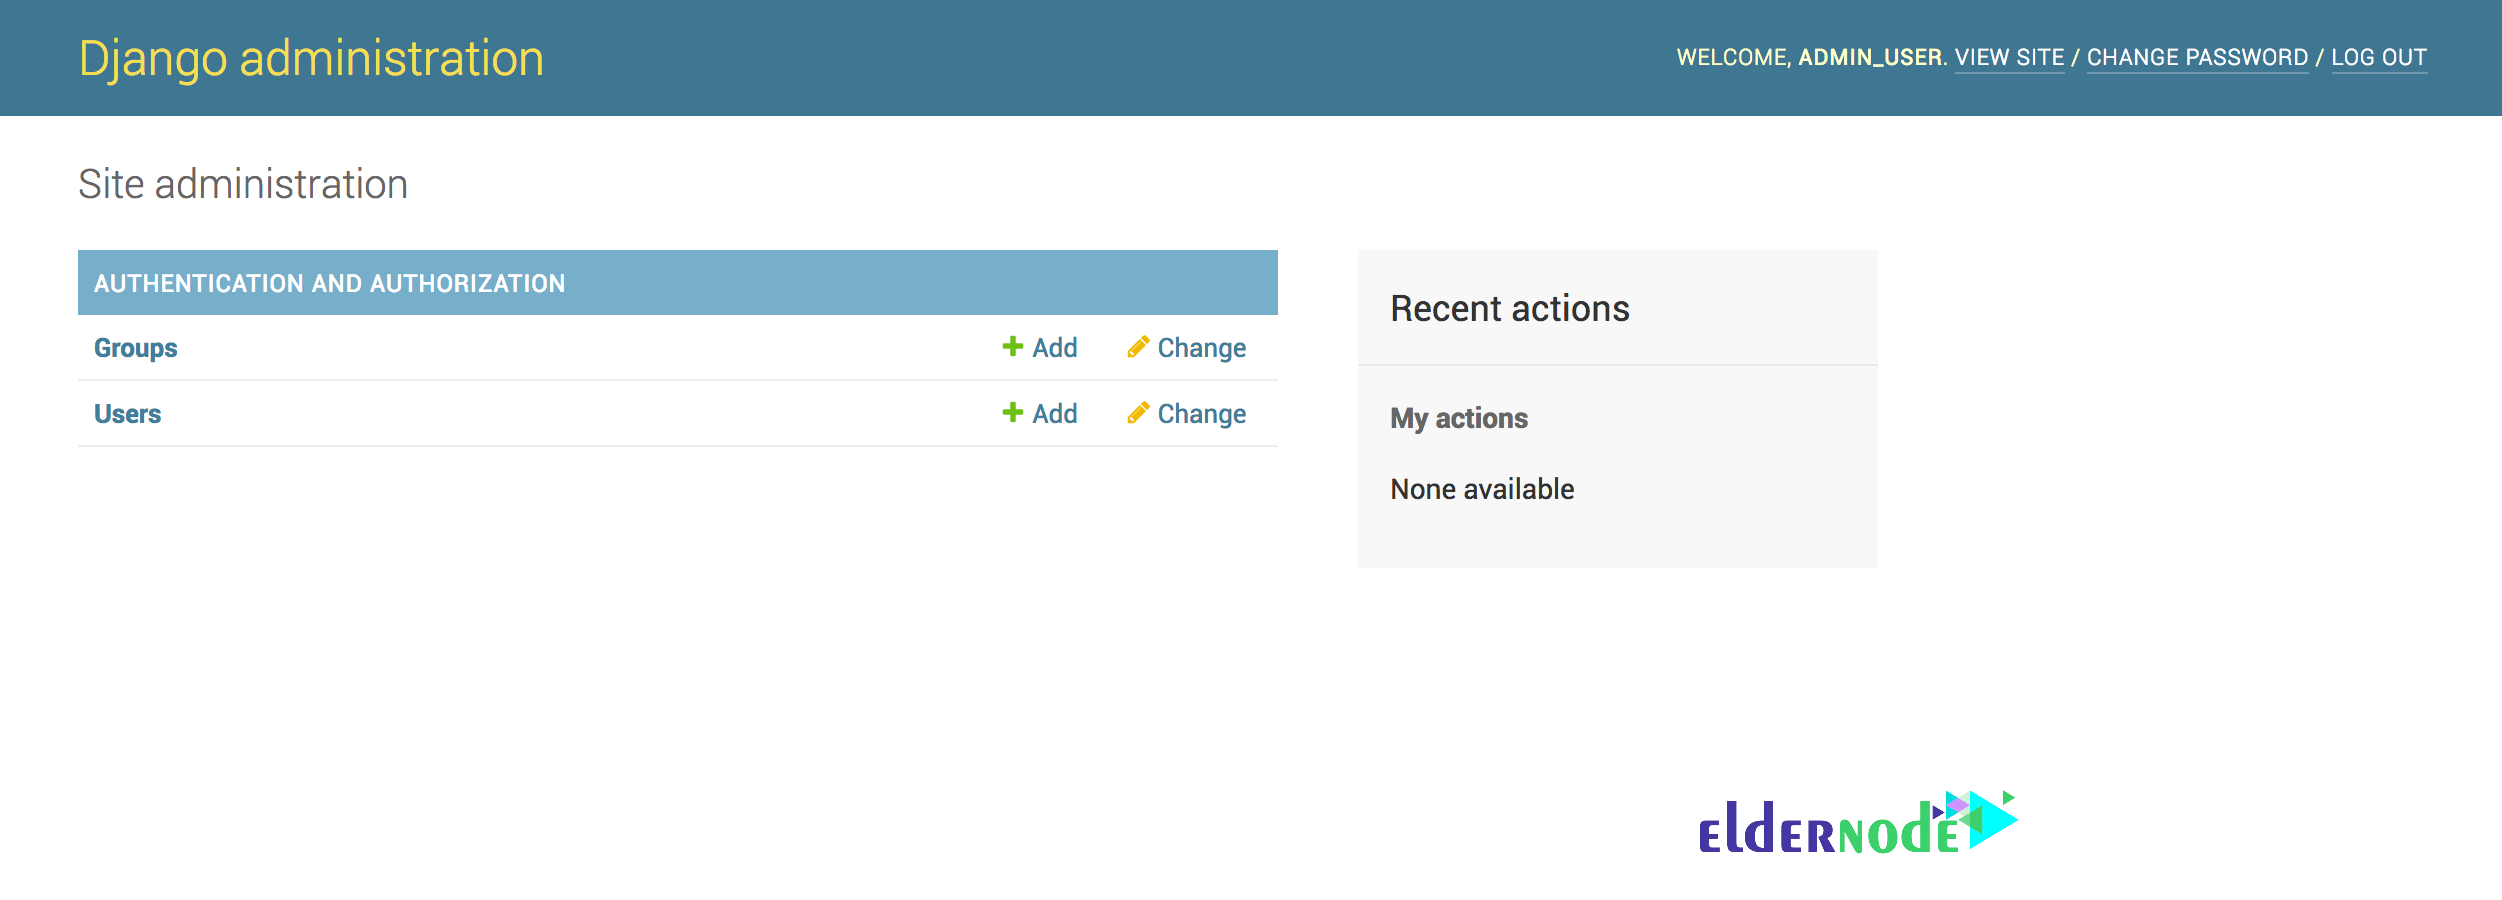
You will have access to the main admin section of the site if you enter the admin username and password that you just created.
To return to your programming environment and testing your app, press CTL + C to stop the runserver command.
To leave your Python environment, run the deactivate command.
(env) noodi@ubuntu:$ deactivateIf you deactivate the programming environment, it will put you back to the terminal command prompt.
Dear user, we wish this tutorial how to install Django on Ubuntu 20.04 would be helpful for you, to ask any question or review the conversation of our users about this article, please visit Ask page. Also to improve your knowledge, there are so many useful tutorials ready for Eldernode training.
![How to Install Xrdp on Debian 10 [Buster]](https://blog.eldernode.com/wp-content/uploads/2020/12/How-to-Install-Xrdp-on-Debian-10-Buster-300x164.png)
