Virtualizor is a powerful web-based VPS Control Panel by Softaculous Ltd. Either you are an Admin or end-user, the Virtualizor is designed for you to deploy and manage VPS on servers with a single click. Admins can create a VPS on the fly. Since this module supports non-standard functions, end users can start, stop, restart and manage their VPS. Virtualizor is perfect for operations because it supports OpenVZ, Xen PV, Xen HVM, XenServer, and Linux KVM virtualization. In this article, you will learn How To Install And Uninstall Virtualizor On CentOS 7. To buy a cheap CentOS VPS with Instant Activation, order what you need on Eldernode.
Table of Contents
Tutorial Install Virtualizor On CentOS 7
As an Admin, you need to create plans and pricing for Resellers and setup resource pricing for extra resource utilization. Using Virtualizor allows you to do this since it has an inbuilt billing panel and three built-in payment gateways. If you enable it, you will also be able to do invoicing on WHMCS.
Prerequisites to Install Virtualizor on CentOS 7
To let this tutorial work better, please consider the below Prerequisites:
_ CentOS 7.x / 8.x (Beta)
_ yum
_ Storage to create the VPS (DomUs) disks
_ A 64 bit OS to install KVM
How to Install Virtualizor on CentOS 7 | CentOS 8
To create a virtual copy of the physical hardware, you need Virtualization. It allows you to simultaneously run an OS different from the one from the physical machine. Virtualizor is a complete virtualization solution that supports all major operating systems including Linux and Windows.
Follow the below steps to install Virtualizor on CentOS 7.
First, open a Shell Terminal and SSH to your server. Then, run the commands below:
wget -N http://files.virtualizor.com/install.shchmod 0755 install.sh./install.sh [email protected] kernel=kvmNote: Do not forget to replace the correct email address.
It is expected that installation begins immediately. Then, you can see something like shown in the below:

Once the installation is completed, reboot your system by pressing “y“.

How to access Virtualizor on CentOS 7 | CentOS 8
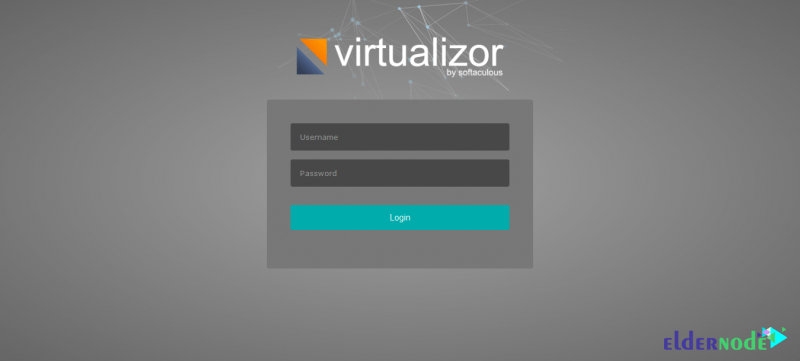
After a successful installation, you can log in to the Softaculous Virtualizor Admin Panel. to do this, visit the following URL :
https://Your-Server-IP:4085/http://Your-Server-IP:4084/Log in with the server’s root details.
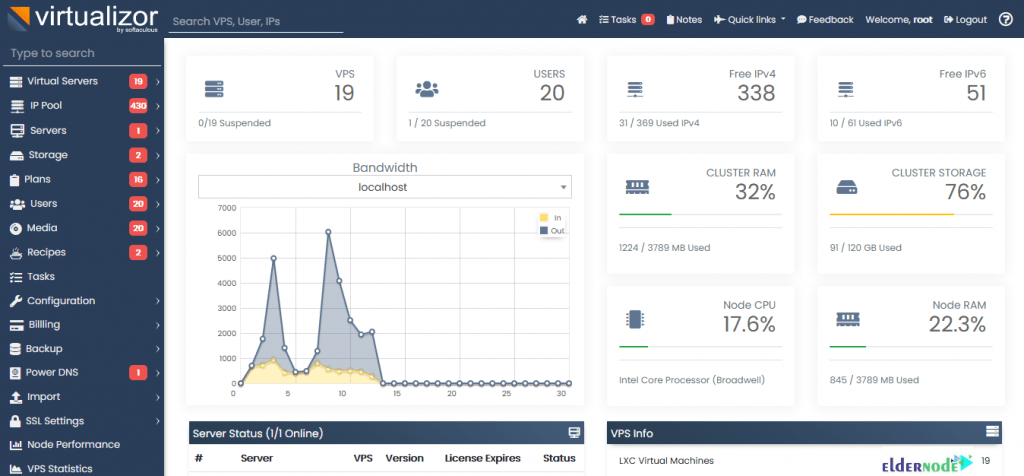
Once you have a successful login, you can see the Dashboard.
How to use Virtualizor on CentOS 7
Since Virtualizor uses ports from 4081 – 4085, you must allow these ports if the firewall restricts this.
For CentOS 7, run:
firewall-cmd --zone=public --permanent --add-port=4081-4085/tcpfirewall-cmd --zone=public --permanent --add-port=5900-6000/tcpBut if you prefer to use Webuzo templates for VM creation, you need to allow ports 2002-2005
To create any VMs, you should define your storage. To do this, follow the below path to see the wizard:
Navigate to Virtualizor Admin Panel > Storage > Add Storage
How to uninstall Virtualizor on CentOS 7
If you wish to uninstall Virtualizor for any reason, use the commands below to remove it:
service virtualizor stopservice virtnetwork stop # For KVM onlyrm -rf /usr/local/empsrm -rf /usr/local/virtualizorrm -rf /var/virtualizorConclusion
In this article, you learned How To Install And Uninstall Virtualizor On CentOS 7. Installing Softaculous Virtualizor for CentOS is very simple and now you can use the most powerful Cloud panel. We do not expect you to encounter serious issues, however, let us know any probable problems.
