How to Install and Configure Windows Admin Center on Windows Server 2019. One of the newest features of Microsoft that was introduced with Windows Server 2019 is Admin Center. This console, also known as the Honolulu Project, provides a web-based environment for controlling and managing servers as well as clients
With Admin Center you can easily manage all systems.
In this article, we are going to teach you how to install and configure Windows Admin Center in Windows Server 2019 and Windows 10.
Note: Admin Center can only be installed on Windows Server 2016 and above and Windows 10, but it also has the ability to control Windows Server 2012, Windows Server 2016, Windows Server 2019 and Windows 10.
Follow us with the tutorial to install Admin Center on Windows Server 2019 and Windows 10.
Table of Contents
Prerequisites
To download Admin Center, go to the Admin Center site and download the version you want.
How to Install the Windows Admin Center
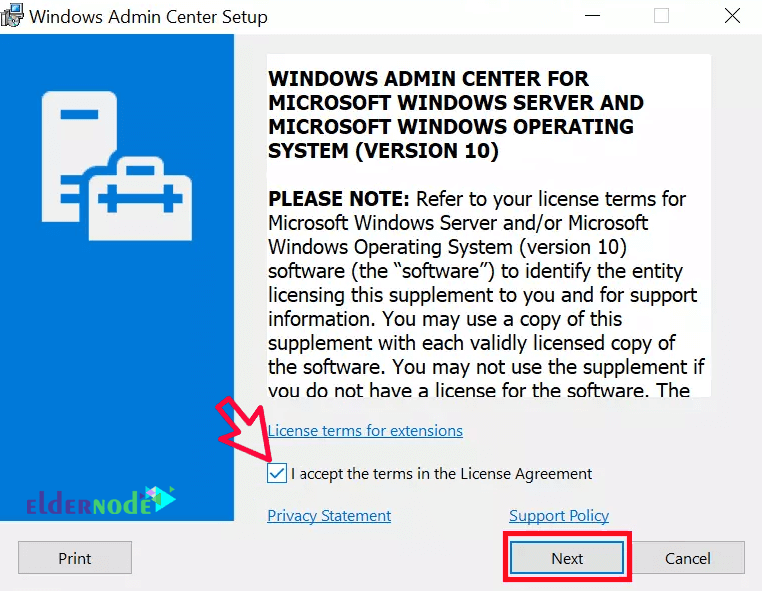
1. Double click on the executable application just downloaded and proceed with the prompts as shown below. Then Click on Next.
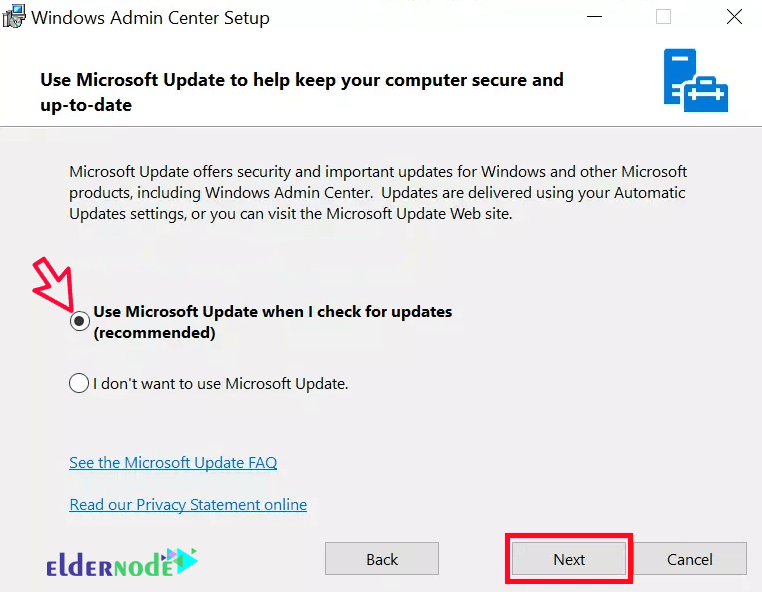
2. In the next step, you can Use Microsoft update or not.
– Click Next.
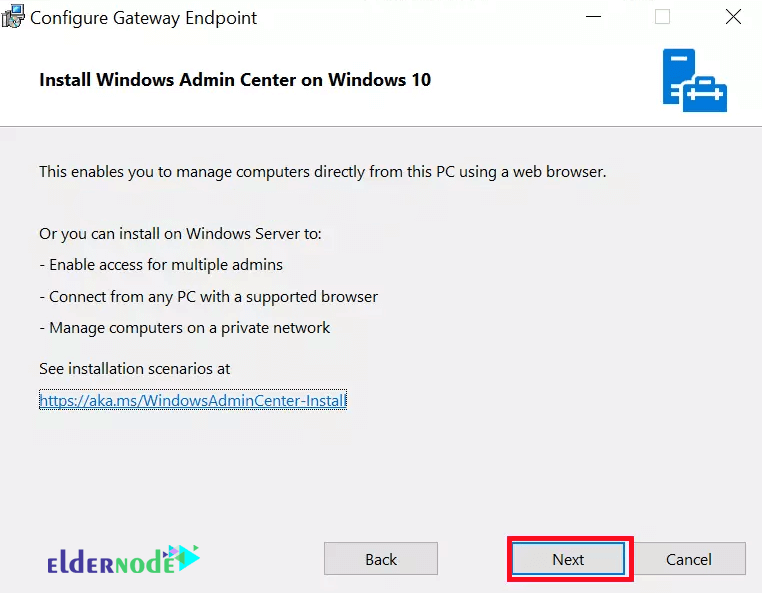
3. Click Next again.
4. Choose a port or you can use the default one then click Install.
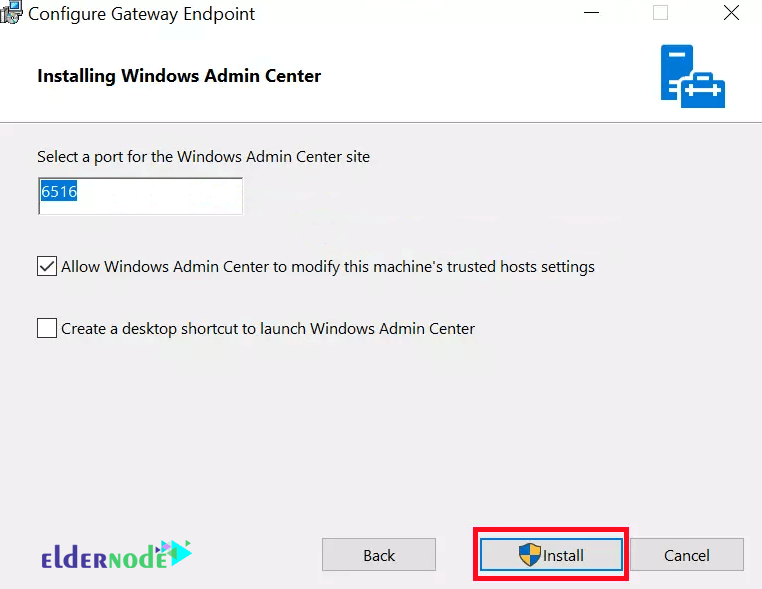
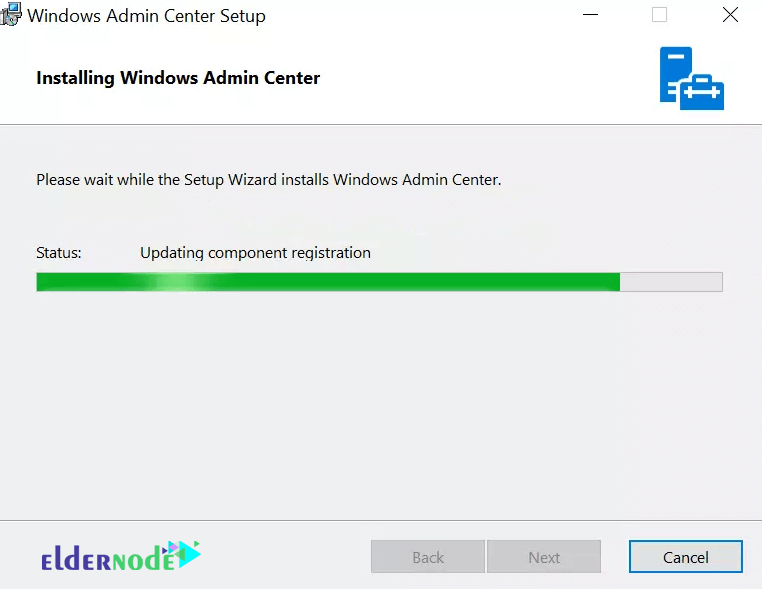
5. Follow the installation process to the end.
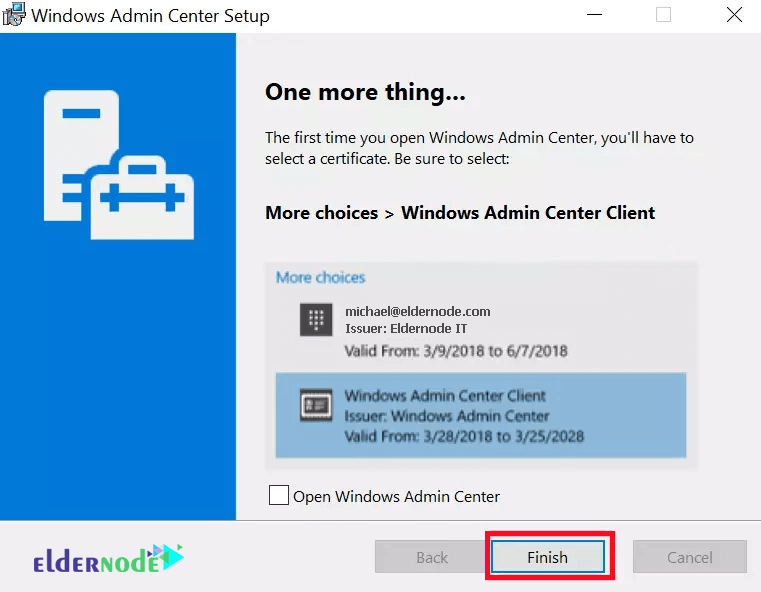
6. Finally, click on Finish.
Load the browser and run Admin Center
You are now able to load Admin Center via your browser and begin using it to add the systems you intend to administer.
a) Go to your browser and load the address below:
https://localhost(or IP).
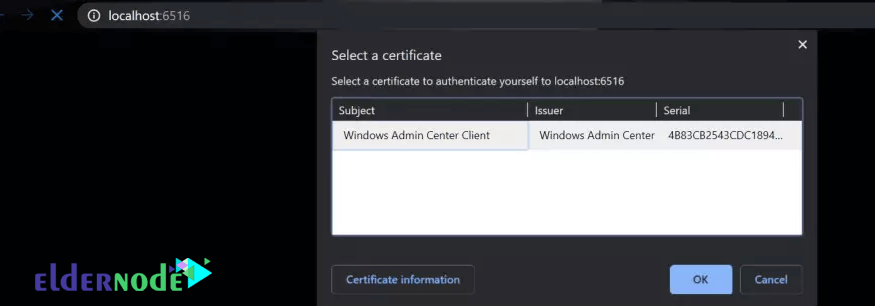
b) Then select the certificate from the prompt and click OK.
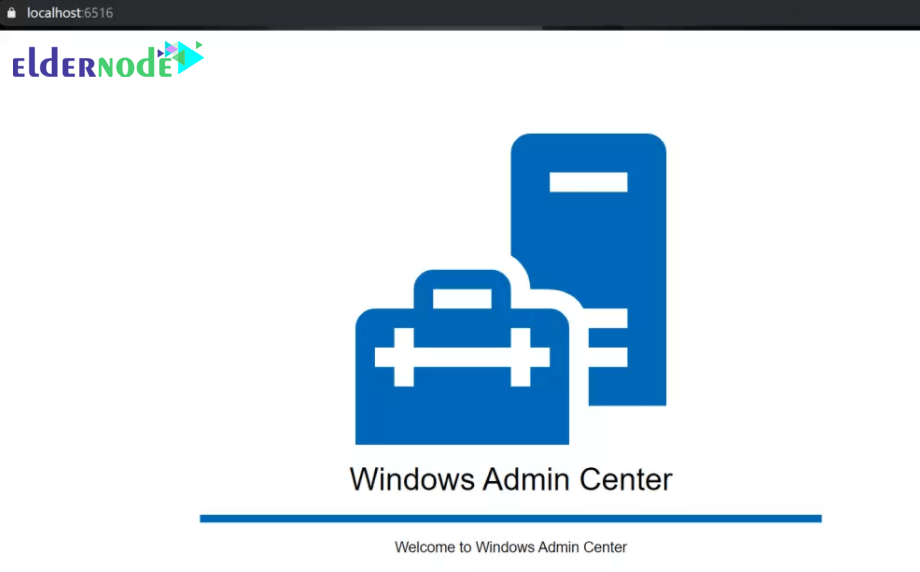
c) Admin Center will now load as shown below:
How to Add a Server to manage with Windows Admin Center
The only available system when it finally loads is the localhost. You are now ready to add more from this point.
1. Click on the + Add button.
You can either add Servers, Windows PCs, Failover clusters, and others.
2. Choose the one that befits your scenario.

3. You can now add one by one, import a list, or search from Active Directory.
This is quite flexible.
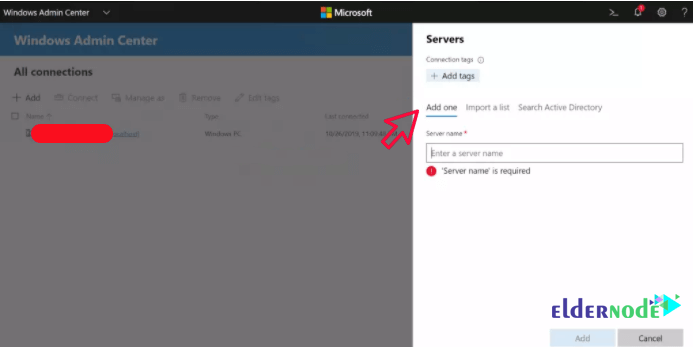
4. The server you added will be added to the All Connections section.

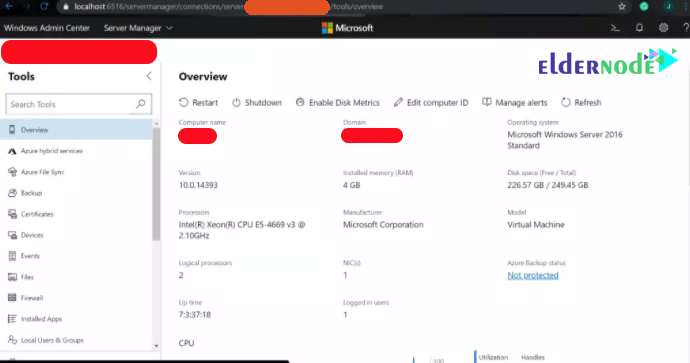
5. By click on any of the servers, copious amounts of information and functionality get populated.
You will be able to connect to the server via Powershell, Remote Desktop. Then you will view its registry, CPU Performance, Disks and volume status, Installed Memory, Services, events, Installed Apps, Roles, and Features installed, files among many others.
6. You can fully administer your servers from this one Admin Center Node.
We hope you have taken advantage of the Admin Center installation tutorial on Windows Server 2019 and Windows 10 at the end.
Dear user, we hope you would enjoy this tutorial, you can ask questions about this training in the comments section, or to solve other problems in the field of Eldernode training, refer to the Ask page section and raise your problem in it as soon as possible. Make time for other users and experts to answer your questions.
Goodluck.
![Tutorial Install and Use PIP on Centos 7 [Best]](https://blog.eldernode.com/wp-content/uploads/2022/04/install-and-use-pip-on-centos-300x164.png)
