Stopping the development of CentOS 8, CloudLinux company founded AlmaLinux to be a viable alternative to CentOS with community support. AlmaLinux is a CentOS alternative with a general availability build, those who worked with Linux Enterprise have welcomed it. In this article, we are going to teach you How to Install and Configure AlmaLinux 9. If you want to purchase Linux VPS Server, check out the offered packages on the Eldernode website.
Table of Contents
How to Install and Configure AlmaLinux 9
Introduction to AlmaLinux 9
AlmaLinux is a binary compatible with RHEL and CentOS that is being developed as an alternative to CentOS. It is an open-source, free, and enterprise-level operating system developed by the open-source community. Also, this operating system has a bug tracker system that allows users to report bugs in their operating system. The CloudLinux team has created AlmaLinux, which offers shared hosting services and it has its own commercial Linux distribution called CloudLinux OS. The AlmaLinux operating system is managing by a non-profit organization called The AlmaLinux OS Foundation.
In the continuation of this article from the Linux tutorial series, we will teach you how to Install and Configure AlmaLinux 9 step by step.
How to Download AlmaLinux 9
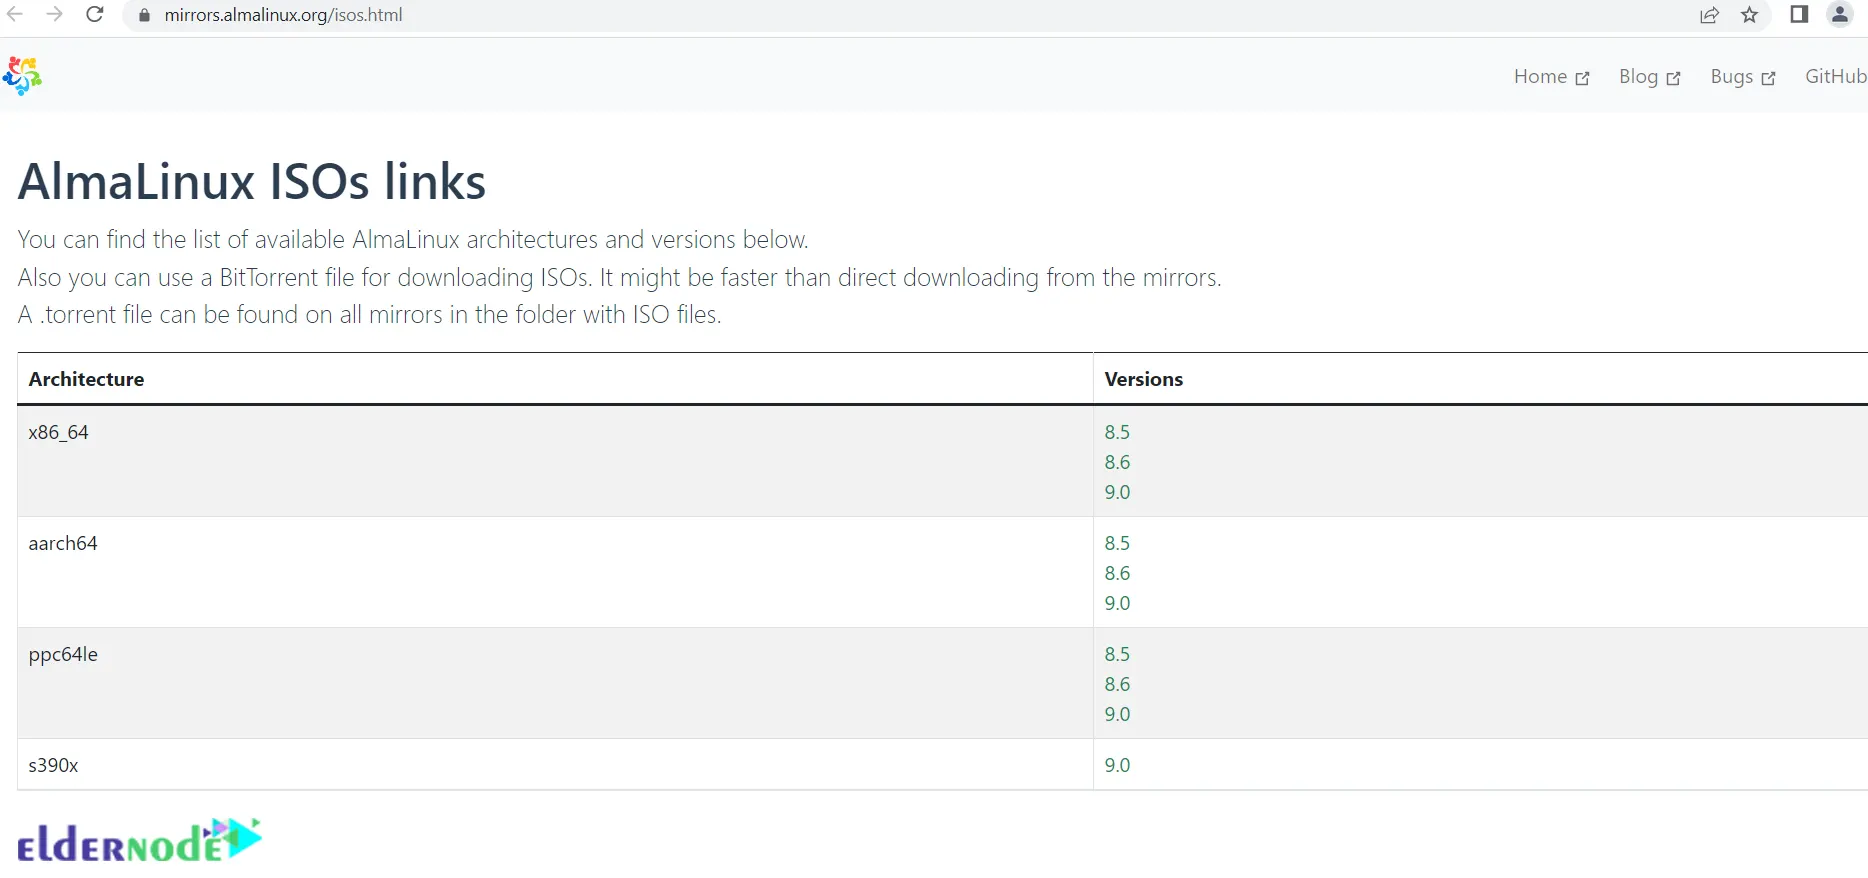
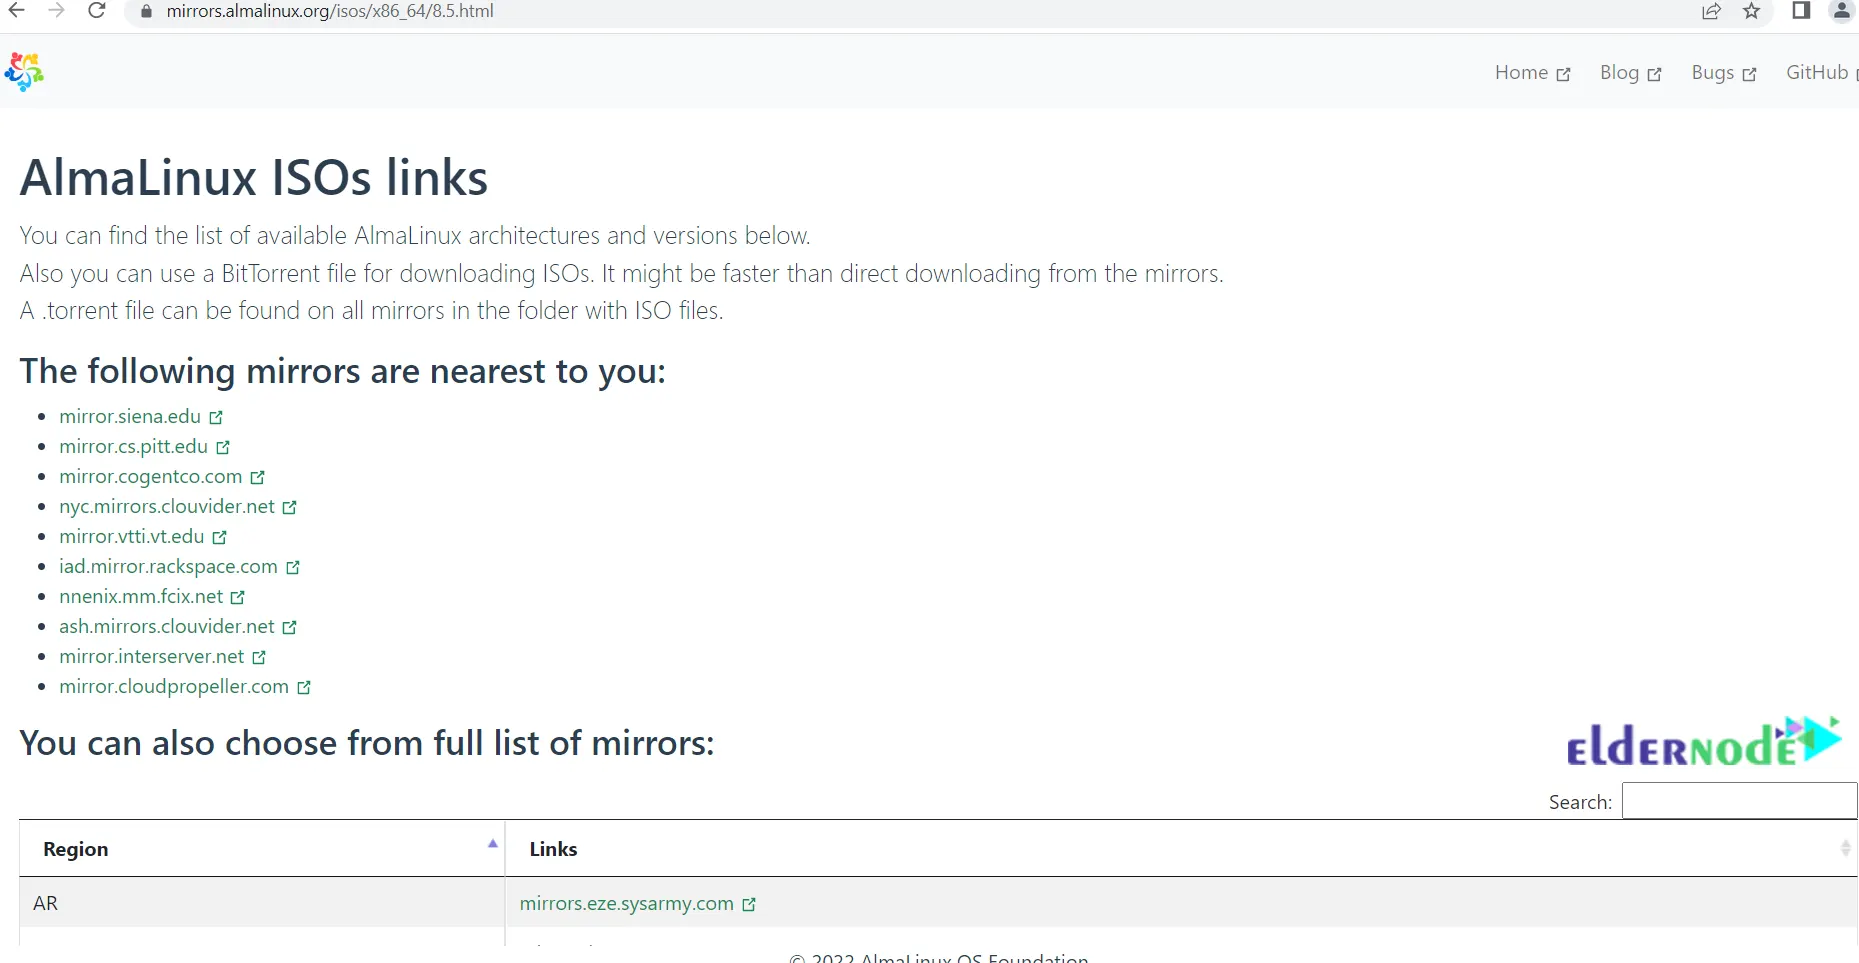
Before doing anything, you should download the AlmaLinux ISO image. To do this go to the AlmaLinux ISO links official website and choose the suitable version. Click on it to start downloading:
Now you need to choose your mirror and click on it:
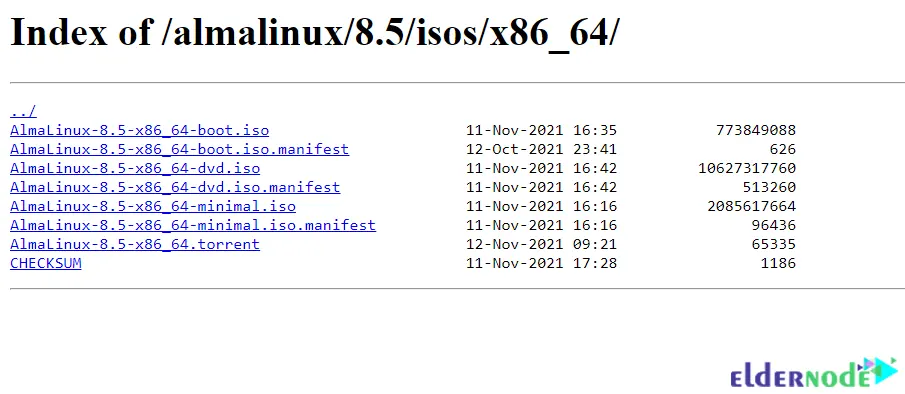
Then click on your desired index of AlmaLinux:
Next, You should create a bootable USB drive.
Then plug the installation medium and reboot your computer. Note that BIOS should configure to boot from the USB installation medium. You can do this by setting the medium as the first boot priority.
How to Boot the System with AlmaLinux 9
After the system reboots, the following page will appear. Choose Install AlmaLinux 9.0:

You will receive some boot messages.
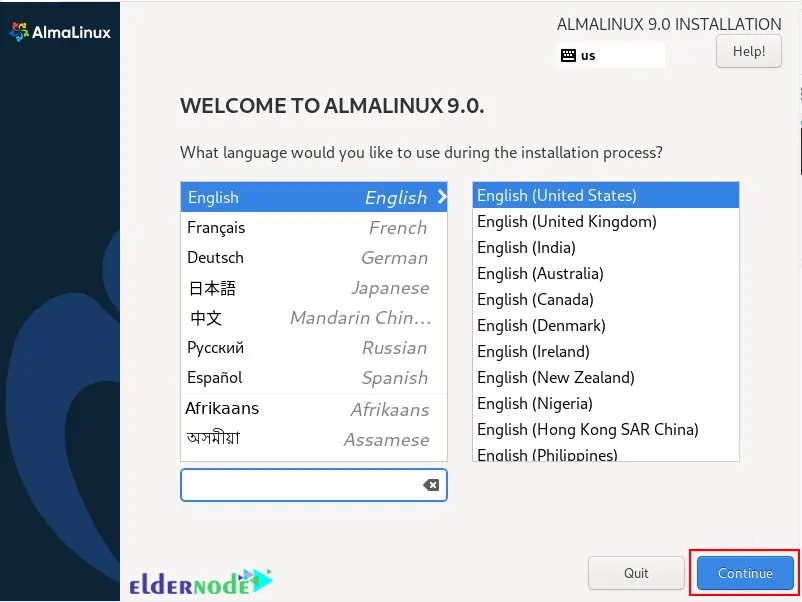
Now choose your language and click on Continue:
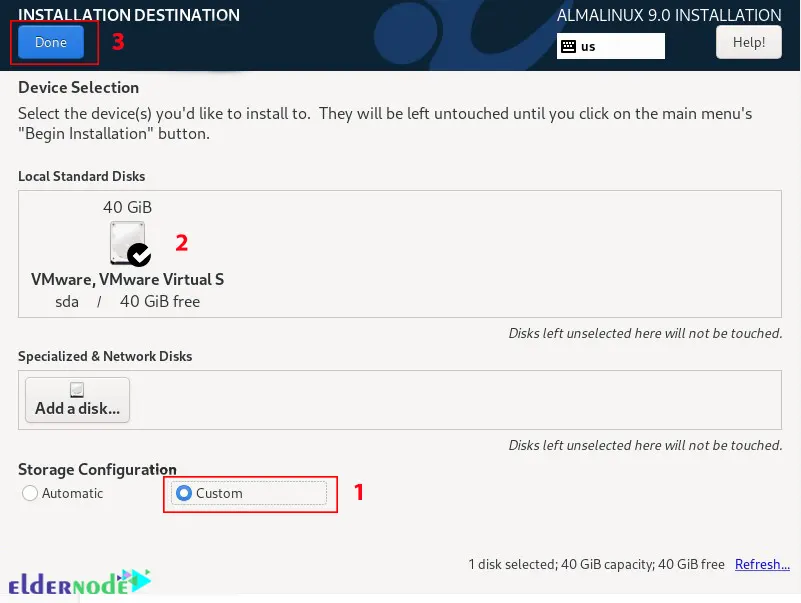
Now is the time to partition your AlmaLinux 9 disk. To do this go to Installation Destination. You will see that Storage Configuration is set to Automatic and the installer creates partitions automatically on the selected disk:
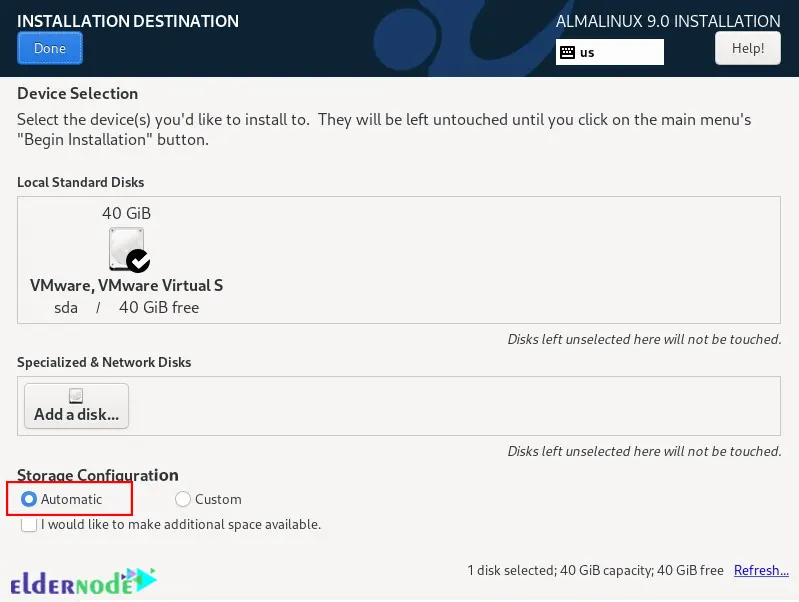
If you select the Custom option, you can create your own partitions manually. If you choose the Custom path, select the hard drive and click on Done:
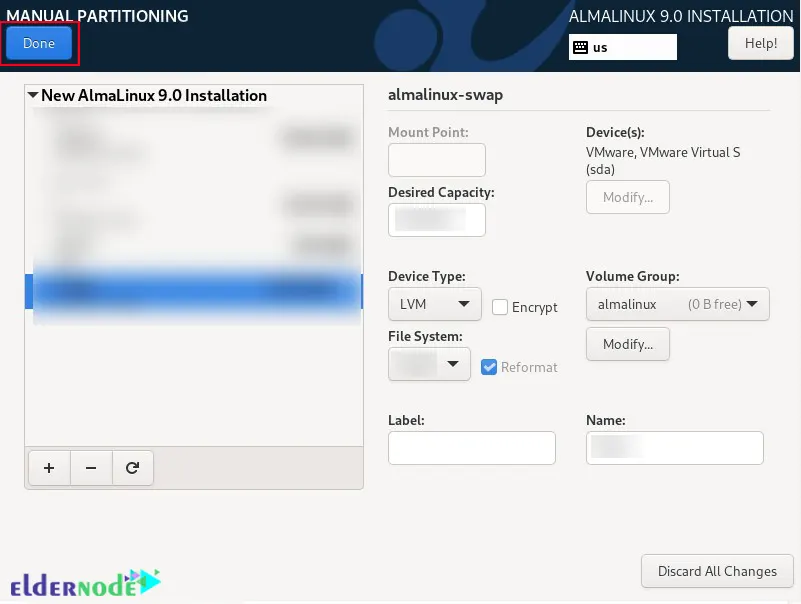
In this step, you will see the Manual Partitioning section where you can start creating partitions. To do this click +:
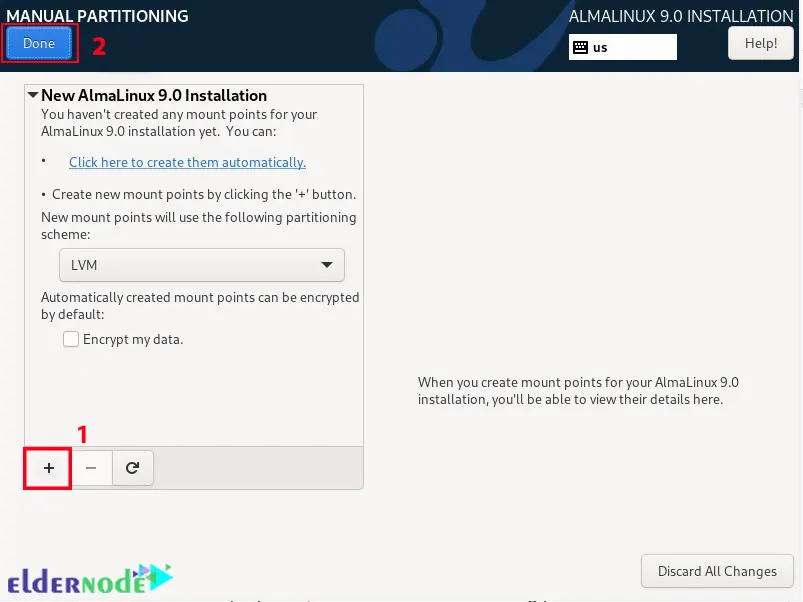
Then you should create separate partitions and specify each of them in the pop-up. Note that the partition table should show the partitions that you created before. Finally, click on Done to save the changes.
How to Configure User Settings on Almalinux 9
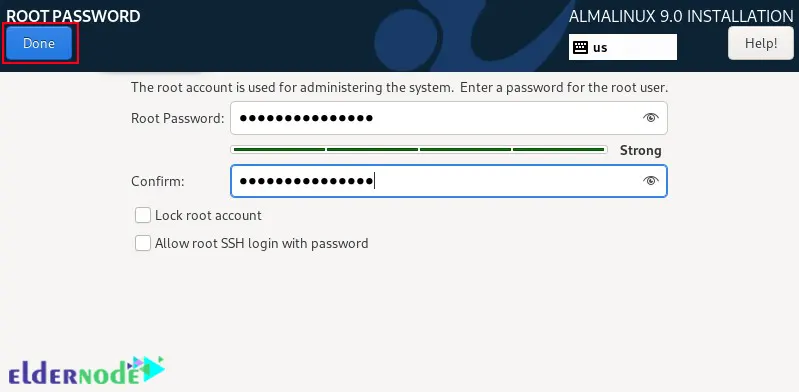
You should configure user settings to start with the root password. To do this click on Root Password:
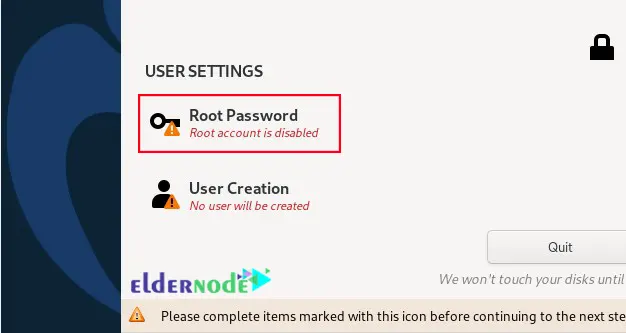
The Root account is default locked and the SSH login is disabled. You can unlock it by entering and confirming the root password. You can choose whether to allow remote root access via SSH or not. After all is done, click on Done:
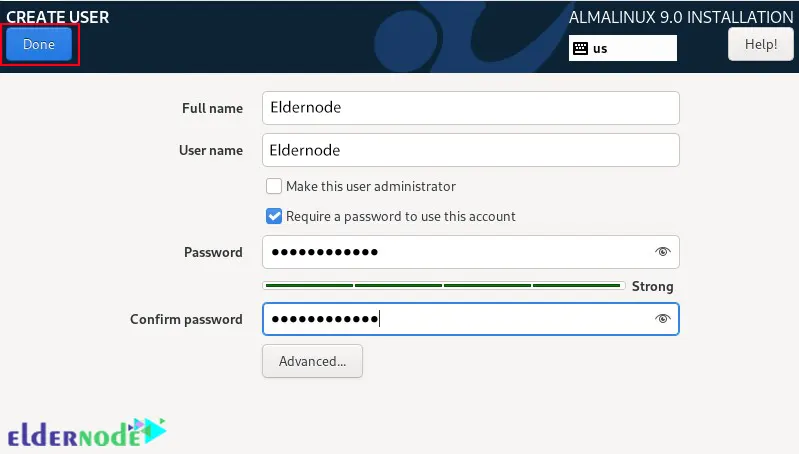
Now you should select User creation and create a regular user login. Fill in the information and finally click Done:
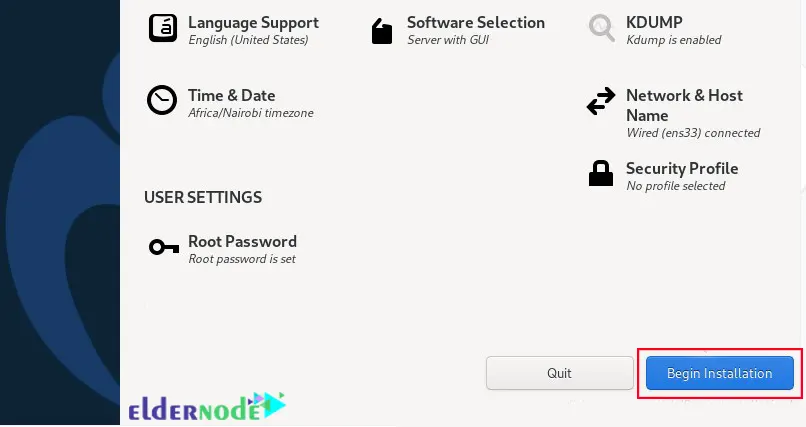
How to Install AlmaLinux 9
Now it’s time to install AlmaLinux 9. To do this, click on Begin Installation:
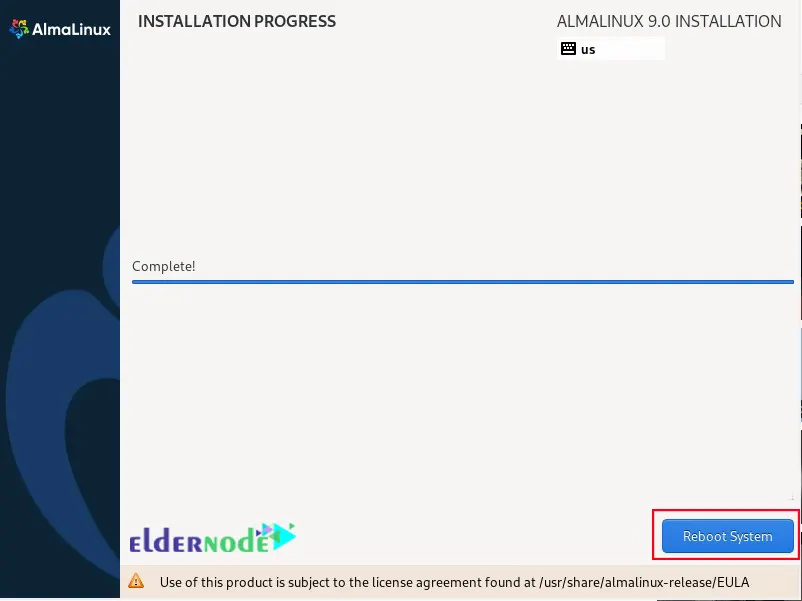
Wait a while for the installation to complete.
Finally, you should reboot your system, so click on Reboot System:
How to Login to AlmaLinux 9
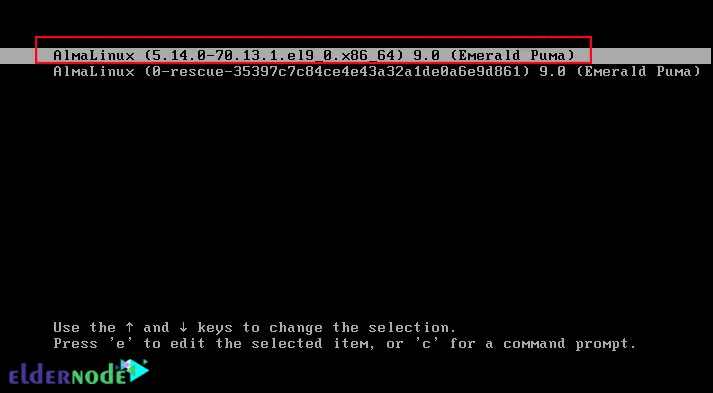
First, you should choose the first option in the grub menu and press Enter:
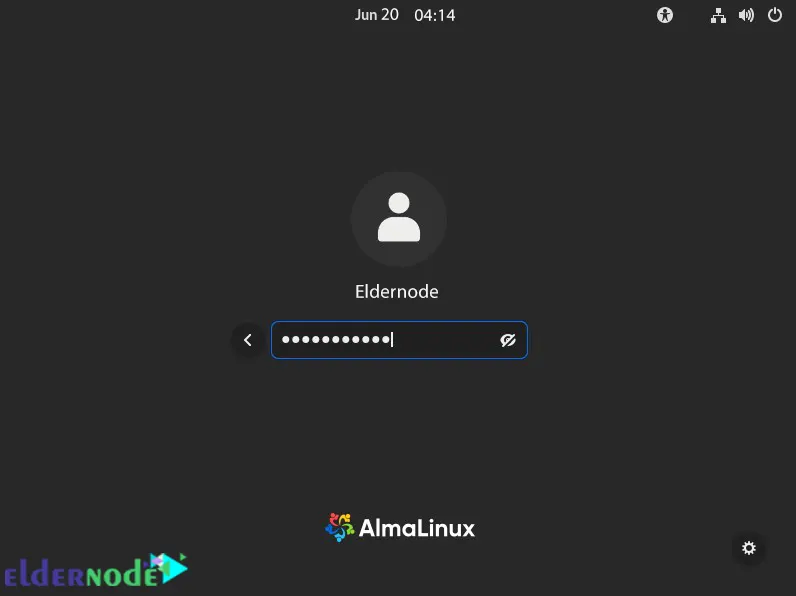
Now you need to log in to your regular user:
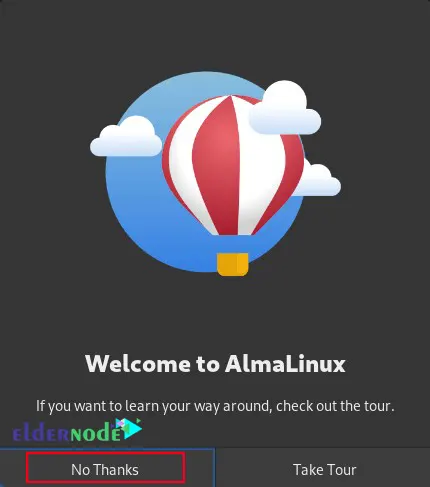
Next, you will see a Welcome Tour Wizard. You can reject it by clicking on No thank you.
Now you can see AlmaLinux 9 Desktop:

To confirm system installation, just run the following command:
cat /etc/redhat-releaseThat’s it.
Conclusion
AlmaLinux is an Enterprise Linux distribution derived from Red Hat Linux and published by CloudLinux. This highly stable operating system is designed for operating environments. In this article, we taught you how to install and configure AlmaLinux 9 and also explained all necessary dependencies. I hope you enjoy this article.