In some cases, you will come across situations where you have to get a static website up and running in the shortest amount of time possible. Caddy is a modern web server focused on simplicity and security that can help you along the way. This article will teach you How to Configure Caddy for Effective Load Balancing. We offer economical Linux VPS servers, which is the best choice for whom want to buy.
Table of Contents
Tutorial Configure Caddy for Load Balancing
Introduvtion to Caddy
Caddy is an open-source, cross-platform, and extensible web server that uses HTTPS automatically by default. It is written in Go and has no dependencies, therefore runs perfectly in containers. This web server takes care of TLS certificate renewals, OCSP stapling, static file serving, reverse proxying, Kubernetes ingress, and more and simplifies your infrastructure. Its modular architecture allows you to do more with a single, static binary that compiles for any platform.
Installing Caddy for Effective Load Balancing
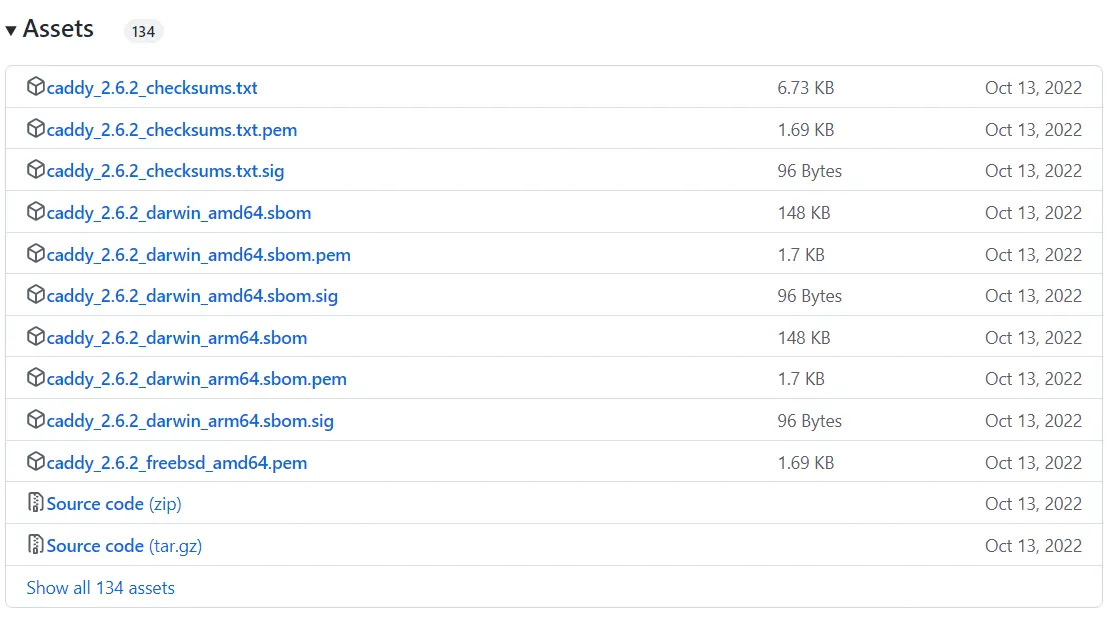
Firstly, navigate to the official GitHub website and download Caddy:

Or you can download Caddy with one of the following commands:
curl -OL "https://github.com/caddyserver/caddy/releases/latest/download/Filename"wget "https://github.com/caddyserver/caddy/releases/latest/download/Filename"Note: Replace file name for your platform instead of ”Filename”.
You can install Caddy on Ubuntu, Debian, and Raspbian using the command below:
echo "deb [trusted=yes] https://apt.fury.io/caddy/ /" \sudo tee -a /etc/apt/sources.list.d/caddy-fury.listConfiguring Caddy Load Balancer in Docker Compose
Firstly, you should use server containers that will print out the hostname of the current container along with the request details.
The settings for Caddy’s dead simple configuration file are as follows:
:80 { encode zstd gzip reverse_proxy www01:8080 www02:8080 { health_uri / health_interval 5s health_timeout 3s health_status 200 } }These two workloads are running on port 8080 and the Caddy load balancer is exposed on port 80 to your local machine. Now isolate these containers in a network called instance:
version: "3.9" services: caddy-lb: networks: - instance image: caddy:2-alpine volumes: - ./caddy/data:/data - ./caddy/config/Caddyfile:/etc/caddy/Caddyfile depends_on: - www01 - www02 ports: - "80:80" www01: image: jmalloc/echo-server hostname: www01 networks: - instance ports: - "8080" www02: image: jmalloc/echo-server hostname: www02 networks: - instance ports: - "8080" networks: instance:You can run this instance as shown below:
docker-compose up --build --remove-orphansNow click localhost in your desired browser.
Then refresh a few times. The request switches between upstream destinations and different container serve it. At this stage, kill one of the containers with the help of the following command:
docker kill IDNote: Remember to replace the ID with one of the ID’s from the browser.
If you refresh a few more times, you will see Caddy no longer serves traffic from that container.
That’s it!
Conclusion
Caddy web server takes care of TLS certificate renewals, OCSP stapling, static file serving, reverse proxying, Kubernetes ingress, and more and simplifies your infrastructure. In this article, we taught you how to configure Caddy for effective load balancing. I hope this tutorial was useful for you and helps you to configure Caddy for effective load balancing. If you encounter any problems or have any questions, you can contact us in the Comments section.


