Backing up files is one of the essential tasks that a user should do in order to be able to use it in case of emergency and restore their data. This will prevent damage and you can restore and save lost information in the event of a problem. Backing up Windows files and its structure is the same in different versions of Windows RDP Admin. You can backup applications and files installed on the operating system. In this article, we are going to teach you How to Backup files on Windows 10 RDP Admin. If you want to purchase Windows 10 RDP Admin, check out the packages provided on the Eldernode website.
Table of Contents
How to Backup files on Windows 10 RDP Admin
You can recover a previous version of a file if it is lost or unusable with the help of File History. File History automatically saves specific file folders on a backup device. It only backs up files from specific folders such as Documents, Music, Pictures, Videos, and Desktop, as well as offline OneDrive files stored on your PC, and you can not add other folders to the mix.
To backup files that are not stored in the default folders, you can add them to one of the named folders mentioned above, or consider a third-party backup program with more options and more flexibility than File History.
How to Login on Windows 10 RDP Admin
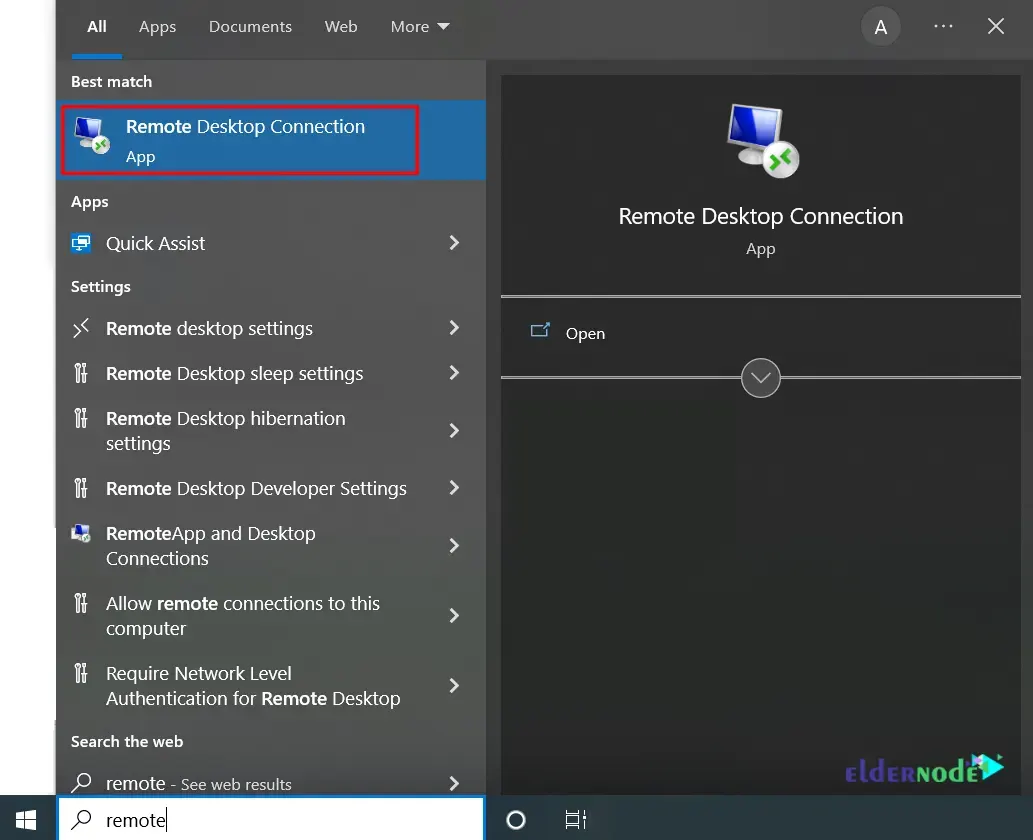
First, go to the Start menu and type Remote desktop:
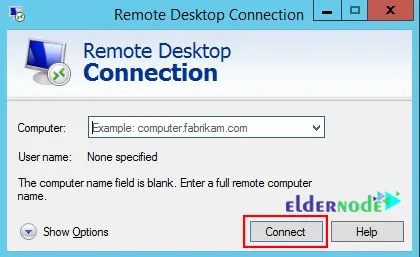
In this step, you should type your IP address and then click on “Connect” yo continue:
Then, you should enter your Username and password.
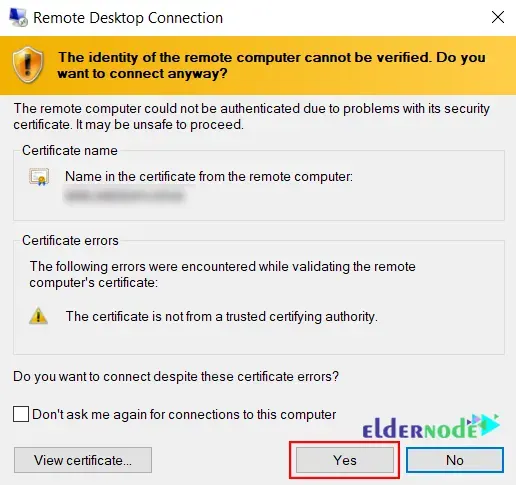
Now you will receive the following message. Check the Don’t ask me again for connections to this computer box and click on Yes:
At the end, you should be connected to your Windows 10 RDP Admin:
In the continuation of this article, from the Windows Server tutorial series, we will teach you how to Backup files on Windows 10 RDP Admin step by step.
Backup files on Windows 10 RDP Admin
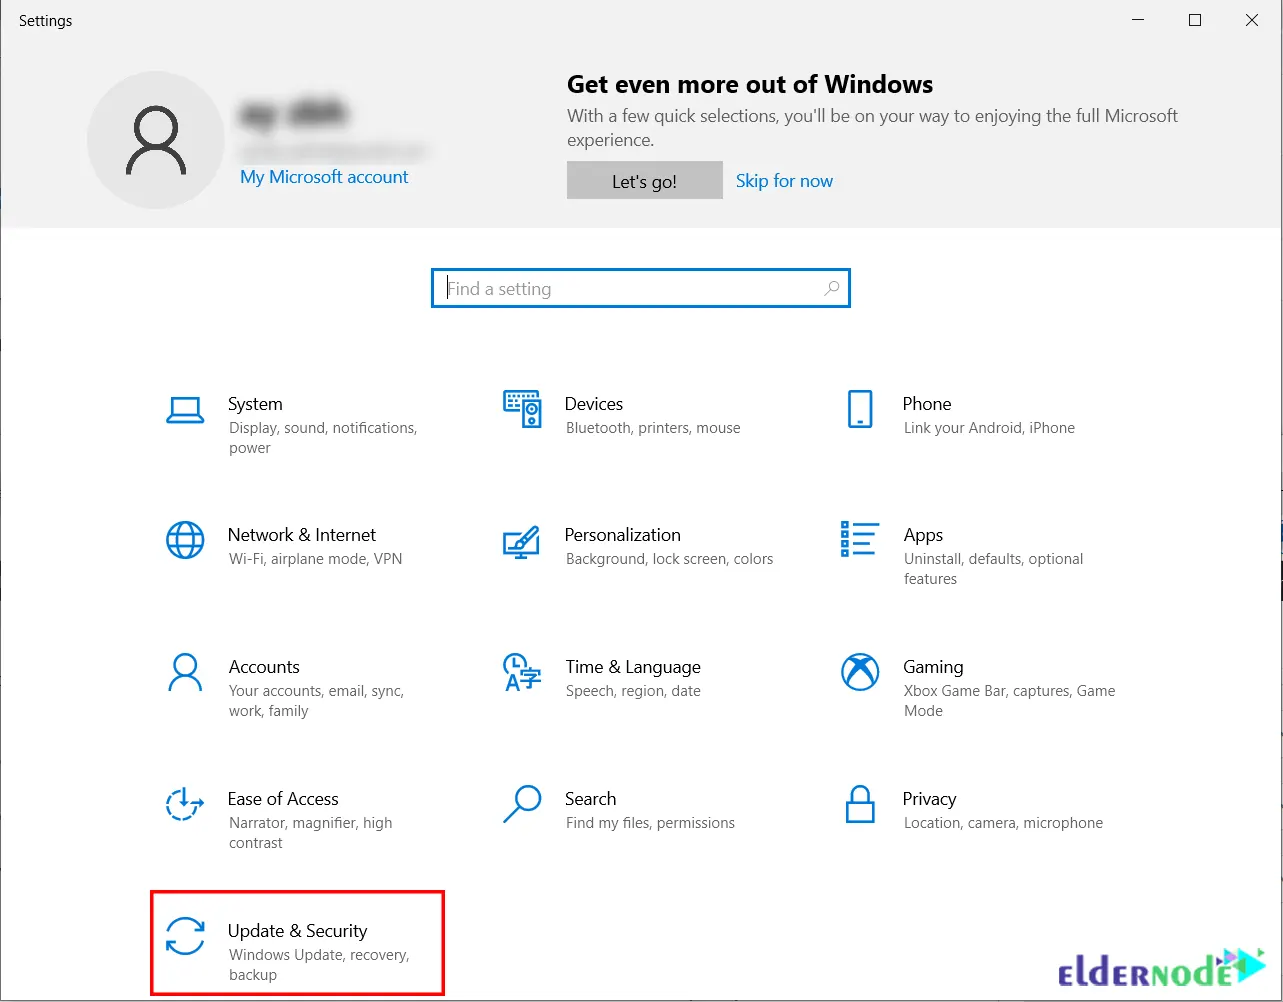
You can setup the File History on the RDP Server to backup the files. First, click on the Start and go to Settings. Then you should select Update & Security section:

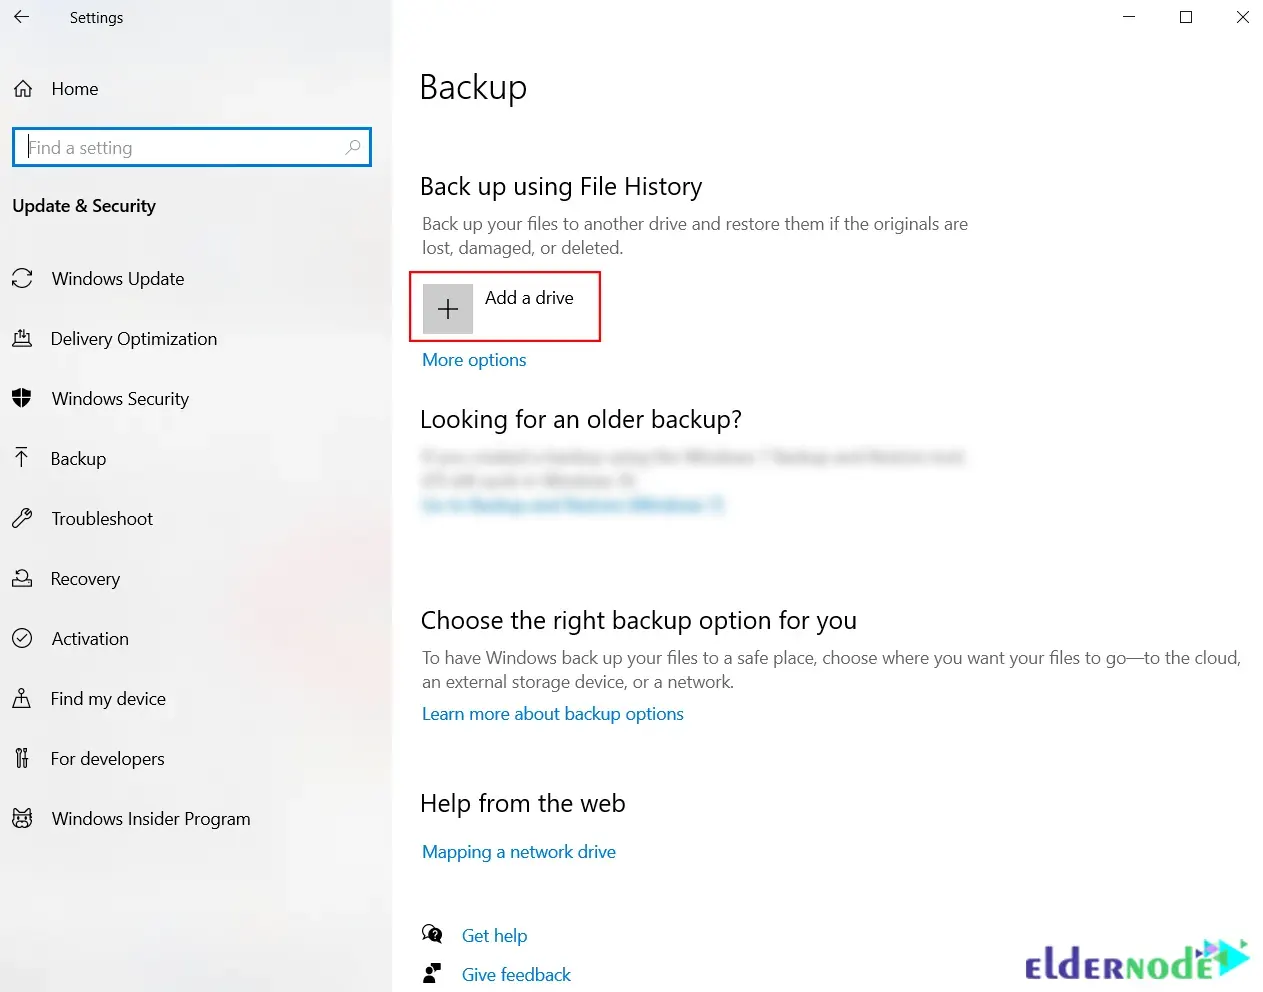
On the following page, choose Backup and click on Add a Drive under Backup using File History. If you connect a workable backup device, a list of them will be displayed by Windows. Now you should select the location of your backups:

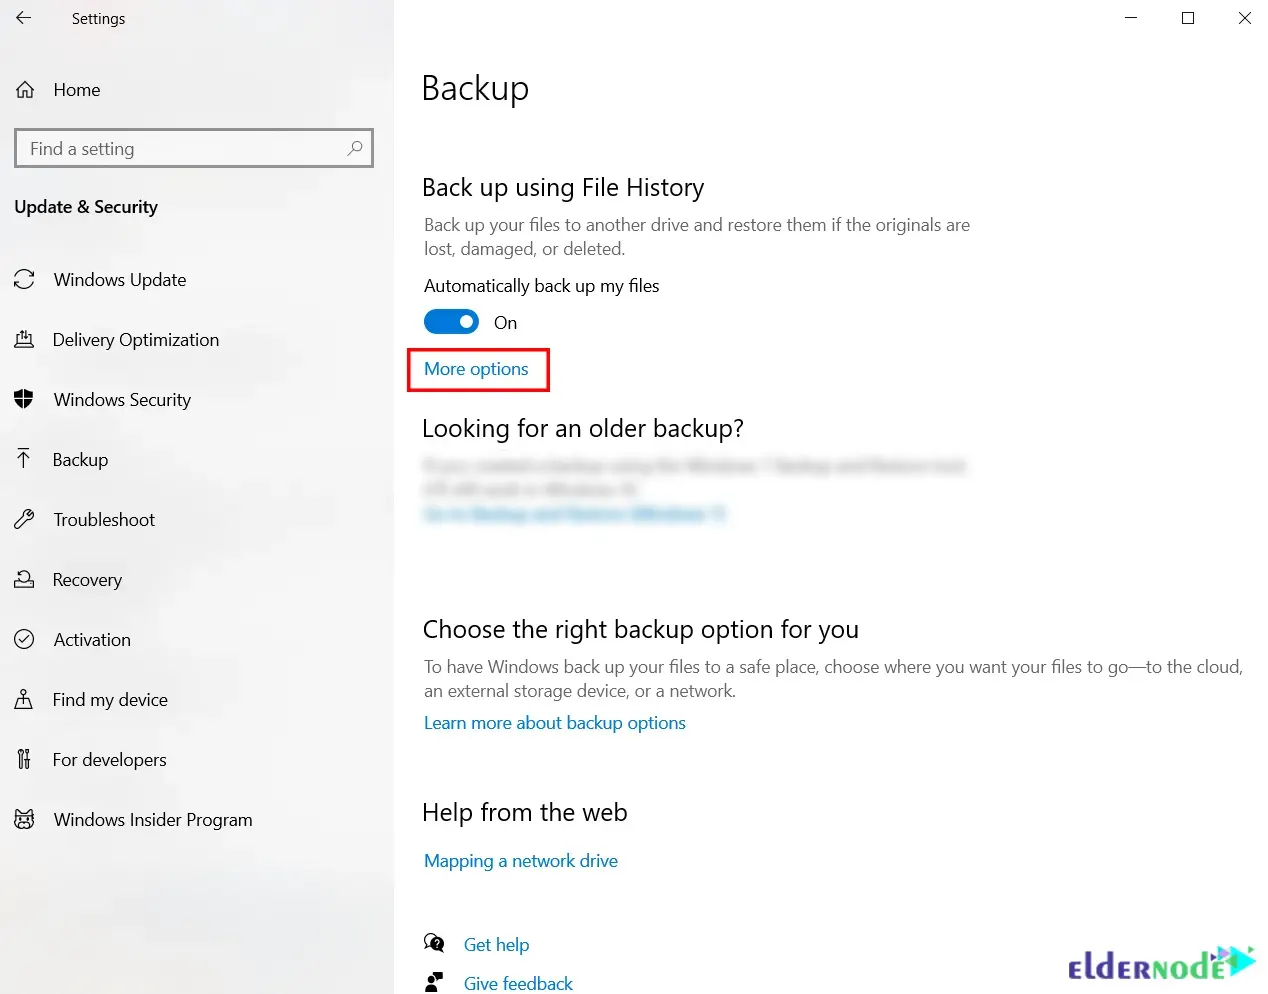
You have enabled File History but it is not backing up any files. Then setup a few parameters. You can do this from More options, so click on it:
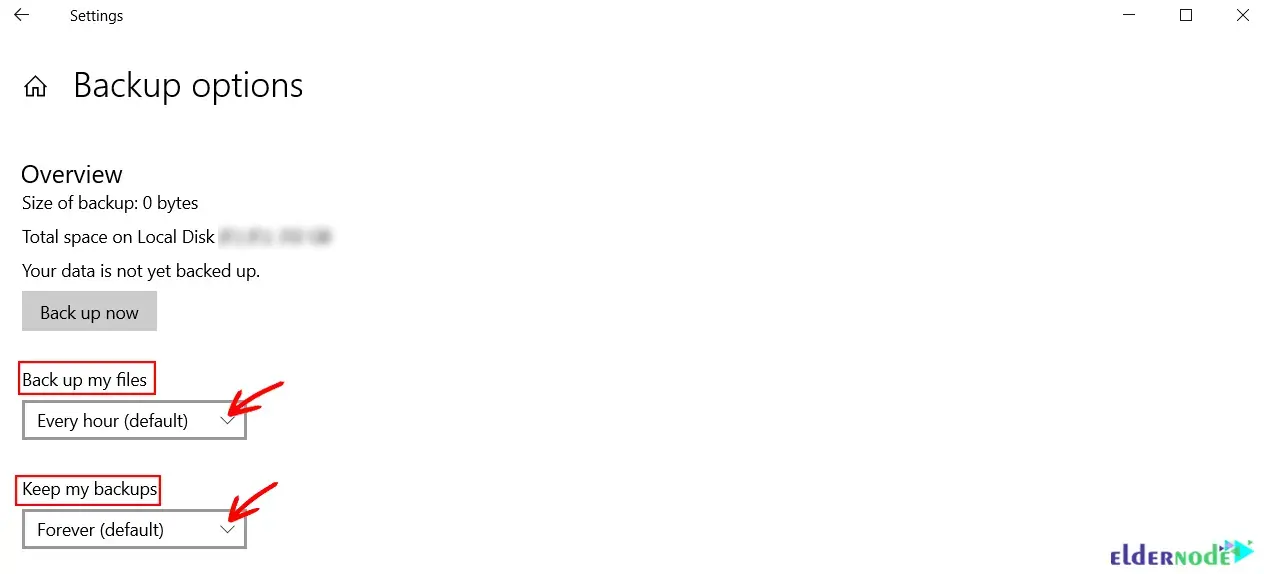
In this step, click on the Backup my files and choose how often you want to backup your files. Then you have to select how long you want to keep your backed up files from the Keep my backups section:
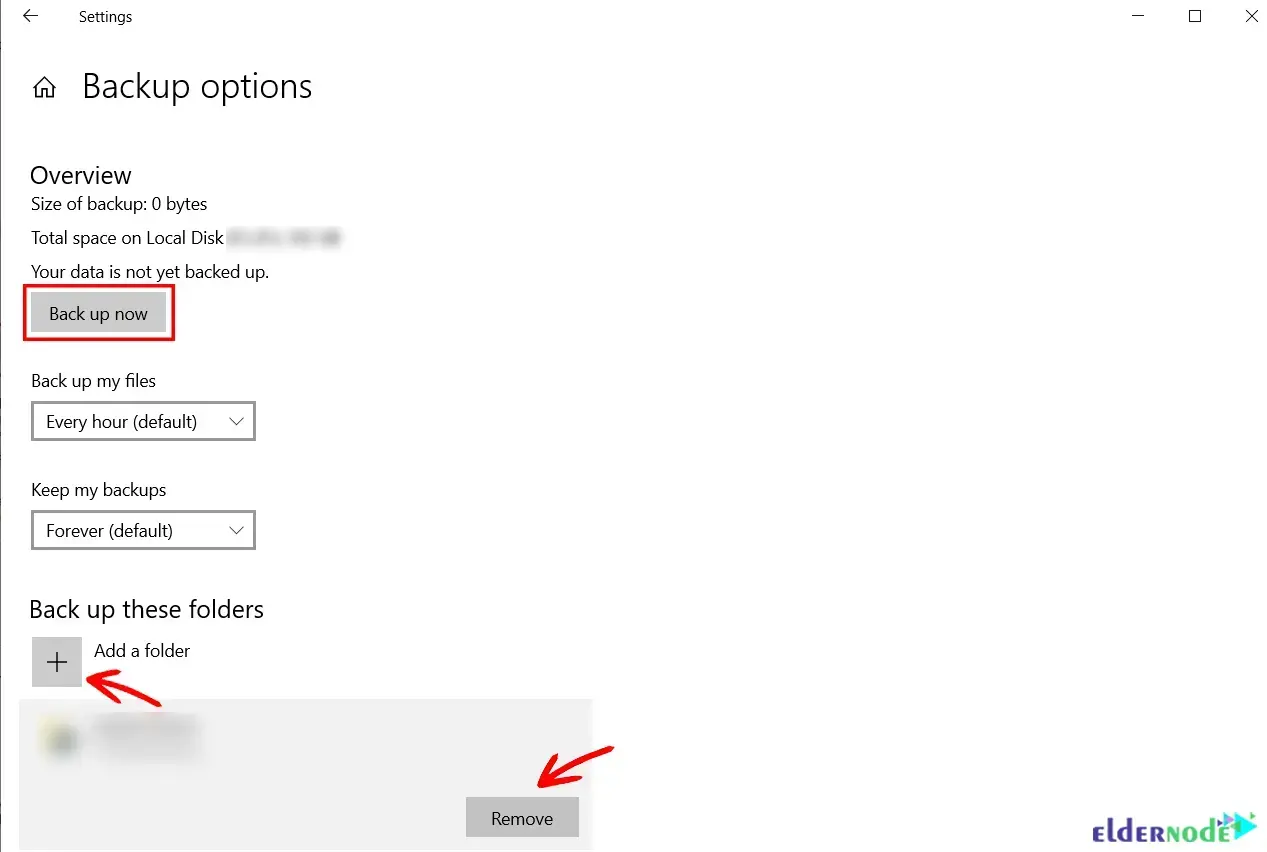
Now File History starts backing up a set of default folders. If you want to remove some folders from default folders, just select the folder and click Remove. You can add any folders to the default list by clicking on the Add a folder.
Finally, click on Backup now to start backing up the folders and files included in your backup set.
You can see the total size and the date and time of your backup after it has been completed:
How to Restore Files in Windows 10 RDP Admin
If you have lost or corrupted your important file, you can use your File History backup to restore it.
First, go to the Settings menu and choose Update & Security:
Then click on Backup and select the More options:

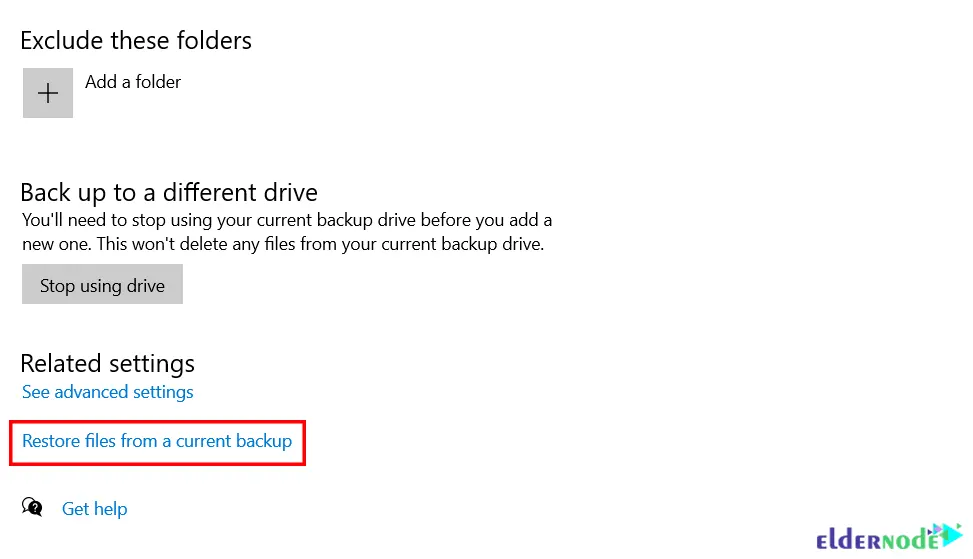
In this step, After the More options page opens, scroll down to find the Restore files from a current backup and click on it:
Now you can see all the folders that have been backed up by File History. You should double-click on the folder you want and open it. Then find your file and double-click on it. After you selected the desired file, click the green button to restore the file:

Note: If the original file is lost, Windows will automatically restore it to its previous location. If the file is still in place, Windows lets you replace it.
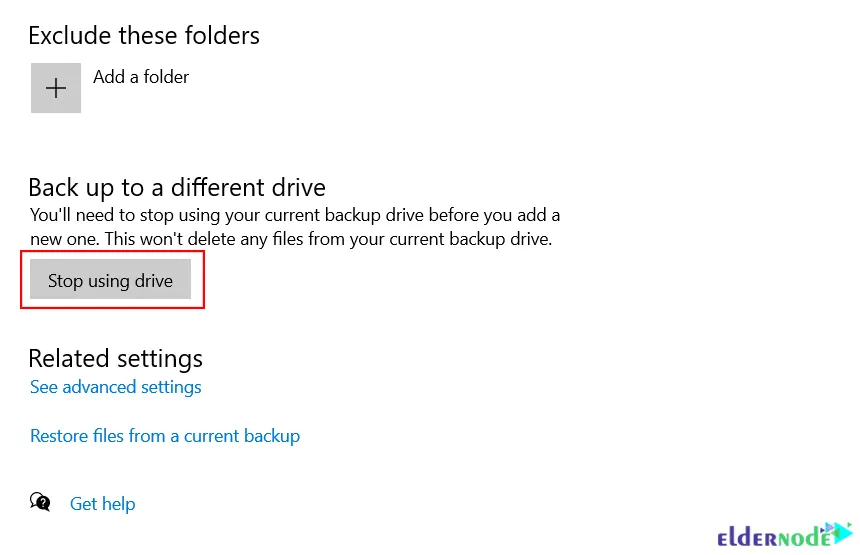
You can change your backup destination but first, you should stop using your current drive. Again go to the Backup section and choose Update & Security. Then click on More options and on the current page scroll down and find Stop using Drive and click on it:
Go back to the previous page and click Add a Drive to restart the process with a new backup destination. By doing this, you can restart the process with a new backup destination:
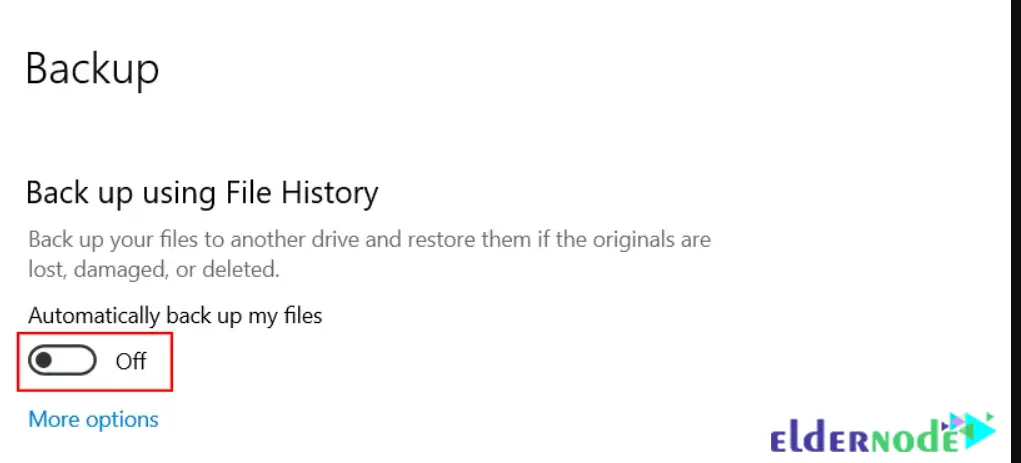
If you no longer want to stop File History, go to the Backup screen and just turn off the Automatically backup my files switch:
That’s it!
Conclusion
Windows 10 RDP Admin has a File History feature that allows you to backup important files automatically to an external location. In this article, we taught you how to backup files on Windows 10 RDP Admin using File History. Also, we explained how to restore files on the Windows 10 RDP server. I hope this article was useful for you.